1.实例演示相邻选择器与兄弟选择器,并分析异同
<!DOCTYPE html>
<html lang="en">

<head>
    <meta charset="UTF-8">
    <meta name="viewport" content="width=device-width, initial-scale=1.0">
    <meta http-equiv="X-UA-Compatible" content="ie=edge">
    <title>Document</title>
    <style>
        /* 相邻选择器 用+号进行连接*/
        /* 相邻选择器是选择选中bg-blue这个ID选择器的相邻的下一个bg-green类选择器 */

        #bg-blue+* {
            color: aqua;
        }
        /* 兄弟选择器 */
        /* ‘+’相邻选择器则表示某元素后相邻的元素,也就是紧挨着的,是单个的。而‘~’兄弟选择器则表示某元素后所有同级的指定元素,强调所有的。 */

        #bg-blue~* {
            color: brown;
        }
    </style>
</head>

<body>
    <div>
        <p class="bg-green">PHP是世界上最好的编程语言!</p>
        <p id="bg-blue">PHP是世界上最好的编程语言!</p>
        <p class="bg-green">PHP是世界上最好的编程语言!</p>
        <p class="bg-green">PHP是世界上最好的编程语言!</p>
        <p class="bg-red">PHP是世界上最好的编程语言!</p>
        <p>PHP是世界上最好的编程语言!</p>
    </div>

    <div>
        <p>PHP是世界上最好的编程语言!</p>
    </div>
</body>

</html>运行结果如图所示:

2. 实例演示:nth-child() 和 :nth-of-type()选择器,并分析异同
<!DOCTYPE html>
<html lang="en">

<head>
    <meta charset="UTF-8">
    <meta name="viewport" content="width=device-width, initial-scale=1.0">
    <meta http-equiv="X-UA-Compatible" content="ie=edge">
    <title>Document</title>
    <style>
        /* :nth-child(n) 选择器匹配属于其父元素的第 N 个子元素,不论元素的类型。 */
        /* n 可以是数字、关键词或公式。 */

        .p1 p:nth-child(2) {
            color: aqua;
        }
        /* :nth-of-type(n) 选择器匹配属于父元素的特定类型的第 N 个子元素的每个元素. */
        /* n 可以是数字、关键词或公式。 */

        .p1 p:nth-of-type(3) {
            color: brown;
        }
    </style>
</head>

<body>
    <div class="p1">
        <p class="bg-green">PHP是世界上最好的编程语言!</p>
        <p id="bg-blue">PHP是世界上最好的编程语言!</p>
        <span>PHP是世界上最好的编程语言!</span>
        <p class="bg-green">PHP是世界上最好的编程语言!</p>
        <p class="bg-green">PHP是世界上最好的编程语言!</p>
        <p class="bg-red">PHP是世界上最好的编程语言!</p>
        <p>PHP是世界上最好的编程语言!</p>
    </div>

    <div class="p2">
        <p>PHP是世界上最好的编程语言!</p>
    </div>
</body>

</html>3. 实例演示:padding 对盒子大小的影响与解决方案, 使用宽度分离或box-sizing
首先我们先了解下box-sizing属性:
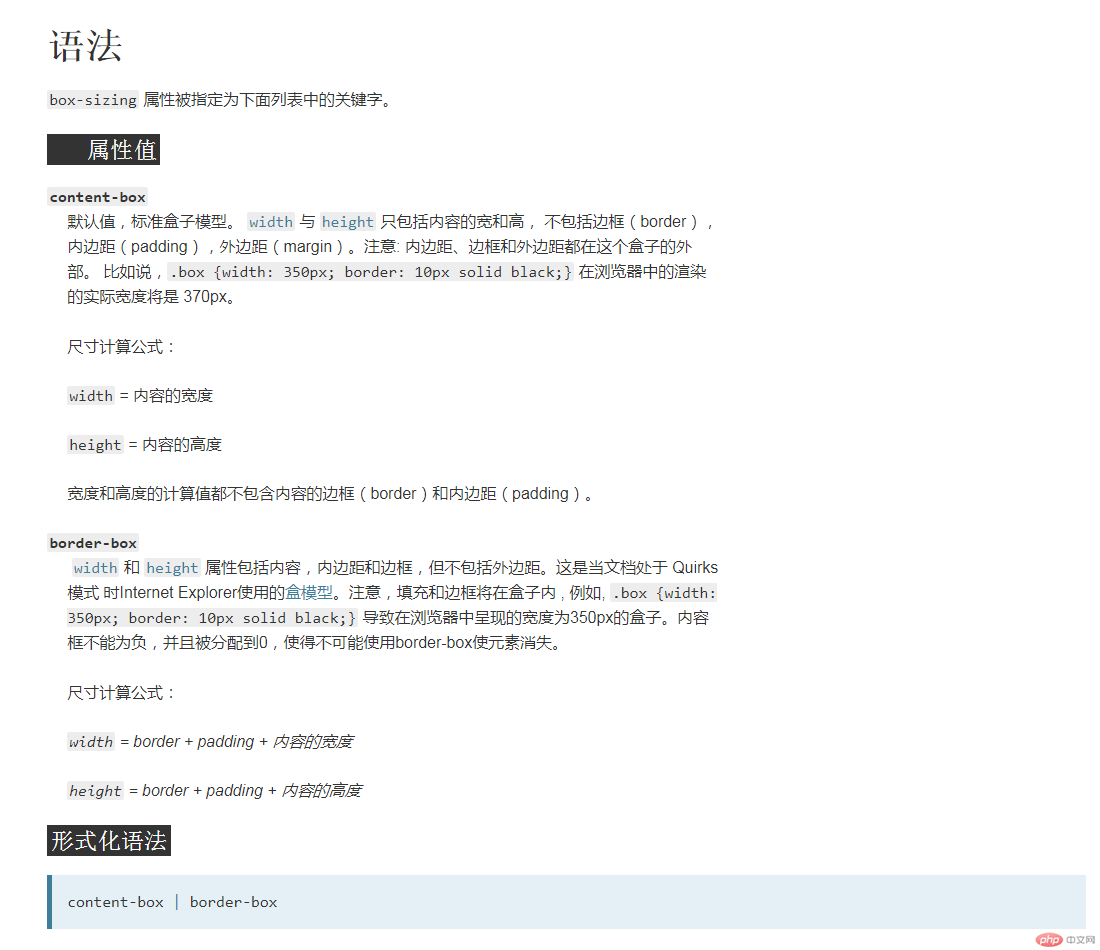
先新建一个demo1.html文件代码如下所示:
<!DOCTYPE html>
<html lang="en">

<head>
    <meta charset="UTF-8">
    <meta name="viewport" content="width=device-width, initial-scale=1.0">
    <meta http-equiv="X-UA-Compatible" content="ie=edge">
    <title>Document</title>
    <style>
        .box1 {
            width: 500px;
            height: 500px;
            background-color: aquamarine;
            /* padding: 100px; */
        }

        .box2 {
            width: 300px;
            height: 300px;
            background-color: blueviolet;
        }
    </style>
</head>

<body>
    <div class="box1">
        <div class="box2">
        </div>
    </div>
</body>

</html>运行后效果如下所示:
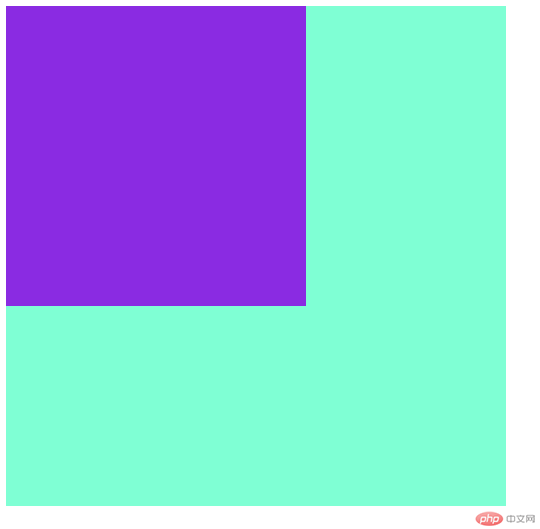
此时我们将style内联样式中 /* padding: 100px; */这一行的注释去掉,运行后得到下面图示的效果:
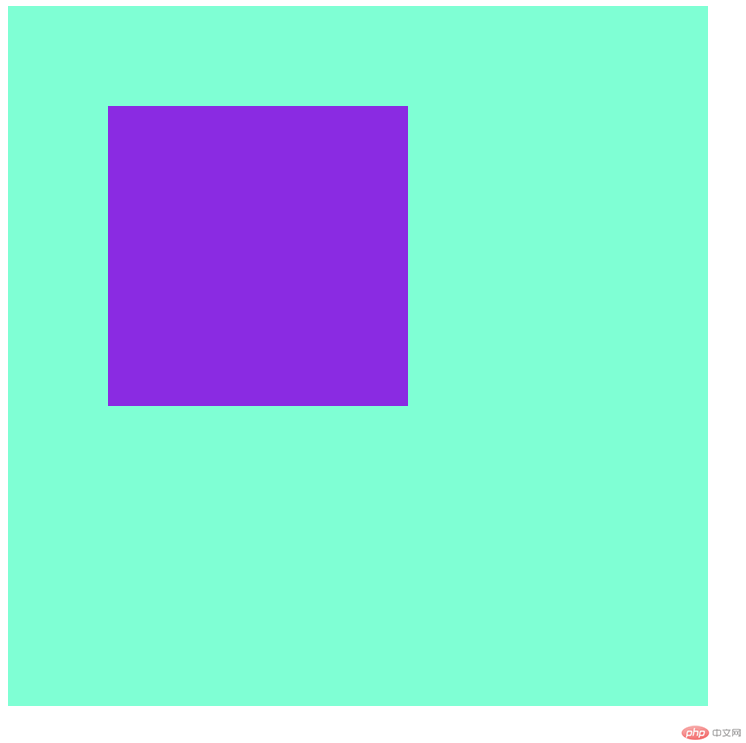
可见padding属性把原有的box1盒子撑开了,为了解决这个问题,我们可以对box2盒子进行宽度分离或者对box1使用box-sizing属性,代码如下所示:
第一种方法宽度分离,在box2外面新建一个div:
<!DOCTYPE html>
<html lang="en">

<head>
    <meta charset="UTF-8">
    <meta name="viewport" content="width=device-width, initial-scale=1.0">
    <meta http-equiv="X-UA-Compatible" content="ie=edge">
    <title>Document</title>
    <style>
        .box1 {
            width: 500px;
            height: 500px;
            background-color: aquamarine;
        }

        .box2 {
            width: 300px;
            height: 300px;
            background-color: blueviolet;
            margin: 100px;
        }
    </style>
</head>

<body>
    <div class="box1">
        <div class="box-1">
            <div class="box2">
            </div>
        </div>
    </div>
</body>

</html>运行效果如图所示:
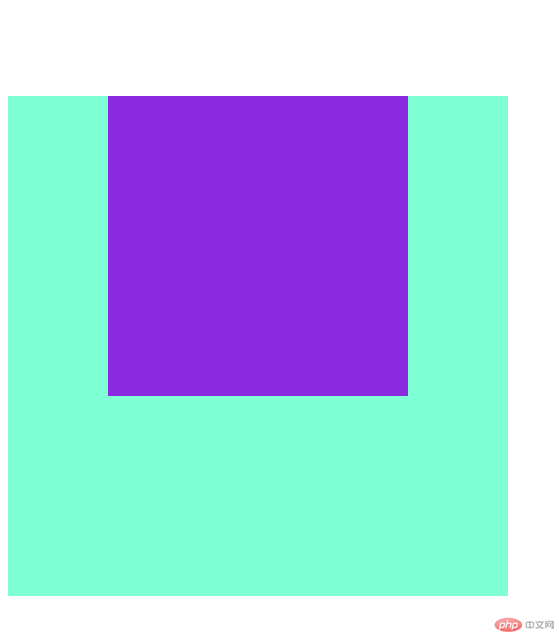
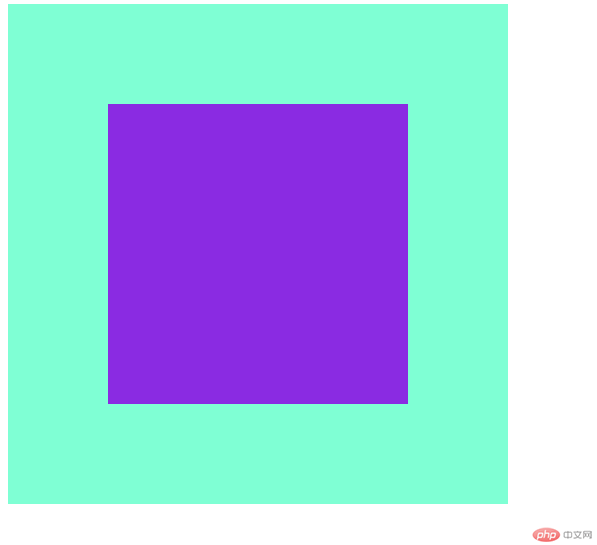
第二种方法设置box-sizing属性:
<!DOCTYPE html>
<html lang="en">

<head>
    <meta charset="UTF-8">
    <meta name="viewport" content="width=device-width, initial-scale=1.0">
    <meta http-equiv="X-UA-Compatible" content="ie=edge">
    <title>Document</title>
    <style>
        .box1 {
            width: 500px;
            height: 500px;
            background-color: aquamarine;
            padding: 100px;
            box-sizing: border-box;
        }

        .box2 {
            width: 300px;
            height: 300px;
            background-color: blueviolet;
        }
    </style>
</head>

<body>
    <div class="box1">
        <div class="box2">
        </div>
    </div>
</body>

</html>运行效果如图所示:
4. 实例演示: margin中的同级塌陷, 嵌套传递与自动挤压, 并提出解决方案或应用场景
#同级塌陷,新建一个HTML文件命名demo1.html,代码如下:
<!DOCTYPE html>
<html lang="en">

<head>
    <meta charset="UTF-8">
    <meta name="viewport" content="width=device-width, initial-scale=1.0">
    <meta http-equiv="X-UA-Compatible" content="ie=edge">
    <title>Document</title>
    <style>
        .box1 {
            width: 200px;
            height: 200px;
            background-color: aquamarine;
            margin-bottom: 50px;
        }

        .box2 {
            width: 200px;
            height: 200px;
            background-color: blueviolet;
            margin-top: 20px;
        }
    </style>
</head>

<body>
    <div class="box1">
    </div>
    <div class="box2">
    </div>
</body>

</html>运行后我们打开网页代码调试器,可以查看到:

再将光标移到<div class="box2"></div>:

两图对比我们可以看到box1下外边距50px和box2上外边距20px重合了,这个就叫做同级塌陷。
#嵌套传递,我们再新建一个文件命名demo2.html,代码如下:
<!DOCTYPE html>
<html lang="en">

<head>
    <meta charset="UTF-8">
    <meta name="viewport" content="width=device-width, initial-scale=1.0">
    <meta http-equiv="X-UA-Compatible" content="ie=edge">
    <title>Document</title>
    <style>
        .box1 {
            width: 400px;
            height: 400px;
            background-color: aquamarine;
        }

        .box2 {
            width: 200px;
            height: 200px;
            background-color: blueviolet;
              margin-top: 50px;
        }
    </style>
</head>

<body>
    <div class="box1">
        <div class="box2">
        </div>
    </div>

</body>

</html>运行后效果如下图所示:
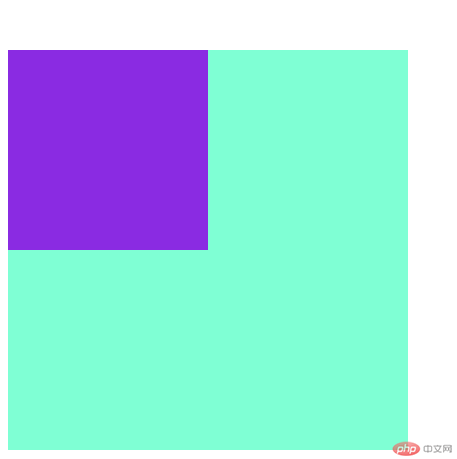
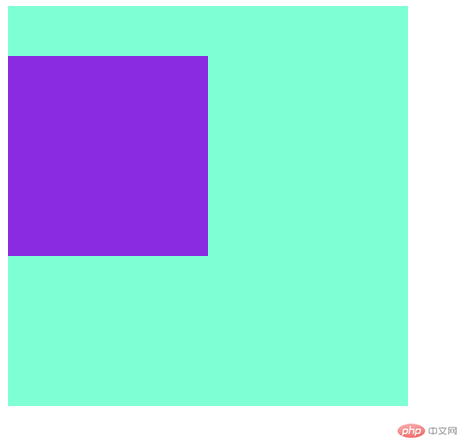
上部分有空白,不是我们想要的效果,这个时候我们可以对box1进行设置上内边距,会传递给bo2x作为外边距的,这个时候我们只需要把box1高度减小设置的上内边距宽度即可,代码如下所示:
<!DOCTYPE html>
<html lang="en">

<head>
    <meta charset="UTF-8">
    <meta name="viewport" content="width=device-width, initial-scale=1.0">
    <meta http-equiv="X-UA-Compatible" content="ie=edge">
    <title>Document</title>
    <style>
        .box1 {
            width: 400px;
            height: 350px;
            background-color: aquamarine;
            padding-top: 50px;
        }

        .box2 {
            width: 200px;
            height: 200px;
            background-color: blueviolet
        }
    </style>
</head>

<body>
    <div class="box1">
        <div class="box2">
        </div>
    </div>

</body>

</html>运行效果如图所示:
#自动挤压,我们再新建一个文件命名demo3.html,代码如下:
<!DOCTYPE html>
<html lang="en">

<head>
    <meta charset="UTF-8">
    <meta name="viewport" content="width=device-width, initial-scale=1.0">
    <meta http-equiv="X-UA-Compatible" content="ie=edge">
    <title>Document</title>
    <style>
        .box1 {
            width: 200px;
            height: 200px;
            background-color: aquamarine;
            margin: auto;
        }
    </style>
</head>

<body>
    <div class="box1">
    </div>

</body>

</html>运行效果如下图所示:

margin设置为auto,可以实现布局的居中。
我们如果把margin: auto;这一行代码改为margin-left: auto;会实现居右显示,这个就是自动挤压,尽可能的使左外边距最大。


Copyright 2014-2025 https://www.php.cn/ All Rights Reserved | php.cn | 湘ICP备2023035733号