

How to configure Vue3+TS+Vant3+Pinia

Recommended IDE settings
VS Code Volar
Typing support. Vue in TS imports
because TypeScript cannot handle type information. vue imports, by default they are populated with generic vue component types. If you're only concerned with the template component's prop type, this is fine in most cases. However, if you want to get the actual prop type. vue import, you can enable Volar's takeover mode by following these steps:
1. Run the extension: Show built-in extensions from the command palette of VS Code, look for TypeScript and JavaScript language features, then right-click and Select Disabled (Workspace). Takeover mode is automatically enabled when the default TypeScript extension is disabled.
2. Reload the VS Code window by running Developer:Reload window from the command palette.
Install pnpm
#Lightweight pnpm
Explain a little
The principle of pnpm is that it will not fool-proofly store corresponding copies, but will differential files. Comparison will only add changed files, which is equivalent to the same parts of these multiple projects sharing one version of dependencies.
In this case, the hard disk space can be greatly reduced and the installation speed will be accelerated.
To put it bluntly, it will load much faster than npm.
For example, if you install a dependency, Just use
npm install pnpm -g
and you will find that it is much faster than npm.
pnpm install
1. Install vite
Build vite
yarn create vite
Install dependencies
npm i
Start the project
yarn dev
Select the version of Vue3 TS Can
2. Install pinia
npm add pinia@next
Mount Pinia
main.ts
import { createApp } from 'vue'
import './style.css'
import App from './App.vue'
import {createPinia} from 'pinia'
const pinia = createPinia()
const app = createApp(App)
// 挂载到 Vue 根实例
app.use(pinia)
createApp(App).mount('#app')Introduce Pinia locally
import { defineStore } from 'pinia'You can see it below A usage example:
You can create the store/module/useCountStore.ts file under the corresponding src
The specific content is as follows:
useCountStore.ts
import { defineStore } from 'pinia'

//定义容器
//参数1:容器的id,必须唯一,将来pinia会把所有的容器挂载到根容器
//参数2:选项对象
//返回值是一个函数,调用得到容器实列
export const useMainStore=defineStore('main',{
    //state类似于组件的data,用来存储全局状态的
    //state必须是函数:这样是为了在服务端渲染的时候避免交叉请求导致的数据状态污染
    //必须是箭头函数,这是为了TS更好的类型推导
   state:()=>{
   return{
      count:100,
      foo:'ber',
      arr:[1,2,3]
   }
   },
   //getters 类似于组件的computed,用来封装计算属性,有缓存功能
   //和vuex中的getters没有区别
   getters:{
      // 方式一:这里的state就是上面的state状态对象,使用参数可自动推到出返回值的类型
       count10(state){
       return state.count+20
       },

      //方式二:getters也可使用this
      //直接使用this,ts不会推导出返回值是什么类型,所以要手动标明返回值的类型
/*        count10():number{
          return this.count+20
       }, */


      // 方式三:传递参数,但不使用参数,直接用this,获取值也可,自动推出返回值类型(不推荐使用)
/*       count10(state){
         return this.count+20
      } */
   },
   //类似于组件的methods, 封装业务逻辑,修改state
   actions:{
      //注意不能使用箭头函数定义actions:因为箭头函数绑定外部this,会改变this指向
      //actions就是 通过this返回当前容器实例
      // 这里的actions里的事件接受参数
      // 这里的num:number为自定义参数,需要声明参数类型
      changeState(num:number){
         // this.count++;
         this.count+=num
         this.foo='hello!'
         this.arr.push(4)

         // 同理,actions里也可使用$patch
          this.$patch({})
          this.$patch(state=>{})


         //在此注意:patch和普通多次修改的区别在原理上的区别是
         // 1.涉及到数据响应式和视图更新,多次修改,修改几次视图就更新就更新几次
         // 2.patch 批量修改 视图只更新一次,更有利于性能优化
      }
   }
})
//使用容器中的state
//修改 state
//容器中的actions的使用After the data is written, you can use it in the component
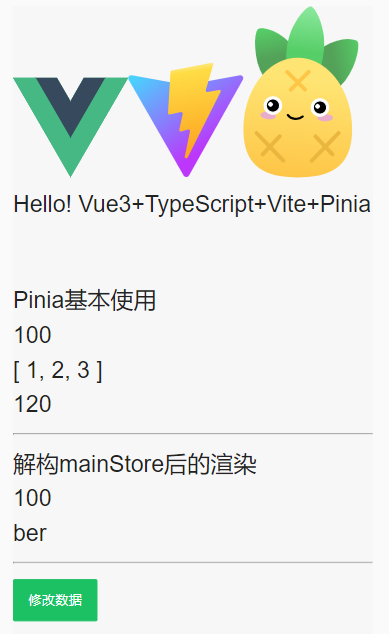
<template>
  <h4 id="Pinia基本使用">Pinia基本使用</h4>
  <p>{{mainStore.count}}</p>
  <p>{{mainStore.arr}}</p>
  {{mainStore.count10}}
  <hr />
  <p>解构mainStore后的渲染</p>
  <p>{{count}}</p>
  <p>{{foo}}</p>
  <hr />
  <p>
    <van-button type="success" @click="handleChangeState">修改数据</van-button>
  </p>
</template>
<script lang="ts" setup>
import { useMainStore } from "../../store/module/useCountStore";
import { storeToRefs } from "pinia";
const mainStore = useMainStore();
console.log(mainStore.count);
//可以直接解构mainStore,但是这样是有问题的,这样拿到的数据不是响应式的,是一次性的,之后count和foo的改变这里是不会变的
//Pinia其实就是把state数据都做了reactive处理了
//  const { count,foo}=mainStore

//解决不是响应式的办法 官方的一个api storeToRefs
// storeToRefs的原理是把结构出来的数据做ref响应式代理
const { count, foo } = storeToRefs(mainStore);

const handleChangeState = () => {
  // 数据的修改
  // 方式一:最简单的方式,直接调用修改
  mainStore.count++;

  //方式二:如果要修改多个数据,建议使用$patch 批量更新

  // 方式三:更好的批量更新的函数:$patch是一个函数,这个也是批量更新
  // 这里的state index.ts里的state
  mainStore.$patch((state) => {
    state.count++;
    state.foo = "hello!";
    state.arr.push(4);
  });

  //方式四:逻辑比较多的时候封装到actions中做处理
  mainStore.changeState(10);
};
</script>3. Install vant3
// 两种都可以
npm i vant
npm i vant@next -s
Install the plug-in
# 通过 npm 安装
npm i unplugin-vue-components -D

# 通过 yarn 安装
yarn add unplugin-vue-components -D

# 通过 pnpm 安装
pnpm add unplugin-vue-components -D
This plug-in can automatically introduce components on demand
Configure the plug-in based on the vite project
Configure in vite.config.ts
import vue from '@vitejs/plugin-vue';
import Components from 'unplugin-vue-components/vite';
import { VantResolver } from 'unplugin-vue-components/resolvers';

export default {
  plugins: [
    vue(),
    Components({
      resolvers: [VantResolver()],
    }),
  ],
};Introduce components
Introduce vant component into main.ts
import { createApp } from 'vue';
import { Button } from 'vant';

const app = createApp();
app.use(Button);4. Install router4
npm install vue-router
router/index.ts configuration content is as follows:
import { createRouter, createWebHistory,createWebHashHistory, RouteRecordRaw } from 'vue-router'
import Home from '../view/Home.vue';
const routes: Array<RouteRecordRaw> = [
{
path: '/',
name: 'index',
component: Home,
},
]
const router = createRouter({
history: createWebHashHistory(),
// history: createWebHistory(),
routes
})
export default router;main.ts configuration items
import App from './App.vue'
import router from './router/index'
app.use(router).mount('#app')
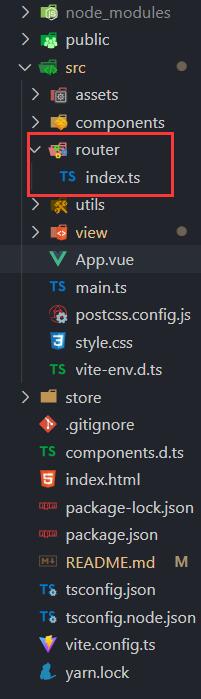
App.vue
[The external link image transfer failed. The source site may have an anti-leeching mechanism. It is recommended to save the image and upload it directly (img-TOITHQne-1658887594763) (./src/assets/image/MDImg/router.png)]
5. Install axios
npm install axios
pnpm install axios
This package is for reference
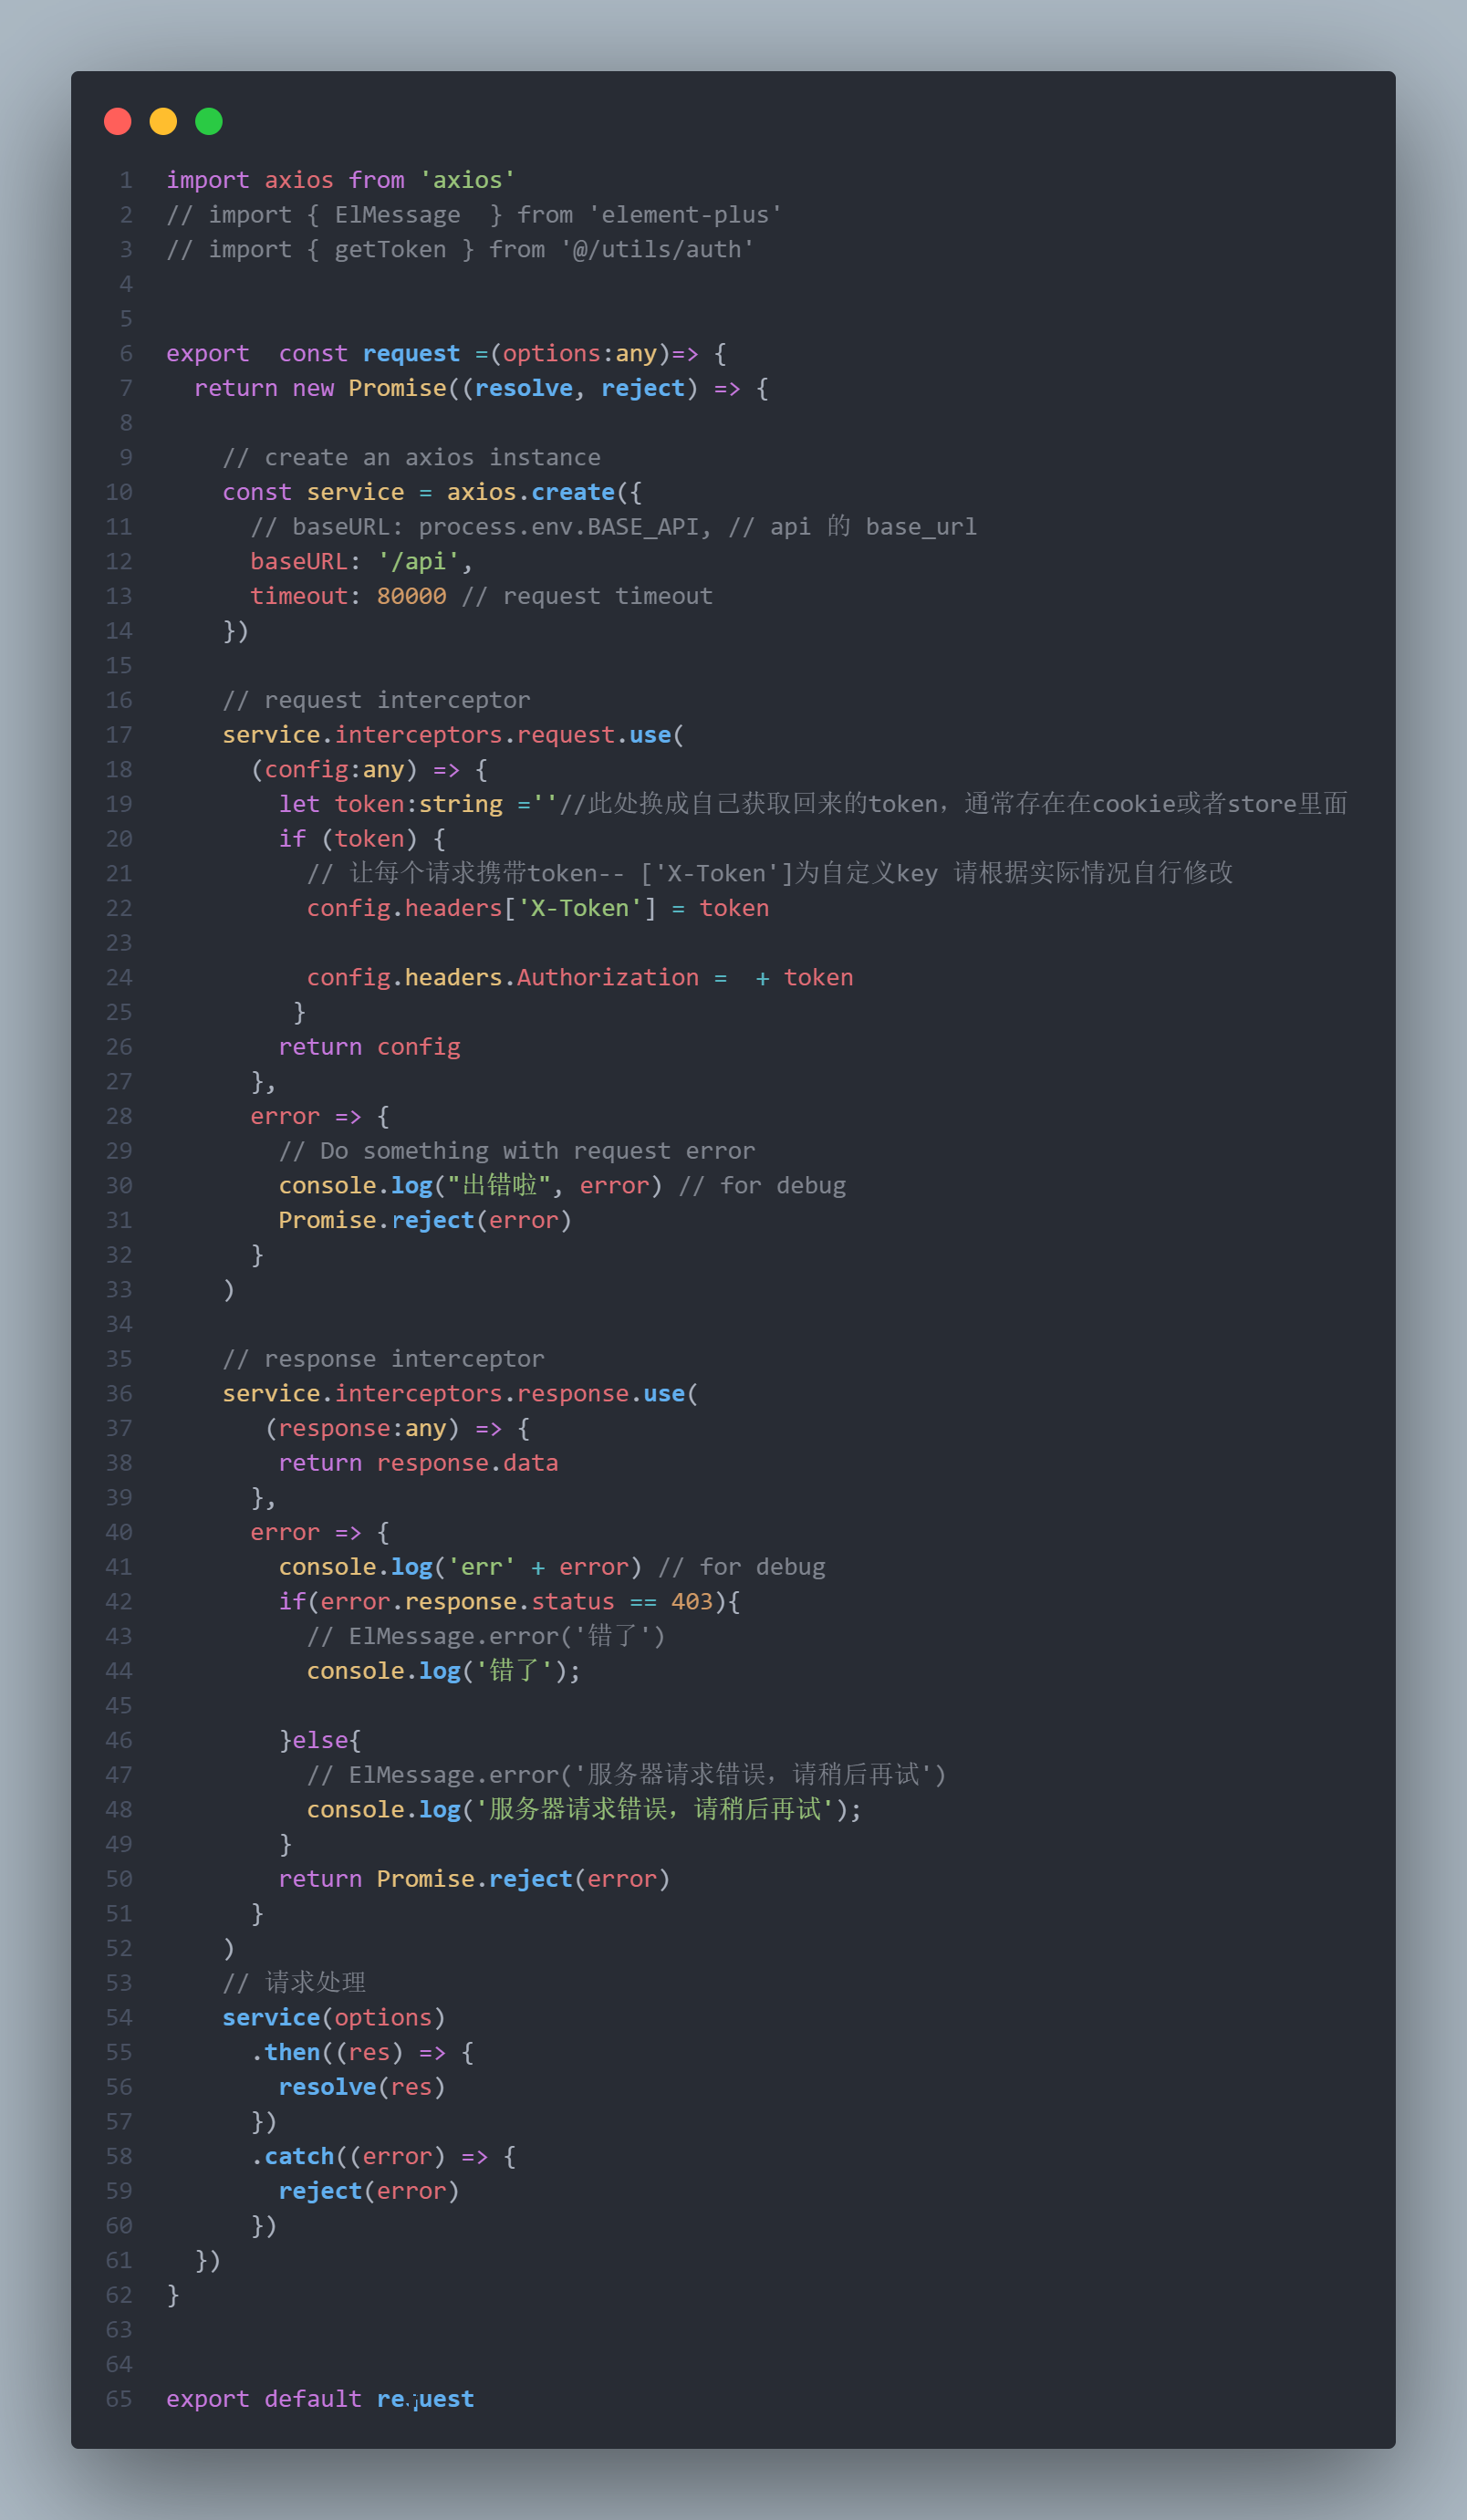
This has been modified and is subject to the code below
 import axios from 'axios'

// 创建axios
const service = axios.create({
  // baseURL: '/api',
  baseURL: 'http://xxx.xxx.xx.xxx/',
  timeout:80000
});

// 添加请求拦截器
service.interceptors.request.use(
  (config:any) => {
    let token:string =''//此处换成自己获取回来的token,通常存在在cookie或者store里面
    if (token) {
      // 让每个请求携带token-- ['X-Token']为自定义key 请根据实际情况自行修改
      config.headers['X-Token'] = token

      config.headers.Authorization =  + token
     }
    return config
  },
  error => {
    // Do something with request error
    console.log("出错啦", error) // for debug
    Promise.reject(error)
  }
)

service.interceptors.response.use(
  (response:any) => {
   return response.data
 },    /*  */
 error => {
   console.log('err' + error) // for debug
   if(error.response.status == 403){
     // ElMessage.error('错了')
     console.log('错了');

   }else{
     // ElMessage.error('服务器请求错误,请稍后再试')
     console.log('服务器请求错误,请稍后再试');
   }
   return Promise.reject(error)
 }
)
export default service;service.ts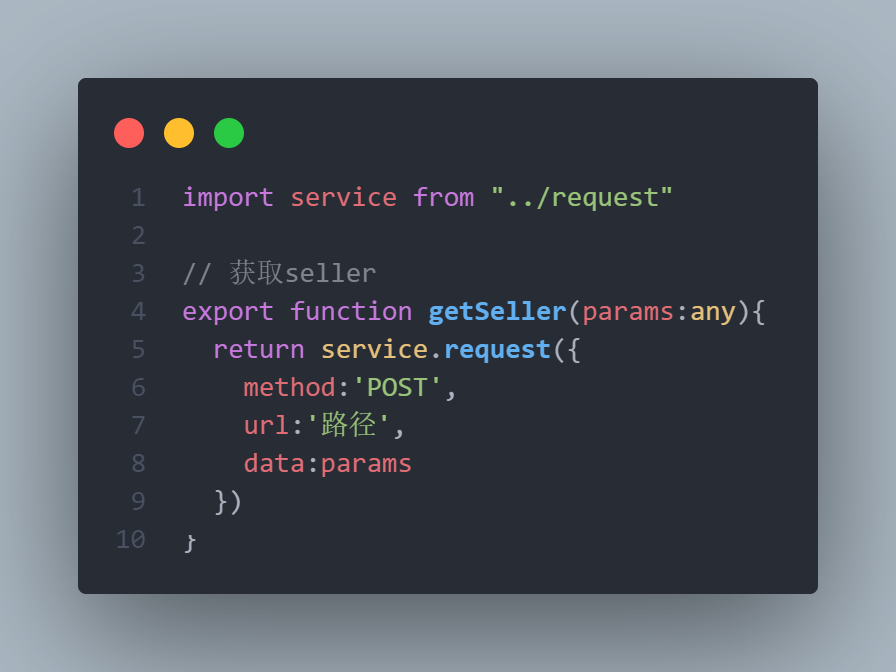
import {request} from '../request';

// 调用测试
export function getTest(params:any) {
    return request({
      url: '/xxxx',//此处为自己请求地址
      method: 'get',
      data:params
    })
}and then call
// 接口引入地址
import { getTest} from "../utils/api/service";

/* 调用接口 */
       getTest('放入params参数').then(response => {
            console.log("结果", response);
          })
          .catch(error => {
            console.log('获取失败!')
});npm install postcss-pxtorem
npm i -S amfe-flexible
import { defineConfig } from 'vite'
import vue from '@vitejs/plugin-vue'
import Components from 'unplugin-vue-components/vite';
import { VantResolver } from 'unplugin-vue-components/resolvers';
import postcssImport from "postcss-pxtorem"
// https://vitejs.dev/config/
export default defineConfig({
  plugins: [
    vue(),
    Components({
      resolvers: [VantResolver()],
    }),

  ],
  server:{
    host: '0.0.0.0'
  },
  // 适配
  css: {
    postcss: {
      plugins: [
        postcssImport({
          // 这里的rootValue就是你的设计稿大小
          rootValue: 37.5,
          propList: ['*'],
        })
      ]
    }
  }
})
The above is the detailed content of How to configure Vue3+TS+Vant3+Pinia. For more information, please follow other related articles on the PHP Chinese website!

Hot AI Tools

Undresser.AI Undress
AI-powered app for creating realistic nude photos

AI Clothes Remover
Online AI tool for removing clothes from photos.

Undress AI Tool
Undress images for free

Clothoff.io
AI clothes remover

Video Face Swap
Swap faces in any video effortlessly with our completely free AI face swap tool!

Hot Article
Hot Tools

Notepad++7.3.1
Easy-to-use and free code editor

SublimeText3 Chinese version
Chinese version, very easy to use

Zend Studio 13.0.1
Powerful PHP integrated development environment

Dreamweaver CS6
Visual web development tools

SublimeText3 Mac version
God-level code editing software (SublimeText3)
Hot Topics


 How to use tinymce in vue3 project
May 19, 2023 pm 08:40 PM
How to use tinymce in vue3 project
May 19, 2023 pm 08:40 PM
tinymce is a fully functional rich text editor plug-in, but introducing tinymce into vue is not as smooth as other Vue rich text plug-ins. tinymce itself is not suitable for Vue, and @tinymce/tinymce-vue needs to be introduced, and It is a foreign rich text plug-in and has not passed the Chinese version. You need to download the translation package from its official website (you may need to bypass the firewall). 1. Install related dependencies npminstalltinymce-Snpminstall@tinymce/tinymce-vue-S2. Download the Chinese package 3. Introduce the skin and Chinese package. Create a new tinymce folder in the project public folder and download the
 vue3+vite: How to solve the error when using require to dynamically import images in src
May 21, 2023 pm 03:16 PM
vue3+vite: How to solve the error when using require to dynamically import images in src
May 21, 2023 pm 03:16 PM
vue3+vite:src uses require to dynamically import images and error reports and solutions. vue3+vite dynamically imports multiple images. If vue3 is using typescript development, require will introduce image errors. requireisnotdefined cannot be used like vue2 such as imgUrl:require(' .../assets/test.png') is imported because typescript does not support require, so import is used. Here is how to solve it: use awaitimport
 How to refresh partial content of the page in Vue3
May 26, 2023 pm 05:31 PM
How to refresh partial content of the page in Vue3
May 26, 2023 pm 05:31 PM
To achieve partial refresh of the page, we only need to implement the re-rendering of the local component (dom). In Vue, the easiest way to achieve this effect is to use the v-if directive. In Vue2, in addition to using the v-if instruction to re-render the local dom, we can also create a new blank component. When we need to refresh the local page, jump to this blank component page, and then jump back in the beforeRouteEnter guard in the blank component. original page. As shown in the figure below, how to click the refresh button in Vue3.X to reload the DOM within the red box and display the corresponding loading status. Since the guard in the component in the scriptsetup syntax in Vue3.X only has o
 How Vue3 parses markdown and implements code highlighting
May 20, 2023 pm 04:16 PM
How Vue3 parses markdown and implements code highlighting
May 20, 2023 pm 04:16 PM
Vue implements the blog front-end and needs to implement markdown parsing. If there is code, it needs to implement code highlighting. There are many markdown parsing libraries for Vue, such as markdown-it, vue-markdown-loader, marked, vue-markdown, etc. These libraries are all very similar. Marked is used here, and highlight.js is used as the code highlighting library. The specific implementation steps are as follows: 1. Install dependent libraries. Open the command window under the vue project and enter the following command npminstallmarked-save//marked to convert markdown into htmlnpmins
 How to use vue3+ts+axios+pinia to achieve senseless refresh
May 25, 2023 pm 03:37 PM
How to use vue3+ts+axios+pinia to achieve senseless refresh
May 25, 2023 pm 03:37 PM
vue3+ts+axios+pinia realizes senseless refresh 1. First download aiXos and pinianpmipinia in the project--savenpminstallaxios--save2. Encapsulate axios request-----Download js-cookienpmiJS-cookie-s//Introduce aixosimporttype{AxiosRequestConfig ,AxiosResponse}from"axios";importaxiosfrom'axios';import{ElMess
 How to use Vue3 reusable components
May 20, 2023 pm 07:25 PM
How to use Vue3 reusable components
May 20, 2023 pm 07:25 PM
Preface Whether it is vue or react, when we encounter multiple repeated codes, we will think about how to reuse these codes instead of filling a file with a bunch of redundant codes. In fact, both vue and react can achieve reuse by extracting components, but if you encounter some small code fragments and you don’t want to extract another file, in comparison, react can be used in the same Declare the corresponding widget in the file, or implement it through renderfunction, such as: constDemo:FC=({msg})=>{returndemomsgis{msg}}constApp:FC=()=>{return(
 How to select an avatar and crop it in Vue3
May 29, 2023 am 10:22 AM
How to select an avatar and crop it in Vue3
May 29, 2023 am 10:22 AM
The final effect is to install the VueCropper component yarnaddvue-cropper@next. The above installation value is for Vue3. If it is Vue2 or you want to use other methods to reference, please visit its official npm address: official tutorial. It is also very simple to reference and use it in a component. You only need to introduce the corresponding component and its style file. I do not reference it globally here, but only introduce import{userInfoByRequest}from'../js/api' in my component file. import{VueCropper}from'vue-cropper&
 How to solve the problem that after the vue3 project is packaged and published to the server, the access page displays blank
May 17, 2023 am 08:19 AM
How to solve the problem that after the vue3 project is packaged and published to the server, the access page displays blank
May 17, 2023 am 08:19 AM
After the vue3 project is packaged and published to the server, the access page displays blank 1. The publicPath in the vue.config.js file is processed as follows: const{defineConfig}=require('@vue/cli-service') module.exports=defineConfig({publicPath :process.env.NODE_ENV==='production'?'./':'/&
