

How to restore classic File Explorer using the Ribbon in Windows 11

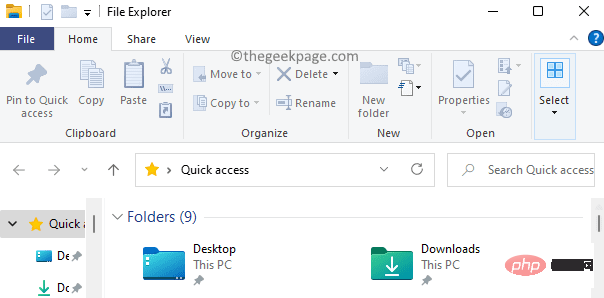
File Explorer is an interface that provides users with navigation and access to files and folders stored on their computer. In Windows 10, File Explorer has a ribbon that contains buttons and commands for most common tasks such as copying and moving files and folders, renaming files, creating folders, compressing folders, Send files via email, and make changes to files and folders. Folders are displayed by Windows. There are tabs available to view additional tasks that can be performed for the selected file/folder.
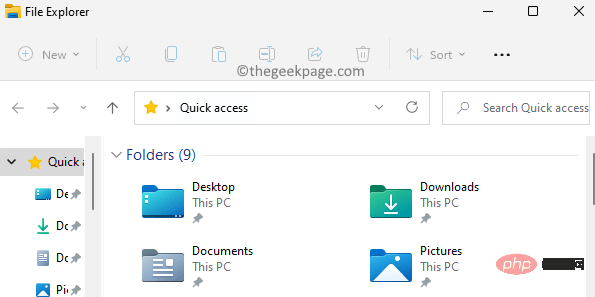
In Windows 11, however, File Explorer has changed from a ribbon interface to a simpler command bar with a modern, clean look. Some users disliked and appreciated this change in the File Explorer interface in Windows 11. These users can now revert File Explorer in Windows 11 to classic File Explorer using the ribbon they used on Windows 10.
The Classic File Explorer with Ribbon in Windows 10 is shown below.
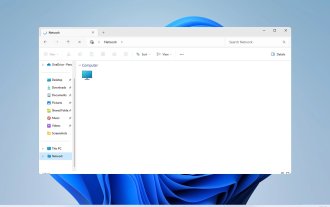
The Default File Explorer with Command Bar available in Windows 11 is shown below.
If you are one of such users but the classic File Explorer is missing on your Windows 11 PC, read this article.
Restore classic File Explorer using the Ribbon in Windows 11 by manually changing the registry
In order to be able to restore File Explorer to the classic version using the Ribbon, you need to be on your PC Log in as administrator.
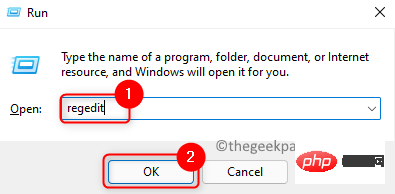
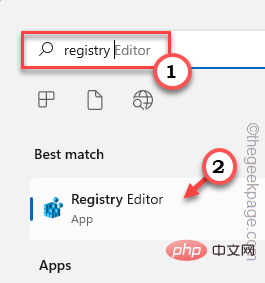
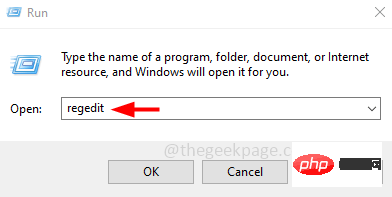
1. Press the Windows R key combination to open the Run box.
Type regedit and click OK to open the Registry Editor.
Click Yes when prompted by UAC.
#2. After entering the registry, navigate or copy and paste the following path in the address bar.
计算机\HKEY_LOCAL_MACHINE\SOFTWARE\Microsoft\Windows\CurrentVersion\Shell Extensions
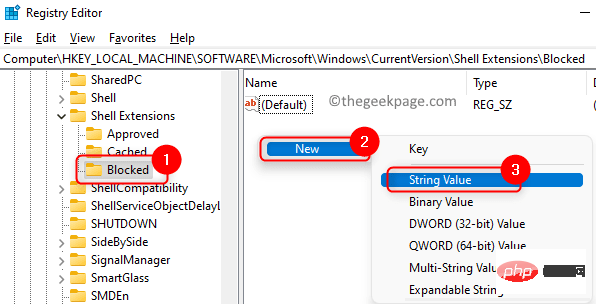
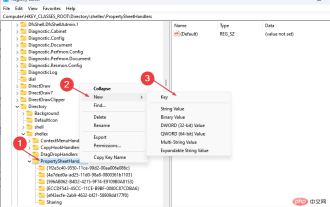
3. You need to create a new key under the Shell Extensions registry key.
To do this, right-click the Shell Extensions folder in the left pane and select New –> Key.
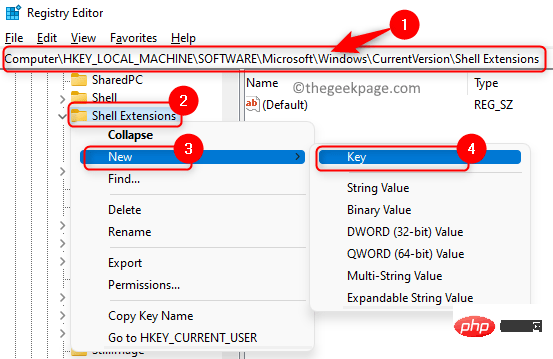
Name the new key Blocked.
4. Select the newly created key Blocked.
Now you need to create a new String value.
Move to the right side of the registry window. Right-click on any empty space here and select "New" -> "String Value " to create it.
5. Name this new string {e2bf9676-5f8f-435c-97eb-11607a5bedf7}.
You can copy and paste the above string value without typing it again.
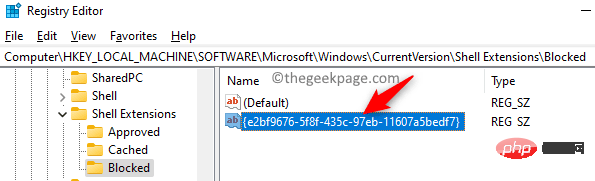
Double-click this newly created key to open its Edit String window.
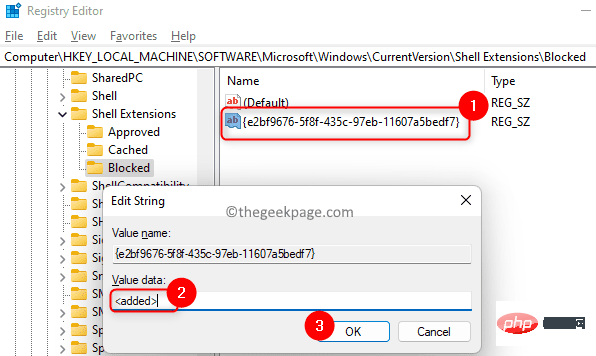
To restore classic File Explorer using the Ribbon, go to step 6, otherwise go to step 7 to use the default modern File Explorer in Windows 11.
6. In the Edit String window, type in the Numeric Data field, ending with Revert to the classic Windows 10 File Explorer with Ribbon in Windows 11. Click
OK.
your PC or log out and log in to make the changes effective. 7. In the
Edit String window, type in the text box below Numeric data to use
to save changes.
Log out and log in or restart the computer for the changes to take effect.
Use a registry file to restore classic File Explorer using the Ribbon in Windows 11
If you don’t want to manually make changes in the registry, use the .reg registry file Quickly restore classic file explorer.
1. Click this link to download the registry file to restore File Explorer.
Download the zip file and save it somewhere on your PC.
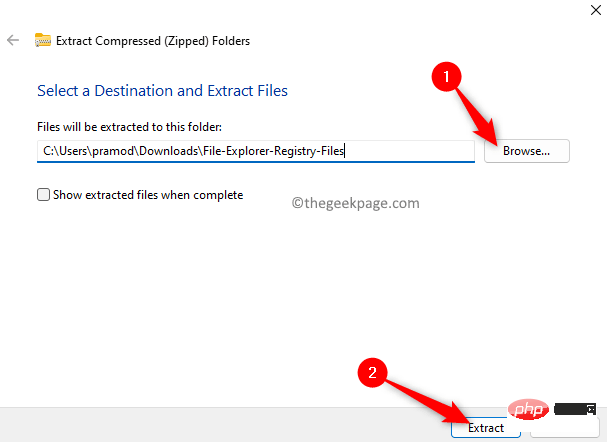
2. Go to the location of the downloaded file. Right click on this zip file and select All Extract ... to extract the contents of the file.
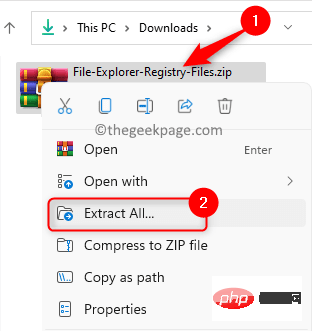
Use Browse to select a location to save the extracted files.
Then, click the Extract button.
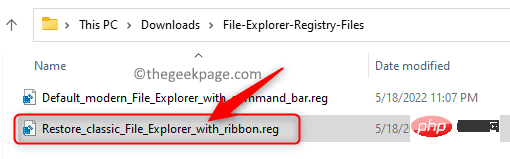
3. After the file is extracted, open the folder and double-click the file named Restore_classic_File_Explorer_with_ribbon.reg to restore Windows 11 Classic File Explorer on.
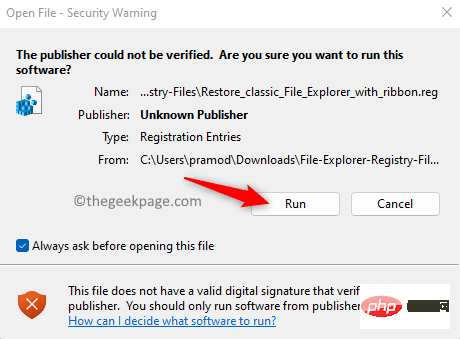
When prompted Security Warning to open the file, click Run.
When User Account Control asks for permissions, click Yes.
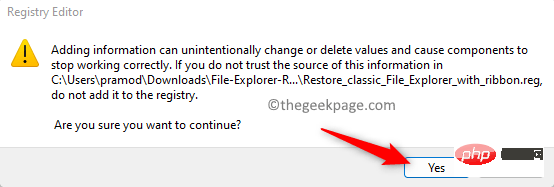
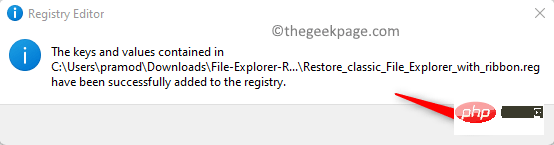
Now you will see a Registry Editor pop up asking if you want to confirm making the changes. Here, click Yes.
#Finally, click "OK" in the pop-up window prompting that the registry merge is successful.
4.Log in and Log out or restart your PC to apply these Change.
To return to the default modern File Explorer for Windows 11, simply click on the file named Default_modern_File_Explorer_with_command_bar.reg in step 3 above and repeat above for the others step.
The above is the detailed content of How to restore classic File Explorer using the Ribbon in Windows 11. For more information, please follow other related articles on the PHP Chinese website!

Hot AI Tools

Undresser.AI Undress
AI-powered app for creating realistic nude photos

AI Clothes Remover
Online AI tool for removing clothes from photos.

Undress AI Tool
Undress images for free

Clothoff.io
AI clothes remover

Video Face Swap
Swap faces in any video effortlessly with our completely free AI face swap tool!

Hot Article
Hot Tools

Notepad++7.3.1
Easy-to-use and free code editor

SublimeText3 Chinese version
Chinese version, very easy to use

Zend Studio 13.0.1
Powerful PHP integrated development environment

Dreamweaver CS6
Visual web development tools

SublimeText3 Mac version
God-level code editing software (SublimeText3)
Hot Topics


 Unable to remove Xbox wireless controller, removal failure fix
Apr 14, 2023 am 10:40 AM
Unable to remove Xbox wireless controller, removal failure fix
Apr 14, 2023 am 10:40 AM
The Xbox app allows its users to play exciting games on their PC in case the console is not there. Users can connect their Xbox controller directly to the PC and start playing on their Windows PC. Sometimes the Xbox Wireless Controller cannot be removed from a user's Windows 11/Windows 10 laptop. There are a number of issues, the most prominent of which is users encountering "removal failed" issues when trying to remove gadgets. If you get a "Removal failed" error when removing your Xbox Wireless Controller, restart your computer. The most straightforward solution to common problems is to restart your Windows device. If you are restarting your computer
 0xC004d302: How to fix this activation error
Apr 14, 2023 pm 02:49 PM
0xC004d302: How to fix this activation error
Apr 14, 2023 pm 02:49 PM
Some of our readers have recently reported that they received one of the Windows activation errors, such as the 0xC004D302 error code on their Windows PC, due to which certain features stopped working. This error occurs on computers running non-core versions of Microsoft Windows. It can be triggered when the trusted data store is reactivated. You can solve this problem by following this article. What causes the 0xc004d302 error in this article? Here are some potential reasons behind the 0xC004d302 Windows Activation Error Code: Fake or Incorrect Product Key – One of the most common reasons why you receive the 0xC004d302 error code is when you enter
 No location tab in properties: how to enable it
Apr 13, 2023 pm 11:16 PM
No location tab in properties: how to enable it
Apr 13, 2023 pm 11:16 PM
Folder properties provide users with details such as creation date, folder name, size, etc. However, sometimes you may come across the Location tab in the properties of a Windows folder. So, we'll walk you through the steps to troubleshoot and re-enable it. Alternatively, you can check out our detailed guide on fixing folder access denied issue on Windows 11. Why can't I find the Location tab in the folder properties? There are several factors that can cause the Location tab to be missing in folder properties on Windows 11. Most notably: Folders don’t support moving – some folders support moving to another location, while others don’t. By default, moving from one location to another is supported
 Remove a printer on Windows 11: 6 methods and 7 fix instructions
Apr 17, 2023 am 09:37 AM
Remove a printer on Windows 11: 6 methods and 7 fix instructions
Apr 17, 2023 am 09:37 AM
Removing a Printer on Windows 11 Completely removing a printer requires two things - removing the printer itself, and then removing the driver. There are several ways you can perform these operations on Windows 11. They are: Method 1: From Settings Perhaps the most common method, a printer can be easily removed from the Windows Settings application. Here's how to do it: Press Win+I to open Settings. Then click Bluetooth & Devices in the left pane. On the right, click Printers & Scanners. Click the printer you want to uninstall. Select Delete. When prompted, click Yes. Method 2: Use Device Manager to Remove Printer Drivers Device Manager lets you manage and remove Windows
 How to solve the problem of location services being grayed out in Windows 10/11?
Apr 26, 2023 pm 03:49 PM
How to solve the problem of location services being grayed out in Windows 10/11?
Apr 26, 2023 pm 03:49 PM
Location services are an important feature for some applications on Windows, depending on the location of your system. So if you see the Location Services option grayed out on your system, you can't even toggle it manually. Usually, some system glitch causes this issue and you can easily fix it by following these simple solutions. Fix 1 – Adjust the registry You can adjust the registry to fix this greyed out location services issue. 1. Press the Win key and type "Registry". 2. Then, click "Registry Editor" to open the Registry Editor on your system. 3. You will delete a specific registry subdirectory. Usually, it won't affect your system at all. However, it is recommended that you perform a system backup. one. After opening the Registry Editor, click
 How to disable core parking on Windows 10
May 16, 2023 pm 01:07 PM
How to disable core parking on Windows 10
May 16, 2023 pm 01:07 PM
If you are a Windows user and want to disable the core parking functionality in your system, this article will guide you through the process. What is core parking? The core parking function is a power saving mechanism. It puts some of your processors into a sleep mode that doesn't perform any tasks and consumes very little or no power. This helps reduce energy consumption and therefore heat in the system. These cores are unparked when needed. Few users need to disable this feature, especially gamers. Disabling this feature will improve your system performance. Disable Windows Core Parking using Windows Registry Editor Step 1: Use Windows + R keys simultaneously to open the run prompt. Step 2: At the run prompt
 Fix: WD My Cloud doesn't show up on the network in Windows 11
Oct 02, 2023 pm 11:21 PM
Fix: WD My Cloud doesn't show up on the network in Windows 11
Oct 02, 2023 pm 11:21 PM
If WDMyCloud is not showing up on the network in Windows 11, this can be a big problem, especially if you store backups or other important files in it. This can be a big problem for users who frequently need to access network storage, so in today's guide, we'll show you how to fix this problem permanently. Why doesn't WDMyCloud show up on Windows 11 network? Your MyCloud device, network adapter, or internet connection is not configured correctly. The SMB function is not installed on the computer. A temporary glitch in Winsock can sometimes cause this problem. What should I do if my cloud doesn't show up on the network? Before we start fixing the problem, you can perform some preliminary checks:
 How to add jump list items on Windows 10 and 11
May 11, 2023 pm 04:31 PM
How to add jump list items on Windows 10 and 11
May 11, 2023 pm 04:31 PM
Jump list on Windows provides easy access to recent files. If you want to add jump list items on Windows, this tutorial will help you get started. Jump Lists on Windows 10 and Windows 11 allow easy access to recently used files, folders, and websites. However, you may want to display more than the 10 most recent items that Windows displays by default. You can make Windows display more items in your jump list by adjusting the registry. For example, you can set it to display about 15-20 items, which will display well on most monitors. This tutorial will show you how to use Windows 10 and Windows 10