

Python PyQT multi-threaded serial port code analysis

This article mainly introduces the PyQT multi-threaded serial port code analysis of Python. The editor thinks it is quite good. Now I will share it with you and give it as a reference. Let’s follow the editor and take a look.
This blog mainly records the main code analysis of the PyQT multi-threaded serial port. There will be source code files of the project at the end of the article.
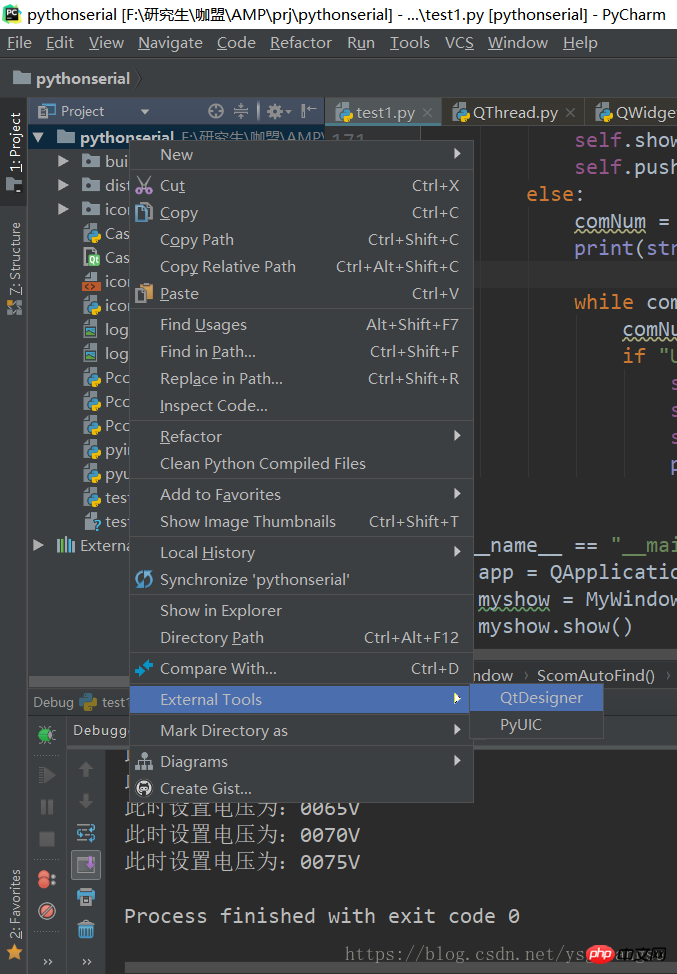
First, start QtDesigner from PyCharm
The host computer I built for a customer before, for the sake of confidentiality, most of the block diagram components have been deleted, but this does not affect this serial port tutorial
The QtDesigner interface is as follows:
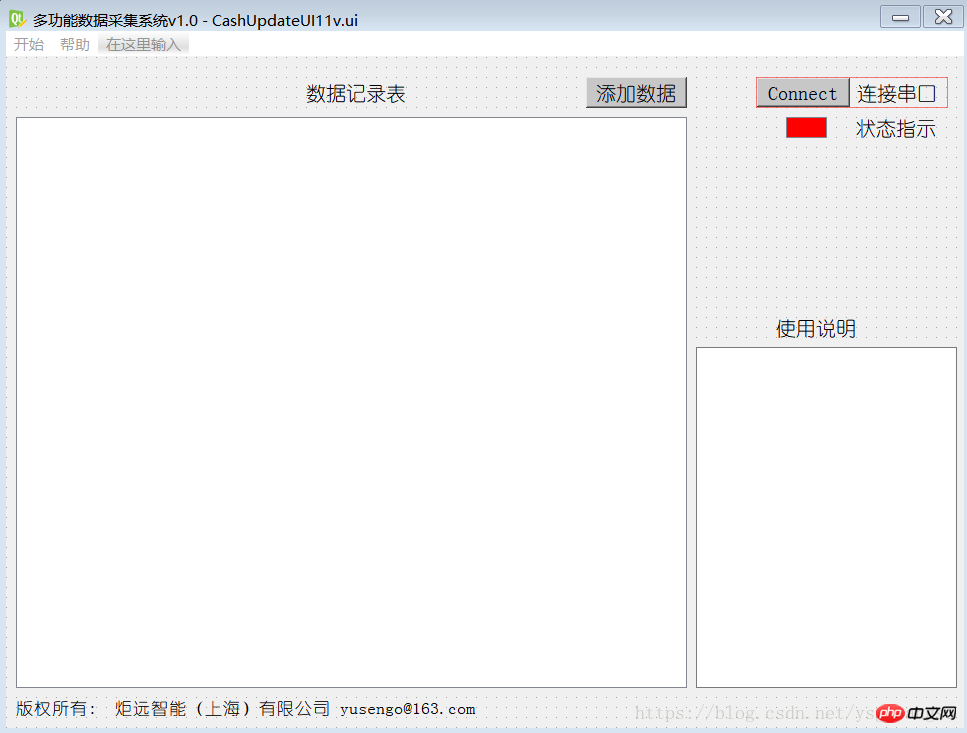
Ignore adding data and table data display, they are not needed here
Focus on the composition of the class
Create a new serial port class SerialThread, inherited from QtCore.QThread, to implement all serial ports Transceiver function
class SerialThread(QtCore.QThread):
dataReadoutSignal = pyqtSignal(str) def __init__(self, parent = None, portName = 'COM3', baudrate = 9600, parity = 'N', bytesize = 8, stopbits = 1, timeout = None):
super(SerialThread, self).__init__(parent)
self.m_serialPort = serial.Serial()
self.m_serialPort.port = portName
self.m_serialPort.baudrate = baudrate
self.m_serialPort.parity = parity
self.m_serialPort.bytesize = bytesize
self.m_serialPort.stopbits = stopbits
self.m_serialPort.timeout = timeout
self.OpenScom() def OpenScom(self):
try:
self.m_serialPort.open()
self.m_serialPort.setRTS(True)
self.m_serialPort.setDTR(True) except Exception as ex:
print(ex) return ex def ScomSendOneData(self,datain):
if isinstance(datain,int):
listTemp = []
listTemp.append(datain)
d = bytes(listTemp)
self.m_serialPort.write(d) else: if isinstance(datain,str):
d = datain.encode('utf-8')
self.m_serialPort.write(d) def ScomGetintData(self):
n = self.m_serialPort.inWaiting() if n:
data = self.m_serialPort.read(n).hex() #writefile
print(data) def ScomGetstrData(self):
if self.m_serialPort.is_open:
n = self.m_serialPort.inWaiting() if n > 0:
data = self.m_serialPort.read(n).decode('GB2312',errors='ignore') return data def run(self):
cnt = 50
while cnt <= 3000:
sendstr = str(cnt) if len(sendstr) == 2:
sendstr = '00' + sendstr else: if len(sendstr) == 3:
sendstr = '0' + sendstr
self.ScomSendOneData('SET' + sendstr + 'V')
cnt = cnt + 5
print('此时设置电压为:' + sendstr + 'V')
time.sleep(2)The function function is well-known by its name and is not shown here. Here we mainly talk about the run function. The run function implements a loop, advancing 5 steps from 50 to 3000, and the sent content is SET0050V to SET3000V. Of course, I do this because of business requirements. If this function is not needed, the run function can be written as
    def run(self):
        while true:
time.sleep(2)Interface We use the ui file made by QtDesigner to generate the py file through pyUIC
The generated code is as follows (too long, only the first few lines are left)
# -*- coding: utf-8 -*-# Form implementation generated from reading ui file 'CashUpdateUI11v.ui'## Created by: PyQt5 UI code generator 5.6## WARNING! All changes made in this file will be lost!from PyQt5 import QtCore, QtGui, QtWidgetsclass Ui_cash(object):
    def setupUi(self, cash):
    **
    **
**At this time, create a new class MyWindow, inherit QMainWindow and Ui_cash, and create a SerialThread member inside the class
The overall code is as follows:
class MyWindow(QMainWindow,Ui_cash):
def __init__(self):
super(MyWindow,self).__init__()
self.scomList = []
self.threadList = []
self.setupUi(self)
self.actionOpen.triggered.connect(self.openMsg)
self.actionSave.triggered.connect(self.saveMsg)
self.pushButton.clicked.connect(self.ScomAutoFind)
self.addDataButton.clicked.connect(self.getRHandT)
self.tableWidget.setColumnCount(5)
self.tableWidget.setRowCount(1)
self.tableWidget.setHorizontalHeaderLabels(['11', '22', '33', '44', '55'])
self.tableRowCnt = 0
self.tableColumnCnt = 0
self.ThreadComID = 0
self.addDatasignal = pyqtSignal(str)
self.datadict = {'RHldy':0,'Tldy':0,'meaRT':0,'voltport':0} def getMCUdata(self):
if self.ThreadComID == 0:
self.showMsgbox('请先连接串口') else:
self.ThreadComID.ScomSendOneData(' 5501AA')
time.sleep(0.1)
strt = self.ThreadComID.ScomGetstrData() if strt is None:
self.showMsgbox('请将串口线连接到电路板') return None
print(strt)
self.datadict['voltport'] = strt[4:-3] + '.' + strt[-3:-2]
self.ThreadComID.ScomSendOneData(' 5502AA')
time.sleep(0.1)
strt = self.ThreadComID.ScomGetstrData() if strt is None:
self.showMsgbox('请将串口线连接到电路板') return None
print(strt)
self.datadict['meaRT'] = strt[4:-4] + '.' + strt[-4:-2] return 1
def insertTableNewLine(self):
self.tableWidget.setItem(self.tableRowCnt, 0, QTableWidgetItem(self.datadict['RHldy']))
self.tableWidget.setItem(self.tableRowCnt, 1, QTableWidgetItem(self.datadict['Tldy']))
self.tableWidget.setItem(self.tableRowCnt, 2, QTableWidgetItem(self.datadict['meaRT']))
self.tableWidget.setItem(self.tableRowCnt, 3, QTableWidgetItem(self.datadict['voltport']))
self.tableWidget.setItem(self.tableRowCnt, 4, QTableWidgetItem(str(datetime.date.today())+' '+str(datetime.datetime.today().hour)+':'+str(datetime.datetime.today().minute)))
self.tableRowCnt += 1
self.tableWidget.insertRow(self.tableRowCnt) def openMsg(self):
file,ok = QFileDialog.getOpenFileName(self,"打开记录表","C:/",".txt") def getRHandT(self):
if self.ThreadComID == 0:
self.showMsgbox('请先连接串口') else:
data,ok = QInputDialog.getText(self, "露点仪数据", "按如下格式记录:\n RH空格T\n示例:\n RH(0~100):66.6\n T(0~200):9.8\n 输入:66.6 9.8", QLineEdit.Normal, "66.6 9.8" ) if ok == True:
data = re.findall('^[0-9]+\.[0-9]+\s+[0-9]+\.[0-9]+$', data.rstrip()) if len(data) == 0:
self.showMsgbox('数据格式有误,重新录入') else:
data = data[0].split()
print(data)
self.datadict['RHldy'] = data[0]
self.datadict['Tldy'] = data[1] if self.getMCUdata() is None: return None
print(self.datadict)
self.insertTableNewLine() else:
self.showMsgbox('请重新录入数据') def showMsgbox(self,strtoshow):
QMessageBox.warning(self,'提示',strtoshow,QMessageBox.Ok) def saveMsg(self):
file,ok = QFileDialog.getSaveFileName(self,"保存记录表","C:/",".txt") def ScomAutoFind(self):
self.pushButton.setDisabled(True)
self.scomList = list(serial.tools.list_ports.comports()) if len(self.scomList) <= 0:
self.showMsgbox('未发现串口,请检查线缆连接')
self.pushButton.setDisabled(False) else:
comNum = len(self.scomList)
print(str(comNum) + 'Scom is found') while comNum:
comNum = comNum - 1
if "USB" in str(self.scomList[comNum]):
self.ThreadComID = SerialThread(portName=self.scomList[comNum][0])
self.ThreadComID.start()
self.graphicsView.setStyleSheet("background-color: rgb(0, 255, 0);")
print(str(self.scomList[comNum]) + ' is added')Since I am using RS232 to USB access Computer, the device name is USB-SERIAL CH340, of course there are other RS232 to USB chips, such as PL2303, etc. Here I just check whether the USB is in the device name alone, without checking the full name. This should be changed according to actual needs 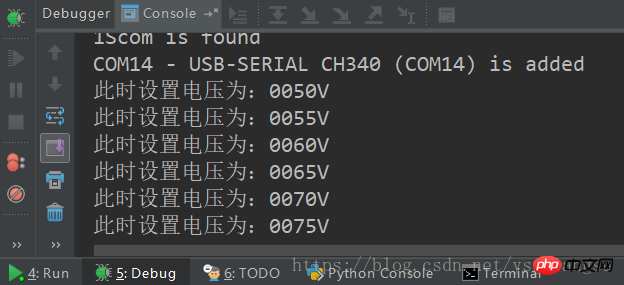
The last one is main, nothing special
if __name__ == "__main__":
    app = QApplication(sys.argv)
    myshow = MyWindow()
    myshow.show()    print('程序终止')
sys.exit(app.exec_())Look at the actual operation Effect:
Actual operation, (ignore adding data and data record table...) 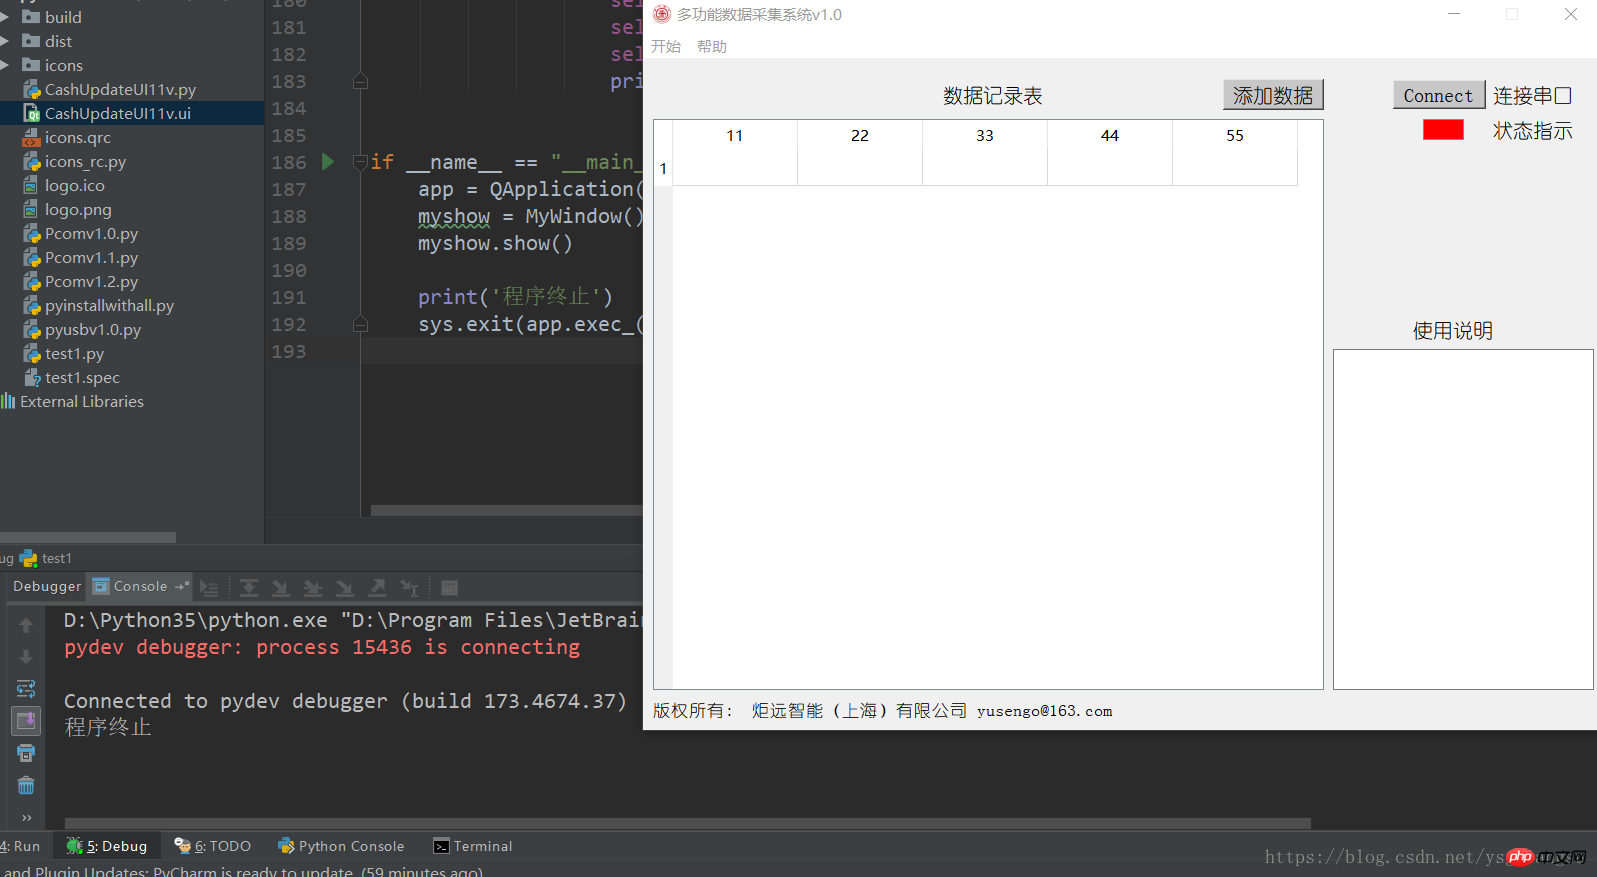
After clicking connect, 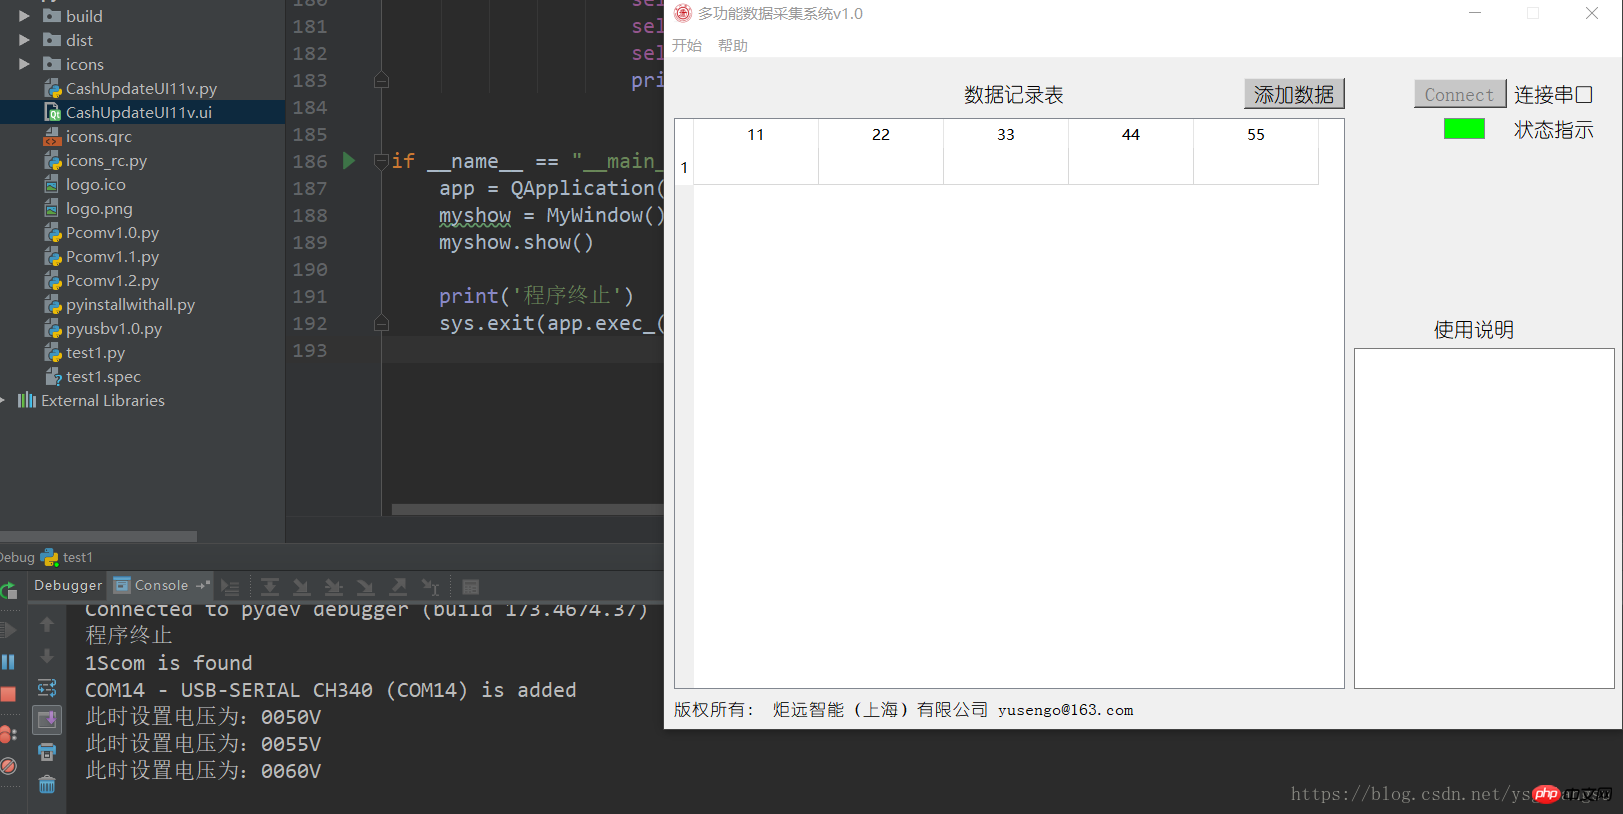
Of course, it is no problem to click to add data. 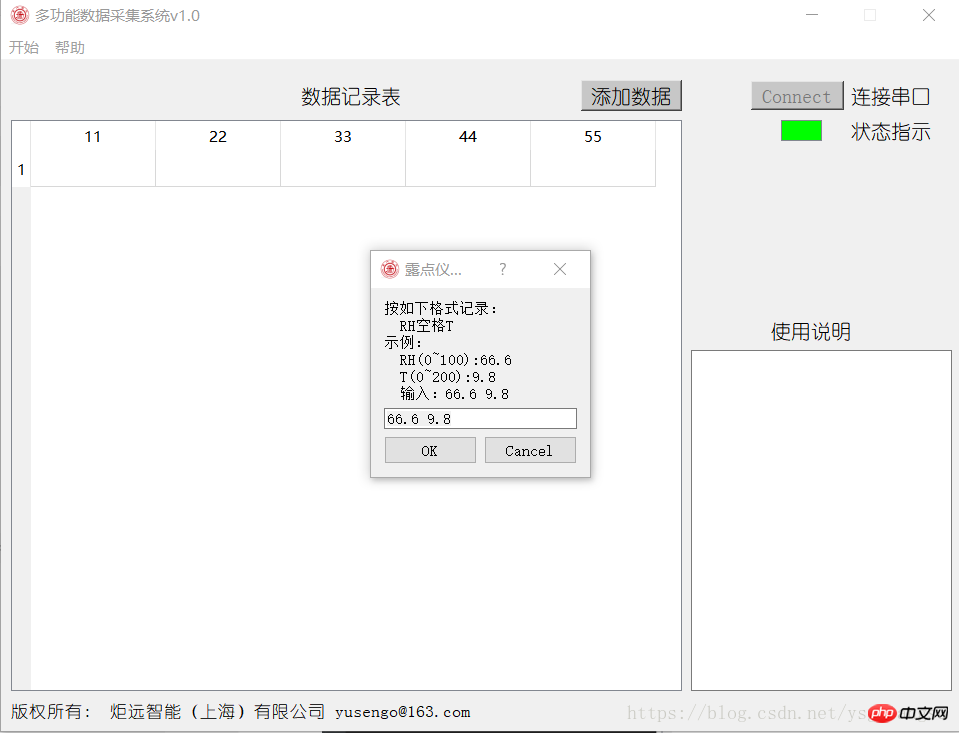
Here are all the project files, the link is as follows:
https://download.csdn.net/download/ysgjiangsu/10324162
The above is the detailed content of Python PyQT multi-threaded serial port code analysis. For more information, please follow other related articles on the PHP Chinese website!

Hot AI Tools

Undresser.AI Undress
AI-powered app for creating realistic nude photos

AI Clothes Remover
Online AI tool for removing clothes from photos.

Undress AI Tool
Undress images for free

Clothoff.io
AI clothes remover

Video Face Swap
Swap faces in any video effortlessly with our completely free AI face swap tool!

Hot Article
Hot Tools

Notepad++7.3.1
Easy-to-use and free code editor

SublimeText3 Chinese version
Chinese version, very easy to use

Zend Studio 13.0.1
Powerful PHP integrated development environment

Dreamweaver CS6
Visual web development tools

SublimeText3 Mac version
God-level code editing software (SublimeText3)
Hot Topics


 PHP and Python: Different Paradigms Explained
Apr 18, 2025 am 12:26 AM
PHP and Python: Different Paradigms Explained
Apr 18, 2025 am 12:26 AM
PHP is mainly procedural programming, but also supports object-oriented programming (OOP); Python supports a variety of paradigms, including OOP, functional and procedural programming. PHP is suitable for web development, and Python is suitable for a variety of applications such as data analysis and machine learning.
 Choosing Between PHP and Python: A Guide
Apr 18, 2025 am 12:24 AM
Choosing Between PHP and Python: A Guide
Apr 18, 2025 am 12:24 AM
PHP is suitable for web development and rapid prototyping, and Python is suitable for data science and machine learning. 1.PHP is used for dynamic web development, with simple syntax and suitable for rapid development. 2. Python has concise syntax, is suitable for multiple fields, and has a strong library ecosystem.
 Python vs. JavaScript: The Learning Curve and Ease of Use
Apr 16, 2025 am 12:12 AM
Python vs. JavaScript: The Learning Curve and Ease of Use
Apr 16, 2025 am 12:12 AM
Python is more suitable for beginners, with a smooth learning curve and concise syntax; JavaScript is suitable for front-end development, with a steep learning curve and flexible syntax. 1. Python syntax is intuitive and suitable for data science and back-end development. 2. JavaScript is flexible and widely used in front-end and server-side programming.
 PHP and Python: A Deep Dive into Their History
Apr 18, 2025 am 12:25 AM
PHP and Python: A Deep Dive into Their History
Apr 18, 2025 am 12:25 AM
PHP originated in 1994 and was developed by RasmusLerdorf. It was originally used to track website visitors and gradually evolved into a server-side scripting language and was widely used in web development. Python was developed by Guidovan Rossum in the late 1980s and was first released in 1991. It emphasizes code readability and simplicity, and is suitable for scientific computing, data analysis and other fields.
 Can vs code run in Windows 8
Apr 15, 2025 pm 07:24 PM
Can vs code run in Windows 8
Apr 15, 2025 pm 07:24 PM
VS Code can run on Windows 8, but the experience may not be great. First make sure the system has been updated to the latest patch, then download the VS Code installation package that matches the system architecture and install it as prompted. After installation, be aware that some extensions may be incompatible with Windows 8 and need to look for alternative extensions or use newer Windows systems in a virtual machine. Install the necessary extensions to check whether they work properly. Although VS Code is feasible on Windows 8, it is recommended to upgrade to a newer Windows system for a better development experience and security.
 Can visual studio code be used in python
Apr 15, 2025 pm 08:18 PM
Can visual studio code be used in python
Apr 15, 2025 pm 08:18 PM
VS Code can be used to write Python and provides many features that make it an ideal tool for developing Python applications. It allows users to: install Python extensions to get functions such as code completion, syntax highlighting, and debugging. Use the debugger to track code step by step, find and fix errors. Integrate Git for version control. Use code formatting tools to maintain code consistency. Use the Linting tool to spot potential problems ahead of time.
 How to run python with notepad
Apr 16, 2025 pm 07:33 PM
How to run python with notepad
Apr 16, 2025 pm 07:33 PM
Running Python code in Notepad requires the Python executable and NppExec plug-in to be installed. After installing Python and adding PATH to it, configure the command "python" and the parameter "{CURRENT_DIRECTORY}{FILE_NAME}" in the NppExec plug-in to run Python code in Notepad through the shortcut key "F6".
 Is the vscode extension malicious?
Apr 15, 2025 pm 07:57 PM
Is the vscode extension malicious?
Apr 15, 2025 pm 07:57 PM
VS Code extensions pose malicious risks, such as hiding malicious code, exploiting vulnerabilities, and masturbating as legitimate extensions. Methods to identify malicious extensions include: checking publishers, reading comments, checking code, and installing with caution. Security measures also include: security awareness, good habits, regular updates and antivirus software.
