
 Operation and Maintenance
Windows Operation and Maintenance
Detailed explanation of Windows Apache2.4 VC9 (ApacheHaus) installation tutorial
Operation and Maintenance
Windows Operation and Maintenance
Detailed explanation of Windows Apache2.4 VC9 (ApacheHaus) installation tutorial
Detailed explanation of Windows Apache2.4 VC9 (ApacheHaus) installation tutorial
This article mainly introduces the detailed installation and configuration tutorial of Windows Apache2.4 VC9 (ApacheHaus). Friends in need can refer to
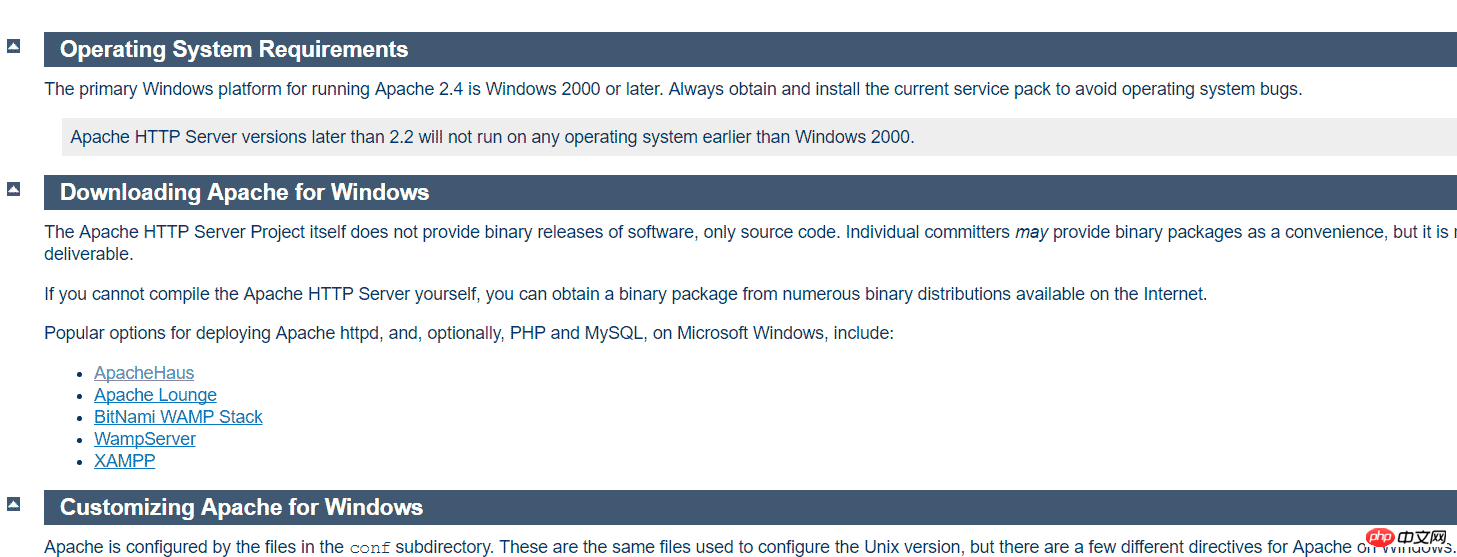
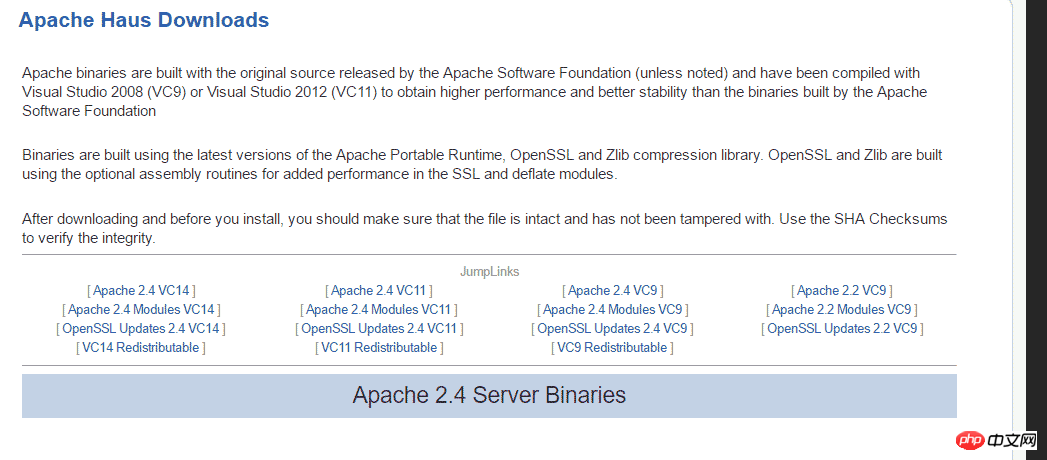
1, Apache download
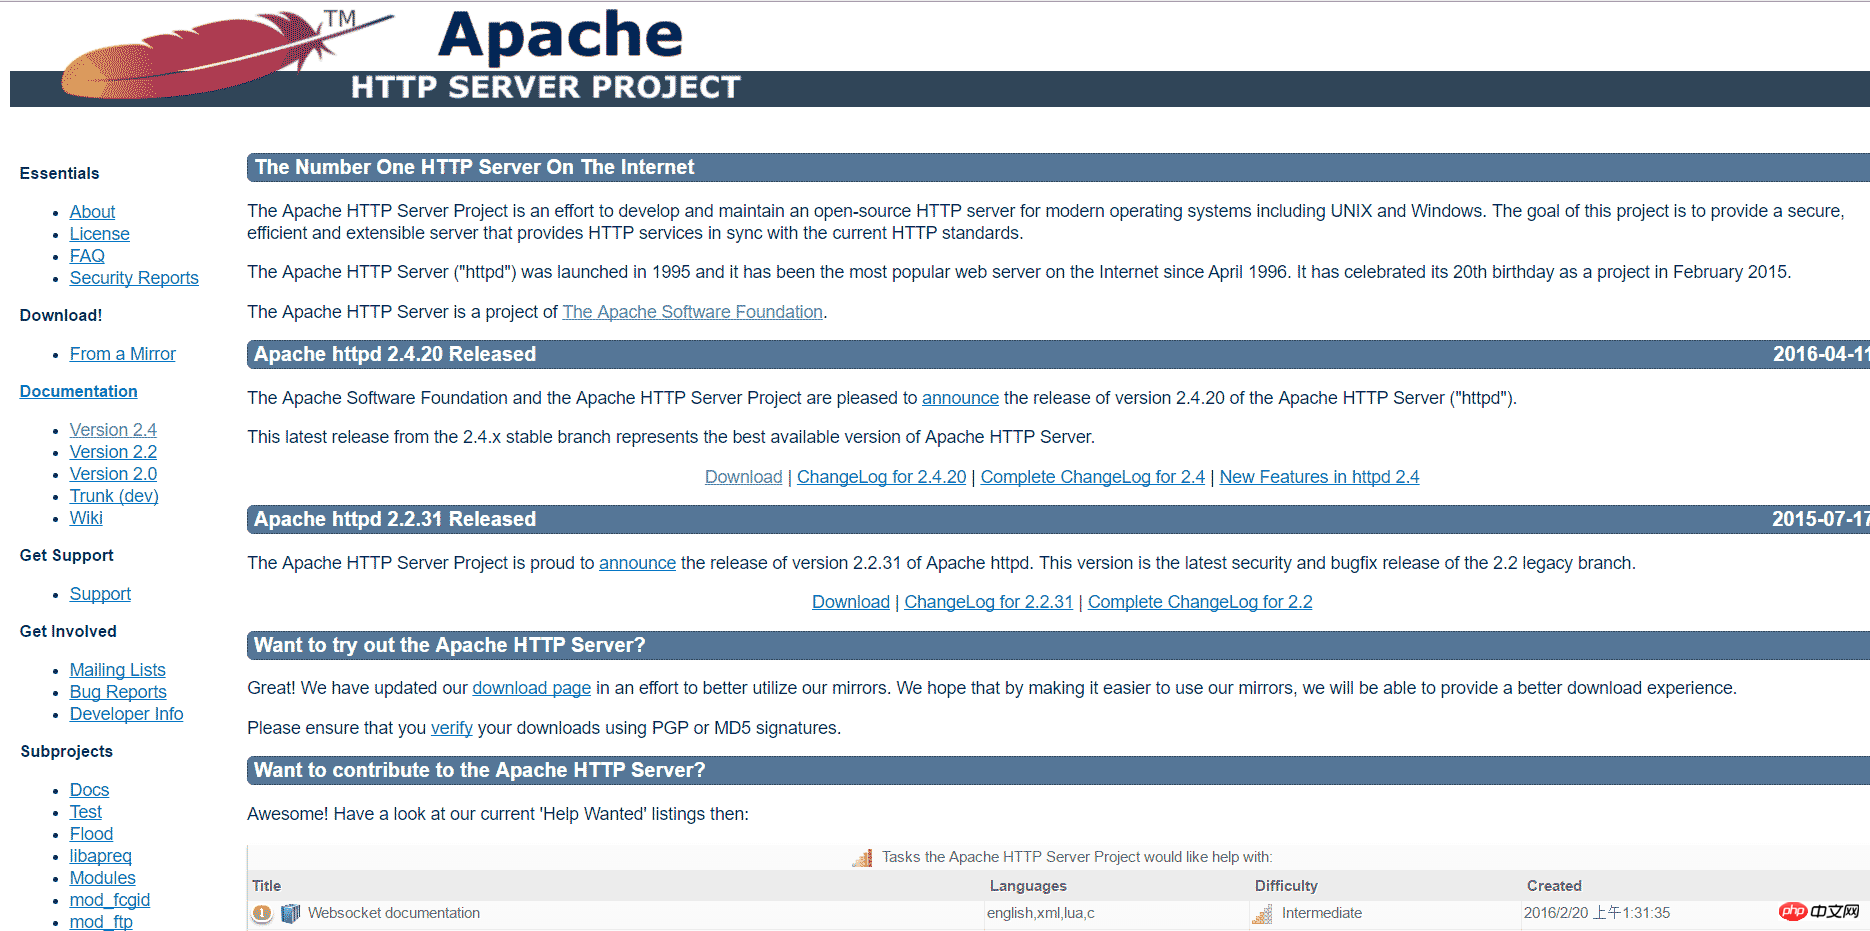
Select a version and click Download

ServerRoot "C:/Users/myPC/Downloads/httpd-2.2.31-x86-r3/Apache22"
DocumentRoot "F:/"
<Directory "F:/"> # # Possible values for the Options directive are "None", "All", # or any combination of: # Indexes Includes FollowSymLinks SymLinksifOwnerMatch ExecCGI MultiViews # # Note that "MultiViews" must be named *explicitly* --- "Options All" # doesn't give it to you. # # The Options directive is both complicated and important. Please see # http://httpd.apache.org/docs/2.2/mod/core.html#options # for more information. # Options Indexes FollowSymLinks # # AllowOverride controls what directives may be placed in .htaccess files. # It can be "All", "None", or any combination of the keywords: # Options FileInfo AuthConfig Limit # AllowOverride None # # Controls who can get stuff from this server. # Order allow,deny Allow from all </Directory>
ScriptAlias /cgi-bin/ "C:/Users/myPC/Downloads/httpd-2.2.31-x86-r3/Apache22/cgi-bin"
<Directory "C:/Users/myPC/Downloads/httpd-2.2.31-x86-r3/Apache22/cgi-bin">
  AllowOverride None
  Options None
  Order allow,deny
  Allow from all
</Directory>
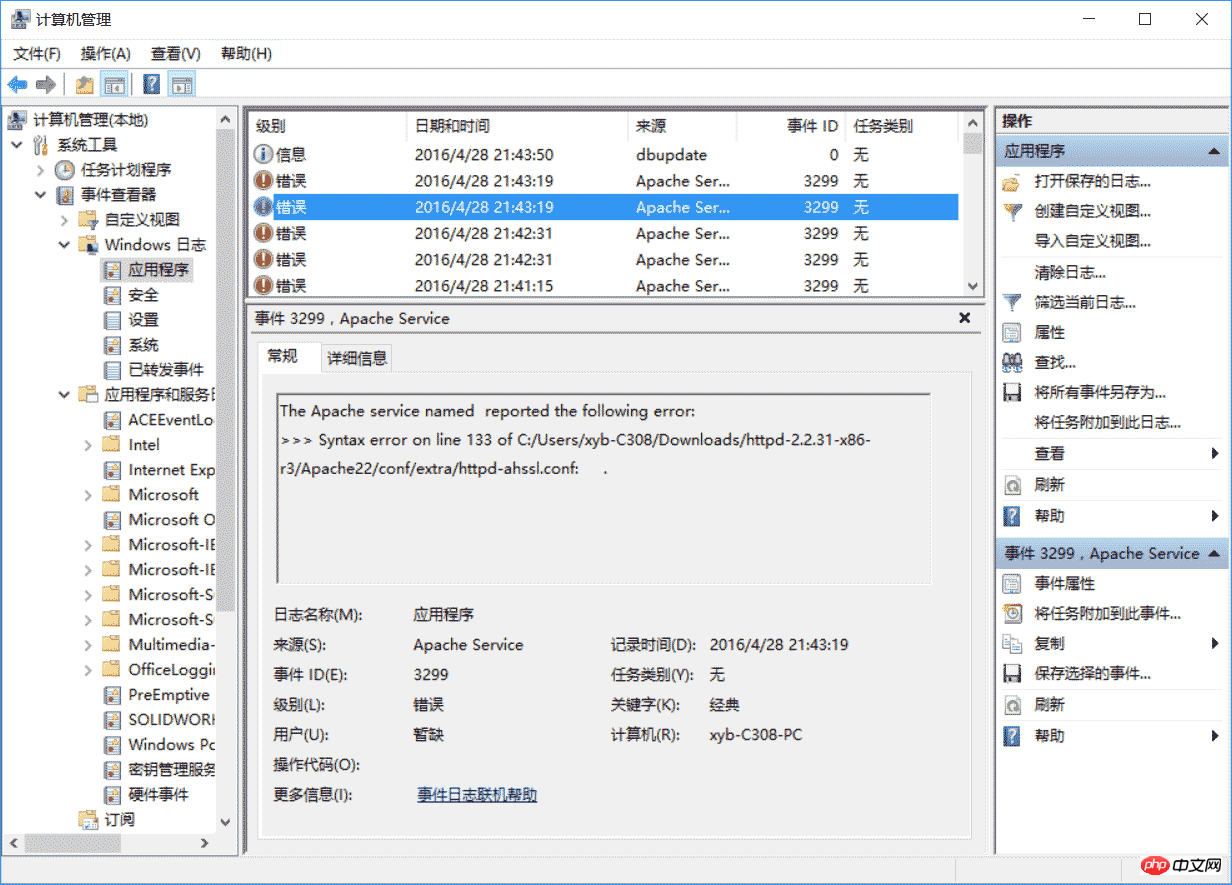
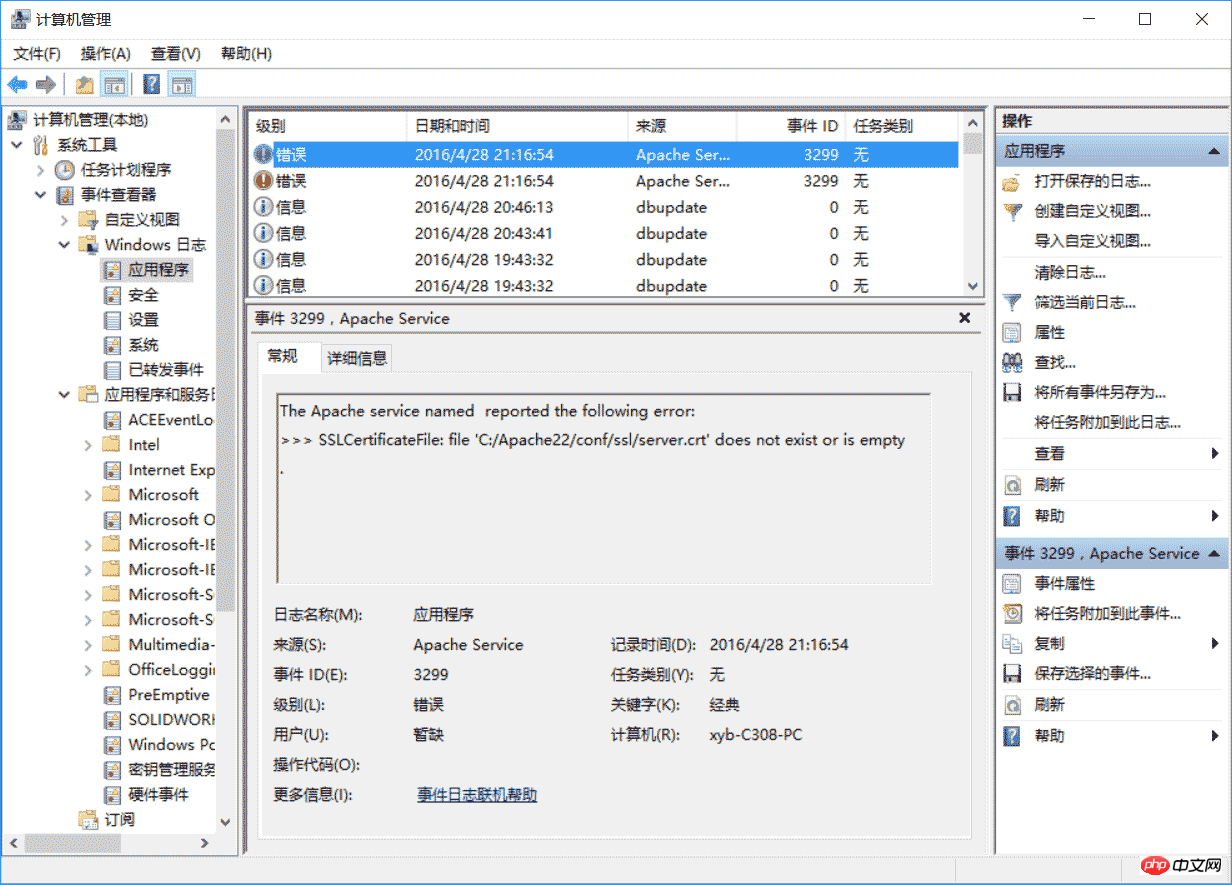
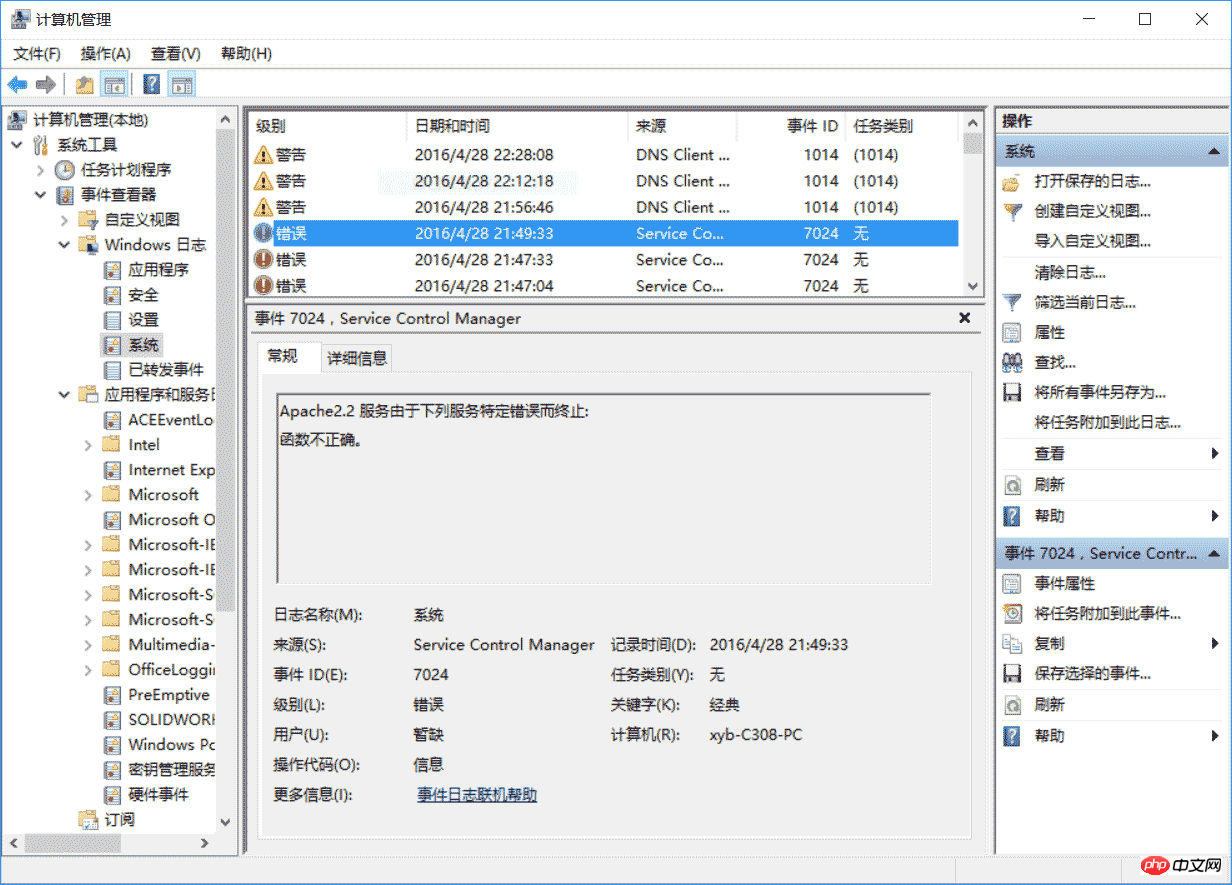
3, configure Apache 2--ssl configuration
If you start the service like this, the following message dialog will generally appear Box: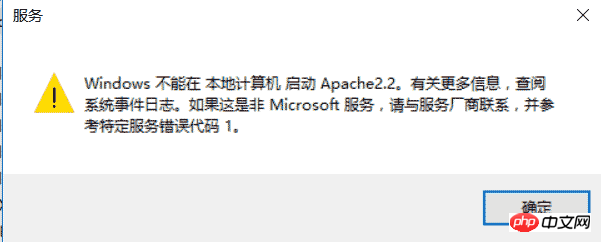
<VirtualHost _default_:443>
 SSLEngine on
 ServerName localhost:443
 SSLCertificateFile C:/Users/myPC/Downloads/httpd-2.2.31-x86-r3/Apache22/conf/ssl/server.crt
 SSLCertificateKeyFile C:/Users/myPC/Downloads/httpd-2.2.31-x86-r3/Apache22/conf/ssl/server.key
 DocumentRoot F:/

# openssl req -new > server.csr
# openssl rsa -in privkey.pem -out server.key
# openssl x509 -in server.csr -out server.crt -req -signkey server.key -days 2048
<FilesMatch "\.(cgi|shtml|phtml|php)$">
  SSLOptions +StdEnvVars
</FilesMatch>
<Directory "/Apache22/cgi-bin">
  SSLOptions +StdEnvVars
</Directory>
BrowserMatch "MSIE [2-5]" \
     nokeepalive ssl-unclean-shutdown \
     downgrade-1.0 force-response-1.0
CustomLog "C:/Users/myPC/Downloads/httpd-2.2.31-x86-r3/Apache22/logs/ssl_request.log" \
     "%t %h %{SSL_PROTOCOL}x %{SSL_CIPHER}x \"%r\" %b"
</virtualhost><VirtualHost *:443>
SSLEngine on
ServerName serverone.tld:443
SSLCertificateFile C:/Users/myPC/Downloads/httpd-2.2.31-x86-r3/Apache22/conf/ssl/serverone.crt
SSLCertificateKeyFile C:/Users/myPC/Downloads/httpd-2.2.31-x86-r3/Apache22/conf/ssl/serverone.key
DocumentRoot F:/
# openssl req -new > serverone.csr
# openssl rsa -in privkey.pem -out serverone.key
# openssl x509 -in serverone.csr -out serverone.crt -req -signkey serverone.key -days 2048
<FilesMatch "\.(cgi|shtml|phtml|php)$">
SSLOptions +StdEnvVars
</FilesMatch>
<Directory "/Apache22/cgi-bin">
SSLOptions +StdEnvVars
</Directory>
BrowserMatch "MSIE [2-5]" \
nokeepalive ssl-unclean-shutdown \
downgrade-1.0 force-response-1.0
CustomLog "C:/Users/myPC/Downloads/httpd-2.2.31-x86-r3/Apache22/logs/ssl_request.log" \
"%t %h %{SSL_PROTOCOL}x %{SSL_CIPHER}x \"%r\" %b" env=HTTPS
</virtualhost><VirtualHost *:443>
SSLEngine on
ServerName servertwo.tld:443
SSLCertificateFile C:/Users/myPC/Downloads/httpd-2.2.31-x86-r3/Apache22/conf/ssl/servertwo.crt
SSLCertificateKeyFile C:/Users/myPC/Downloads/httpd-2.2.31-x86-r3/Apache22/conf/ssl/servertwo.key
DocumentRoot F:/
# openssl req -new > servertwo.csr
# openssl rsa -in privkey.pem -out servertwo.key
# openssl x509 -in servertwo.csr -out servertwo.crt -req -signkey servertwo.key -days 2048
<FilesMatch "\.(cgi|shtml|phtml|php)$">
SSLOptions +StdEnvVars
</FilesMatch>
<Directory "/Apache22/cgi-bin">
SSLOptions +StdEnvVars
</Directory>
BrowserMatch "MSIE [2-5]" \
nokeepalive ssl-unclean-shutdown \
downgrade-1.0 force-response-1.0
CustomLog "C:/Users/myPC/Downloads/httpd-2.2.31-x86-r3/Apache22/ssl_request.log" \
"%t %h %{SSL_PROTOCOL}x %{SSL_CIPHER}x \"%r\" %b"
</virtualhost>As an administratorEnter the bin folder under the Apache program folder and enter httpd -k install to complete the installation of the Apache service.
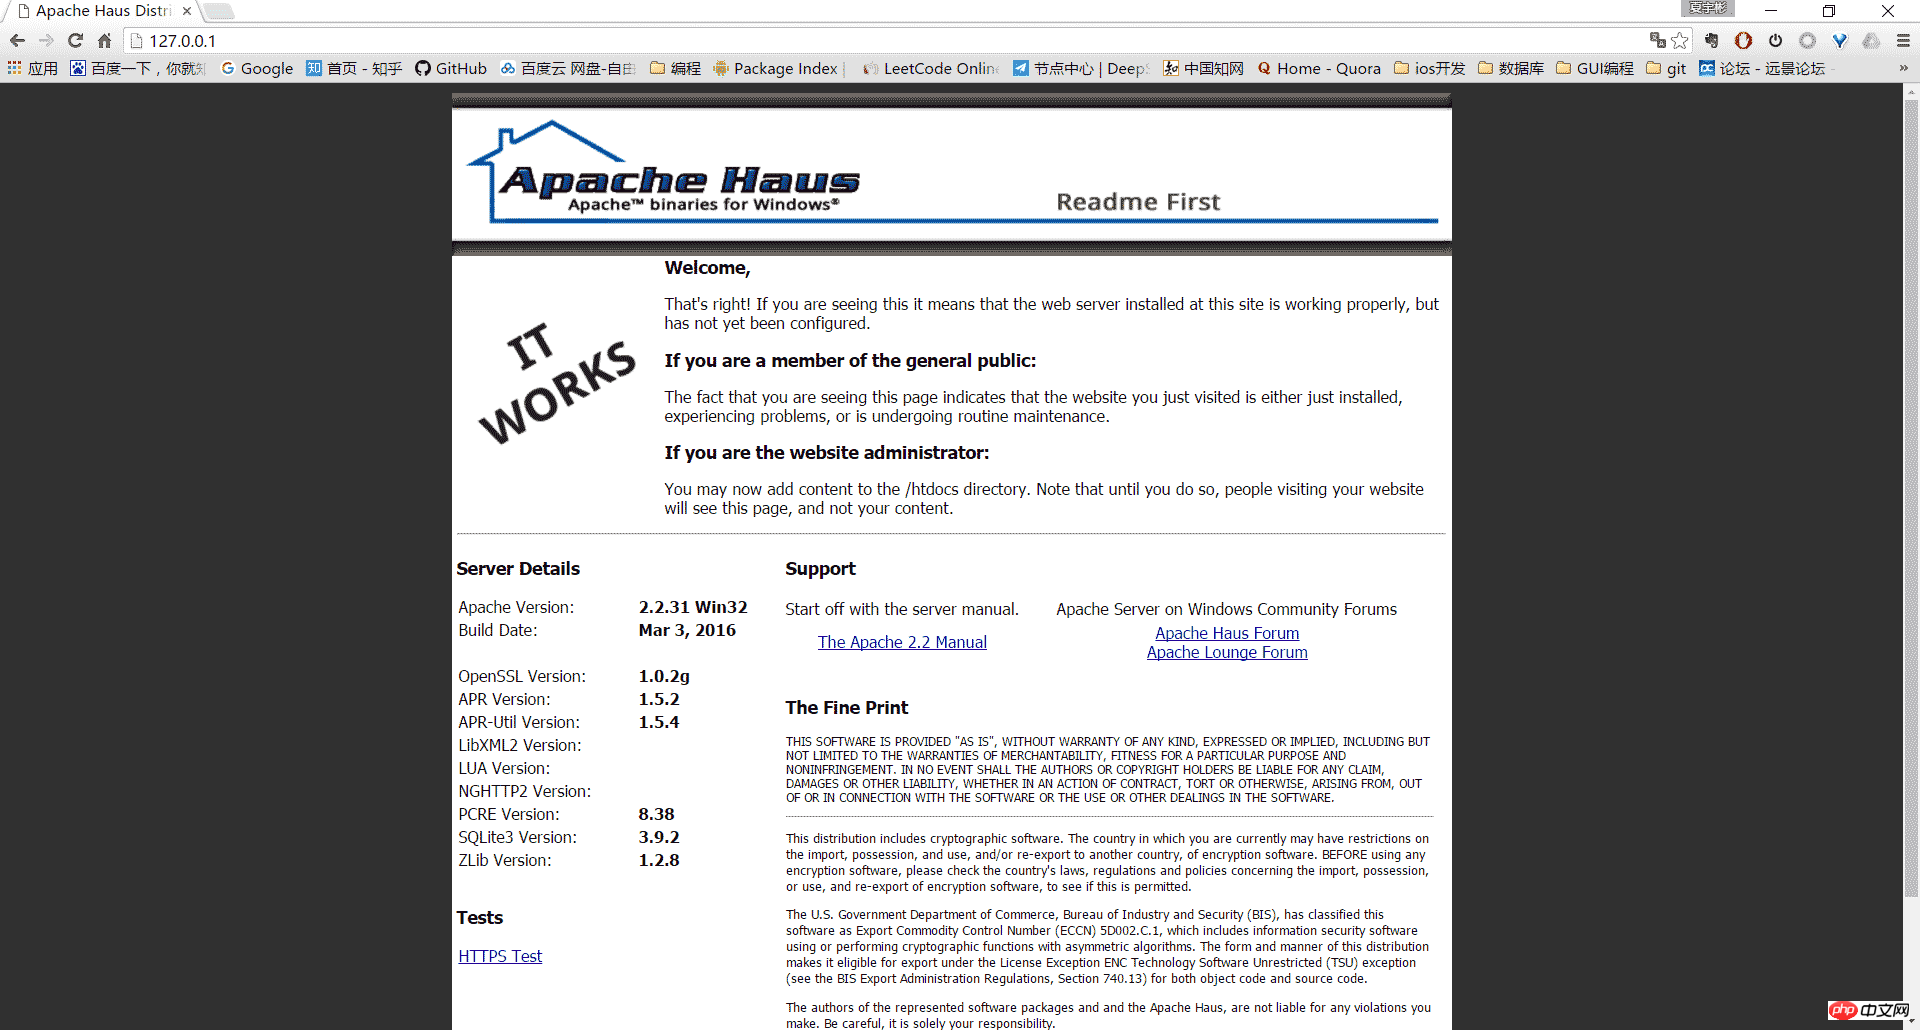
Then double-click ApacheMonitor.exe in the bin directory, click start on the right to start the server, if normal, as shown below: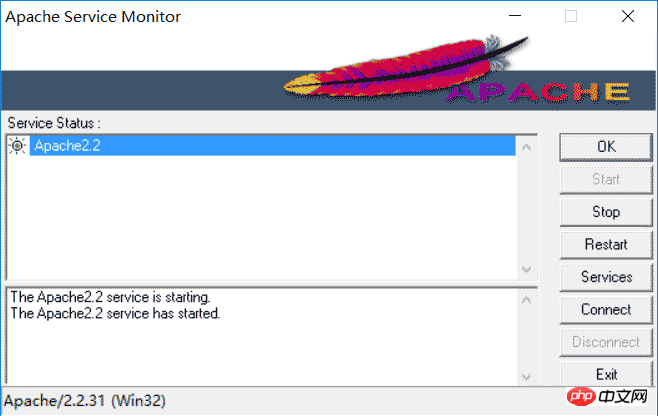
5, others
Uninstall Apache HTTP Server:
Enter the bin directory as an administrator and use httpd -k uninstall to remove the service
Using the httpd -w -n "Apache2" -k start command to start the server can display the logs during the startup process to facilitate error analysis.
The above is the detailed content of Detailed explanation of Windows Apache2.4 VC9 (ApacheHaus) installation tutorial. For more information, please follow other related articles on the PHP Chinese website!

Hot AI Tools

Undresser.AI Undress
AI-powered app for creating realistic nude photos

AI Clothes Remover
Online AI tool for removing clothes from photos.

Undress AI Tool
Undress images for free

Clothoff.io
AI clothes remover

Video Face Swap
Swap faces in any video effortlessly with our completely free AI face swap tool!

Hot Article
Hot Tools

Notepad++7.3.1
Easy-to-use and free code editor

SublimeText3 Chinese version
Chinese version, very easy to use

Zend Studio 13.0.1
Powerful PHP integrated development environment

Dreamweaver CS6
Visual web development tools

SublimeText3 Mac version
God-level code editing software (SublimeText3)
Hot Topics


 Can I install mysql on Windows 7
Apr 08, 2025 pm 03:21 PM
Can I install mysql on Windows 7
Apr 08, 2025 pm 03:21 PM
Yes, MySQL can be installed on Windows 7, and although Microsoft has stopped supporting Windows 7, MySQL is still compatible with it. However, the following points should be noted during the installation process: Download the MySQL installer for Windows. Select the appropriate version of MySQL (community or enterprise). Select the appropriate installation directory and character set during the installation process. Set the root user password and keep it properly. Connect to the database for testing. Note the compatibility and security issues on Windows 7, and it is recommended to upgrade to a supported operating system.
 How to solve mysql cannot connect to local host
Apr 08, 2025 pm 02:24 PM
How to solve mysql cannot connect to local host
Apr 08, 2025 pm 02:24 PM
The MySQL connection may be due to the following reasons: MySQL service is not started, the firewall intercepts the connection, the port number is incorrect, the user name or password is incorrect, the listening address in my.cnf is improperly configured, etc. The troubleshooting steps include: 1. Check whether the MySQL service is running; 2. Adjust the firewall settings to allow MySQL to listen to port 3306; 3. Confirm that the port number is consistent with the actual port number; 4. Check whether the user name and password are correct; 5. Make sure the bind-address settings in my.cnf are correct.
 Solutions to the errors reported by MySQL on a specific system version
Apr 08, 2025 am 11:54 AM
Solutions to the errors reported by MySQL on a specific system version
Apr 08, 2025 am 11:54 AM
The solution to MySQL installation error is: 1. Carefully check the system environment to ensure that the MySQL dependency library requirements are met. Different operating systems and version requirements are different; 2. Carefully read the error message and take corresponding measures according to prompts (such as missing library files or insufficient permissions), such as installing dependencies or using sudo commands; 3. If necessary, try to install the source code and carefully check the compilation log, but this requires a certain amount of Linux knowledge and experience. The key to ultimately solving the problem is to carefully check the system environment and error information, and refer to the official documents.
 MySQL can't be installed after downloading
Apr 08, 2025 am 11:24 AM
MySQL can't be installed after downloading
Apr 08, 2025 am 11:24 AM
The main reasons for MySQL installation failure are: 1. Permission issues, you need to run as an administrator or use the sudo command; 2. Dependencies are missing, and you need to install relevant development packages; 3. Port conflicts, you need to close the program that occupies port 3306 or modify the configuration file; 4. The installation package is corrupt, you need to download and verify the integrity; 5. The environment variable is incorrectly configured, and the environment variables must be correctly configured according to the operating system. Solve these problems and carefully check each step to successfully install MySQL.
 Unable to access mysql from terminal
Apr 08, 2025 pm 04:57 PM
Unable to access mysql from terminal
Apr 08, 2025 pm 04:57 PM
Unable to access MySQL from the terminal may be due to: MySQL service not running; connection command error; insufficient permissions; firewall blocks connection; MySQL configuration file error.
 How to copy and paste mysql
Apr 08, 2025 pm 07:18 PM
How to copy and paste mysql
Apr 08, 2025 pm 07:18 PM
Copy and paste in MySQL includes the following steps: select the data, copy with Ctrl C (Windows) or Cmd C (Mac); right-click at the target location, select Paste or use Ctrl V (Windows) or Cmd V (Mac); the copied data is inserted into the target location, or replace existing data (depending on whether the data already exists at the target location).
 How to pull the vertical reference line of PS
Apr 06, 2025 pm 08:18 PM
How to pull the vertical reference line of PS
Apr 06, 2025 pm 08:18 PM
Pull vertical guides in Photoshop: Enable ruler view (View > ruler). Hover the mouse over the vertical edge of the ruler, and then the cursor becomes a vertical line with double arrows and hold and drag the mouse to pull out the reference line. Click Delete by dragging the guide, or hovering it into a cross.
 MySQL download prompts disk write errors how to deal with
Apr 08, 2025 am 11:51 AM
MySQL download prompts disk write errors how to deal with
Apr 08, 2025 am 11:51 AM
MySQL download prompts a disk write error. The solution is as follows: 1. Check whether the disk space is insufficient, clean up the space or replace a larger disk; 2. Use disk detection tools (such as chkdsk or fsck) to check and fix disk errors, and replace the hard disk if necessary; 3. Check the target directory permissions to ensure that the user account has write permissions; 4. Change the download tool or network environment, and use the download manager to restore interrupted download; 5. Temporarily close the anti-virus software or firewall, and re-enable it after the download is completed. By systematically troubleshooting these aspects, the problem can be solved.
