


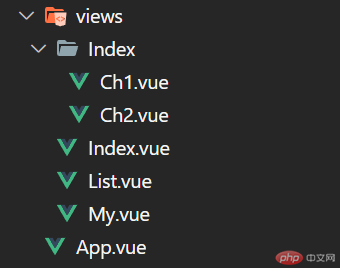
 PHPz
PHPz批改状态:合格
老师批语:


Vue 路由允许我们通过不同的 URL 访问不同的内容。
通过 Vue 可以实现多视图的单页 Web 应用(single page web application,SPA)。
main.js
// 引入vue模块import { createApp } from 'vue'// 引入app.vue入口文件import App from './App.vue'// 引人store模块import store from './store'// 引入路由import router from './router'// 创建App实例并将路由模块及其他模块挂载到'#app'// 这里的#app 是public\index.html文件中 <div id="app"></div> 的idcreateApp(App).use(store).use(router).mount('#app')
router/index.js
// 引入路由模块 createRouter 创建路由// 路由模式: 1.默认的 createWebHistory 2.哈希(hash)模式 createWebHashHistory 在url默认加上'#'符号import { createRouter, createWebHistory, createWebHashHistory } from "vue-router";// 引入方式1:页面路径import Index from "../views/Index.vue";import List from "../views/List.vue";import My from "../views/My.vue";// 声明路由变量// path 是url路径,域名后面的路径,不能重复// name 页面起个名字,通过名字可以找到对应的组件,不能重名// component 页面(组件)路径,2种引入方式const routes = [{path: "/",name: "index",// 在上面已经引入 这里直接使用component: Index,// 配置子路由children: [{path: "ch1",name: "ch1",// 引入方式2:页面路径component: () => import("../views/Index/Ch1.vue"),},{path: "ch2",name: "ch2",component: () => import("../views/Index/Ch2.vue"),},]},{path: "/list",name: "list",component: List,},{path: "/my",name: "my",component: My,},];// 创建路由const router = createRouter({// 路由模式 createWebHistory 和 createWebHashHistoryhistory: createWebHashHistory(process.env.BASE_URL),// 路由变量routes,});// export default 输出(暴露) router 变量,谁引用这个文件,就使用这个变量export default router;
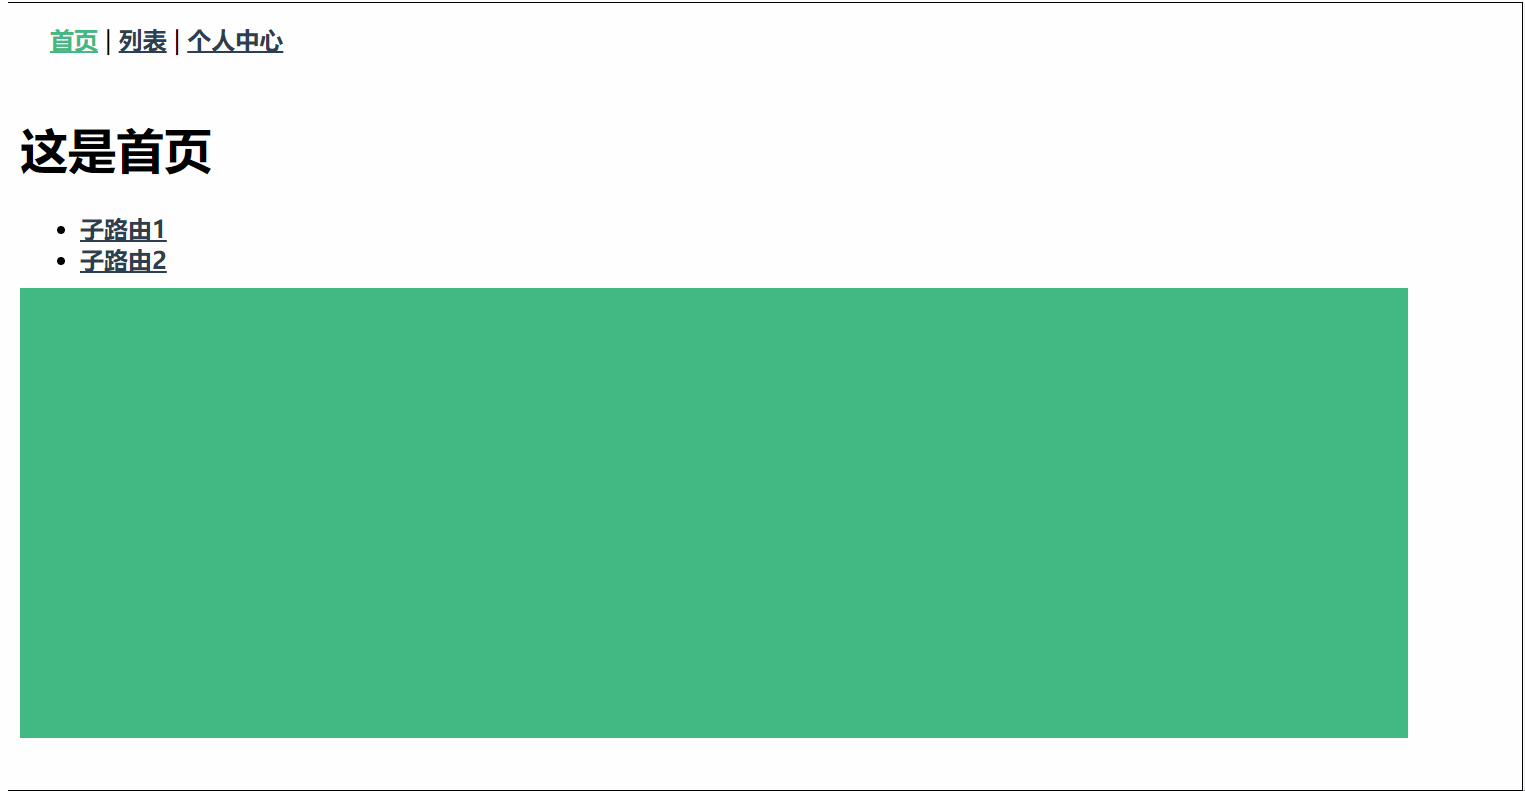
# 1.App.vue 入口文件<template><nav><!-- 路由链接 --><router-link to="/">首页</router-link> |<router-link to="/list">列表</router-link> |<router-link to="/my">个人中心</router-link></nav><!-- 路由视图 --><router-view/></template><style lang="scss">nav{padding: 20px;// 当前路由导航(选中状态)字体颜色为绿色.router-link-exact-active {color: #42b983;}}</style># 2.Index.vue 首页页面<template><div><h1>{{ index }}</h1><div class="menu"><!-- 子路由 --><ul><li><router-link to="/ch1">子路由1</router-link></li><li><router-link to="/ch2">子路由2</router-link></li></ul></div><div class="main"><router-view /></div></div></template><script>export default {data() {return {index: "这是首页",};},};</script><style lang="scss">.menu {width: 30%;height: 50px;}.main {width: 65%;height: 300px;background: #42b983;}a {font-weight: bold;color: #2c3e50;}.router-link-exact-active {color: #42b983;}</style># 2.1 Ch1.vue 子路由文件1<template><div><div>{{ch1}}</div></div></template><script>export default {data() {return {ch1:"子路由一的页面"}},};</script># 2.2 Ch1.vue 子路由文件2<template><div><div>{{ch2}}</div></div></template><script>export default {data() {return {ch2:"子路由二的页面"}},};</script># 3.list.vue 列表页面<template><h1>{{msg}}</h1></template><script>export default {data() {return {msg:"这是列表页面"}},};</script># 4.my.vue 个人中心页面<template><h1>{{my}}</h1></template><script>export default {data() {return {my:"这是个人中心页面"}},};</script>
// 1.配置全局路由导航守卫// 1.1 前置钩子: 全局导航(打开 route/index.js 文件)router.beforeEach((to, from) => {// from 离开路由,to 到达路由,vue路由3.x 有个next参数console.log(to);console.log(from);// 把路由名称 赋值给网页顶部,document.title = to.name;});// 2.1 后置钩子:全局导航(打开 route/index.js 文件)router.afterEach((to, from) => {// from 离开路由,to 到达路由console.log(to);console.log(from);});
// 在 route/index.js 中路由变量 router 中进行配置{path: "/my",name: "my",component: My,// 前置钩子beforeEach: (to, from) => {// from 离开路由,to 到达路由console.log(to);console.log(from);},}
更多:http://www.ouyangke.com/front/vue3/4Vue3%E8%B7%AF%E7%94%B1.html
setup() 函数是vue3中专门新增的方法,可以理解为 Composition Api 的入口
<template><div><div>{{ ch1 }}</div><div><div>{{ data.number }}</div><!-- 使用 reactive 方法创建的数据,就能相应了 --><button @click="data.number++">加++</button><!-- 执行方法 --><button @click="jian()">减++</button></div></div></template><script>// 引入 reactive 方法import { reactive } from "vue";export default {data() {return {ch1: "子路由一的页面",};},setup() {// 用reactive方法,创建数据const data = reactive({number : 10})// 创建方法const jian = () => {data.number--;}// 数据和函数都需要返回(暴露)出去return {data,jian}}};</script>

更多详解:http://www.ouyangke.com/front/vue3/5Vue3%E7%BB%84%E5%90%88API.html

Copyright 2014-2025 https://www.php.cn/ All Rights Reserved | php.cn | 湘ICP备2023035733号


