


 WJ
WJ批改状态:合格
老师批语:写的非常认真仔细,继续加油!
1.元素选择器(也叫做标签选择器)
元素选择器是由元素来做选择器,然后去更改该标签的样式的
例如:
<style>body{background-color:red;}</style>
是通过元素选择器将body的背景改为红色。
2.类选择器
类选择器是对应着HTML标签中的class属性的
<!DOCTYPE html><html lang="en"><head><meta charset="UTF-8"><meta name="viewport" content="width=device-width, initial-scale=1.0"><title>Document</title><style>.bgc {width: 200px;height: 200px;background-color: yellow;}</style></head><body><div class="bgc"></div></body></html>
上面是通过类选择器来将body中的div标签绑定,然后将div的宽高设置为200px,将背景颜色设置为黄色,效果图如下:
3.id选择器
id选择器是对应着HTML标签中的id属性的
通过标签的id属性,将其与样式表中的id相绑定,然后更改其样式,代码如下
<!DOCTYPE html><html lang="en"><head><meta charset="UTF-8"><meta name="viewport" content="width=device-width, initial-scale=1.0"><title>Document</title><style>#bgc {width: 200px;height: 200px;background-color: yellow;}</style></head><body><div id="bgc"></div></body></html>
总的来说,id选择器与类选择器的区别就是在于一个是以.或着#来声明是类选择器还是id选择器,现在id选择器很少用,更大部分还是推荐使用类选择器。
为了更好的举例说明,这里我们将会用到grid布局来做九宫格来演示。
上下文选择器一共是有四种类型的选择器分别是
1.后代选择器
2.父子选择器
3.同级相邻选择器
4.同级所有选择器
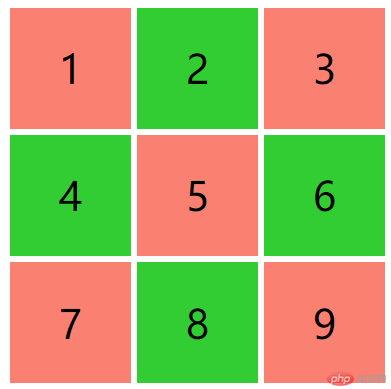
<!DOCTYPE html><html lang="en"><head><meta charset="UTF-8" /><meta name="viewport" content="width=device-width, initial-scale=1.0" /><title></title><style>.container {width: 300px;height: 300px;display: grid;grid-template-columns: repeat(3, 1fr);gap: 5px;}.item {font-size: 2rem;background-color: lightskyblue;display: flex;justify-content: center;align-items: center;}/* 1. 后代选择器: 空格 */.container div {border: 1px solid #000;}/*选择类属性值为.container下面的所有子级div添加1px黑色实线的边框*//* 2. 父子选择器: > */body>div {background-color: yellow;}/*选择body标签下的第一个div,并且将背景色改为黄色*//* 3. 同级相邻选择器 */.item.center+.item {background-color: lightgreen;}/*选中有.item.center复式类属性的div标签,将它下一个相邻的div背景颜色改为浅绿色*//* 4. 同级所有选择器 */.item.center~.item {background-color: lightsalmon;}/**选中有.item.center复式类属性的div标签,将它以下的所有同级兄弟div的背景色改为浅珊瑚色*/</style></head><body><div class="container"><div class="item">1</div><div class="item">2</div><div class="item">3</div><div class="item">4</div><div class="item center">5</div><div class="item">6</div><div class="item">7</div><div class="item">8</div><div class="item">9</div></div></body></html>
效果图如下:
<!DOCTYPE html><html lang="en"><head><meta charset="UTF-8" /><meta name="viewport" content="width=device-width, initial-scale=1.0" /><title></title><style>/* 使用九宫格来演示: grid布局实现 */.container {width: 300px;height: 300px;display: grid;grid-template-columns: repeat(3, 1fr);gap: 5px;}.item {font-size: 2rem;background-color: lightskyblue;display: flex;justify-content: center;align-items: center;}/* first-child是匹配.container下面的第一个子元素 */.container>*:first-child {background-color: lightgreen;}/* last-child是匹配.container下面的最后一个子元素 */.container> :last-child {background-color: lightpink;}/* :nth-child()是匹配任意一共子元素,值有后面括号中的参数决定 */.container> :nth-child(3) {background-color: limegreen;}</style></head><body><div class="container"><div class="item">1</div><div class="item">2</div><div class="item">3</div><div class="item">4</div><div class="item">5</div><div class="item">6</div><div class="item">7</div><div class="item">8</div><div class="item">9</div></div></body></html>

<!DOCTYPE html><html lang="en"><head><meta charset="UTF-8" /><meta name="viewport" content="width=device-width, initial-scale=1.0" /><title>结构伪类选择器: 不分组(不区分元素类型)</title><style>/* 使用九宫格来演示: grid布局实现 */.container {width: 300px;height: 300px;display: grid;grid-template-columns: repeat(3, 1fr);gap: 5px;}.item {font-size: 2rem;background-color: lightskyblue;display: flex;justify-content: center;align-items: center;}/* 选择排序为偶数的单元格,并为其单元格添加浅绿色背景。偶数用even表示 */.container> :nth-child(even) {background-color: limegreen;}/* 选择排序为奇数数的单元格,并为其单元格添加珊瑚色背景。奇数: odd */.container> :nth-child(odd) {background-color: salmon;}</style></head><body><div class="container"><div class="item">1</div><div class="item">2</div><div class="item">3</div><div class="item">4</div><div class="item">5</div><div class="item">6</div><div class="item">7</div><div class="item">8</div><div class="item">9</div></div></body></html>
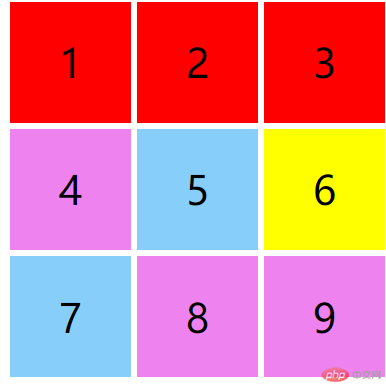
<!DOCTYPE html><html lang="en"><head><meta charset="UTF-8" /><meta name="viewport" content="width=device-width, initial-scale=1.0" /><title>结构伪类选择器: 分组(不区分元素类型)</title><style>/* 使用九宫格来演示: grid布局实现 */.container {width: 300px;height: 300px;display: grid;grid-template-columns: repeat(3, 1fr);gap: 5px;}.item {font-size: 2rem;background-color: lightskyblue;display: flex;justify-content: center;align-items: center;}/* 分组结构伪类分二步:1. 元素按类型进行分组2. 在分组中根据索引进行选择 *//* 选中div分组的最后一个div,将其背景颜色改为紫色 */.container div:last-of-type {background-color: violet;}/* 在sppan分组中选择第二个span并且将其颜色改为黄色 */.container span:nth-of-type(2) {background-color: yellow;}/* 前选择div的前三个并将背景颜色改为红色 */.container div:nth-of-type(-n + 3) {background-color: red;}/* 选择span的最后二个,将背景颜色改为紫色 */.container span:nth-last-of-type(-n + 2) {background-color: violet;}</style></head><body><div class="container"><div class="item">1</div><div class="item">2</div><div class="item">3</div><div class="item">4</div><span class="item">5</span><span class="item">6</span><span class="item">7</span><span class="item">8</span><span class="item">9</span></div></body></html>
target伪类是用于配合id实现锚点操作,先写一个表单,然后用一个a链接与表单绑定id,当target伪类被a链接点击激活时,显示表单。没有激活时隐藏表单,代码如下:
<!DOCTYPE html><html lang="en"><head><meta charset="UTF-8" /><meta name="viewport" content="width=device-width, initial-scale=1.0" /><title>伪类与伪元素</title><style>#login-form {display: none;}#login-form:target {display: block;}</style></head><body><!-- <a href="#login-form">我要登录:</a> --><button onclick="location='#login-form'">点击登录</button><form action="" method="post" id="login-form"><label for="email">邮箱:</label><input type="email" name="email" id="email" /><label for="password">密码:</label><input type="password" name="password" id="password" /><button>登录</button></form></body></html>
表单没有显示之前: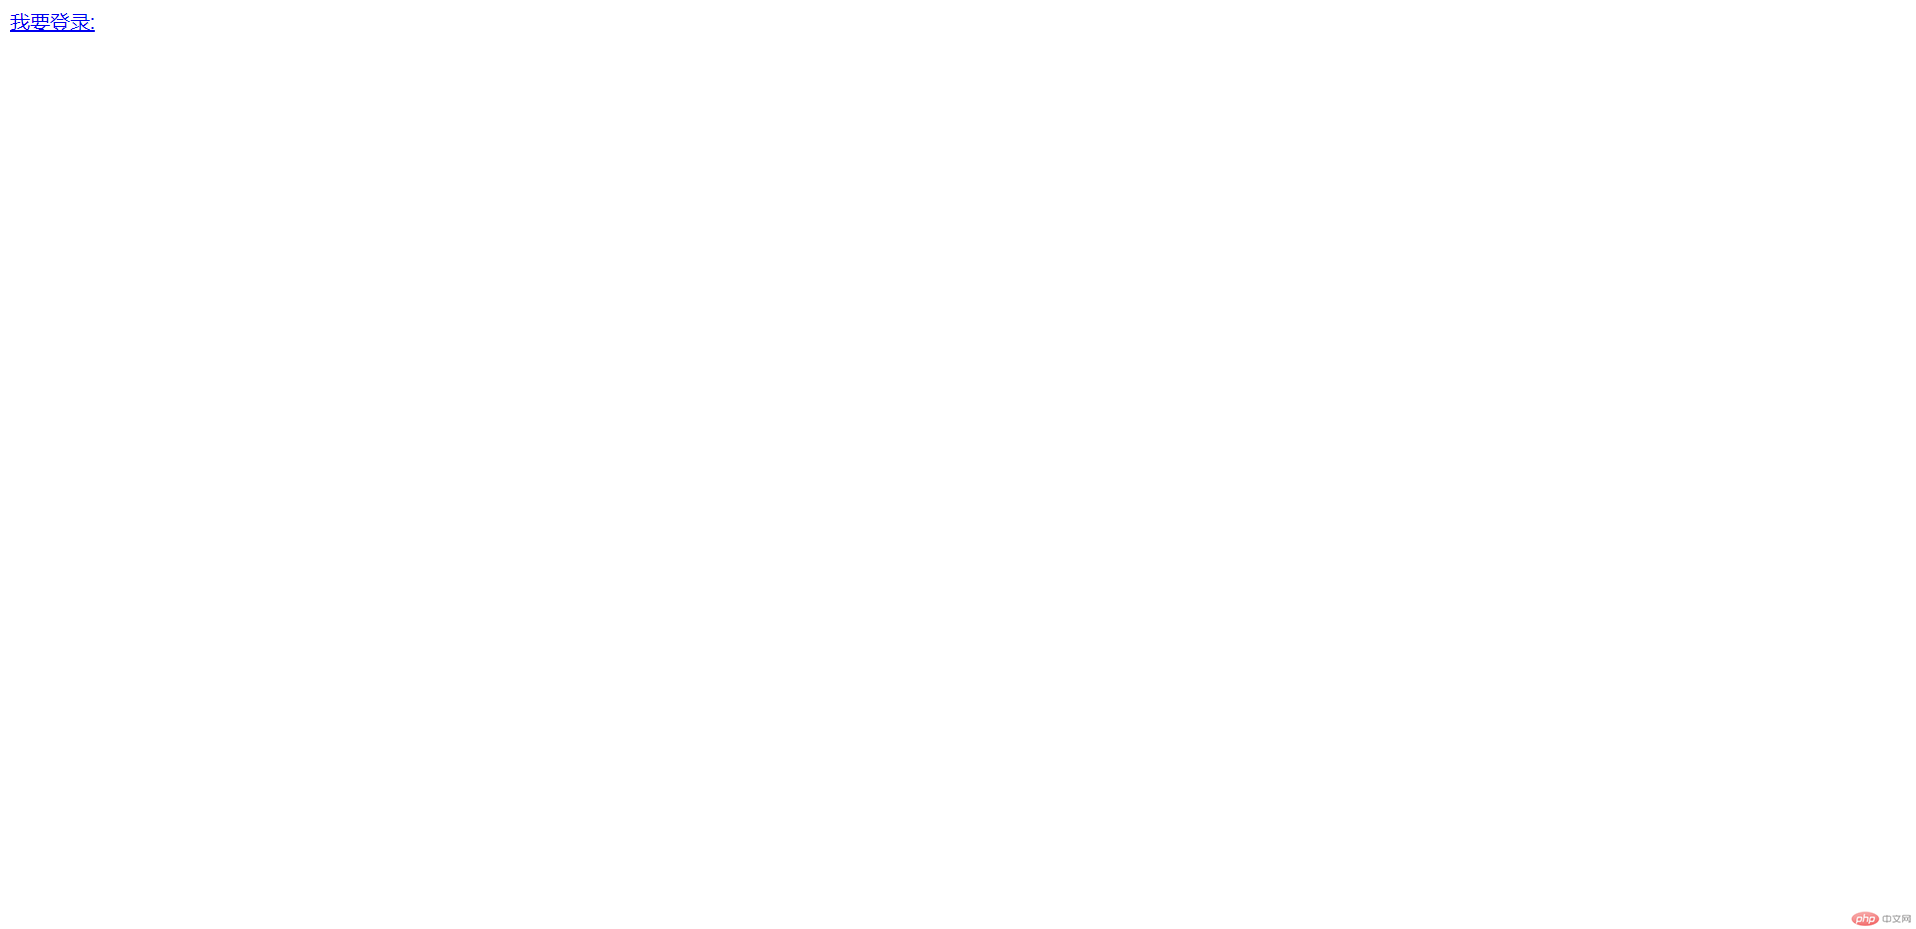
表单显示之后: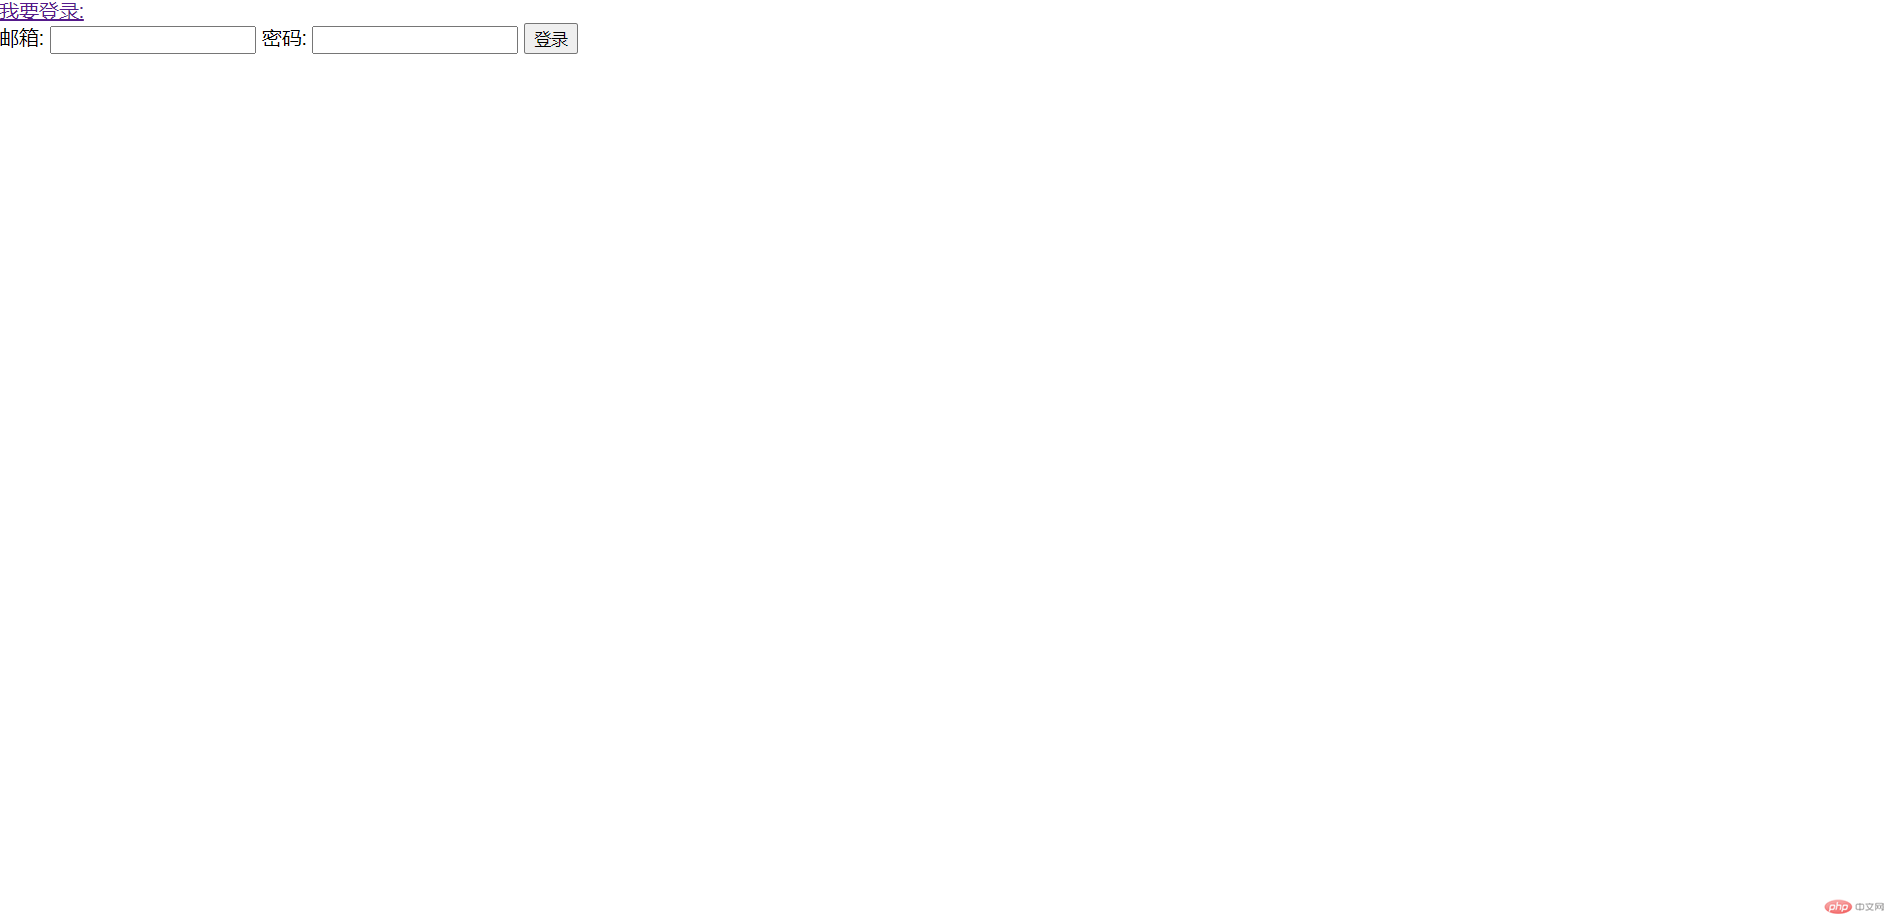
not伪类的作用是排除不满足条件的元素
before是在元素前添加内容或者样式
after伪元素的作品用是在元素结尾添加一些样式
focus是在所绑定的表单获取焦点时可以为其设置样式
演示代码如下:
<!DOCTYPE html><html lang="en"><head><meta charset="UTF-8" /><meta name="viewport" content="width=device-width, initial-scale=1.0" /><title>伪类与伪元素</title><style>/* 当前文本框获取焦点的时候 */input:focus {background-color: yellow;}/* class值为list下的子级标签中第三个不满足条件除外,其他都为其添加样式 */.list> :not(:nth-of-type(3)) {color: yellow;}/*在class为list的元素前添加购物车,无法选中,并且其添加样式 */.list::before {content: "购物车";color: blue;font-size: 1.5rem;border-bottom: 1px solid #000;}/*在class为list的元素前添加结算,无法选中,并且其添加样式 */.list::after {content: "结算中...";color: red;font-size: 1.1rem;}/* 伪元素前面是双冒号, 伪类前能是单冒号 */</style></head><body><form><input type="text"></form><ul class="list"><li>item1</li><li>item2</li><li>item3</li><li>item4</li></ul></body></html>
效果图: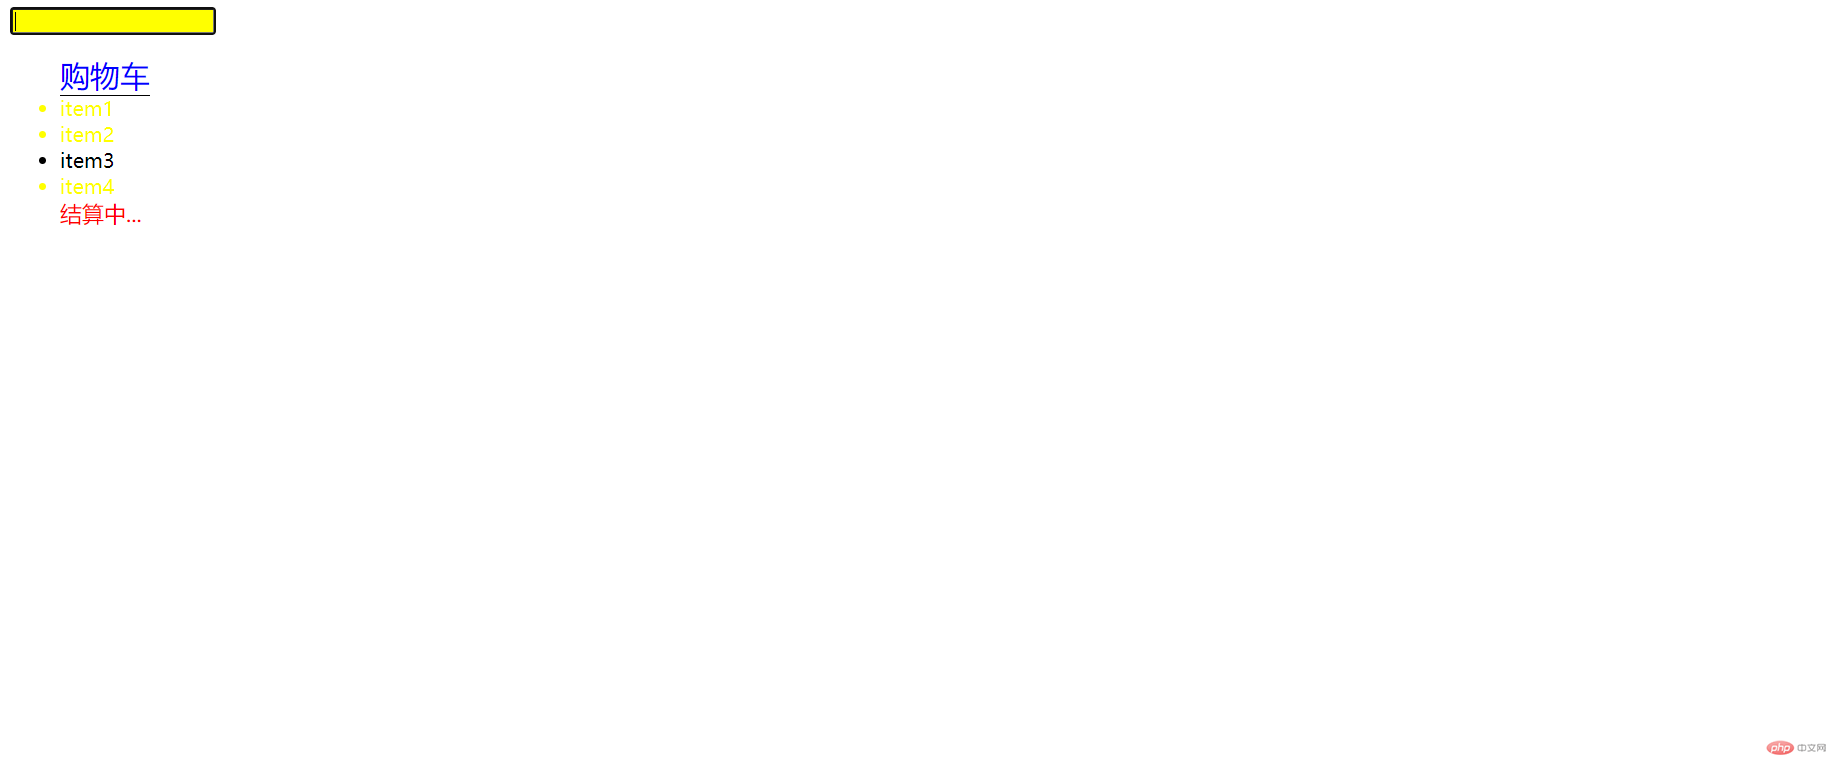
以上就是 target, :not, :before, :after, :focus的所有演示!

Copyright 2014-2025 https://www.php.cn/ All Rights Reserved | php.cn | 湘ICP备2023035733号


