批改状态:未批改
老师批语:
1、内边距
/*实现图片居中显示*/
<!DOCTYPE html>
<html lang="en">
<head>
    <meta charset="UTF-8">
    <link rel="stylesheet" href="static/css/style1.css">
    <title>内边距(padding)——图片居中</title>
    <style>
        /****方案一****/
        .box1{
            width:300px;
            height: 300px;
            background-color: lightgreen;
            border:1px solid black;
        }

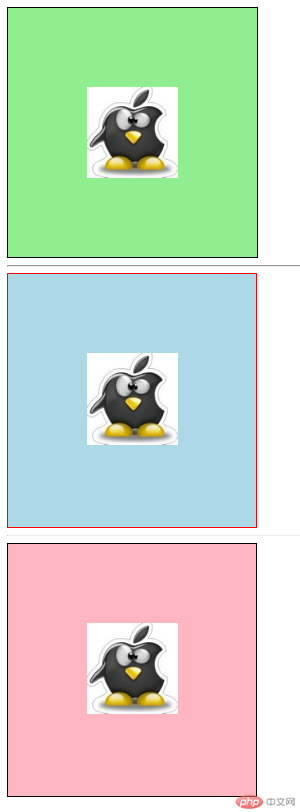
        /*使用padding让图片居中显示*/
        /* 容器300*300,图片200*200,最直观的想法是添加50px的内边距 */
        .box1 {
            padding: 95px;
        }
        /* 会发现,内边距会增加盒子填充厚度,将盒子撑大 */
        /*如果想保持原来盒子大小,只能手工修改box1的宽高*/
        .box1 {
            width: 110px;
            height: 110px;
        }

        /*********************** 方案2: 宽度分离 *********************/

        /* 给box2认一个干爹,添加一个父级盒子wrap, 这时box2就是儿子了, width就有效了*/
        .wrap{
            width:300px;
        }
        .box2{
            background-color: lightblue;
            border:1px solid red;
            padding:95px;
        }

        /*********************** 方案3: box-sizing 盒尺寸 *********************/

        /*经过前面学习, 知道了在默认情况下, 宽度是作用到盒中的内容上的*/
        /*而一个盒子有content,padding,border,margin四部分组成,所以改变宽度会造成盒子大小不确定*/
        /*方案2: 是将width宽度直接作用到了外部盒子上, 而box2此时就自动变成了warp的内容,所以会应用到width*/
        .box3{
            width:300px;
            background-color: lightpink;
            border: 1px solid black;

            padding: 95px;
            /*让宽度width作用到边框级,作用到内容级仍会撑开盒子的*/
            box-sizing: border-box;
        }
    </style>
</head>
<body>
<!--将一张图片居中显示-->
<div class="box1">
    <img src="http://himg.bdimg.com/sys/portrait/item/c42773636c69753132de0c.jpg" alt="小姐姐" >
</div>
<hr>

<div class="wrap">
    <div class="box2">
        <img src="http://himg.bdimg.com/sys/portrait/item/c42773636c69753132de0c.jpg" alt="小姐姐" >
    </div>
</div>
<hr>

<div class="box3">
    <img src="http://himg.bdimg.com/sys/portrait/item/c42773636c69753132de0c.jpg" alt="小姐姐" >
</div>

</body>
</html>点击 "运行实例" 按钮查看在线实例

2、外边距
<!DOCTYPE html>
<html lang="en">
<head>
    <meta charset="UTF-8">
    <title>外边距margin</title>
    <style>
        /********** 同级塌陷 **********/
        .box1{
            width: 100px;
            height: 100px;
            background-color: lightblue;
        }
        .box2{
            width: 100px;
            height: 100px;
            background-color: lightcoral;
        }
        .box1{
            margin-bottom: 30px;
        }
        .box2{
            margin-top: 30px;
        }

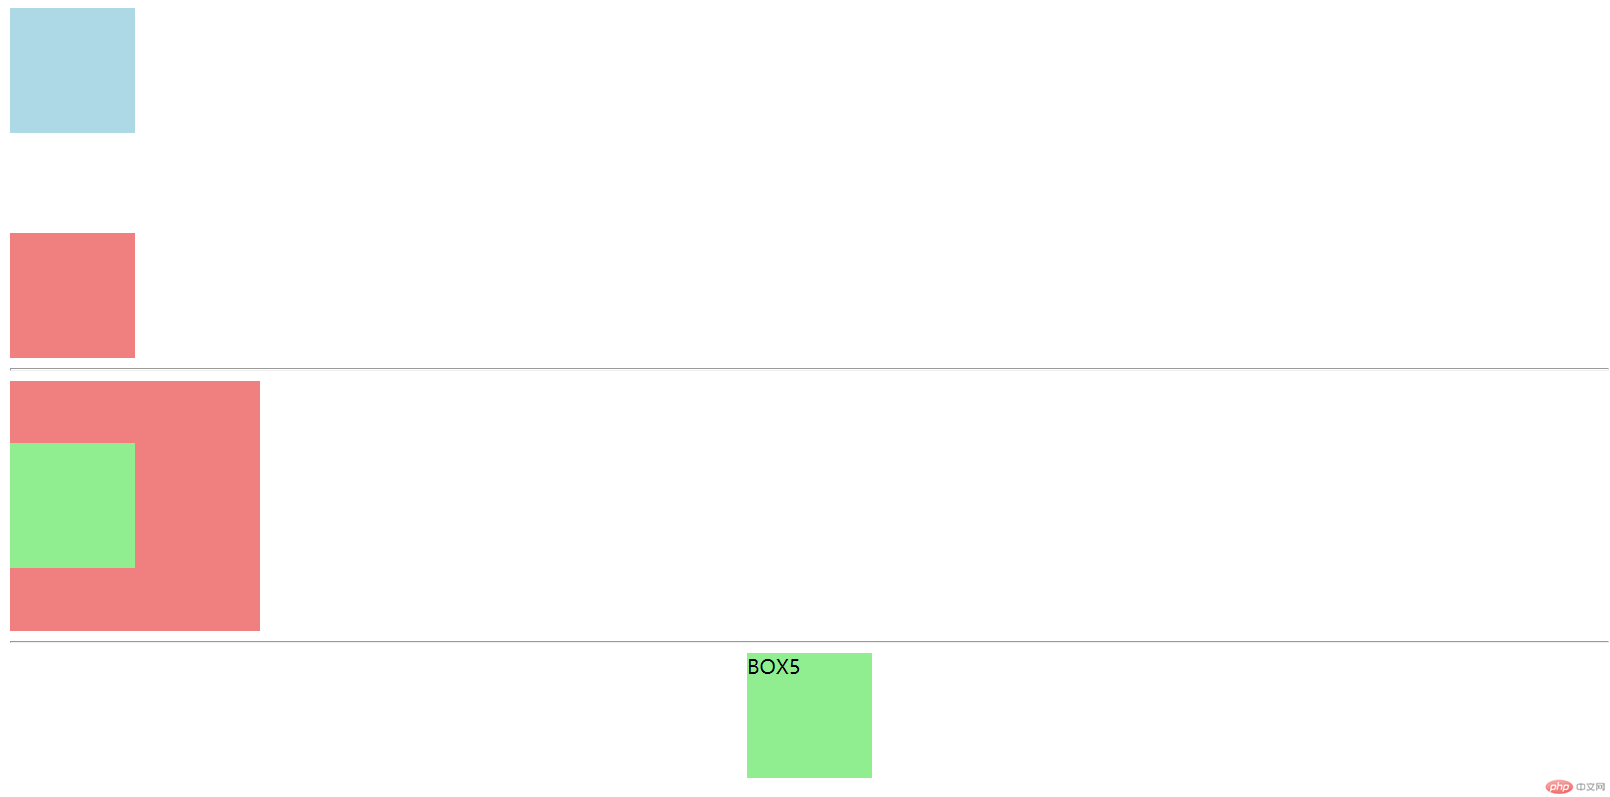
        /* 按正常思维,现在二个盒子上下应该有60px外边距,但是页面却未发生变化 */
        /* 说明二个盒子之间的外边距仍是30,肯定有一个外边距没有生效,究竟是哪一个呢? */
        /* 现在将box1的margin-bottom改为50px */
        .box1 {
            margin-bottom: 50px;
        }
        /* 发现变宽了, 看样子是box1生效了, box2无效 */
        /* 再把box2的margin改为80px */
        .box2 {
            margin-top: 80px;
        }
        /* 发现上下间距又变宽了,再次检查发现box2的margin生效了,box1的margin失效了 */

        /* 从而得出一个结论: 当二个盒子上下排列时,外边距会出现塌陷现象,小的会陷到大的里面去,简称:"同级塌陷" */
        /* 下面演示当二个盒子相互潜逃,为父子关系时,设置了margin会出现哪些问题? */

        /********** 嵌套传递 **********/
        .box3{
            width:200px;
            height: 200px;
            background-color: lightcoral;
        }
        .box4{
            width:100px;
            height: 100px;
            background-color: lightgreen;
        }
        /* 我们的任务是:使box4离box3顶部之间有50px的间距,通过margin-top来实现 */
        .box4{
            /*margin-top: 50px;*/
        }
        /* 我们的任务是:使box4离box3顶部之间有50px的间距,通过margin-top来实现 */
        /* 结果发现不对, 外边距跑到了外部盒子box3上面去了,这就是外边距的"嵌套传递"现象 */
        /* 当给一个子盒子添加margin时,这个margin会自动传递到父级盒子上 */
        /* 所以,正确的做法是,给父级盒子添加内边距来实现 */
        /* 先复位 */
        .box3{
            padding-top: 50px;
            height: 150px;
        }

        /* 下面演示margin的自动挤压,这是布局中使用非常广泛 */

        /********** 自动挤压 **********/
        .box5 {
            width: 100px;
            height: 100px;
            background-color: lightgreen;
        }
        /*margin的默认值*/
        .box5{
            /*margin-left: auto;*/
            /*margin-right: auto;*/
            margin: 0 auto;
            /* 这个"自动挤压"使盒子居中对齐的特征,在页面布局中应用非常多,非常重要,好好理解 */

        }


    </style>
</head>
<body>
<!--
问题:
1、同级塌陷
2、嵌套传递
3、自动挤压
-->
<div class="box1"></div>
<div class="box2"></div>
<hr>
<div class="box3">
    <div class="box4"></div>
</div>
<hr>
<div class="box5">BOX5</div>
</body>
</html>点击 "运行实例" 按钮查看在线实例

3、浮动与绝对定位
<!--
定位参照物:
1. 相对定位, 是以元素在文档流中的原始位置为参照物进行定位的
2. 绝对定位, 它是脱离了文档流的, 所有必须要有一个定位父级做为参照物
position: absolute; 默认以整个窗口进行绝对定位, 定位父级是<body>
-->
<!DOCTYPE html>
<html lang="en">
<head>
    <meta charset="UTF-8">
    <title>绝对定位——登录</title>
    <style>
        *{
            margin:0 auto;
        }
        .nav{
            width: 90%;
            height:60px;
            background-color: lightcoral;
        }
        .nav-line-1{
            float: right;
            margin: 0 5px;
            line-height: 60px;
            text-align: center;
        }

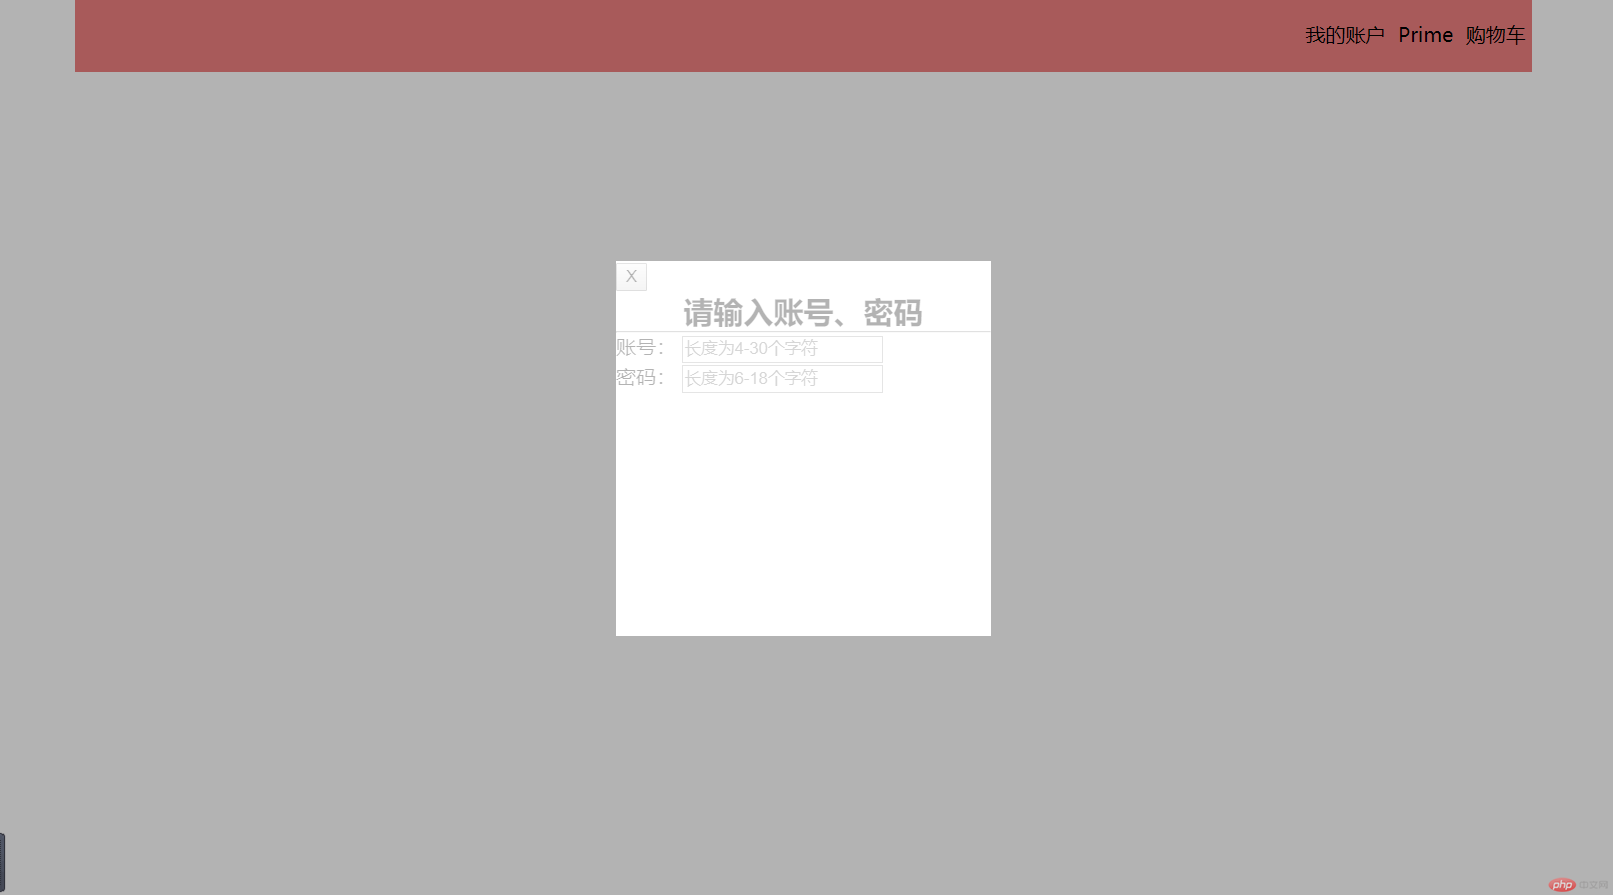
        /*遮罩模型*/
        .shade{
            position: absolute;
            /*左上角显示*/
            left: 0;
            top:0;
            width: 100%;
            height: 100%;

            background-color: black;
            opacity: 0.3;

            /*display: none;*/
        }
        .login{
            width: 300px;
            height: 300px;

            background-color: white;
            position: absolute;

            left:50%;
            top:50%;
            margin-left: -150px;/* 为了居中 */
            margin-top: -150px;/* 为了居中 */
        }
    </style>
</head>
<body>
<div class="nav">
    <span class="nav-line-1">购物车</span>
    <span class="nav-line-1">Prime</span>
    <span class="nav-line-1">我的账户</span>
</div>
<div class="shade" id="shade">
    <div class="login">
        <button onclick="this.parentNode.parentNode.style.display='none'">X</button>
        <h2 style="text-align: center;">请输入账号、密码</h2>
        <hr>
        <p>
            <label for="username">账号:</label>
            <input type="text" name="username" id="username" placeholder="长度为4-30个字符">
        </p>
        <p>
            <label for="password">密码:</label>
            <input type="password" name="password" id="password" placeholder="长度为6-18个字符">
        </p>
    </div>
</div>

</body>
</html>点击 "运行实例" 按钮查看在线实例

4、固定定位
<!DOCTYPE html>
<html lang="en">
<head>
    <meta charset="UTF-8">
    <title>小广告——固定定位</title>
    <style>
        body{
            height: 2000px;

        }
        .ads{
            width: 270px;
            height: 200px;
            background-color: lightblue;

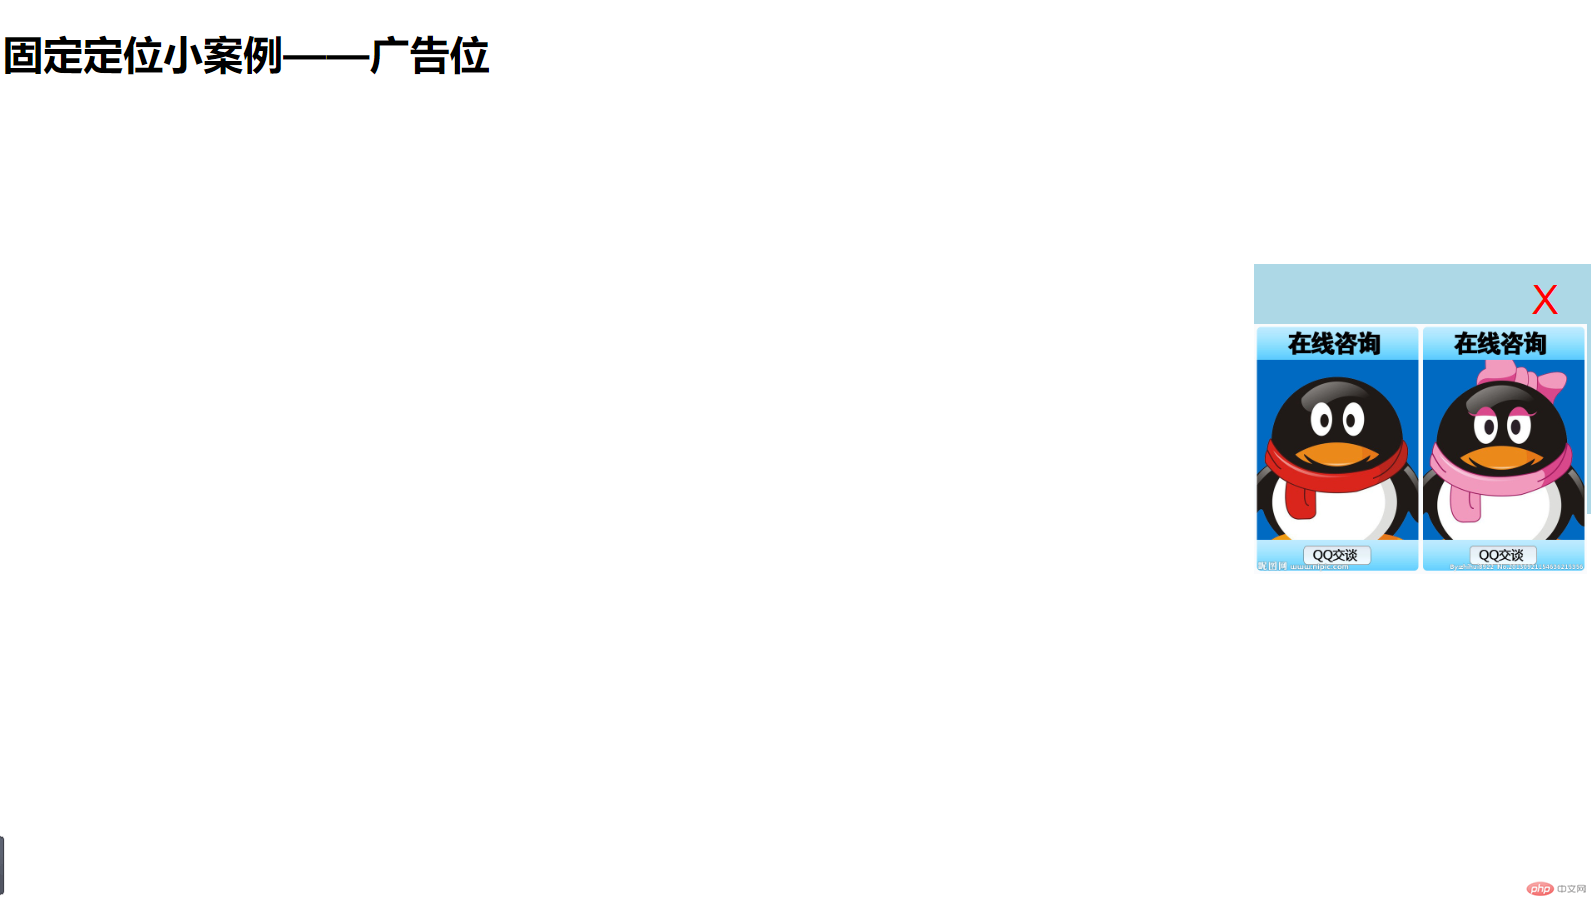
            position: fixed;/*固定定位*/
            right: 0;
            bottom: 50%;

            margin-bottom: -50px;/* 为了居中 */
        }
        .ads img{
            height: 200px;
            /*margin-top: 50px;*/

        }
        button{
            float: right;
            margin-top: 10px;
            margin-right: 20px;
            border: none;
            background: none;
            font-size: 2em; /*两倍*/
            color: red;
        }
    </style>
</head>
<body>
<h1>固定定位小案例——广告位</h1>
<div class="ads">
    <button onclick="this.parentNode.style.display='none'">X</button>
    <img src="http://pic33.nipic.com/20130921/2759550_154636215356_2.jpg" alt="QQ在线客服">
</div>
</body>
</html>点击 "运行实例" 按钮查看在线实例


Copyright 2014-2025 https://www.php.cn/ All Rights Reserved | php.cn | 湘ICP备2023035733号