

vue vuex vue-rouert permission routing (detailed tutorial)
This article mainly introduces the vue vuex vue-rouert background project - permission routing. Through this article, the relationship between vue vuex vue-router can be clearly understood. This version is very simple and suitable for beginners. Friends who need it can Refer to the project address of
: vue-simple-template
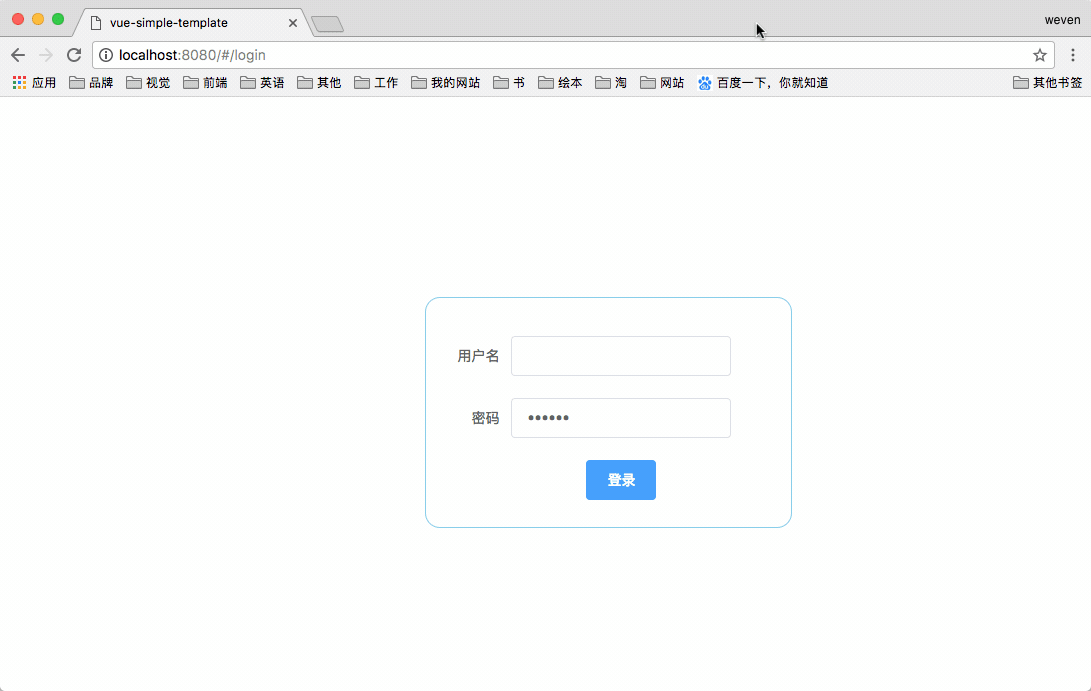
There are three roles in total: adan barbara carrie. The passwords are all: 123456
adan has the highest authority A and he can see red, yellow and blue pages (three pages in total)
barbara has permission B and he can see the red and yellow pages
carrie has permission C and he can see the red and blue pages
Technology stack
webpack ---- 打包神器
vue ---- JavaScript 框架
vuex ---- 实现不同组件间的状态共享
vue-router ---- 页面路由
babel-polyfill ---- 将ES6代码转为ES5代码
normalize.css ---- 重置掉该重置的样式
element-ui ---- UI组件库
Project initialization
# cd 到项目文件夹
cd weven-simple-template
# 安装依赖 (本项目还安装了其他依赖详情 请见 package.json 文件)
npm install
# 运行项目
npm run dev
Project structure
vue-cil After initializing the project with the scaffolding, I only modified the src folder
src
├── App.vue  ---- 页面入口
├── api  ---- api请求
│ └── login.js ---- 模拟json对象数据
├── assets  ---- 主题 字体等静态资源
│ └── logo.png
├── components ---- 组件
│ ├── index.vue
│ └── login.vue
├── main.js  ---- 初始化组件 加载路由
├── router  ---- 路由
│ └── index.js
└── store  ---- vuex状态管理
 ├── getters.js
 ├── index.js
 └── modules
 └── login.js
Key points:
The key to dynamic routing is the coexistence of the meta field configured by the router and the status of vuex (if you don’t understand, you can check the official documentation first)
router/index .js
// 初始化路由
export default new Router({
 routes: [
 {
 path: '/login',
 name: 'Login',
 component: Login
 }
 ]
});
// 动态路由 meta 定义了role
export const powerRouter =[
 { path: '/',redirect:'/red', name: 'index',component: Index,hidden:false,
 children: [
 { path: '/red', name: 'red', component: red,},
 { path: '/yellow', name: 'yellow', component: yellow, meta: {role: 'B'}},
 { path: '/blue', name: 'blue', component: blue, meta: {role: 'C'}}
 ]
 }
];store/modules/lo
Logins({ commit }, info){
  return new Promise((resolve, reject) => {
  let data={};
  loginByUserInfo.map(function (item) { //获取所以用户信息
   if(info.username === item.username || info.pew === item.pew){
   commit('SET_USERNAME',item.username); //将username和role进行存储
   sessionStorage.setItem('USERNAME', item.username); //存入 session
   commit('SET_ROLE',item.role);
   sessionStorage.setItem('ROLE', item.role);
   return data={username:item.username,introduce:item.introduce};
   }else{
   return data;
   }
  });
  resolve(data);
 }).catch(error => {
  reject(error);
 });
 },
 Roles({ commit }, newrouter){
 return new Promise((resolve, reject) => {
  commit('SET_NEWROUER',newrouter); //存储最新路由
  resolve(newrouter);
 }).catch(error => {
  reject(error);
 });
},gin.js actions part
Logins({ commit }, info){
  return new Promise((resolve, reject) => {
  let data={};
  loginByUserInfo.map(function (item) { //获取所以用户信息
   if(info.username === item.username || info.pew === item.pew){
   commit('SET_USERNAME',item.username); //将username和role进行存储
   sessionStorage.setItem('USERNAME', item.username); //存入 session
   commit('SET_ROLE',item.role);
   sessionStorage.setItem('ROLE', item.role);
   return data={username:item.username,introduce:item.introduce};
   }else{
   return data;
   }
  });
  resolve(data);
 }).catch(error => {
  reject(error);
 });
 },
 Roles({ commit }, newrouter){
 return new Promise((resolve, reject) => {
  commit('SET_NEWROUER',newrouter); //存储最新路由
  resolve(newrouter);
 }).catch(error => {
  reject(error);
 });
},main.js
router.beforeEach((to, from, next) => {
 if(store.getters.role){ //判断role 是否存在

 if(store.getters.newrouter.length !== 0){
  next() //resolve 钩子
 }else{
  let newrouter
  if (store.getters.role == 'A') { //判断权限
  newrouter = powerRouter
  } else {
  let newchildren = powerRouter[0].children.filter(route => {
   if(route.meta){
   if(route.meta.role == store.getters.role){
    return true
   }
   return false
   }else{
   return true
   }
  });
  newrouter = powerRouter
  newrouter[0].children = newchildren
  }
  router.addRoutes(newrouter) //添加动态路由
  store.dispatch('Roles',newrouter).then(res => {
  next({ ...to })
  }).catch(() => {

  })
 }
 }else{
  if (['/login'].indexOf(to.path) !== -1) {
  next()
 } else {
  next('/login')
 }
 }
})components/index.vue
// mapGetters 辅助函数仅仅是将 store 中的 getter 映射到局部计算属性
...mapGetters([
 'newrouter'
 ])
It is no problem to use this project to clarify the relationship between vue vuex vue-router. This can be said to be a super simple version, suitable for beginners. The key points mentioned in the above content are actually the whole project.
I compiled the above for everyone. I hope it will be helpful to everyone in the future.
Related articles:
How to implement the function of uploading and compressing images in js (detailed tutorial)
How to calculate two using JS Time difference
How to introduce jquery in vue-cli webpack (detailed tutorial)
How to generate a drop-down list using pure js
The above is the detailed content of vue vuex vue-rouert permission routing (detailed tutorial). For more information, please follow other related articles on the PHP Chinese website!

Hot AI Tools

Undresser.AI Undress
AI-powered app for creating realistic nude photos

AI Clothes Remover
Online AI tool for removing clothes from photos.

Undress AI Tool
Undress images for free

Clothoff.io
AI clothes remover

Video Face Swap
Swap faces in any video effortlessly with our completely free AI face swap tool!

Hot Article
Hot Tools

Notepad++7.3.1
Easy-to-use and free code editor

SublimeText3 Chinese version
Chinese version, very easy to use

Zend Studio 13.0.1
Powerful PHP integrated development environment

Dreamweaver CS6
Visual web development tools

SublimeText3 Mac version
God-level code editing software (SublimeText3)
Hot Topics


 How to use bootstrap in vue
Apr 07, 2025 pm 11:33 PM
How to use bootstrap in vue
Apr 07, 2025 pm 11:33 PM
Using Bootstrap in Vue.js is divided into five steps: Install Bootstrap. Import Bootstrap in main.js. Use the Bootstrap component directly in the template. Optional: Custom style. Optional: Use plug-ins.
 How to add functions to buttons for vue
Apr 08, 2025 am 08:51 AM
How to add functions to buttons for vue
Apr 08, 2025 am 08:51 AM
You can add a function to the Vue button by binding the button in the HTML template to a method. Define the method and write function logic in the Vue instance.
 How to use watch in vue
Apr 07, 2025 pm 11:36 PM
How to use watch in vue
Apr 07, 2025 pm 11:36 PM
The watch option in Vue.js allows developers to listen for changes in specific data. When the data changes, watch triggers a callback function to perform update views or other tasks. Its configuration options include immediate, which specifies whether to execute a callback immediately, and deep, which specifies whether to recursively listen to changes to objects or arrays.
 What does vue multi-page development mean?
Apr 07, 2025 pm 11:57 PM
What does vue multi-page development mean?
Apr 07, 2025 pm 11:57 PM
Vue multi-page development is a way to build applications using the Vue.js framework, where the application is divided into separate pages: Code Maintenance: Splitting the application into multiple pages can make the code easier to manage and maintain. Modularity: Each page can be used as a separate module for easy reuse and replacement. Simple routing: Navigation between pages can be managed through simple routing configuration. SEO Optimization: Each page has its own URL, which helps SEO.
 How to reference js file with vue.js
Apr 07, 2025 pm 11:27 PM
How to reference js file with vue.js
Apr 07, 2025 pm 11:27 PM
There are three ways to refer to JS files in Vue.js: directly specify the path using the <script> tag;; dynamic import using the mounted() lifecycle hook; and importing through the Vuex state management library.
 How to return to previous page by vue
Apr 07, 2025 pm 11:30 PM
How to return to previous page by vue
Apr 07, 2025 pm 11:30 PM
Vue.js has four methods to return to the previous page: $router.go(-1)$router.back() uses <router-link to="/" component window.history.back(), and the method selection depends on the scene.
 How to use vue traversal
Apr 07, 2025 pm 11:48 PM
How to use vue traversal
Apr 07, 2025 pm 11:48 PM
There are three common methods for Vue.js to traverse arrays and objects: the v-for directive is used to traverse each element and render templates; the v-bind directive can be used with v-for to dynamically set attribute values for each element; and the .map method can convert array elements into new arrays.
 How to jump to the div of vue
Apr 08, 2025 am 09:18 AM
How to jump to the div of vue
Apr 08, 2025 am 09:18 AM
There are two ways to jump div elements in Vue: use Vue Router and add router-link component. Add the @click event listener and call this.$router.push() method to jump.
