

Vue+Nuxt.js makes server-side rendering
This time I will bring you Vue Nuxt.js to make server-side rendering. What are the precautions for Vue Nuxt.js to make server-side rendering? The following is a practical case, let’s take a look.
1. Quick template
On the premise that vue-cli has been installed, you can quickly create a nuxt project template
vue init nuxt-community/starter-template MyProject
where MyProject is the name of the project folder, which can be customized
Through npm install (it seems to be smoother with yarn install) After installing the dependencies, you can directly npm run dev inDevelopment environmentStart the project
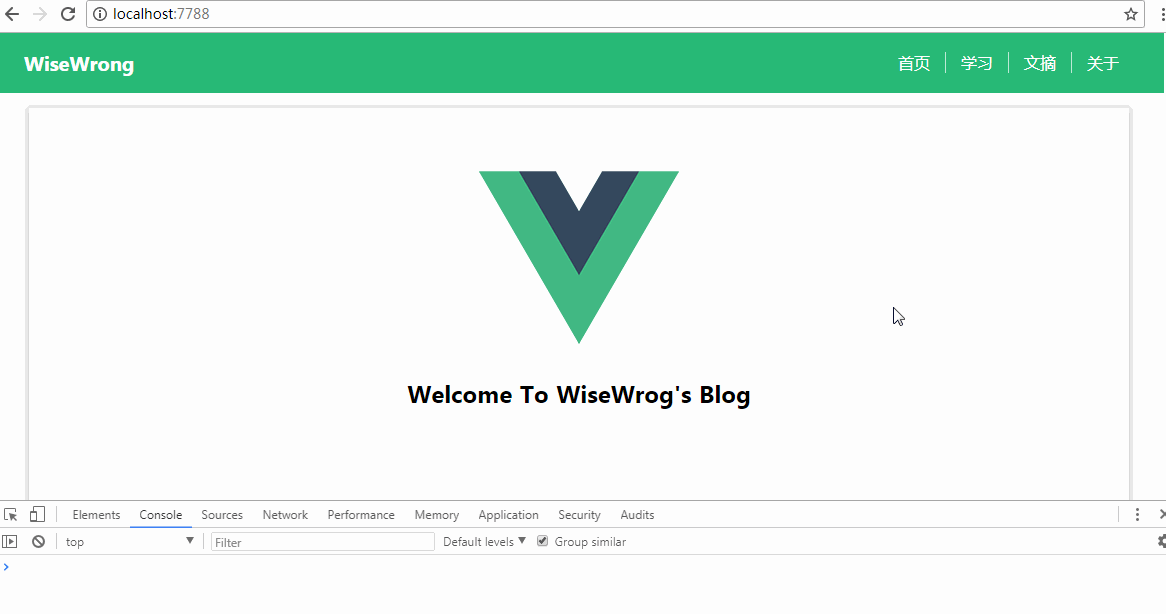
The default startup address is http://localhost:3000/, you can add the following configuration in package.json to modify the host port number
 "config": {
  "nuxt": {
   "host": "0.0.0.0",
   "port": "7788"
  }
},After the development is completed, execute npm run build to package the code, and finally npm start to start the service
2. Important directories
generated The project directory is as follows

Most folder namesare reserved by nuxt by default and cannot be modified
The directories that are more critical for price comparison There are three:
1. components component directory
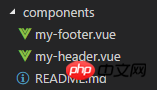
is generally used to store non-page level components , such as header, footer and other public components
The components in this directory have the methods and characteristics of regular vue components and will not be extended by nuxt.js
2. layouts layout directory
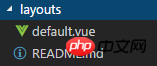
You can modify default.vue in this directory to modify the default layout
<template>
 <p>
  <my-header></my-header>
  <nuxt/>
  <my-footer></my-footer>
 </p>
</template>
where
In addition, you can also add error.vue as an error page in the directory. For specific writing methods, please refer to the official documentation.
3. pages page directory
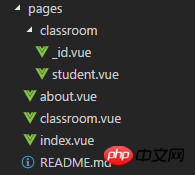
is used to store page-level components. nuxt will generate it based on the page structure in this directory. Routing
For example, the page structure in the picture above will generate such routing configuration:
router: {
 routes: [
  {
   name: 'index',
   path: '/',
   component: 'pages/index.vue'
  },
  {
   name: 'about',
   path: '/about',
   component: 'pages/about.vue'
  },
  {
   name: 'classroom',
   path: '/classroom',
   component: 'pages/classroom.vue',
   children: [
    {
     path: 'student',
     component: 'pages/classroom/student.vue',
     name: 'student'
    },
    { //定义带参数的动态路由,需要创建对应的以下划线作为前缀的 Vue 文件或目录
     path: ':id',
     component: 'pages/classroom/_id.vue',
     name: 'classroom-id'
    }
   ]
  }
 ]
}In addition, the vue components in this directory also have some special features provided by Nuxt.js
Among them, the asyncData method is more commonly used and supports asynchronous data processing.
This method will be called before each load of the page component, and then obtains the data and returns it. For the current component
asyncData ({ params, error }) {
  return axios.get(`api/posts/${params.id}`)
  .then((res) => {
   return { name: res.data.name}
  })
  .catch((e) => {
   error({ statusCode: 404, message: 'not found' })
  })
}The first parameter of the asyncData method is the context object context. The specific properties can be viewed here
Since the asyncData method is called before the component is initialized, so within the method is There is no way to reference the instance object of the component through this
3. Use plug-ins
If you need to introduce other third-party plug-ins into the project, It can be introduced directly into the page, so that when packaging, the plug-in will be packaged into the js corresponding to the page
But if the same plug-in is also introduced in other pages, it will be packaged repeatedly. If there is no need for paging packaging, you can configure plugins at this time
Take element-ui as an example. After installing element-ui, create elementUI.js in the plugins directory
Then add the configuration items build.vendor and plugins in nuxt.config.js in the root directory
 build: {
  vendor: ['~/plugins/elementUI.js']
 },
 plugins: [
  {src: '~/plugins/elementUI.js'},
]The plugins property here is used to configure the vue.js plug-in, which is You can use the Vue.user() method of the plug-in
which only requires the src attribute by default. You can also configure ssr: false so that the file is only packaged and imported on the client
如果是像 axios 这种第三方 (不能 use) 插件,只需要在 plugins 目录下创建 axios.js
// axios.js
import Vue from 'vue'
import axios from 'axios'
const service = axios.create({
 baseURL: '/api'
})
Vue.prototype.$ajax = axios
export default service然后在 build.vendor 中添加配置 (不需要配置 plugins)
build: {
 vendor: ['~/plugins/axios.js']
}这样在打包的时候,就会把 axios 打包到 vendor.js 中
四、Vuex 状态树
如果在 store 目录下创建了 index.js,nuxt.js 会根据该目录下的文件创建 Vuex 状态树
// store/index.js
import Vue from 'vue'
import Vuex from 'vuex'
import Axios from '~/plugins/axios.js';
Vue.use(Vuex)
const store = () => new Vuex.Store({
 state: {
  author: 'WiseWrong',
  info: ''
 },
 mutations: {
  setInfo (state, val) {
   state.info = val
  }
 },
 actions: {
  loadAboutMeInfo ({commit, state}) {
   return Axios.get(`/about`)
    .then(res => {
     console.log('ajax is success')
     console.log(res.data.info)
     commit('setInfo', res.data.info)
    })
    .catch(err => {
     console.log('error')
    })
  }
 }
})
export default storeNuxt.js 内置引用了 vuex 模块,不需要额外安装
上面的代码中,我在 actions 中写了一个 loadAboutMeInfo() 方法,用来请求 /api/about 接口
然后在 about.vue 页面中调用
// about.vue
<template>
 <section class="container">
  <p>
   <img src="~/assets/about.png" alt="">
  </p>
  <h1>{{$store.state.info}}</h1>
 </section>
</template>
<script>
export default {
 fetch({ store }) {
  return store.dispatch('loadAboutMeInfo')
 },
 name: 'about',
 data () {
  return {}
 }
}
</script>成果演示:
相信看了本文案例你已经掌握了方法,更多精彩请关注php中文网其它相关文章!
推荐阅读:
The above is the detailed content of Vue+Nuxt.js makes server-side rendering. For more information, please follow other related articles on the PHP Chinese website!

Hot AI Tools

Undresser.AI Undress
AI-powered app for creating realistic nude photos

AI Clothes Remover
Online AI tool for removing clothes from photos.

Undress AI Tool
Undress images for free

Clothoff.io
AI clothes remover

Video Face Swap
Swap faces in any video effortlessly with our completely free AI face swap tool!

Hot Article
Hot Tools

Notepad++7.3.1
Easy-to-use and free code editor

SublimeText3 Chinese version
Chinese version, very easy to use

Zend Studio 13.0.1
Powerful PHP integrated development environment

Dreamweaver CS6
Visual web development tools

SublimeText3 Mac version
God-level code editing software (SublimeText3)
Hot Topics


 How to use bootstrap in vue
Apr 07, 2025 pm 11:33 PM
How to use bootstrap in vue
Apr 07, 2025 pm 11:33 PM
Using Bootstrap in Vue.js is divided into five steps: Install Bootstrap. Import Bootstrap in main.js. Use the Bootstrap component directly in the template. Optional: Custom style. Optional: Use plug-ins.
 How to add functions to buttons for vue
Apr 08, 2025 am 08:51 AM
How to add functions to buttons for vue
Apr 08, 2025 am 08:51 AM
You can add a function to the Vue button by binding the button in the HTML template to a method. Define the method and write function logic in the Vue instance.
 How to use watch in vue
Apr 07, 2025 pm 11:36 PM
How to use watch in vue
Apr 07, 2025 pm 11:36 PM
The watch option in Vue.js allows developers to listen for changes in specific data. When the data changes, watch triggers a callback function to perform update views or other tasks. Its configuration options include immediate, which specifies whether to execute a callback immediately, and deep, which specifies whether to recursively listen to changes to objects or arrays.
 What does vue multi-page development mean?
Apr 07, 2025 pm 11:57 PM
What does vue multi-page development mean?
Apr 07, 2025 pm 11:57 PM
Vue multi-page development is a way to build applications using the Vue.js framework, where the application is divided into separate pages: Code Maintenance: Splitting the application into multiple pages can make the code easier to manage and maintain. Modularity: Each page can be used as a separate module for easy reuse and replacement. Simple routing: Navigation between pages can be managed through simple routing configuration. SEO Optimization: Each page has its own URL, which helps SEO.
 How to reference js file with vue.js
Apr 07, 2025 pm 11:27 PM
How to reference js file with vue.js
Apr 07, 2025 pm 11:27 PM
There are three ways to refer to JS files in Vue.js: directly specify the path using the <script> tag;; dynamic import using the mounted() lifecycle hook; and importing through the Vuex state management library.
 How to return to previous page by vue
Apr 07, 2025 pm 11:30 PM
How to return to previous page by vue
Apr 07, 2025 pm 11:30 PM
Vue.js has four methods to return to the previous page: $router.go(-1)$router.back() uses <router-link to="/" component window.history.back(), and the method selection depends on the scene.
 How to use vue traversal
Apr 07, 2025 pm 11:48 PM
How to use vue traversal
Apr 07, 2025 pm 11:48 PM
There are three common methods for Vue.js to traverse arrays and objects: the v-for directive is used to traverse each element and render templates; the v-bind directive can be used with v-for to dynamically set attribute values for each element; and the .map method can convert array elements into new arrays.
 How to jump to the div of vue
Apr 08, 2025 am 09:18 AM
How to jump to the div of vue
Apr 08, 2025 am 09:18 AM
There are two ways to jump div elements in Vue: use Vue Router and add router-link component. Add the @click event listener and call this.$router.push() method to jump.
