

Simple steps to adjust font size in OnePlus 6

php editor Zimo brings you a simple step-by-step guide on how to adjust the font size. The character length should not exceed 500.
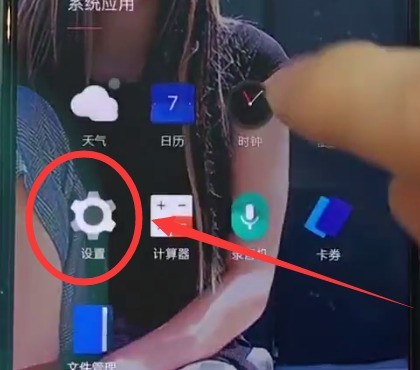
1. We can adjust the font size in the system settings. First, click to open the [Settings] on the desktop.
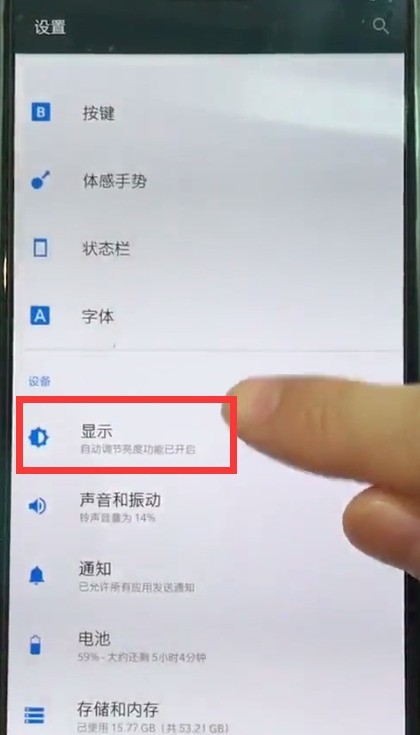
2. Click to enter [Display].
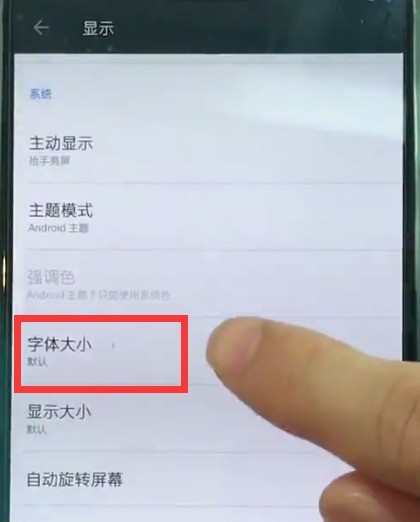
3. Click to open [Font Size].
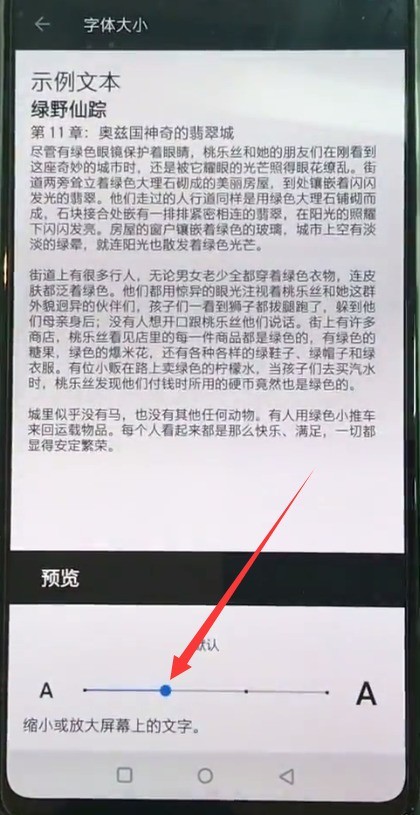
4. Enter the following page and slide the slider below left or right to adjust the font size.
The above is the detailed content of Simple steps to adjust font size in OnePlus 6. For more information, please follow other related articles on the PHP Chinese website!

Hot AI Tools

Undresser.AI Undress
AI-powered app for creating realistic nude photos

AI Clothes Remover
Online AI tool for removing clothes from photos.

Undress AI Tool
Undress images for free

Clothoff.io
AI clothes remover

Video Face Swap
Swap faces in any video effortlessly with our completely free AI face swap tool!

Hot Article
Hot Tools

Notepad++7.3.1
Easy-to-use and free code editor

SublimeText3 Chinese version
Chinese version, very easy to use

Zend Studio 13.0.1
Powerful PHP integrated development environment

Dreamweaver CS6
Visual web development tools

SublimeText3 Mac version
God-level code editing software (SublimeText3)
Hot Topics


 Simple steps to restore factory settings in OnePlus 6
Mar 28, 2024 pm 05:56 PM
Simple steps to restore factory settings in OnePlus 6
Mar 28, 2024 pm 05:56 PM
1. Open the mobile phone desktop and click [Settings]. 2. Click on [Restore Factory Settings] under the Settings menu. 3. Click again to enter [Restore Factory Settings]. 4. Finally, click [Restore phone factory settings].
 Simple steps to create a new photo album in OnePlus 6
Mar 26, 2024 pm 08:00 PM
Simple steps to create a new photo album in OnePlus 6
Mar 26, 2024 pm 08:00 PM
1. Find [Gallery] on the mobile phone desktop and click to enter [Gallery]. 2. Click to enter an album, select a photo and hold it. 3. Click the Add to Folder icon at the top of the screen, as shown below. 4. Click to select [New Album]. 5. Enter the album name and click [New].
 Steps to enable dual SIM 4G in OnePlus 6
Mar 26, 2024 pm 06:11 PM
Steps to enable dual SIM 4G in OnePlus 6
Mar 26, 2024 pm 06:11 PM
1. First, we open the OnePlus 6 mobile phone desktop and click to enter [Settings]. 2. Click to enter [SIM Card and Reading Network] under the settings menu. 3. Click to turn on the switch of [Dual 4G Network].
 Simple steps to set the time in OnePlus 6
Mar 23, 2024 pm 12:51 PM
Simple steps to set the time in OnePlus 6
Mar 23, 2024 pm 12:51 PM
1. First click to open [Settings] on the desktop. 2. Then click to enter [Date and Time]. 3. Click to turn off the [Automatically determine date and time] switch in the first column. Then we can click [Set Date] and [Set Time] below to set the date and time. 4. Finally, select the time and click [OK] to complete the setting.
 Steps to quickly open the camera in OnePlus 6
Mar 28, 2024 pm 02:58 PM
Steps to quickly open the camera in OnePlus 6
Mar 28, 2024 pm 02:58 PM
1. Let’s set it up in the settings. You can double-click the power button to turn on the camera while the screen is locked. First, click to open [Settings]. 2. Click to open [Button]. 3. Finally, turn on the switch on the right side of [Press the power button twice to turn on the camera].
 Steps to set alarm clock in OnePlus 6
Mar 23, 2024 pm 07:51 PM
Steps to set alarm clock in OnePlus 6
Mar 23, 2024 pm 07:51 PM
1. Click to open [Clock] on the mobile phone desktop. 2. Click [Alarm Clock] in the upper left corner, and then click the [+] sign at the bottom of the alarm clock page. 3. Then we only need to set the alarm time and click [OK] to set the alarm.
 Steps to close applications in OnePlus 6
Mar 26, 2024 pm 03:30 PM
Steps to close applications in OnePlus 6
Mar 26, 2024 pm 03:30 PM
1. First, we click the multi-function button in the navigation bar at the bottom of the screen. 2. After entering the background running interface, drag the application to the left or slide it to the right to close the background application.
 Simple steps to enable raising your hand to turn on the screen in OnePlus 6
Mar 28, 2024 pm 05:41 PM
Simple steps to enable raising your hand to turn on the screen in OnePlus 6
Mar 28, 2024 pm 05:41 PM
1. First, click [Settings] to enter the system. 2. Click to open [Display]. 3. Find and click to enter [Active Display]. 4. Finally, turn on the switch on the right side of [Raise your hand to display] to turn on the screen by raising your hand.
