
 Software Tutorial
Computer Software
Autocad2007 Beginner Drawing Tutorial - Autocad2007 Shortcut Key Command Collection
Software Tutorial
Computer Software
Autocad2007 Beginner Drawing Tutorial - Autocad2007 Shortcut Key Command Collection
Autocad2007 Beginner Drawing Tutorial - Autocad2007 Shortcut Key Command Collection

php editor Strawberry introduces to you "Autocad2007 Beginner's Tutorial for Beginners to Drawing - Autocad2007 Shortcut Key Command Collection". Autocad2007 is a classic drawing software. Learning shortcut key commands is crucial to improving work efficiency. This tutorial will introduce in detail the basic operations and common shortcut key commands of Autocad2007 to help beginners get started quickly and master drawing skills. Start your Autocad2007 learning journey now and improve your drawing skills!
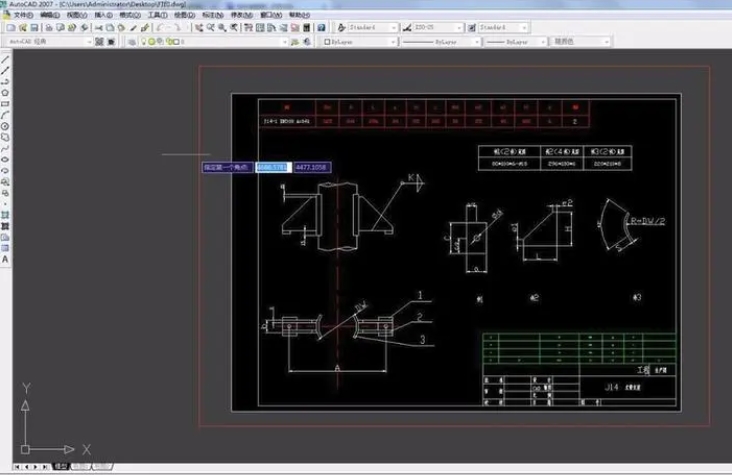
1. Introductory tutorial for beginners to autocad2007 drawing
first step
Create a new graphics file: Select the "New" option in the "File" menu, or use the shortcut key Ctrl N to create a new graphics file.
Draw a straight line: Type "L" in the command line and press Enter, then left-click and drag to create a straight line.
Draw a circle: Type "C" in the command line and press Enter, then left-click and drag to create a circle.
Copy an object: Select the object, right-click, and select the Copy option. Type "M" in the command line and press Enter, then left-click and drag to move the object to its new location.
Resize an object: Select the object, right-click, and select the Scale option. Enter the scaling factor in the command line and press Enter.
Step 2
In the lower part of the door and window setting window on the upper left, we can switch to add components, doors or windows, click "Window" to start adding windows, select the appropriate position and click the mouse.
third step
Find the fifth icon from top to bottom in the menu bar on the left side of the main interface. This is the tool for drawing rectangles.
After clicking the icon, click the left mouse button once in the drawing area of the main interface.
After clicking, first enter the length of the rectangle to the right of the CAD cursor, then press the Tab key and enter the width of the rectangle. After entering, click the space bar to get the desired rectangle.

skills
Delete graphics: Execute by selecting the modify/delete command, or clicking the delete button, or entering erase in the command line. After selecting the delete command, the cross cursor on the screen will change into a pick box. Select the object to be deleted and press the enter key. The fastest way to delete is to select the object first, then call the delete command or press the delete key. Alternatively, you can use the Cut to Clipboard method to delete the object.
Stretch graphics: You can stretch selected parts of an object, leaving no selected parts unchanged. When using the stretch graphics command, the parts outside the graphics selection window will not change; the parts inside the graphics selection window will move with the movement of the graphics selection window, but there will be no change in shape. Select the Modify/Stretch command, or click the stretch button, or enter stretch in the command line to execute. Objects to be stretched must be selected using intersecting windows or intersecting polygons.
Extend graphics: You can extend the selected object to the specified boundary. You can extend straight lines, rays, arcs, elliptical arcs, and non-closed polylines to specified straight lines, rays, arcs, elliptical arcs, polylines, construction lines, and regions. Execute by selecting the Modify/Extend command, or clicking the Extend button, or entering extend in the command line. Extensible objects must be objects with endpoints, such as straight lines, multi-lines, etc., but cannot be objects without endpoints, such as circles, reference lines, etc. First, specify the extension boundary and then select the object to be extended.
the fourth step
Draw simple 2D shapes: Try drawing simple 2D shapes such as rectangles, squares, circles, etc.
Draw 3D models: Try to draw simple 3D models, such as cubes, spheres, cylinders, etc.
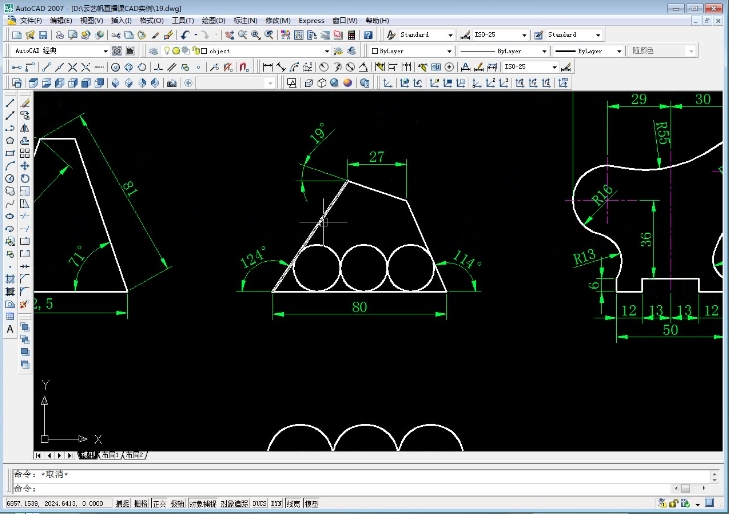
Add text and annotations: Try adding text and annotations to your drawing, such as dimension and annotation text.
Export and print graphics: Try exporting and printing graphics, such as exporting graphics to image files in JPEG or PNG format, or printing graphics to paper.
2. A complete list of autocad2007 shortcut key commands
【CTRL】 1 *PROPERTIES (modify properties)
【CTRL】 U *(polar axis)
【CTRL】 2 *ADCENTER(Design Center)
【CTRL】Z *UNDO(Give up)
【CTRL】 O *OPEN (open file)
【CTRL】 X *CUTCLIP (cut)
【CTRL】 N, M *NEW (new file)
[CTRL] C *COPYCLIP (copy)
【CTRL】 P *PRINT (print file)
【CTRL】 V *PASTECLIP (paste)
【CTRL】 S *S***E (save file)
【CTRL】 B *SNAP (grid snap)
[CTRL] F *OSNAP (object snap)
【CTRL】G *GRID(grid)
【CTRL】 L *ORTHO(orthogonal)
【F1】 *HELP(Help)
【F3】 *OSNAP (Object Snap)
【F2】 *(text window)
【F7】 *GRIP(grid)【F8】 *ORTHO(orthogonal)
The above is the detailed content of Autocad2007 Beginner Drawing Tutorial - Autocad2007 Shortcut Key Command Collection. For more information, please follow other related articles on the PHP Chinese website!

Hot AI Tools

Undresser.AI Undress
AI-powered app for creating realistic nude photos

AI Clothes Remover
Online AI tool for removing clothes from photos.

Undress AI Tool
Undress images for free

Clothoff.io
AI clothes remover

Video Face Swap
Swap faces in any video effortlessly with our completely free AI face swap tool!

Hot Article
Hot Tools

Notepad++7.3.1
Easy-to-use and free code editor

SublimeText3 Chinese version
Chinese version, very easy to use

Zend Studio 13.0.1
Powerful PHP integrated development environment

Dreamweaver CS6
Visual web development tools

SublimeText3 Mac version
God-level code editing software (SublimeText3)
Hot Topics


 Keyboard shortcut for quickly merging cells in Word
Feb 18, 2024 pm 12:08 PM
Keyboard shortcut for quickly merging cells in Word
Feb 18, 2024 pm 12:08 PM
Word shortcut keys for merging cells When editing tables using Microsoft Word, we often need to merge cells in order to adjust the structure and layout of the table. Word provides several ways to merge cells, including using shortcut keys. This article will introduce the shortcut keys for merging cells in Word to help you operate tables more efficiently. In Word, you can use shortcut keys to merge cells. The following are some commonly used shortcut keys for merging cells: Ctrl+Shift+
 How to solve the problem that the NVIDIA graphics card screen recording shortcut key cannot be used?
Mar 13, 2024 pm 03:52 PM
How to solve the problem that the NVIDIA graphics card screen recording shortcut key cannot be used?
Mar 13, 2024 pm 03:52 PM
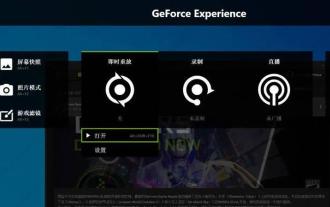
NVIDIA graphics cards have their own screen recording function. Users can directly use shortcut keys to record the desktop or game screen. However, some users reported that the shortcut keys cannot be used. So what is going on? Now, let this site give users a detailed introduction to the problem of the N-card screen recording shortcut key not responding. Analysis of the problem of NVIDIA screen recording shortcut key not responding Method 1, automatic recording 1. Automatic recording and instant replay mode. Players can regard it as automatic recording mode. First, open NVIDIA GeForce Experience. 2. After calling out the software menu with the Alt+Z key, click the Open button under Instant Replay to start recording, or use the Alt+Shift+F10 shortcut key to start recording.
 How to use shortcut keys to take screenshots in Win8?
Mar 28, 2024 am 08:33 AM
How to use shortcut keys to take screenshots in Win8?
Mar 28, 2024 am 08:33 AM
How to use shortcut keys to take screenshots in Win8? In our daily use of computers, we often need to take screenshots of the content on the screen. For users of Windows 8 system, taking screenshots through shortcut keys is a convenient and efficient operation method. In this article, we will introduce several commonly used shortcut keys to take screenshots in Windows 8 system to help you take screenshots more quickly. The first method is to use the "Win key + PrintScreen key" key combination to perform full
 What is the shortcut key to shut down the computer? What is the shortcut key to shut down the computer?
Feb 22, 2024 pm 02:34 PM
What is the shortcut key to shut down the computer? What is the shortcut key to shut down the computer?
Feb 22, 2024 pm 02:34 PM
The shutdown shortcut key for Windows desktop computers is ALT+F4; the shutdown shortcut key for Windows laptops is Alt+Fn+F4; the shutdown shortcut key for Apple computers is Ctrl+Option+Power key. Analysis 1 If it is a Windows desktop computer, the shortcut key for shutting down is ALT+F4. After pressing the key, the shutdown interface will pop up. Simply press the Enter key to complete the shutdown. 2. If it is a Windows laptop, the shortcut key to shut down is Alt+Fn+F4, and then press the Enter key to complete the shutdown. 3. If it is an Apple computer, then the shutdown key is Ctrl+Option+Power key to complete the shutdown. Supplement: What are the computer shortcut keys? 1 The computer shortcut keys are: C
 What is the shortcut key for renaming? What is the shortcut key for renaming?
Feb 22, 2024 pm 02:50 PM
What is the shortcut key for renaming? What is the shortcut key for renaming?
Feb 22, 2024 pm 02:50 PM
The shortcut key for renaming is F2. Analysis 1 The shortcut key for renaming is F2. 2 If you want to rename a file or folder, you can press F2 after selecting the file, modify it directly and press Enter. 3 Sometimes you can also use the mouse to select the file, right-click, select Rename, and press Enter after the modification is completed. 4 Shortcut keys refer to the special combination or sequence of keys on the keyboard to quickly complete a certain command, which can effectively improve work efficiency. Supplement: What are shortcut keys? 1 Shortcut keys, also called hot keys, refer to completing an operation through certain specific keys, key sequences or key combinations. You can use shortcut keys to do some work instead of the mouse. You can use keyboard shortcuts to open, close, and navigate the start menu, desktop, menus, and dialog boxes.
 How to quickly refresh a web page?
Feb 18, 2024 pm 01:14 PM
How to quickly refresh a web page?
Feb 18, 2024 pm 01:14 PM
Page refresh is very common in our daily network use. When we visit a web page, we sometimes encounter some problems, such as the web page not loading or displaying abnormally, etc. At this time, we usually choose to refresh the page to solve the problem, so how to refresh the page quickly? Let’s discuss the shortcut keys for page refresh. The page refresh shortcut key is a method to quickly refresh the current web page through keyboard operations. In different operating systems and browsers, the shortcut keys for page refresh may be different. Below we use the common W
 Learn to copy and paste quickly
Feb 18, 2024 pm 03:25 PM
Learn to copy and paste quickly
Feb 18, 2024 pm 03:25 PM
How to use the copy-paste shortcut keys Copy-paste is an operation we often encounter when using computers every day. In order to improve work efficiency, it is very important to master the copy and paste shortcut keys. This article will introduce some commonly used copy and paste shortcut keys to help readers perform copy and paste operations more conveniently. Copy shortcut key: Ctrl+CCtrl+C is the shortcut key for copying. By holding down the Ctrl key and then pressing the C key, you can copy the selected text, files, pictures, etc. to the clipboard. To use this shortcut key,
 Why doesn't Win11 show more options have shortcut keys? Details
Jan 31, 2024 pm 09:06 PM
Why doesn't Win11 show more options have shortcut keys? Details
Jan 31, 2024 pm 09:06 PM
The Show More Options function can help users quickly find the functions they want and allow users to quickly explore. So why does Win11 Show More Options have no shortcut keys? For details, users can check to see if their keyboard is locked. Let this website carefully introduce to users how to directly display more options in Win11. How to directly display more options in Win11 Method 1: 1. First, we must ensure that our keyboard can be used. 2. Confirm whether the keyboard is damaged or locked. (You can try typing it) 2. Then enter gpedit.msc during runtime and press Enter to open the group policy. 4. Then enter the file explorer under the list on the left. 6. Check
