

win7c disk space keeps getting smaller

php editor Xinyi discovered that some Win7 users will encounter a problem during use: the available space on the C drive continues to decrease. This problem bothers many people, causing the system to slow down or even not function properly. What is the reason why the C drive space keeps getting smaller? In this article, we will answer this question for you and provide solutions to help you solve this long-standing problem.
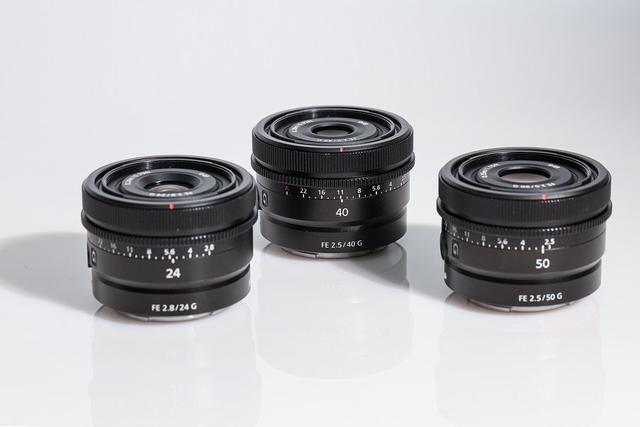
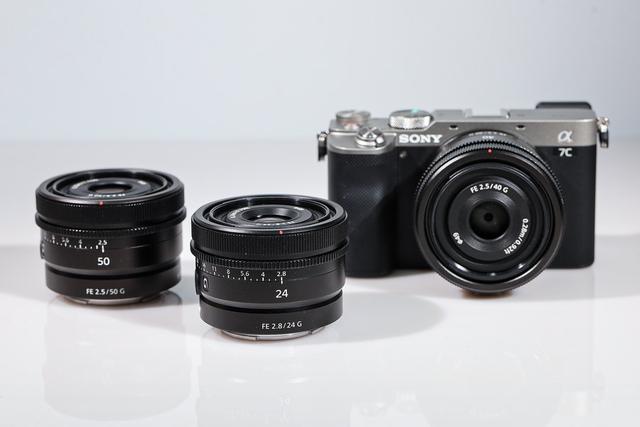
"Triplets" with the same size and different focal lengths
Sony FE 24mm F2.8 G, FE 40mm F2.5 G and FE 50mm F2.5 G lenses are all made of metal The mirror body design has outstanding texture and solid feel, with a hint of retro feel. All three lenses are dustproof and splashproof, making them suitable for shooting in harsh weather conditions.
The three lenses are basically the same size and shape
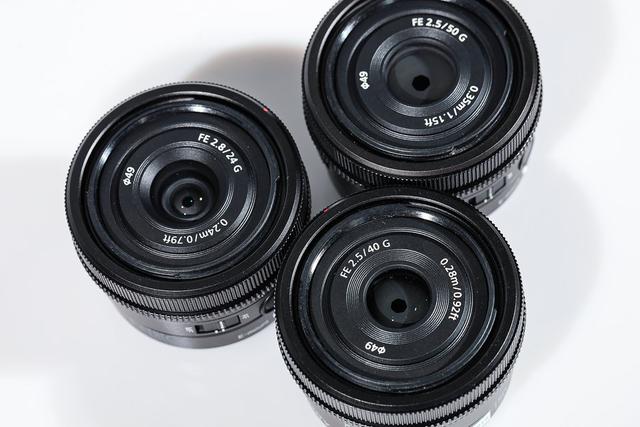
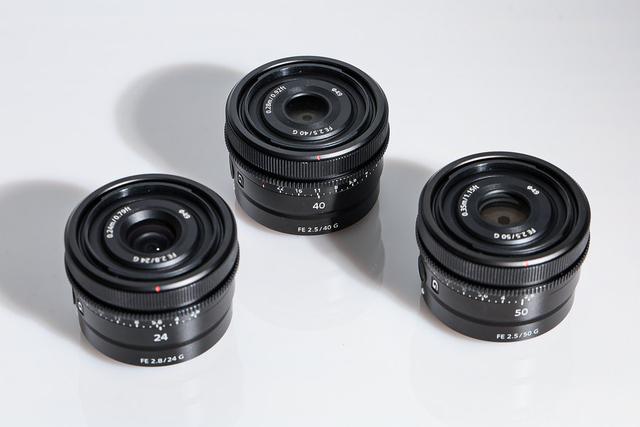
They all have 49mm filter size
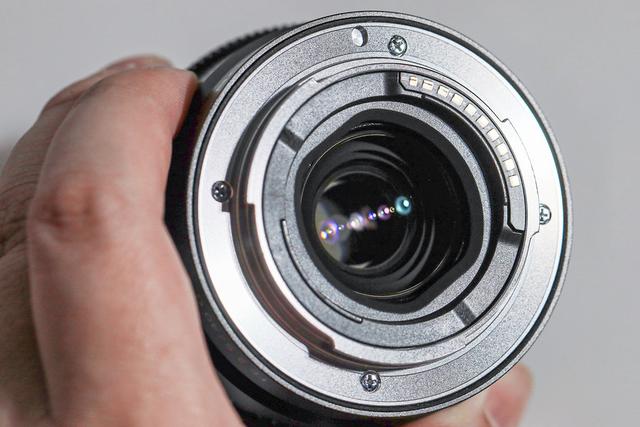
Metal mount and excellent protection Sex
The three lenses have the same size, filter diameter and appearance. They are all very refined and have professional-level controllability. FE 24mm F2.8 G, FE 40mm F2.5 G and FE 50mm F2.5 G are all equipped with manual aperture rings, which feel very obvious when switching apertures, and can also be switched to infinite aperture mode, so that they can be adjusted when shooting videos The aperture will not record the sound of switching aperture, and it can also make the depth of field change more smooth and natural.

Equipped with aperture scale ring
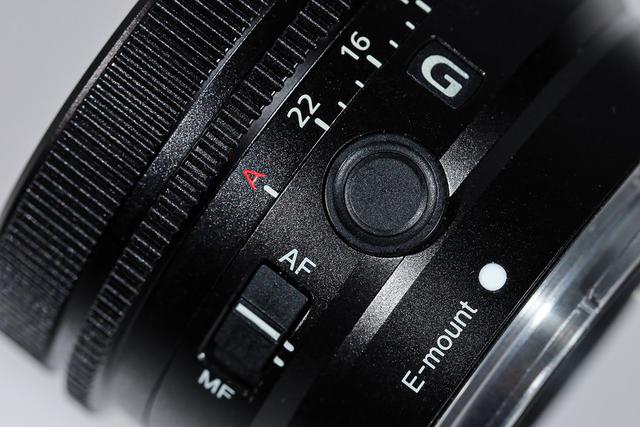
Focus hold button and focus mode lever
In addition, the lens body of the three lenses also has customizable features. The focus hold button allows users to set shortcut keys according to their needs. In terms of focusing system, all three lenses use two linear motors to provide fast, precise and quiet autofocus functions, and have excellent tracking focus performance. Additionally, these lenses feature an internal focusing design, making it easier to use filters.
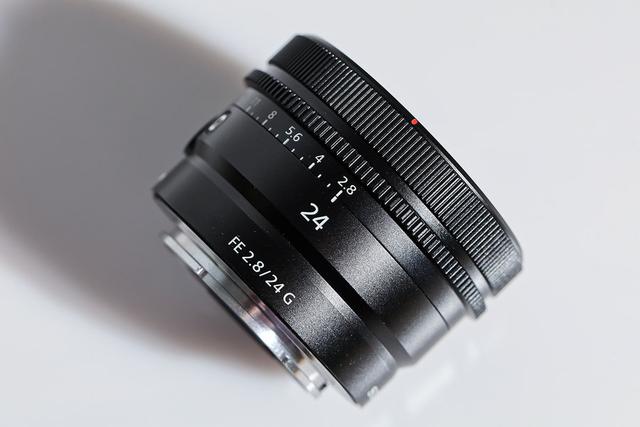
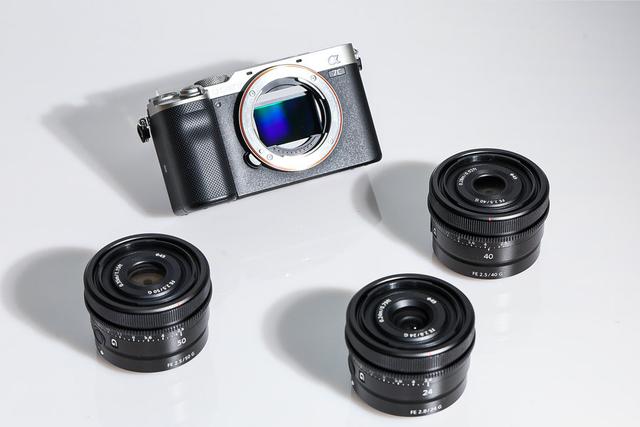
FE 24mm F2.8 G has a maximum aperture of F2.8
The Sony FE 24mm F2.8 G lens adopts an optical design of 8 elements in 7 groups, including 3 aspherical lenses And 1 piece of ED ultra-low dispersion lens.
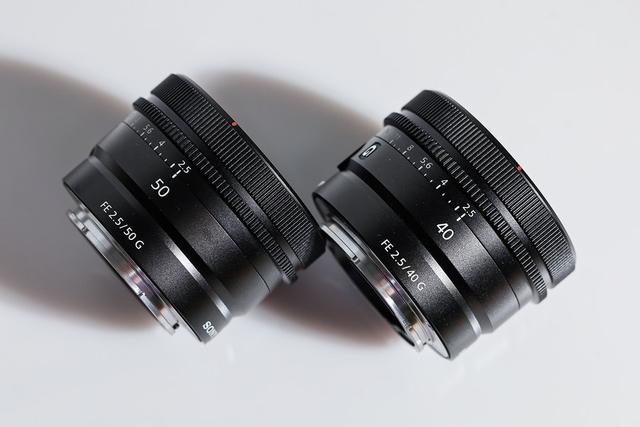
The maximum aperture of FE 40mm F2.5 G and FE 50mm F2.5 G is F2.5
The other two lenses are FE 40mm F2.5 G and FE 50mm F2.5 G has the same optical structure design of 9 elements in 9 groups, of which FE 40mm F2.5 G has 3 aspherical lenses built-in, while FE 50mm F2.5 G has 2 aspherical lenses and 1 ED ultra-low dispersion lens.
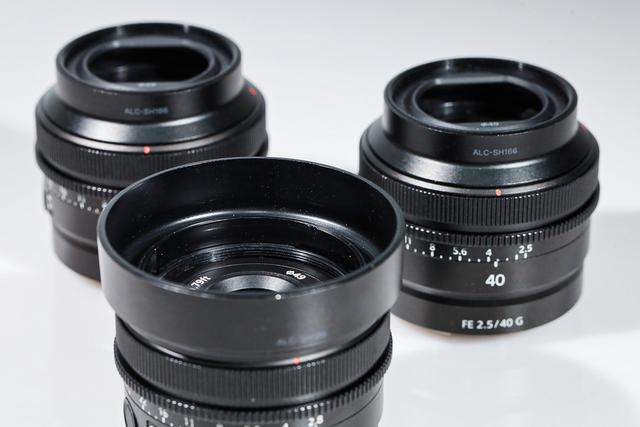
Metal lens hood, very sturdy and reliable
It is worth mentioning that this time, these three mini G lenses are specially designed with excellent close-up capabilities. , in manual focus mode, the minimum focusing distances of FE 24mm F2.8 G, FE40mm F2.5 G and FE 50mm F2.5 G are 0.18 meters, 0.25 meters and 0.31 meters respectively, and the corresponding maximum magnifications are 0.19 respectively. ×, 0.23× and 0.21×; in autofocus mode, the minimum focusing distances of the three lenses FE 24mm F2.8 G, FE 40mm F2.5 G FE 50mm F2.5 G are 0.24 meters, 0.28 meters and 0.35 meters is quite good.
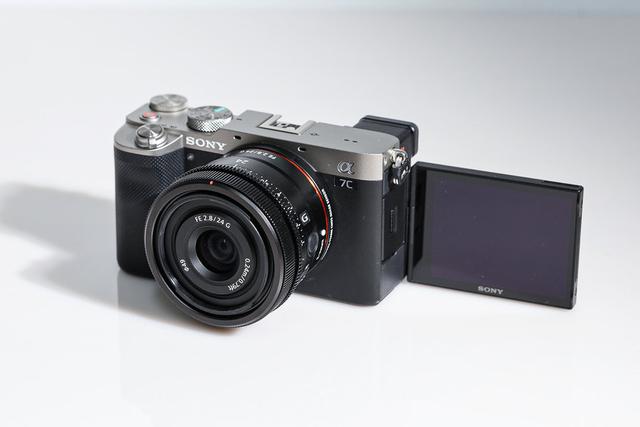
Sony FE 24mm F2.8 G with Alpha 7C full-frame mirrorless camera
These three lenses are very suitable for use with Sony full-frame mirrorless camera, especially when paired with a compact camera Sony's full-frame mirrorless Alpha 7C is used to shoot vlogs. It is lighter and more portable. When used with a stabilizer, the weight and center of gravity are almost unchanged. At the same time, each lens has an obvious focal length mark, making it easy to switch quickly and interchange lenses. convenient.
Excellent optical quality
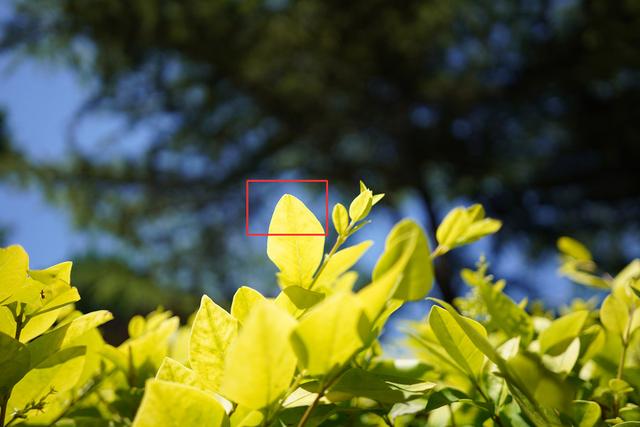
Next, let’s take a look at the image quality of Sony FE 24mm F2.8 G, FE 40mm F2.5 G and FE 50mm F2.5 G lenses In terms of actual performance, the three lenses are all Sony G lenses, and they all use a lot of special lenses. I believe they should have good performance in terms of image quality. This time, we are using the Sony Alpha 7C mirrorless camera with a 24.2 million effective pixel full-frame back-illuminated Exmor R CMOS image sensor. (Real scene sample shooting, exposure is A aperture priority, highest quality JPG format, full pixel size output, automatic white balance, standard color mode, in-camera correction turned on, shooting data is for reference only)
Sharpness: 24mm
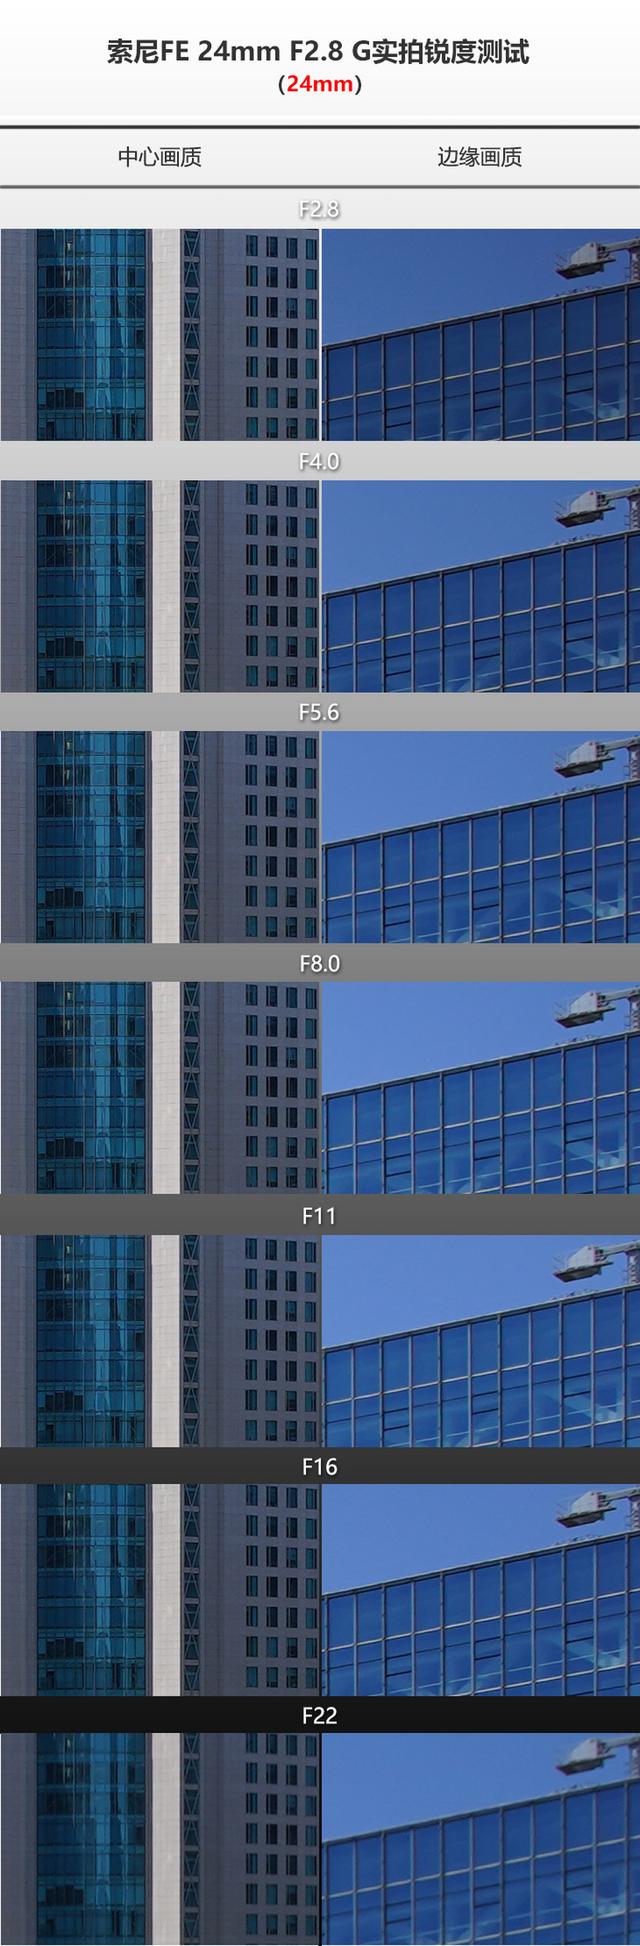
Judging from the above actual tests and 100% enlarged screenshots, the performance of the Sony FE 24mm F2.8 G maintains the high-resolution characteristics of the Sony G lens and maintains good resolution throughout the entire aperture coverage. High resolution, even at the maximum aperture of F2.8, the center image quality and edge image quality have reached very high resolution. This is mainly due to the excellent optical design and the use of special lenses such as aspherical and ultra-low dispersion. Moreover, as a wide-angle lens, the sharpness of the edge quality of the FE 24mm F2.8 G is a bit beyond my expectations. Except for the F22 aperture, where the picture is a little unexpected due to lens diffraction, the picture is very solid and clear at other apertures. , you can use it with confidence even with a small aperture like F16.
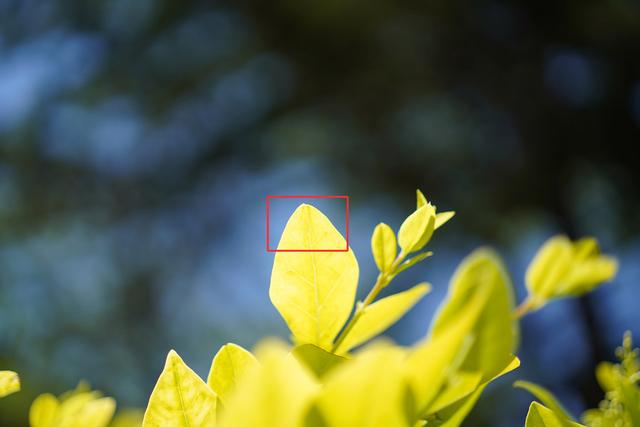
Sharpness: 40mm
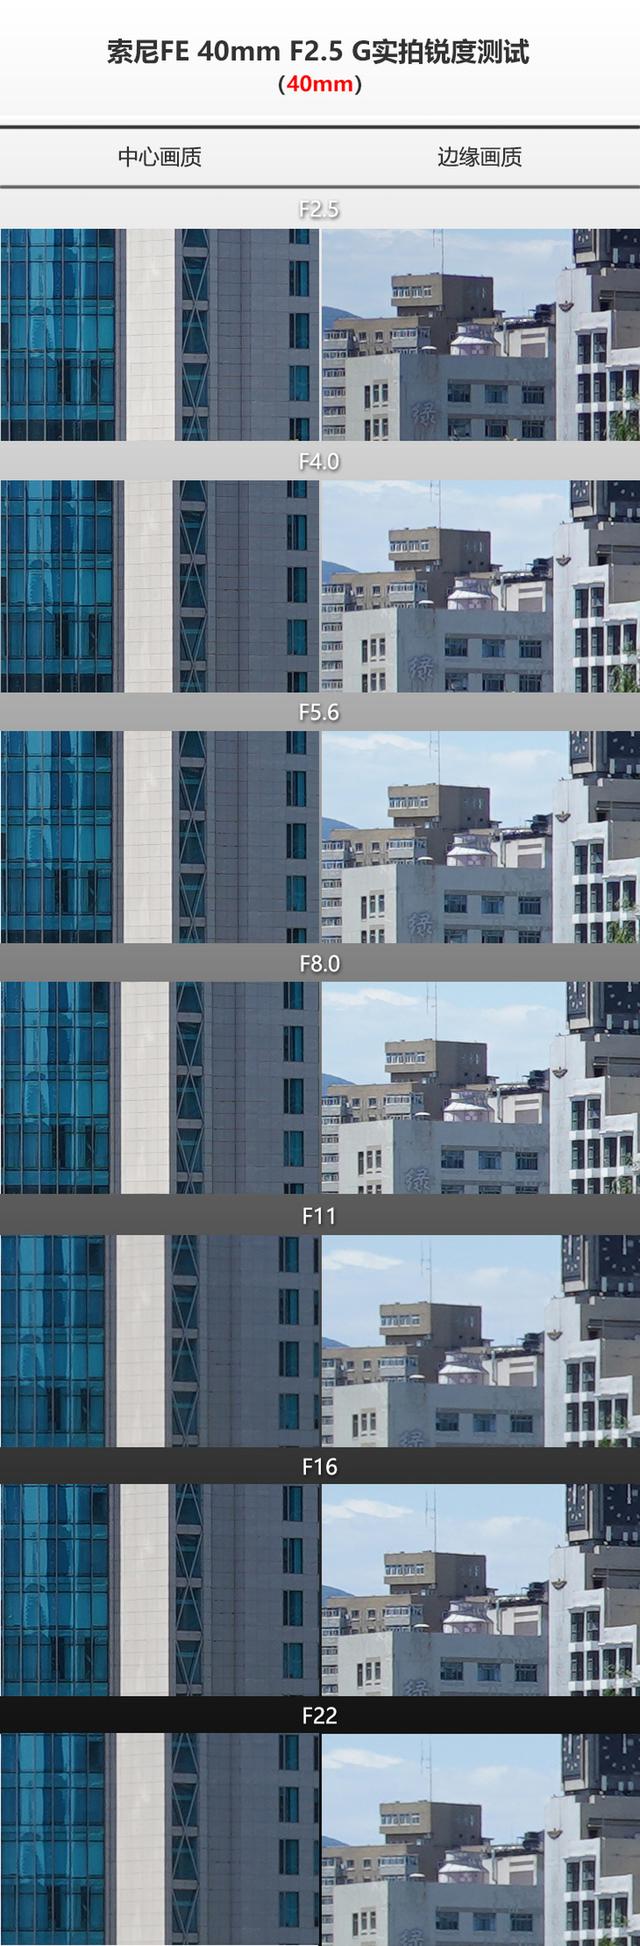
It is not difficult to see through actual shooting that the Sony FE 40mm F2.5 G has a very good performance even under the condition of full aperture. The performance, center sharpness and edge sharpness are both remarkable. The excellent performance of the entire lens continues up to F16, and when reaching a small aperture such as F22, due to the diffraction problem caused by the small aperture, the edge image quality is somewhat lost, but the loss of center image quality is not obvious. It can be said that the Sony FE 40mm F2.5 G lens also performs quite well in terms of resolution.
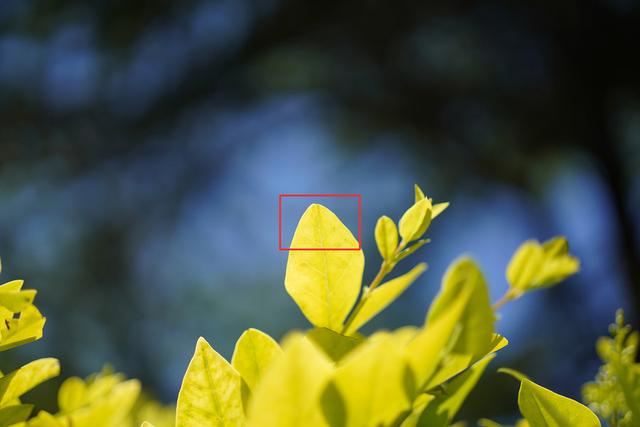
Sharpness: 50mm
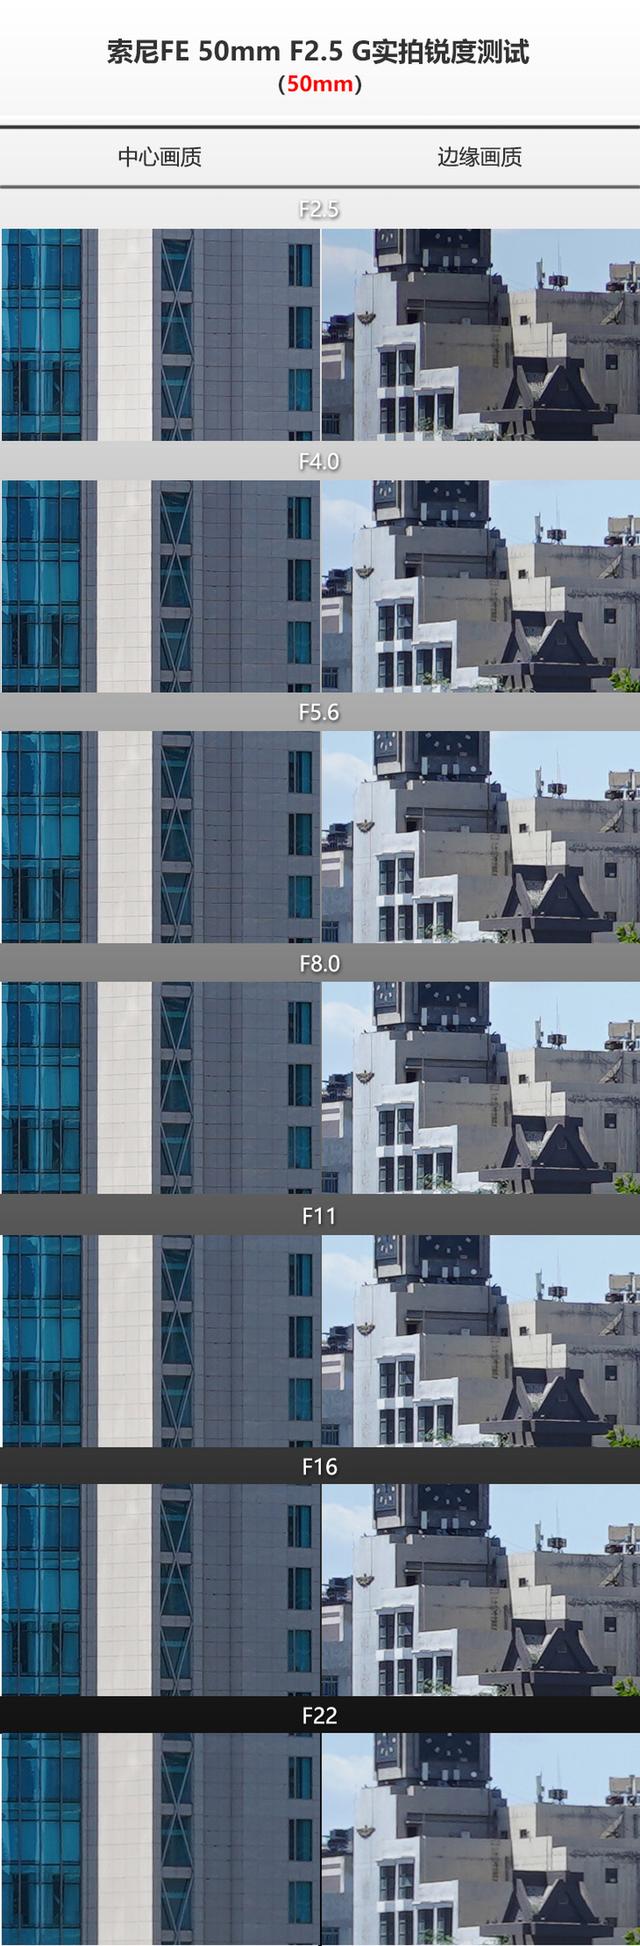
Like the other two lenses, the Sony FE 50mm F2.5 G is very sharp and solid in both center and edge imaging, especially at the maximum aperture. The sharpness at F2.5 is also very high, which surprised me somewhat. Further narrowing the aperture thickness, the center resolution of the lens is significantly improved, and it maintains high sharpness until the aperture of F11. Even at the small aperture of F16, the sharpness does not drop significantly due to diffraction. Can be used with confidence.
Vignetting:
FE 24mm F2.8 G

FE 40mm F2.5 G
FE 50mm F2. 5 G
Generally speaking, large aperture lenses, wide-angle and ultra-wide-angle lenses are more likely to lose light around the main line. Judging from the actual shooting results, the Sony FE 24mm F2.8 G lens has a better performance at F2.8 There is inevitably slight vignetting at the maximum aperture, but it is significantly improved after the F5.6 aperture; and both the FE 24mm F2.8 G and FE 24mm F2.8 G lenses have slight vignetting at the maximum aperture of F2.5. Appears, and the vignetting situation is alleviated when the aperture is stopped down a few stops.
Distortion:

FE 24mm F2.8 G

FE 40mm F2.5 G

FE 50mm F2.5 G
The distortion control of the Sony FE 24mm F2.8 G is also very satisfactory. There is no barrel distortion that is more likely to occur in wide-angle lenses in the past, which makes the picture performance more natural when shooting architecture and other subjects; FE 40mm F2 The .5 G and FE 50mm F2.5 G lenses also have no obvious distortion, and the weak pincushion distortion is negligible.
Dispersion:
FE 24mm F2.8 G sample shot

100% enlarged screenshot, F2.8 aperture
at Dispersion (purple fringing, blue fringing, green fringing) can easily occur in a large light ratio environment. The use of ED ultra-low dispersion lenses allows this FE 24mm F2.8 G lens to perform very well in controlling dispersion. There is no obvious purple or blue-green fringing when the aperture is fully open.
FE 40mm F2.5 G sample shot

100% enlarged screenshot, F2.5 aperture

100% enlarged screenshot, F4 .0 aperture
The Sony FE 40mm F2.5 G lens has a relatively slight front purple and back green dispersion when the F2.5 aperture is fully opened, but when the aperture is slightly reduced, this situation basically disappears. .
FE 50mm F2.5 G sample shot

100% enlarged screenshot, F2.5 aperture

100% enlarged screenshot, F4.0 aperture
Uses a low-dispersion ED lens FE 50mm F2.5 G lens, which performs better than the FE 40mm F2.5 G when the aperture is fully open The performance is slightly better, with only a slight green edge outside the focus. This is related to the use of special lenses, but at the maximum aperture, I think it can be used with complete confidence.
The above is the detailed content of win7c disk space keeps getting smaller. For more information, please follow other related articles on the PHP Chinese website!

Hot AI Tools

Undresser.AI Undress
AI-powered app for creating realistic nude photos

AI Clothes Remover
Online AI tool for removing clothes from photos.

Undress AI Tool
Undress images for free

Clothoff.io
AI clothes remover

Video Face Swap
Swap faces in any video effortlessly with our completely free AI face swap tool!

Hot Article
Hot Tools

Notepad++7.3.1
Easy-to-use and free code editor

SublimeText3 Chinese version
Chinese version, very easy to use

Zend Studio 13.0.1
Powerful PHP integrated development environment

Dreamweaver CS6
Visual web development tools

SublimeText3 Mac version
God-level code editing software (SublimeText3)
Hot Topics


 What should I do if the Win7 taskbar does not display the icon? How to solve the problem of the computer taskbar icon disappearing
Jun 09, 2024 pm 01:49 PM
What should I do if the Win7 taskbar does not display the icon? How to solve the problem of the computer taskbar icon disappearing
Jun 09, 2024 pm 01:49 PM
Recently, many users using Win7 system have found that the icons in the taskbar suddenly disappeared, which makes the operation very inconvenient and they do not know how to solve the problem. This article will introduce to you how to solve the problem of disappearing taskbar icons in Win7 system. Bar! Cause Analysis When encountering such a situation, there are generally two situations: one is that the taskbar on the computer does not really disappear, but is just hidden, and the other is that the taskbar does disappear. Method 1: 1. There is a situation that you need to confirm first, that is, when the mouse is placed at the bottom of the screen, the taskbar will be displayed. You can directly click the mouse on the taskbar and select "Properties". 2. In the dialog box that opens, click & on the "Hide taskbar" option.
 How to clear all desktop background images in Win7? Tips for deleting personalized background images in Win7
Jun 02, 2024 am 09:01 AM
How to clear all desktop background images in Win7? Tips for deleting personalized background images in Win7
Jun 02, 2024 am 09:01 AM
In Win7 system, many users want to delete personalized desktop background images, but do not know how to delete them. This article will show you how to delete personalized background images in Win7 system. 1. First, open the control panel interface of the Win7 system and click to enter the "Appearance and Personalization" settings; 2. Then, in the opened interface, click the "Change Desktop Background" setting; 3. Then, click below "Desktop background" option; 4. Then, select Select all, and then click Clear all. Of course, you can also use it under "Customize", right-click the theme you want to delete, and then click &q on the shortcut menu
 Where is the network discovery in Win7? Tips for enabling the network discovery function in Win7
Jun 04, 2024 am 09:02 AM
Where is the network discovery in Win7? Tips for enabling the network discovery function in Win7
Jun 04, 2024 am 09:02 AM
Many computer users know that network discovery is a network setting. This setting will affect whether the computer can find other computers and devices on the network and whether it can find the computer when other computers on the network are found. So how to enable network discovery in win7? The following computer System Home U Disk Installation will introduce you to the tutorial on how to enable network discovery in win7 system. 1. First, click the "Start Menu" icon on the desktop taskbar and choose to open the "Control Panel" interface. 2. Then, in the interface that opens, set "View by" to "Category", and then choose to enter "Network and Internet"
 How to add Windows credentials in Win7
Mar 26, 2024 pm 07:46 PM
How to add Windows credentials in Win7
Mar 26, 2024 pm 07:46 PM
1. First, select the Control Panel option in the Start button of the Win7 system. 2. Then in the control panel that pops up, click the [User Accounts and Family Safety] item. 3. Then click [Credential Manager] in the pop-up interface. 4. Finally, click [Add Windows Credentials] to create your credentials. The operation method of adding and managing windows credentials in win7 is shared here in detail with friends. More exciting tutorials are available on the PHP Chinese website!
 Introduction to how to change the startup sound of Windows 7 computer
Mar 26, 2024 pm 09:30 PM
Introduction to how to change the startup sound of Windows 7 computer
Mar 26, 2024 pm 09:30 PM
1. First copy the file you want to use as boot music to the corresponding directory of C: WindowsMedia. As shown in the figure: 2. Right-click the desktop on a single machine and select Personalize menu; as shown in the figure: 3. Select the sound option; as shown in the figure: 4. In the [Program Events] box in the [Sound] tab of the sound interface Select [Windows Login], then click [Browse]; as shown in the figure: 5. Select the music file that needs to be replaced, click Open, then click Apply and confirm to save the settings. as the picture shows:
 How to delete vbs virus in win7
Mar 26, 2024 pm 09:21 PM
How to delete vbs virus in win7
Mar 26, 2024 pm 09:21 PM
1. Click [Start → Run] and enter gpedit.msc. On the left side of the [Group Policy] window, click the [Computer Configuration → Windows Settings → Security Settings → Software Restriction Policy] item, and then click the [Action → Create New Policy] menu item. As shown in the picture: 2. Select [Other Rules] from the left. Right-click the blank space in the right pane and select the [New Path Rule] item in the menu. In the pop-up window, click the [Browse] button after [Path], select the wscript.exe file in the C: WindowsSystem32 folder, and set the [Security Level] to [Not Allowed]. Change C: System32, Dllcache and I386 under Windows
 How to modify boot animation in Windows 7
Mar 26, 2024 pm 08:51 PM
How to modify boot animation in Windows 7
Mar 26, 2024 pm 08:51 PM
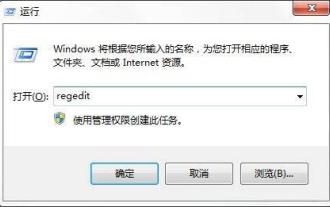
1. Press and hold the [Win+R] keys to open the run dialog box, enter [regedit] in the search box, and then confirm; as shown in the figure: 2. Open HKEY_LOCAL_MACHINESoftwareMicrosoftWindowsCurrentVersionAuthenticationLogonUIBackgroud in the opened registry editor; as shown in the figure Display: 3. Double-click [OEMBackground] and open it, change the default value [0] to [1], and then confirm to exit; as shown in the figure: 4. Rename the image backgroundDefault.jpg, (the image size cannot exceed 256k
 How to quickly cancel the power-on password of WIN7
Mar 26, 2024 pm 06:56 PM
How to quickly cancel the power-on password of WIN7
Mar 26, 2024 pm 06:56 PM
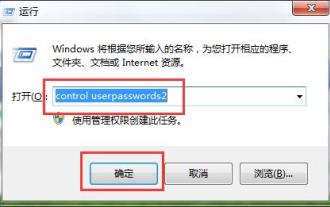
1. Press win+r to enter the run window, enter [controluserpasswords2] and press Enter. 2. In the user account window, uncheck [To use this machine, the user must enter a username and password (E)], and then click [Apply → OK].
