Installation steps for win7 ultimate 64-bit system
I believe everyone is familiar with the win7 ultimate 64-bit system. Its fast running speed and system stability make this version of the system still popular among many users. Recently, some users asked me how to install Win7 Ultimate 64-bit system, so today I will share with you how to reinstall Win7 Ultimate 64-bit system with one click. Let’s take a look below!
Win7 Ultimate 64-bit system installation steps:
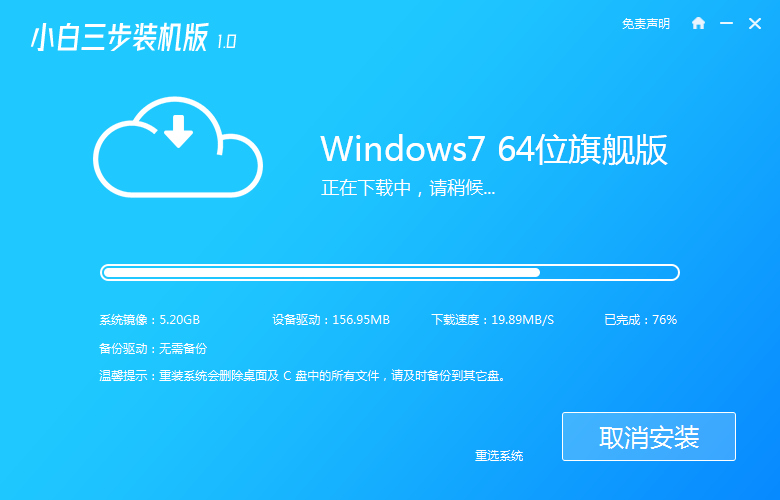
1. Search the Xiaobai one-click reinstallation system official website in the browser, download the Xiaobai three-step installation version software and open it, select the win7 system, and click Reinstall now. (Turn off the anti-virus software before use)

#2. Wait for the software to download the system image.
#3. After the download is completed, the software will automatically reinstall the Windows system online.
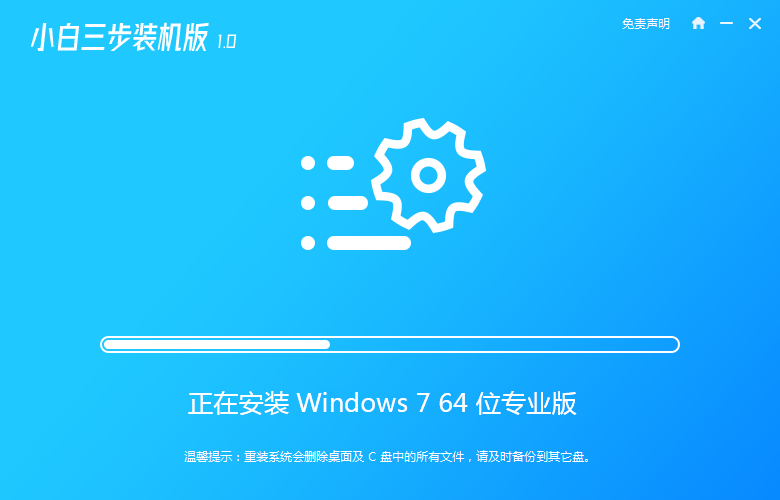
#4. After the installation is complete, click Restart Now.

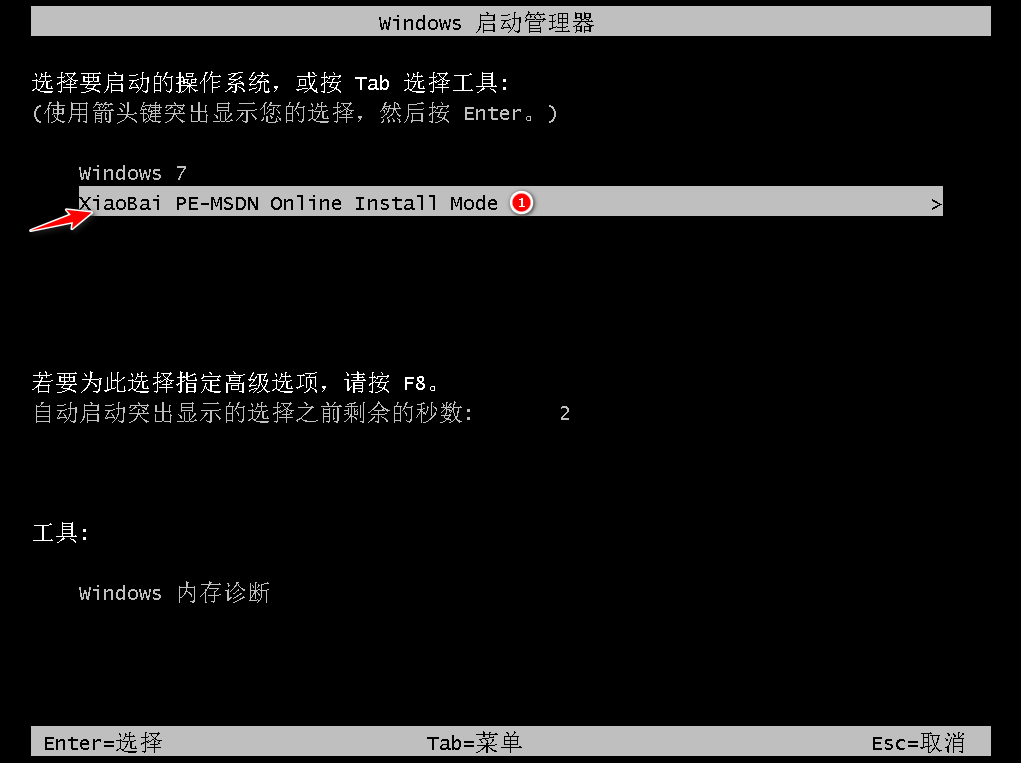
#5. After restarting, select the second option in the PE menu to enter the xiaobai PE system.
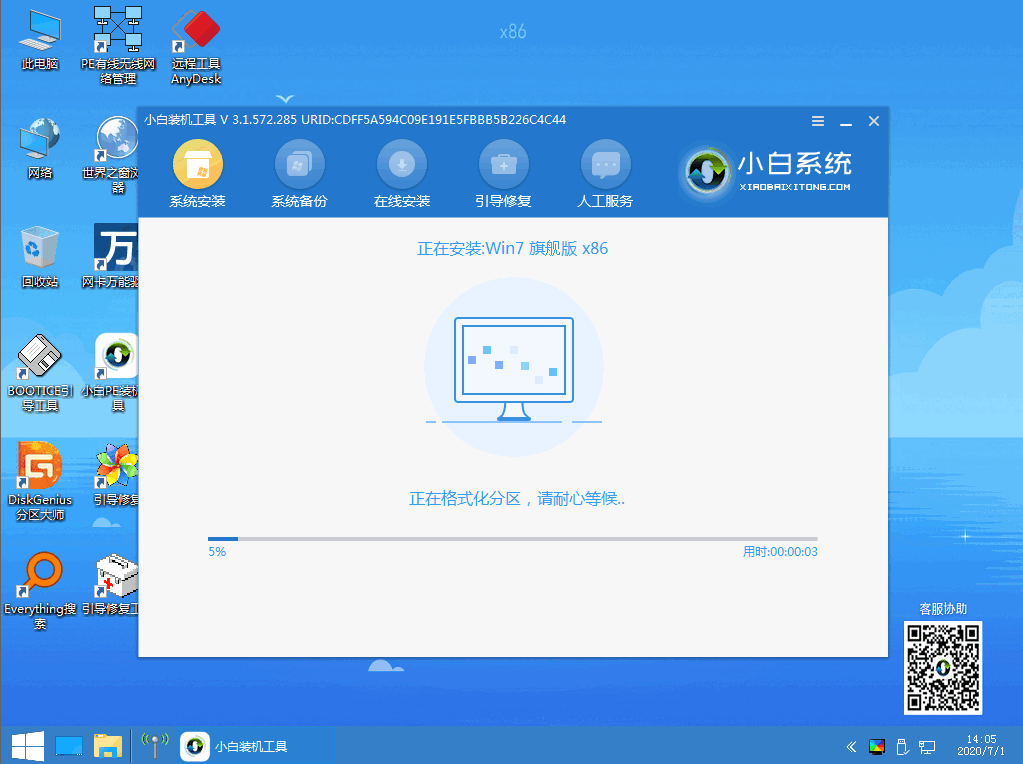
#6. In the PE system, the Xiaobai installation tool automatically installs the system. We do not need to operate. We can wait for the installation to complete and click to restart immediately.
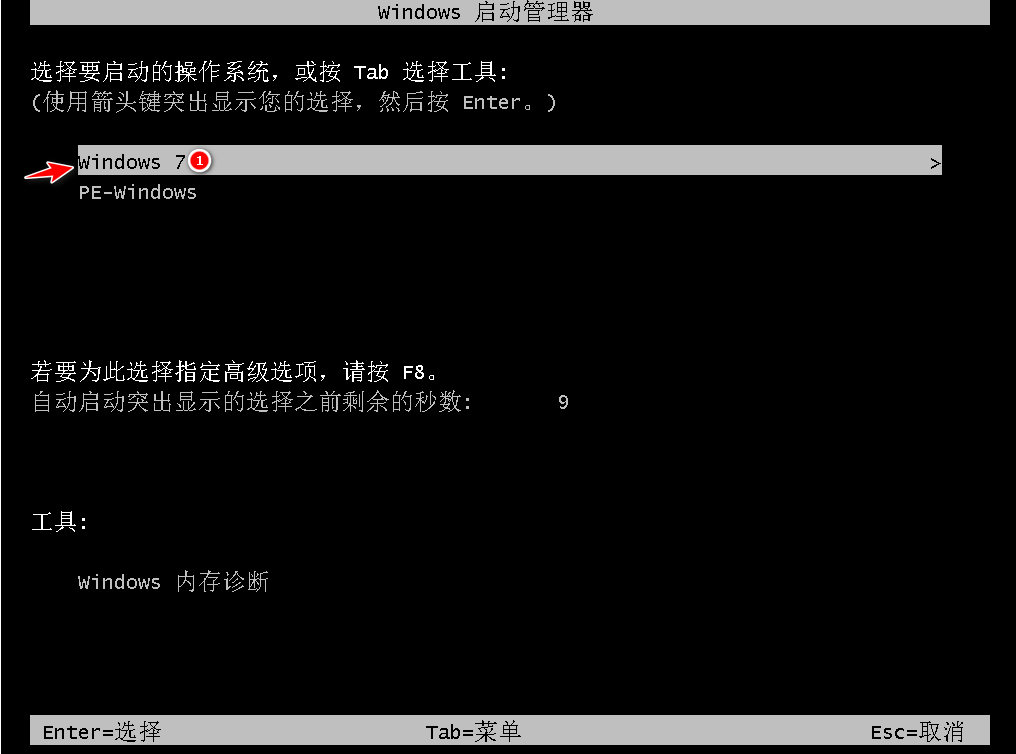
#7. After restarting, select Windows 7 to enter.
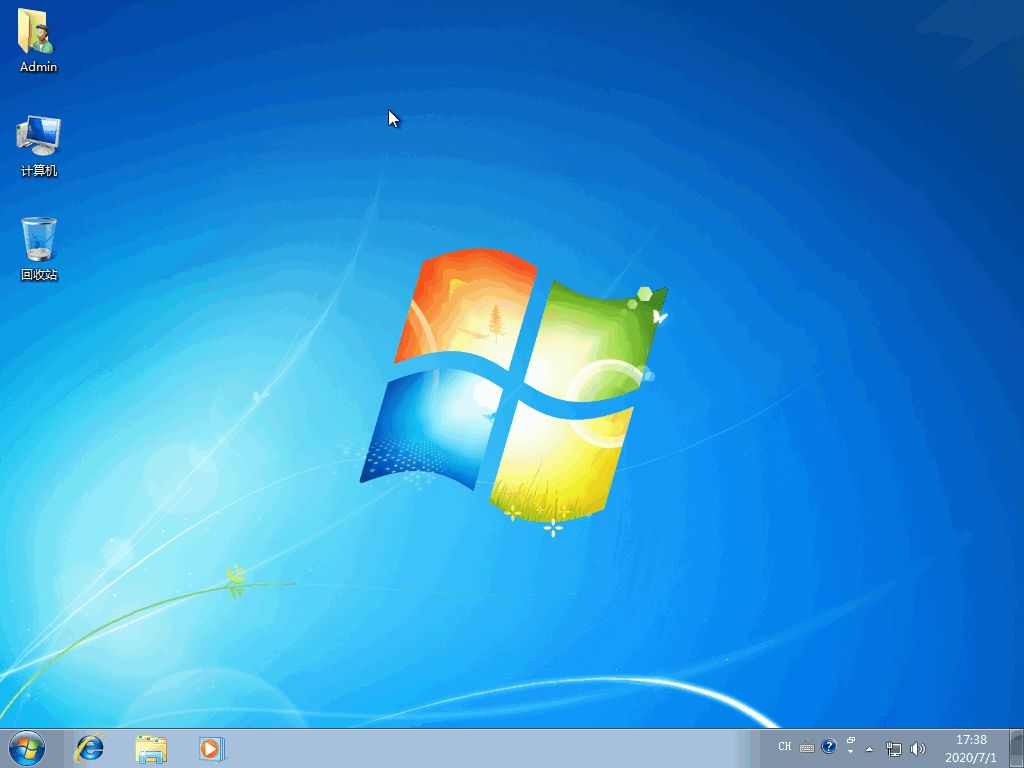
#8. Waiting for the boot to enter the win7 desktop means that our win7 system is installed.
The steps on how to install win7 ultimate 64-bit system are shared here! Hope it helps everyone!
The above is the detailed content of Installation steps for win7 ultimate 64-bit system. For more information, please follow other related articles on the PHP Chinese website!

Hot AI Tools

Undresser.AI Undress
AI-powered app for creating realistic nude photos

AI Clothes Remover
Online AI tool for removing clothes from photos.

Undress AI Tool
Undress images for free

Clothoff.io
AI clothes remover

Video Face Swap
Swap faces in any video effortlessly with our completely free AI face swap tool!

Hot Article

Hot Tools

Notepad++7.3.1
Easy-to-use and free code editor

SublimeText3 Chinese version
Chinese version, very easy to use

Zend Studio 13.0.1
Powerful PHP integrated development environment

Dreamweaver CS6
Visual web development tools

SublimeText3 Mac version
God-level code editing software (SublimeText3)

Hot Topics
 Illustrated installation steps of an electric fan 'A must-see for beginners: How to disassemble and assemble an electric fan'
Feb 06, 2024 pm 08:10 PM
The disassembly and assembly operation of the electric fan can be carried out according to the actual maintenance needs. Let's take the Midea FTS35-M2 electric fan as an example to introduce the disassembly and assembly method of the electric fan. 1. Disassembly of the electric fan grille and fan blades The electric fan grille and fan blades are important components on the top of the electric fan. If you suspect that the fan blades are faulty, you need to remove the grille first and then the fan blades. The grille and blades of an electric fan are usually fixed with screws. When disassembling, find the screws on the grille, unscrew and remove the grille, and further disassemble the fan blades. Remove the electric fan grille and fan blades. The specific operation is as shown in the figure: 2. Removal of the electric fan motor casing. The electric fan motor is fixed in the electric fan casing by fixing screws. When it is suspected that the motor in the electric fan is faulty, The casing of the motor should be disassembled first.
 Detailed explanation of the steps to obtain Win11 system administrator permissions
Mar 08, 2024 pm 09:09 PM
Windows 11, as the latest operating system launched by Microsoft, is deeply loved by users. In the process of using Windows 11, sometimes we need to obtain system administrator rights in order to perform some operations that require permissions. Next, we will introduce in detail the steps to obtain system administrator rights in Windows 11. The first step is to click "Start Menu". You can see the Windows icon in the lower left corner. Click the icon to open the "Start Menu". In the second step, find and click "
 How to delete installed language pack in win10 system
Jan 06, 2024 pm 10:37 PM
When we use the win10 operating system, in some cases we may need to delete the language pack in the system. At this time, just find the language option first, then choose to add a language pack. During this process, uncheck the language pack to be deleted and then delete it. How to delete the installed language pack in win10 system: 1. Use win+i to open settings and find the time and language options. 2. Select the "Language" option in the time and language options. 3. Select "Add Language" and go to the next step. 4. Uncheck the language pack when adding a language. After the addition is completed, you can download the language pack and voice pack separately;
 How to initialize the computer in win7
Jan 07, 2024 am 11:53 AM
The win7 system is a very excellent high-performance system. During the continuous use of win7, many friends are asking how to initialize the computer in win7! Today, the editor will bring you how to restore the factory settings of a win7 computer. Related information on how to initialize the computer in win7: Detailed instructions with pictures and text. Steps: 1. Open the "Start Menu" and enter. 2. Click to enter the settings at the bottom of the left side. 3. In the Win10 update and recovery settings interface, select. 4. Click below "Remove all content and reinstall Windows". 5. You can see the following "Initialization" settings, and then click. 6. Enter the "Your computer has multiple drives" setting option. There are two options here, you can choose according to the situation.
 How to display file suffix under Win11 system? Detailed interpretation
Mar 09, 2024 am 08:24 AM
How to display file suffix under Win11 system? Detailed explanation: In the Windows 11 operating system, the file suffix refers to the dot after the file name and the characters after it, which is used to indicate the type of file. By default, the Windows 11 system hides the suffix of the file, so that you can only see the name of the file in the file explorer but cannot intuitively understand the file type. However, for some users, displaying file suffixes is necessary because it helps them better identify file types and perform related operations.
 How to implement dual system switching in Win10 system
Jan 03, 2024 pm 05:41 PM
Many friends may not be used to the win system when they first come into contact with it. There are dual systems in the computer. At this time, you can actually switch between the two systems. Let's take a look at the detailed steps for switching between the two systems. How to switch between two systems in win10 system 1. Shortcut key switching 1. Press the "win" + "R" keys to open Run 2. Enter "msconfig" in the run box and click "OK" 3. In the open "System Configuration" In the interface, select the system you need and click "Set as Default". After completion, "Restart" can complete the switch. Method 2. Select switch when booting 1. When you have dual systems, a selection operation interface will appear when booting. You can use the keyboard " Up and down keys to select the system
 How to install Windows 7 system on computer to Android phone
Jan 05, 2024 pm 06:41 PM
When we use the win7 operating system, we will inevitably encounter situations that require us to reinstall the system. So for the question of how to install the win7 system on an Android phone to a computer, the editor thinks that we first need to install a relevant emulator software on our phone, and then download the required operating system to our phone, and connect it to the computer to install it. operate. Let’s take a look at how the editor did it for detailed steps~ How to install win7 system on an Android phone on a computer 1. First download and install DriverDroid, and then set it up according to the setup wizard after running it. 2. Then note that the Android phone has obtained ROOT and needs to be connected to a computer during setup. 3. Move the bios file automatically downloaded by the phone to the image root directory (phone memory/D
 Detailed explanation of pip installation guide on Ubuntu
Jan 27, 2024 am 09:45 AM
Detailed explanation of the pip installation steps on Ubuntu On the Ubuntu operating system, pip is a Python package management tool that can easily help us install, upgrade and manage Python components. This article will detail the steps to install pip on Ubuntu and provide specific code examples. Step 1: Open Terminal First, open Terminal. In Ubuntu, you can open the terminal by clicking the "Applications" icon in the upper left corner and typing "terminal" in the search bar. Step 2:


