

How to install and use Wireshark in Ubuntu 22.04


Wireshark is a free and open source, cross-platform, GUI-based network packet analyzer available for Linux, Windows, MacOS, Solaris, and more. It captures network packets in real-time and presents them in human-readable format. It enables us to monitor network packets at a microscopic level. It also has a command line program called tshark which performs the same functions as Wireshark, but through the terminal rather than through the GUI.
Wireshark can be used for network troubleshooting, analysis, software and communications protocol development, and for educational purposes. Wireshark uses a library called pcap to capture network packets.
Features of Wireshark
- Supports inspection of hundreds of protocols
- Ability to capture packets in real time and save them for later offline analysis
- Some Filters for analyzing data
- Captured data can be compressed and decompressed dynamically
- Supports multiple data analysis file formats, and output can also be saved in XML, CSV, plain text format
- Can capture data from multiple interfaces such as Ethernet, WiFi, Bluetooth, USB, Frame Relay, Token Ring, etc.
Prerequisites
- Pre-installed Ubuntu 22.04
- Local user with sudo privileges
- Internet connection
Wireshark installation steps
Install from Ubuntu repository
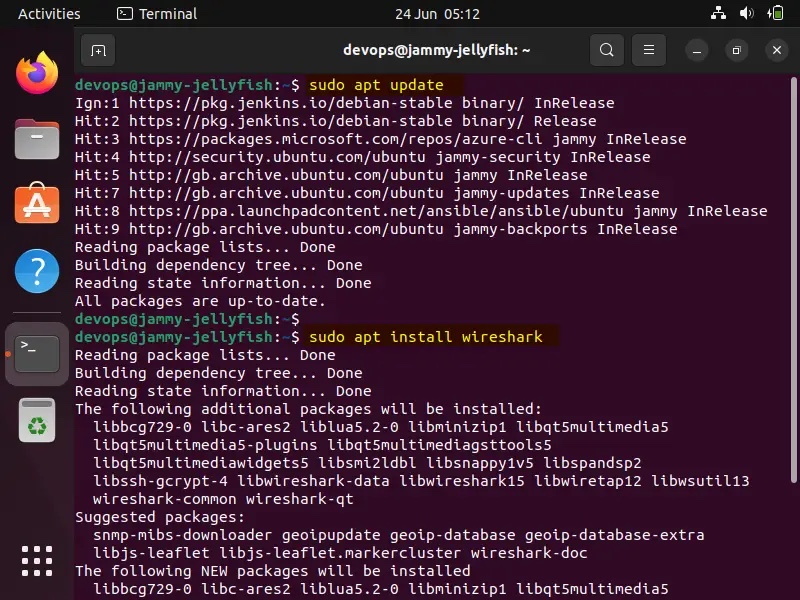
Wireshark The package is available in the default Ubuntu repository and can be simply installed using the following command. But you may not be able to get the latest version of wireshark.
$ sudo apt update$ sudo apt install wireshark
 Apt-Command-Install-Wireshark-Ubuntu
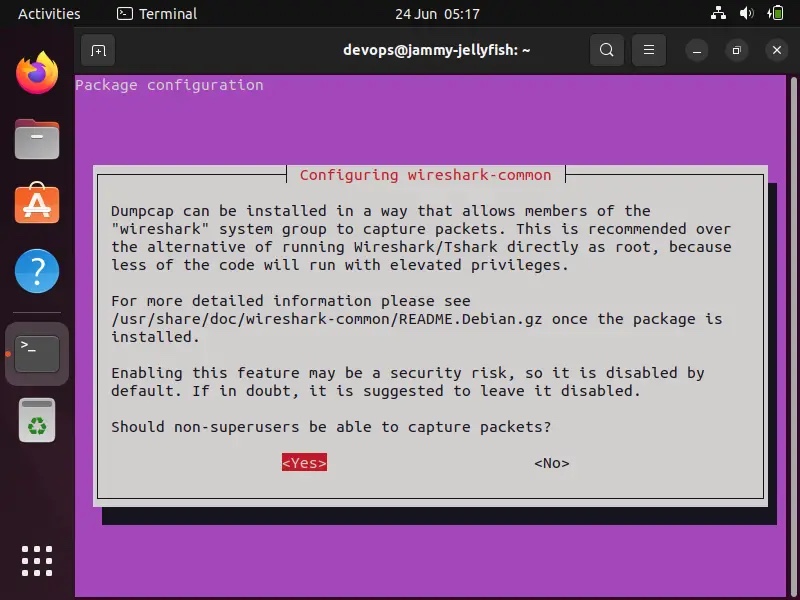
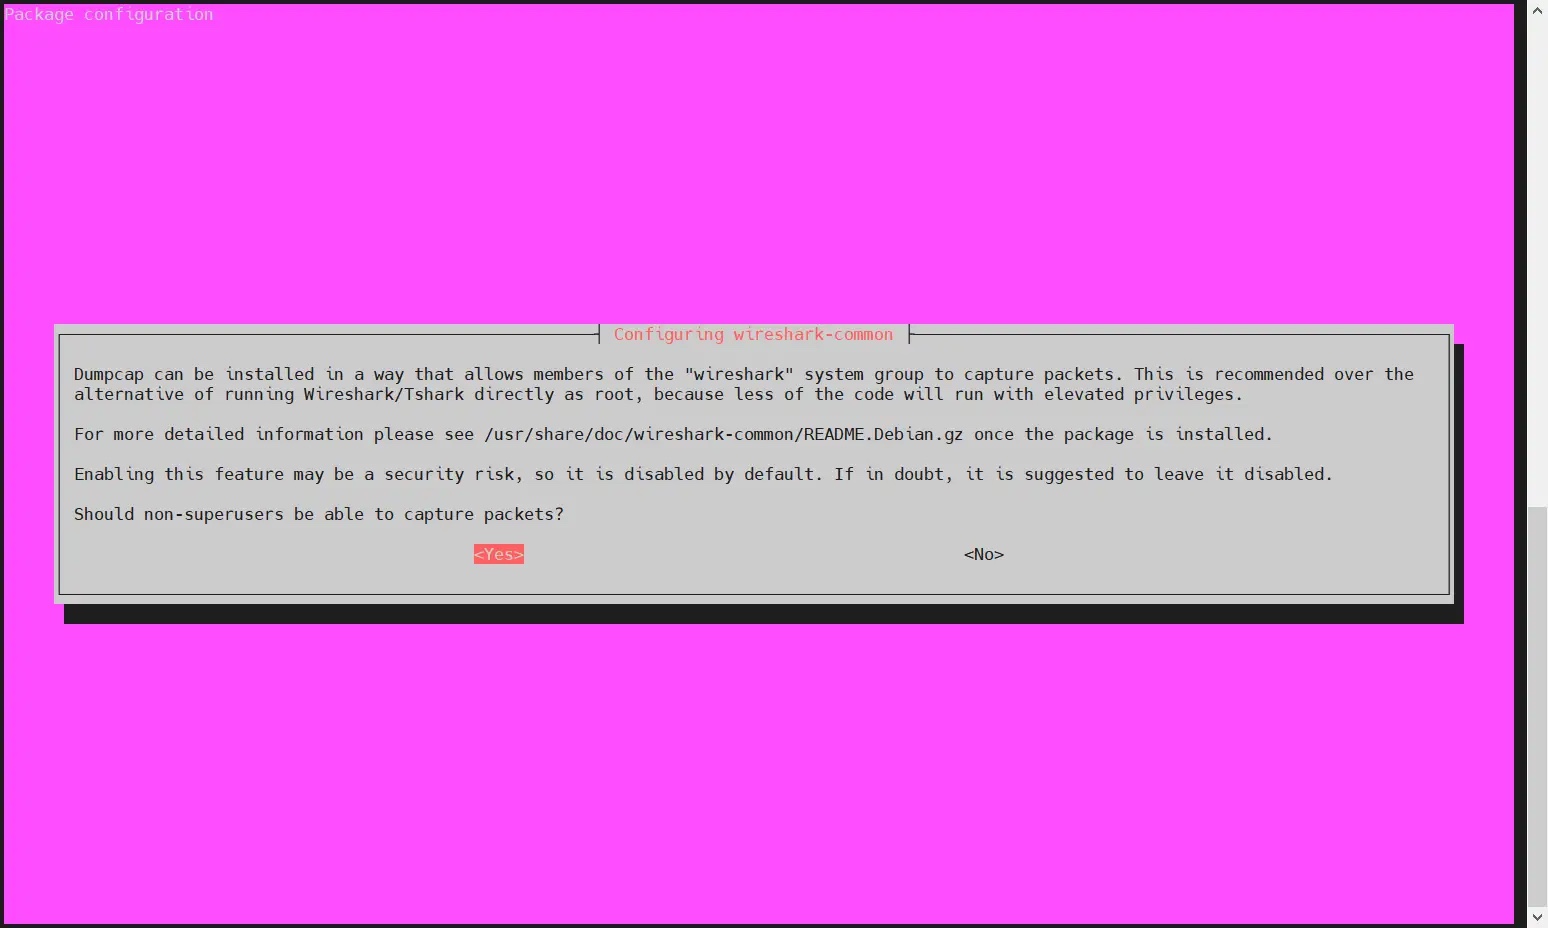
Select "Yes" to allow non-superusers to use Wireshark to capture packets:
 Allow-Non-SuperUsers-To-Capture-Packets-Wireshark-Ubuntu
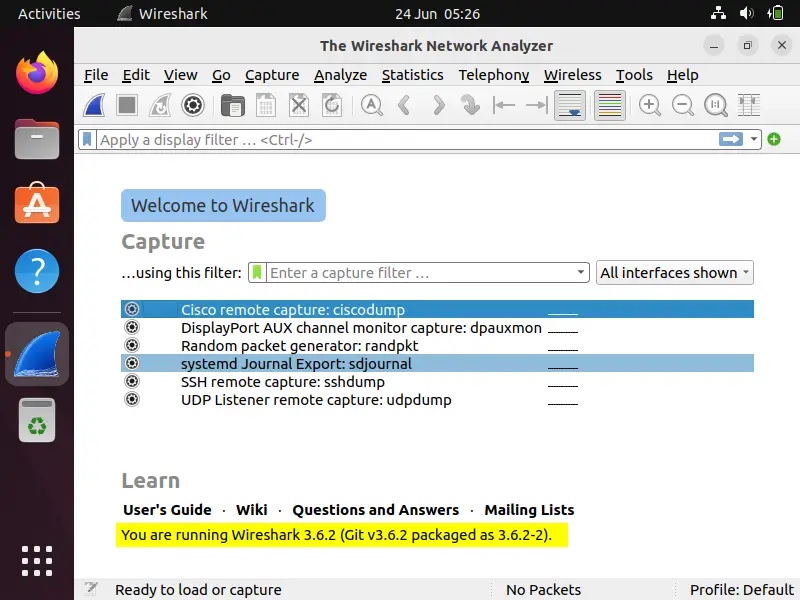
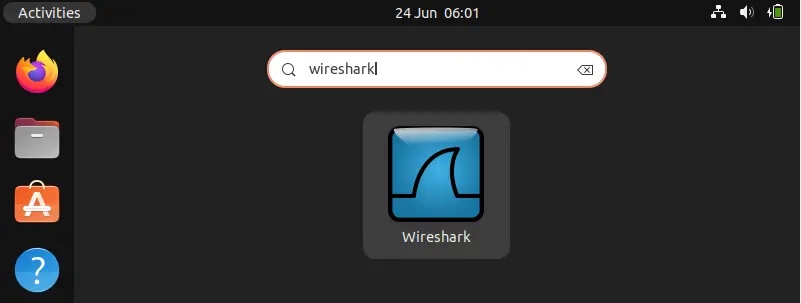
After successful installation, access the Wireshare UI. Search for "Wireshark" in "Activities" and click on its icon.
 Wireshark-UI-Ubuntu-Linux-Desktop
The above confirms that your Wireshark installation has been completed successfully.
Install the latest version
If you want to install the latest version of Wireshark, we must enable the official Wireshark repository using the following apt command:
$ sudo add-apt-repository ppa:wireshark-dev/stable$ sudo apt update
Now, To install the latest version of Wireshark, run:
$ sudo apt install wireshark -y
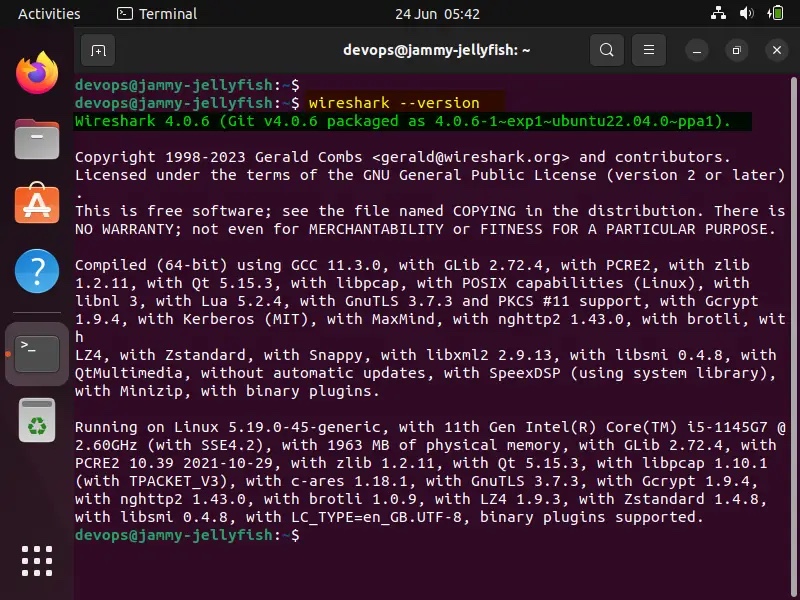
After installing Wireshark, verify its version:
$ wireshark --version
 Wireshark-Version-Check-Ubuntu-Linux
To allow normal users to use Wireshark to consume and capture packets, run the following command:
$ sudo dpkg-reconfigure wireshark-common
Select "Yes" and press Enter.
 Allow-Regular-User-Use-Wireshark-Ubuntu
Use the usermod command to add local users to wireshark Group:
$ sudo usermod -aG wireshark $USER$ newgrp wireshark
For the above changes to take effect, please restart the system.
$ sudo reboot
Use Wireshark to capture packets
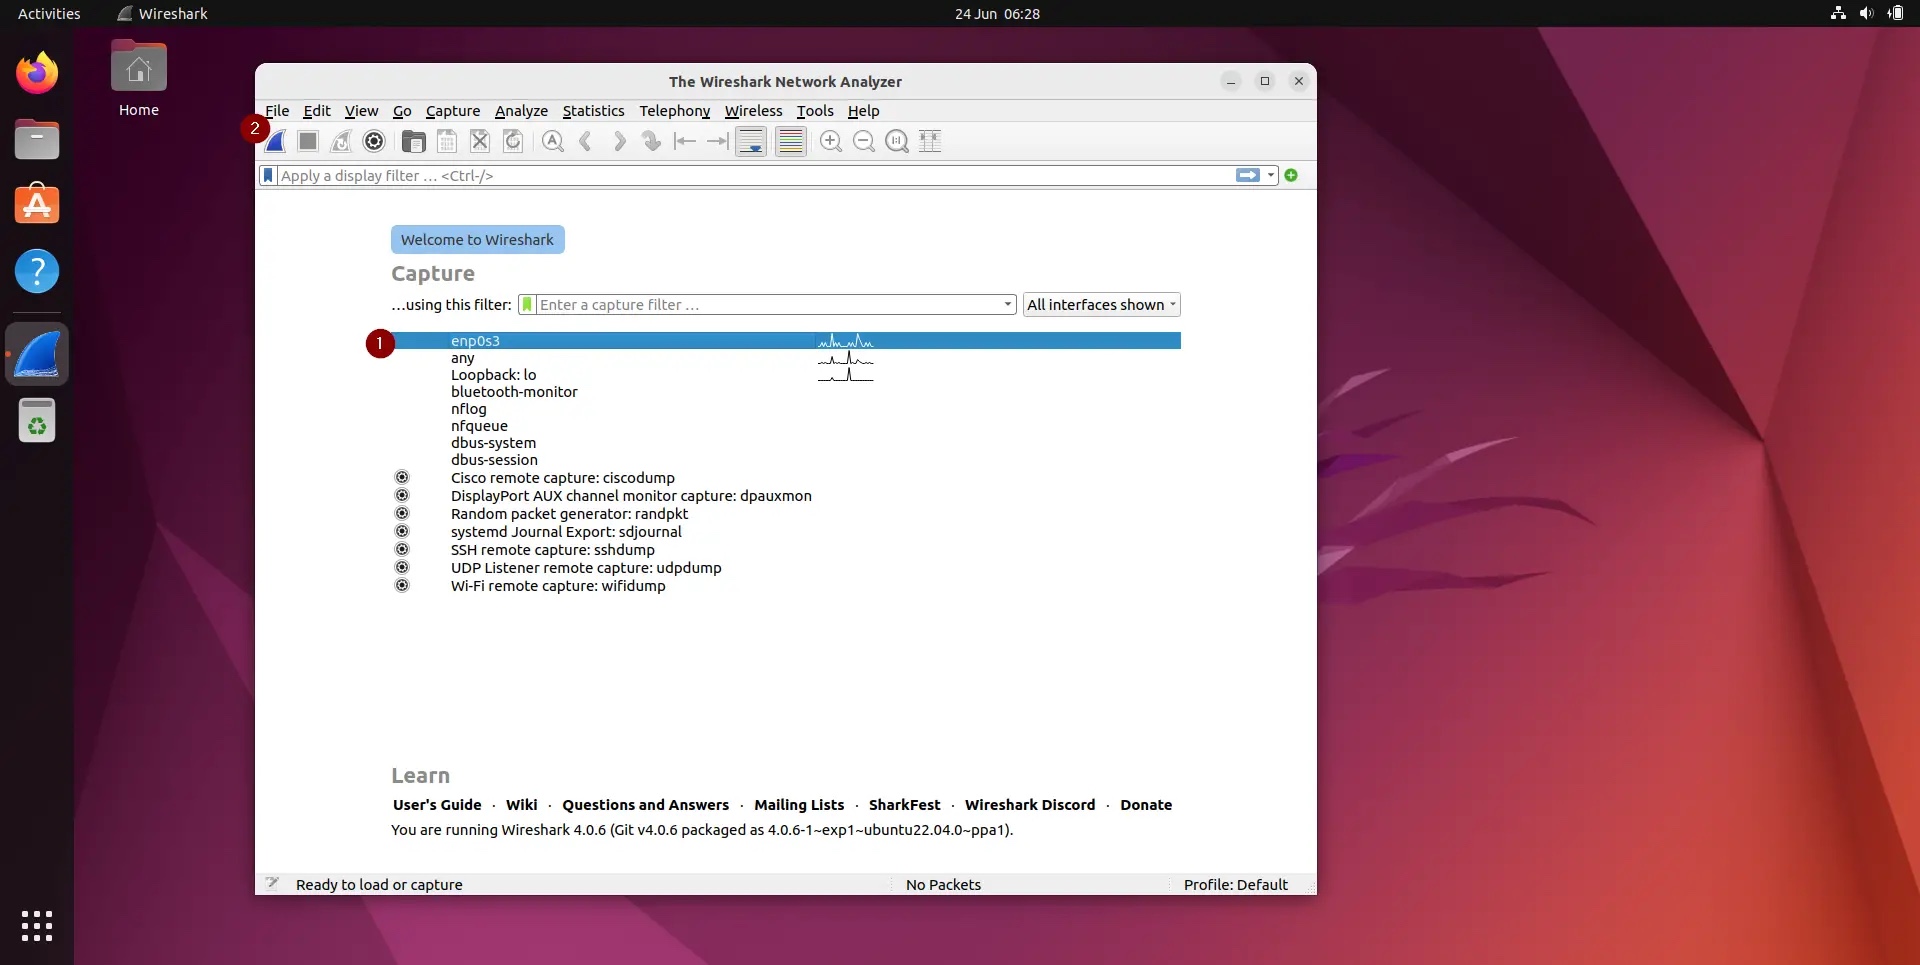
Start Wireshark and search for "wireshark" from "Activities"->.
 Access-Wireshark-Ubuntu-Desktop
Access-Wireshark-Ubuntu-Desktop
Click the Wireshark icon,
 Choose-Interface-Wireshark-UI-Ubuntu
All these are the interfaces through which we can capture network packets. Depending on the interface on your system, this page may look different.
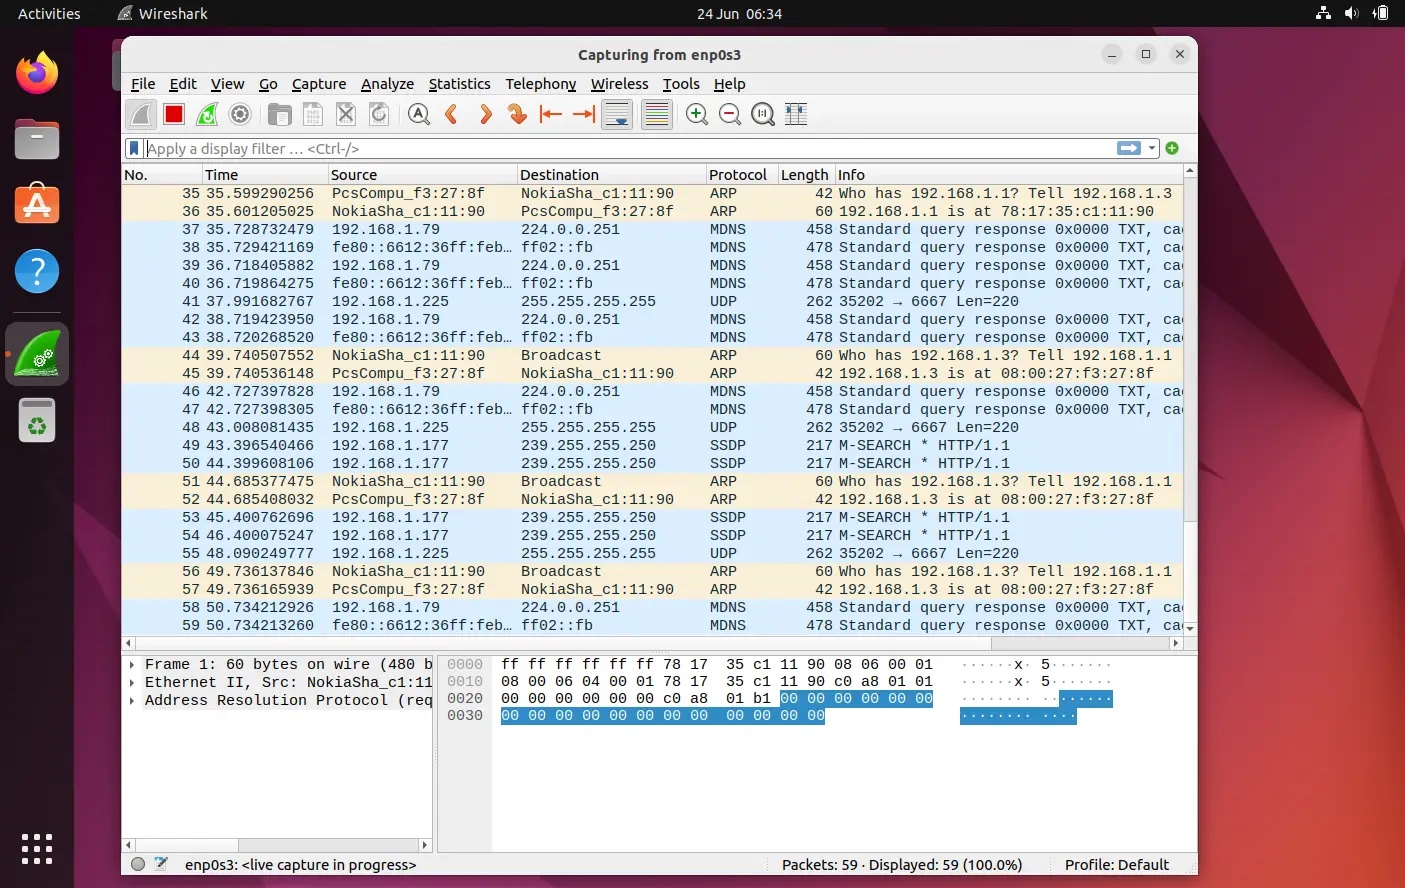
We choose "enp0s3" to capture the network traffic of this interface. After selecting the interface, we can start populating network packets for all the devices on our network (see screenshot below)
 Capturing-Packets-WireShark-UI-Ubuntu
The first time we see this page, we may be overwhelmed by the data displayed in this screen and may think of how to organize this data, but don’t worry, one of the best features of Wireshark is its filter.
We can sort/filter data based on IP address, port number, we can also use source and destination filters, packet size, etc. We can also combine 2 or more filters together to create More comprehensive search. We can write a filter in the "Apply a Display Filter" tab or select one of the already created rules. If you want to select a pre-built filter, click the "Flag" icon and select the "Apply Display Filter" tab.
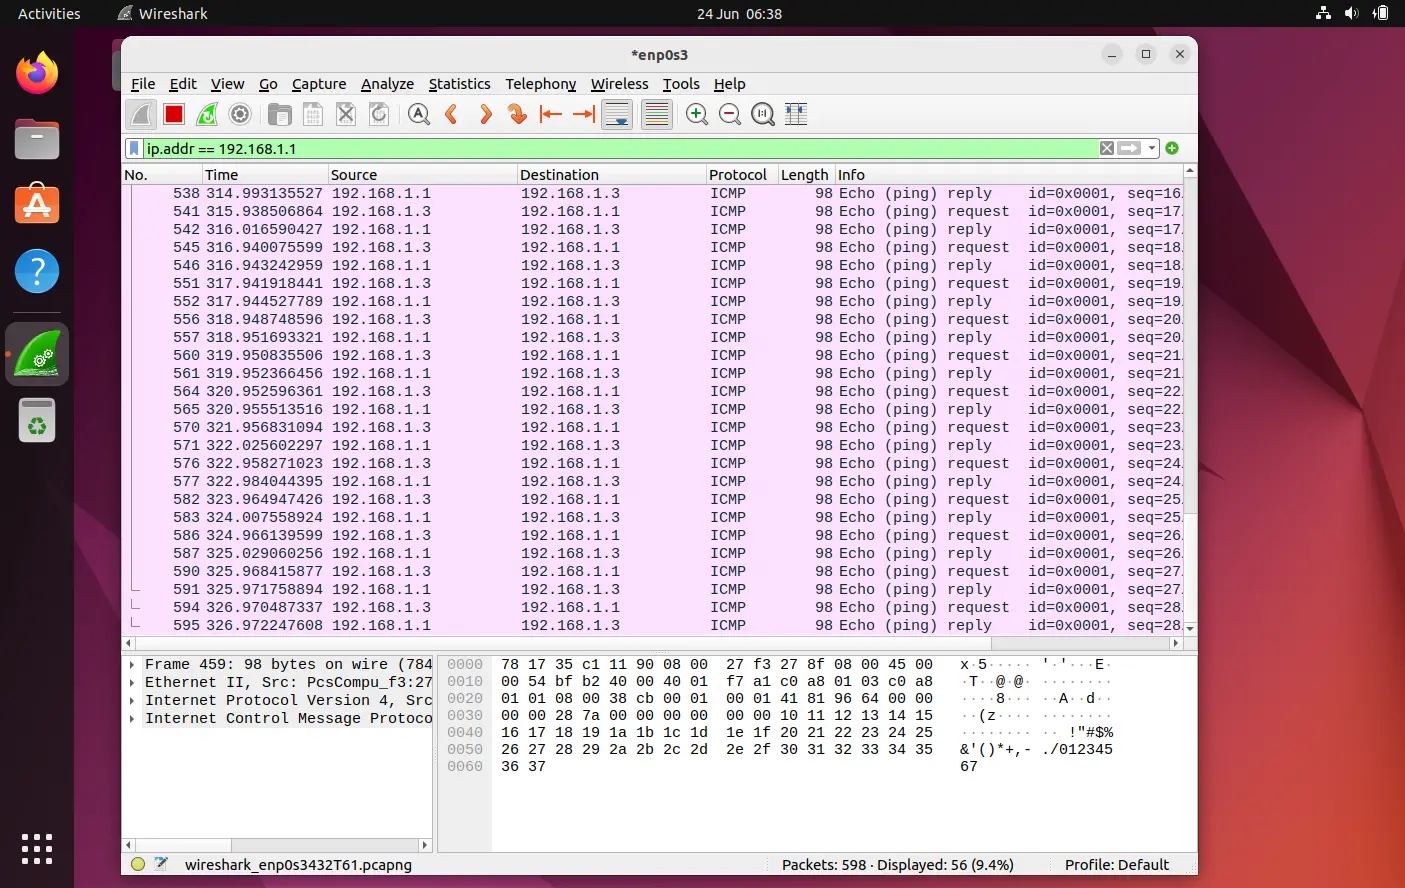 IP-Based-Filtering-WireShark-UI-Ubuntu
We can also filter data based on color code, by default, light purple is TCP Traffic, light blue is UDP traffic, and black identifies packets with errors. To see the meaning of these codes, click "View" -> "Coloring Rules", we can also change these codes.
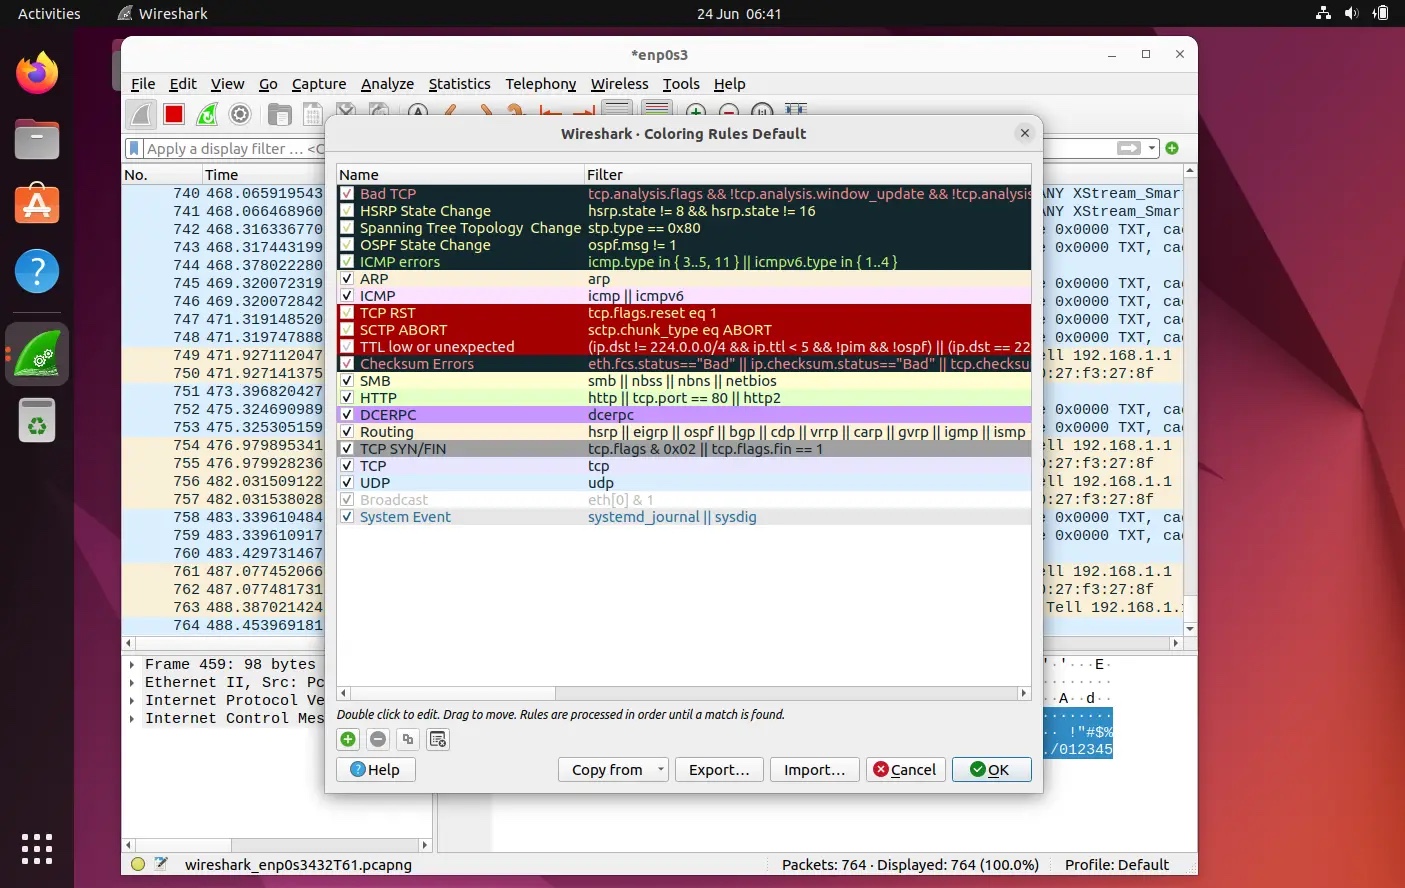 Coloring-Rules-WireShark-Ubuntu
Once we get the desired results, we can click on any captured packet to get information about that packet for more details, which will display all the data about that network packet.
To stop capturing packets, click the red stop button and save the captured packets to a file.
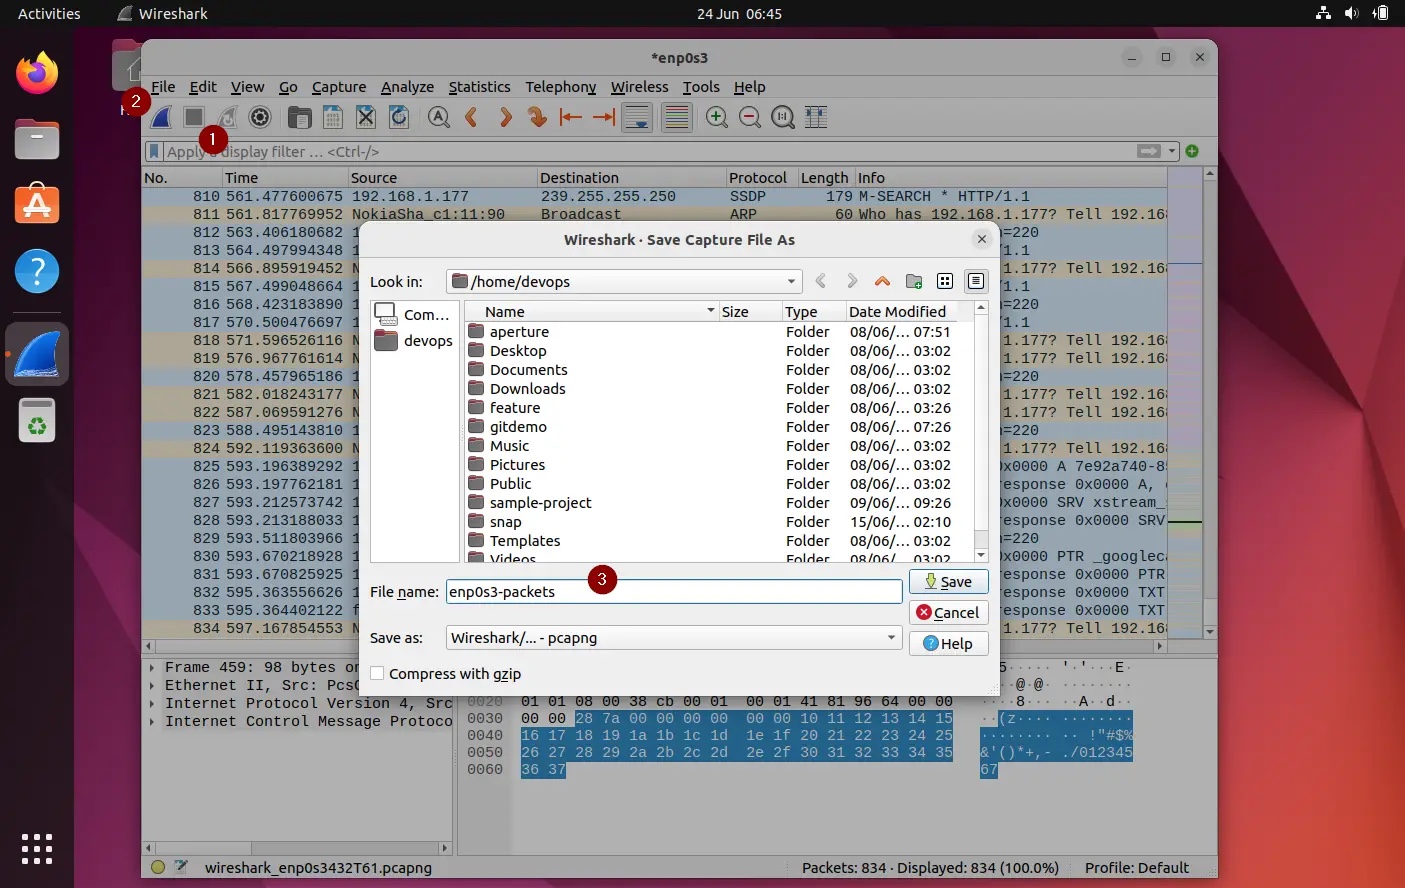 Save-Captured-Packets-Wireshark-Ubuntu
Summary
Wireshark is a very powerful tool that takes some time to Get used to it and master it, this article will help you get started.
The above is the detailed content of How to install and use Wireshark in Ubuntu 22.04. For more information, please follow other related articles on the PHP Chinese website!

Hot AI Tools

Undresser.AI Undress
AI-powered app for creating realistic nude photos

AI Clothes Remover
Online AI tool for removing clothes from photos.

Undress AI Tool
Undress images for free

Clothoff.io
AI clothes remover

Video Face Swap
Swap faces in any video effortlessly with our completely free AI face swap tool!

Hot Article
Hot Tools

Notepad++7.3.1
Easy-to-use and free code editor

SublimeText3 Chinese version
Chinese version, very easy to use

Zend Studio 13.0.1
Powerful PHP integrated development environment

Dreamweaver CS6
Visual web development tools

SublimeText3 Mac version
God-level code editing software (SublimeText3)
Hot Topics


 What computer configuration is required for vscode
Apr 15, 2025 pm 09:48 PM
What computer configuration is required for vscode
Apr 15, 2025 pm 09:48 PM
VS Code system requirements: Operating system: Windows 10 and above, macOS 10.12 and above, Linux distribution processor: minimum 1.6 GHz, recommended 2.0 GHz and above memory: minimum 512 MB, recommended 4 GB and above storage space: minimum 250 MB, recommended 1 GB and above other requirements: stable network connection, Xorg/Wayland (Linux)
 Linux Architecture: Unveiling the 5 Basic Components
Apr 20, 2025 am 12:04 AM
Linux Architecture: Unveiling the 5 Basic Components
Apr 20, 2025 am 12:04 AM
The five basic components of the Linux system are: 1. Kernel, 2. System library, 3. System utilities, 4. Graphical user interface, 5. Applications. The kernel manages hardware resources, the system library provides precompiled functions, system utilities are used for system management, the GUI provides visual interaction, and applications use these components to implement functions.
 How to run java code in notepad
Apr 16, 2025 pm 07:39 PM
How to run java code in notepad
Apr 16, 2025 pm 07:39 PM
Although Notepad cannot run Java code directly, it can be achieved by using other tools: using the command line compiler (javac) to generate a bytecode file (filename.class). Use the Java interpreter (java) to interpret bytecode, execute the code, and output the result.
 vscode cannot install extension
Apr 15, 2025 pm 07:18 PM
vscode cannot install extension
Apr 15, 2025 pm 07:18 PM
The reasons for the installation of VS Code extensions may be: network instability, insufficient permissions, system compatibility issues, VS Code version is too old, antivirus software or firewall interference. By checking network connections, permissions, log files, updating VS Code, disabling security software, and restarting VS Code or computers, you can gradually troubleshoot and resolve issues.
 How to check the warehouse address of git
Apr 17, 2025 pm 01:54 PM
How to check the warehouse address of git
Apr 17, 2025 pm 01:54 PM
To view the Git repository address, perform the following steps: 1. Open the command line and navigate to the repository directory; 2. Run the "git remote -v" command; 3. View the repository name in the output and its corresponding address.
 vscode terminal usage tutorial
Apr 15, 2025 pm 10:09 PM
vscode terminal usage tutorial
Apr 15, 2025 pm 10:09 PM
vscode built-in terminal is a development tool that allows running commands and scripts within the editor to simplify the development process. How to use vscode terminal: Open the terminal with the shortcut key (Ctrl/Cmd). Enter a command or run the script. Use hotkeys (such as Ctrl L to clear the terminal). Change the working directory (such as the cd command). Advanced features include debug mode, automatic code snippet completion, and interactive command history.
 Where to write code in vscode
Apr 15, 2025 pm 09:54 PM
Where to write code in vscode
Apr 15, 2025 pm 09:54 PM
Writing code in Visual Studio Code (VSCode) is simple and easy to use. Just install VSCode, create a project, select a language, create a file, write code, save and run it. The advantages of VSCode include cross-platform, free and open source, powerful features, rich extensions, and lightweight and fast.
 Can vscode be used for mac
Apr 15, 2025 pm 07:36 PM
Can vscode be used for mac
Apr 15, 2025 pm 07:36 PM
VS Code is available on Mac. It has powerful extensions, Git integration, terminal and debugger, and also offers a wealth of setup options. However, for particularly large projects or highly professional development, VS Code may have performance or functional limitations.
