
 Operation and Maintenance
Safety
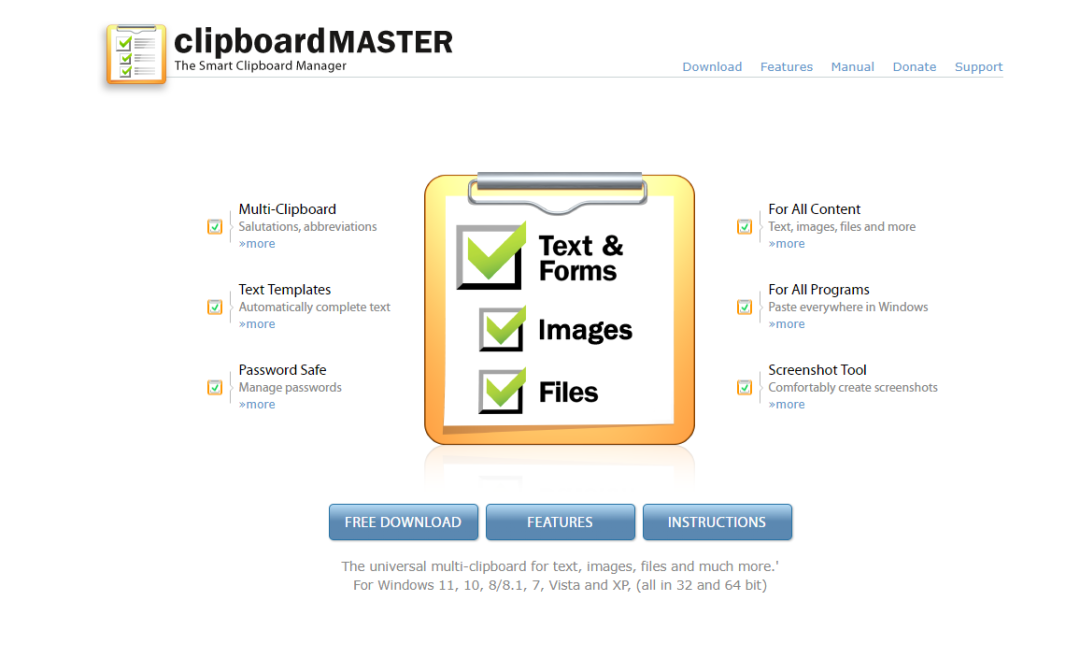
Computer Tips: Introduction to Clipboard Master Clipboard Enhancement Tool
Operation and Maintenance
Safety
Computer Tips: Introduction to Clipboard Master Clipboard Enhancement Tool
Computer Tips: Introduction to Clipboard Master Clipboard Enhancement Tool

Today I will introduce to you another clipboard enhancement tool-Clipboard Master clipboard.
1. Software introduction
Official website: https://www.clipboardmaster.com/
2. Function list introduction
Text module/ Snippets
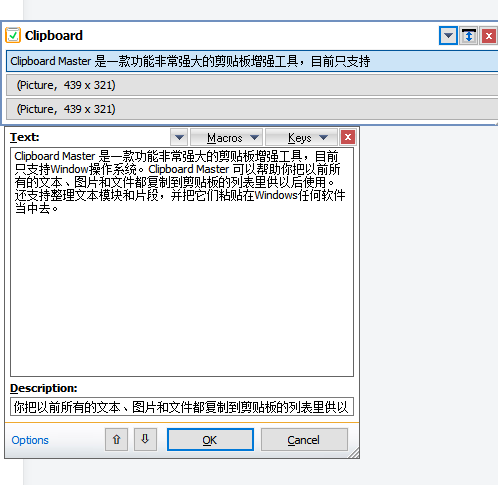
Store frequently used text snippets in the Clipboard Master and organize them in any application
## Organize folders to categorize the clipboard
Clipboard extensionStores all your text, files and images copied and pasted in any Windows application Project
Define any shortcut Show clipbard list
Files and foldersFiles and folders in the browser , paste files/folders
in other applications, they are pasted as text
Pastepaste in any The text of the application, etc.
You can even cut temporarily edited fields, such as,
When renaming a file in Windows Explorer
Format textClipboard Master can store text format snipted
## and then paste it, you can choose to paste it with or without formattingPictures
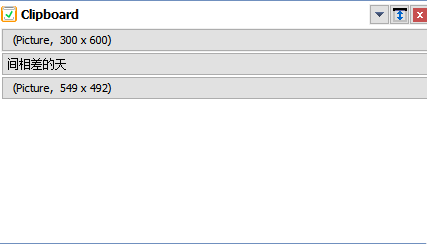
Clipboard stores copied pictures
Practical shortcut key navigation
Clipboard supports fast Any element pasted.
To insert the third item, press WIN V, 3. Insert the 4th itemIn the folder "Software" press Win V ALT L
key combination
Okay Customize your own key combinations to display the clipboard list or any inserted item.
Collection
Supports selecting multiple clipboards at one time and then pasting all clipboard contents
Form
Define format text module
Support special characters, HTML, hexadecimal:Clipboard master supports conversion encoding Characters
The clipboard supports decimal and hexadecimal string conversion
Supports conversion to uppercase and lowercase conversion
Short URL
Paste a URL to shorten the URL (CTRL U)
3. Software installation
Download the software, double-click the exe installer, enter the installation page, select Default here, and then click Next.
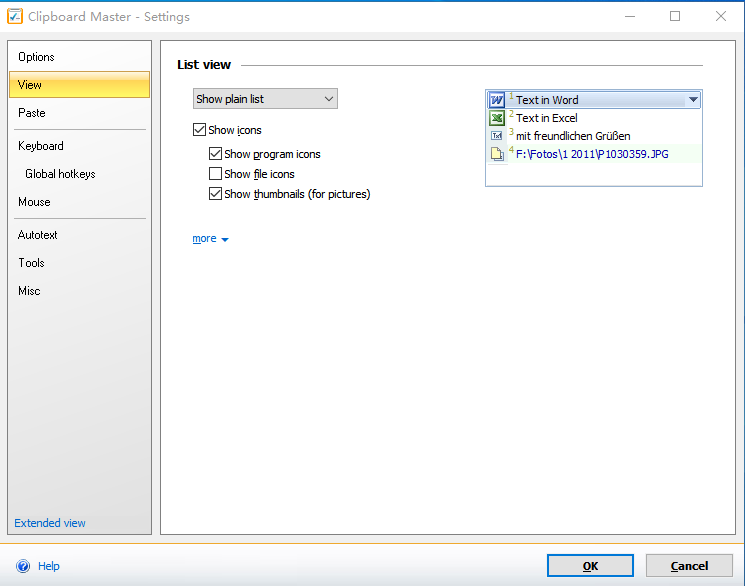
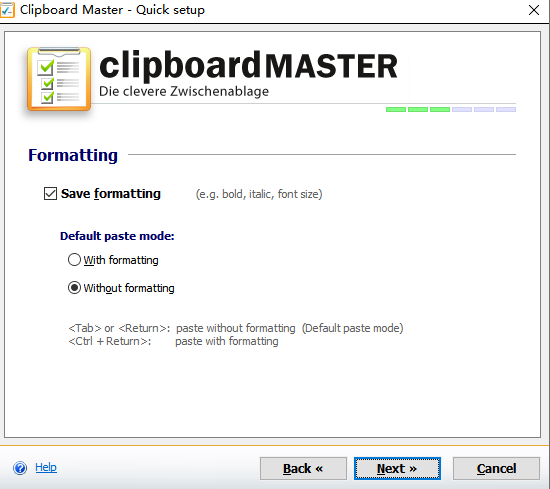
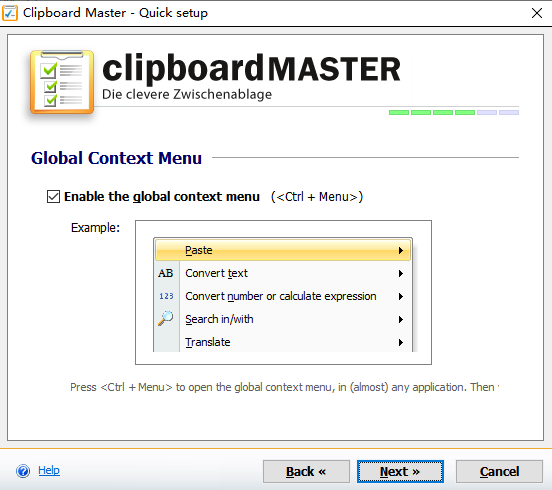
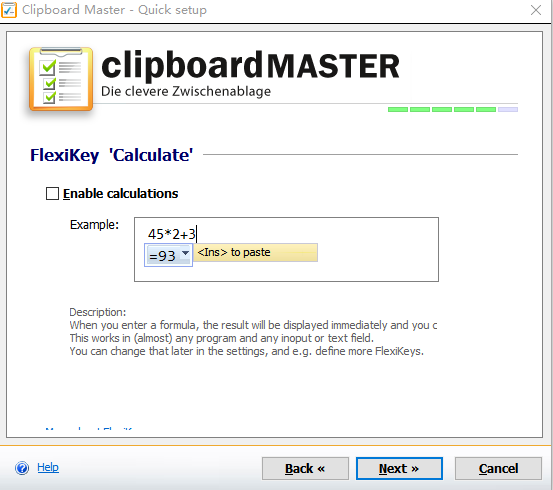
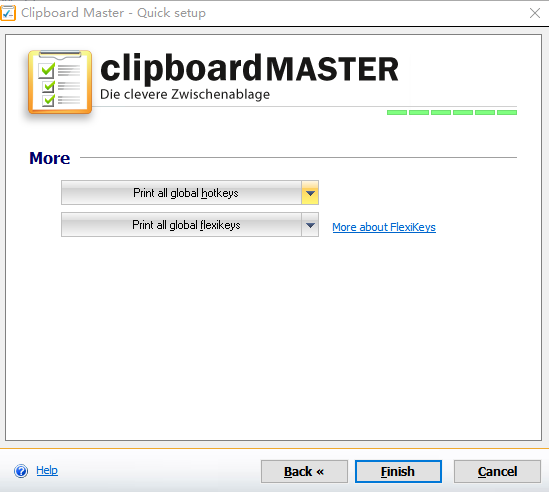
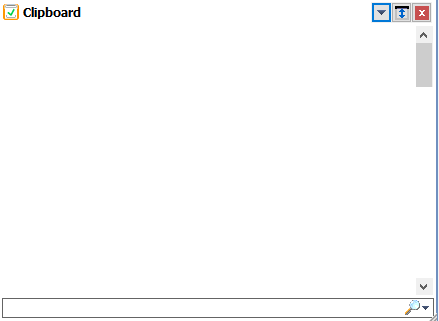
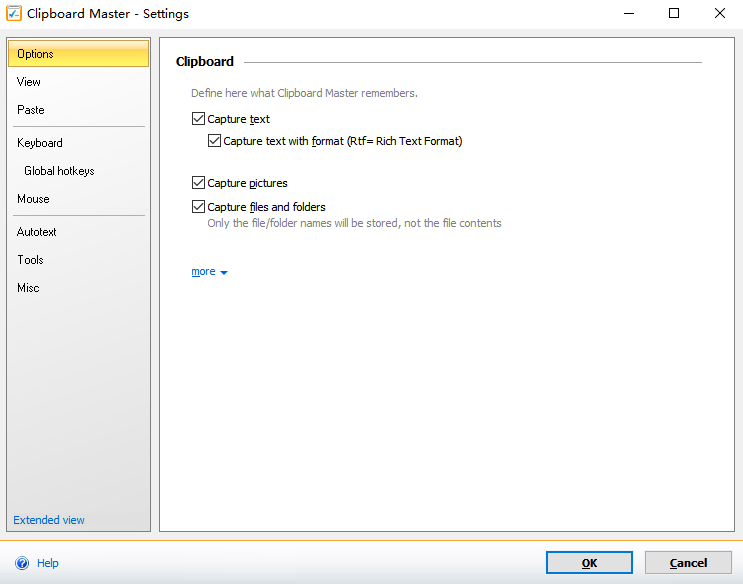
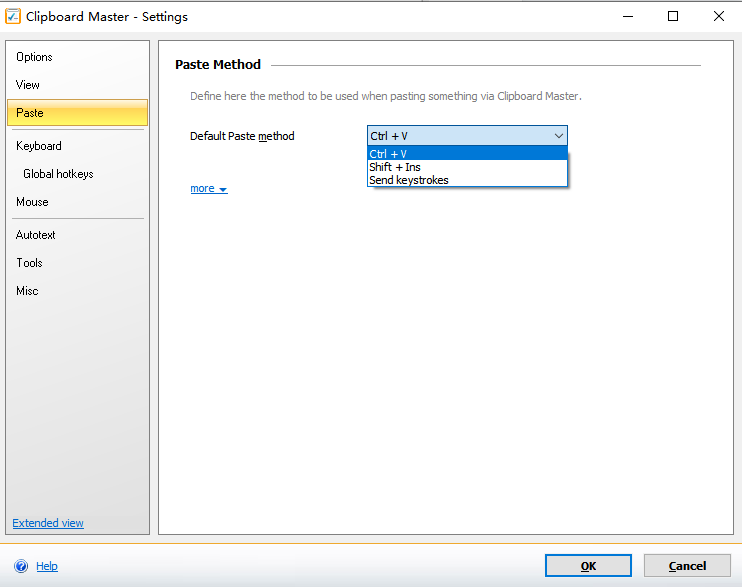
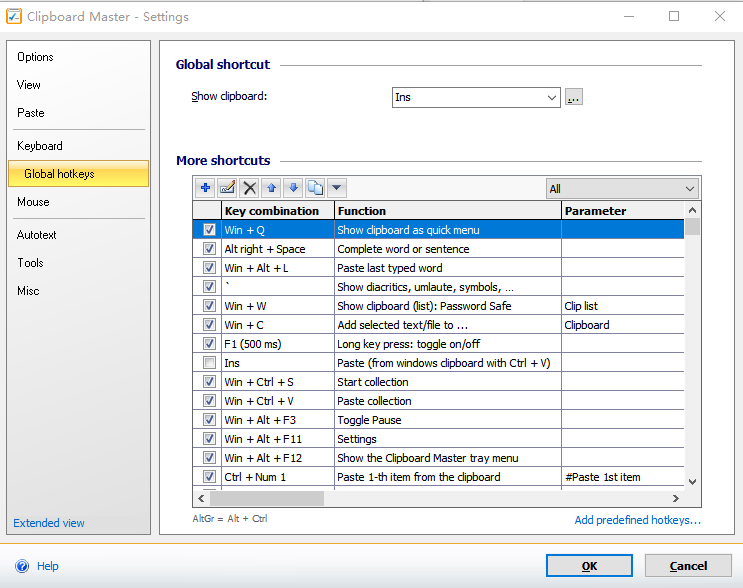
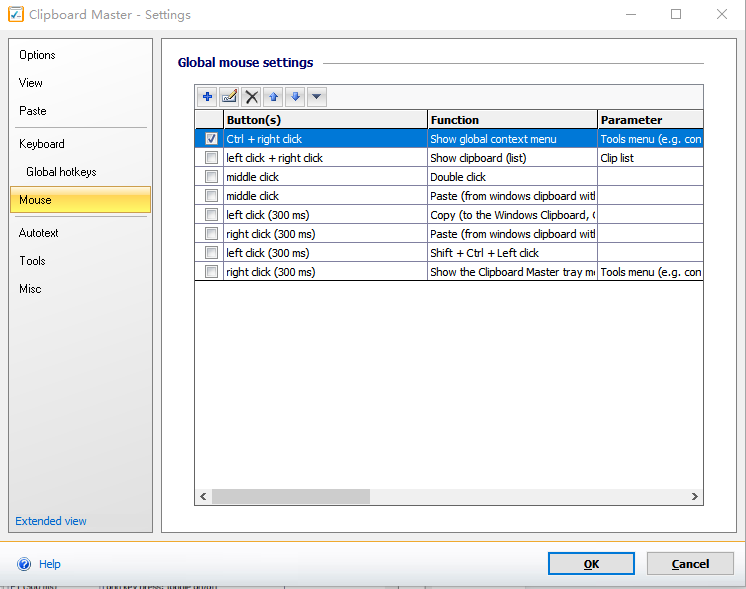
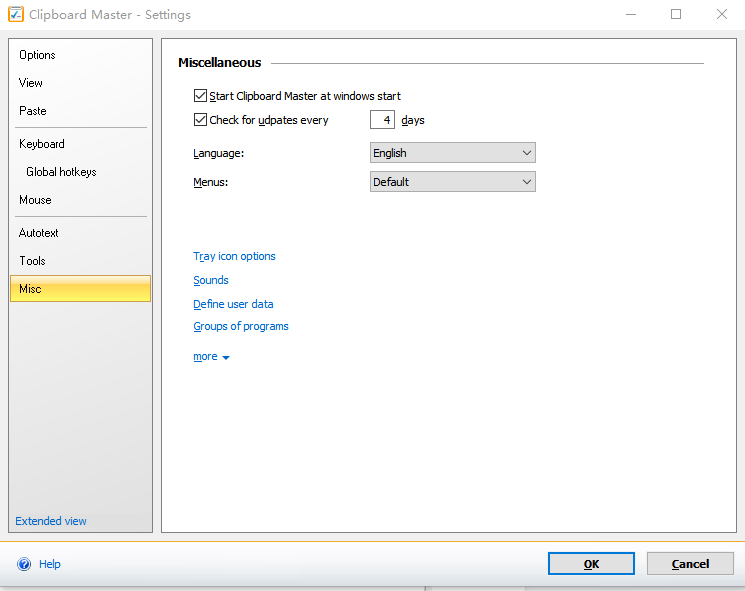
Enter the second page of configuration installation, which is mainly used to configure hot keys. Then click Next. The third installation configuration page is mainly the style setting page. After setting, click Next. The fourth installation configuration page is mainly to configure the global content menu. The fifth configuration page is used to configure whether to enable calculation. Click Next again. Finally, the installation end interface is reached. Just click Finish. Double-click the installed Clipboard Master software, open the interface as follows: ##Copy several clipboard contents as follows: Edit clipboard content The software settings page rendering is as follows: Set the style of the clipboard list Set the shortcut key for pasting Set the global shortcut keys of the software ##Set the global mouse configuration of the software Software tool settings: such as image capture, ziptool, short link and other tools Set the language of the software. Unfortunately, there is no Chinese setting. 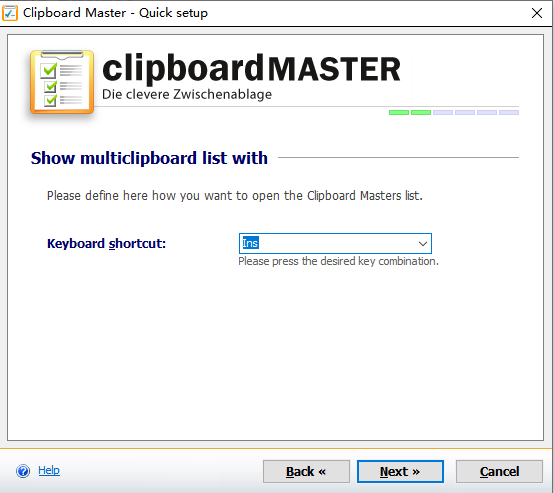
4. Software usage

The above is the detailed content of Computer Tips: Introduction to Clipboard Master Clipboard Enhancement Tool. For more information, please follow other related articles on the PHP Chinese website!

Hot AI Tools

Undresser.AI Undress
AI-powered app for creating realistic nude photos

AI Clothes Remover
Online AI tool for removing clothes from photos.

Undress AI Tool
Undress images for free

Clothoff.io
AI clothes remover

Video Face Swap
Swap faces in any video effortlessly with our completely free AI face swap tool!

Hot Article
Hot Tools

Notepad++7.3.1
Easy-to-use and free code editor

SublimeText3 Chinese version
Chinese version, very easy to use

Zend Studio 13.0.1
Powerful PHP integrated development environment

Dreamweaver CS6
Visual web development tools

SublimeText3 Mac version
God-level code editing software (SublimeText3)
Hot Topics
 1668
1668
 14
1428
52
1329
25
1273
29
1256
24
14
1428
52
1329
25
1273
29
1256
24

 How to copy and paste mysql
Apr 08, 2025 pm 07:18 PM
How to copy and paste mysql
Apr 08, 2025 pm 07:18 PM
Copy and paste in MySQL includes the following steps: select the data, copy with Ctrl C (Windows) or Cmd C (Mac); right-click at the target location, select Paste or use Ctrl V (Windows) or Cmd V (Mac); the copied data is inserted into the target location, or replace existing data (depending on whether the data already exists at the target location).
 Can vs code run in Windows 8
Apr 15, 2025 pm 07:24 PM
Can vs code run in Windows 8
Apr 15, 2025 pm 07:24 PM
VS Code can run on Windows 8, but the experience may not be great. First make sure the system has been updated to the latest patch, then download the VS Code installation package that matches the system architecture and install it as prompted. After installation, be aware that some extensions may be incompatible with Windows 8 and need to look for alternative extensions or use newer Windows systems in a virtual machine. Install the necessary extensions to check whether they work properly. Although VS Code is feasible on Windows 8, it is recommended to upgrade to a newer Windows system for a better development experience and security.
 How to run sublime after writing the code
Apr 16, 2025 am 08:51 AM
How to run sublime after writing the code
Apr 16, 2025 am 08:51 AM
There are six ways to run code in Sublime: through hotkeys, menus, build systems, command lines, set default build systems, and custom build commands, and run individual files/projects by right-clicking on projects/files. The build system availability depends on the installation of Sublime Text.
 Which operating systems are supported by Tigervnc in Debian
Apr 12, 2025 pm 10:15 PM
Which operating systems are supported by Tigervnc in Debian
Apr 12, 2025 pm 10:15 PM
The open source VNC tool Tigervnc is compatible with a wide range of operating systems, including Windows, Linux, and macOS. This article will introduce in detail the application of Tigervnc on the Debian system. Tigervnc is integrated in the application system of Debian system: In the Debian system, Tigervnc is integrated into the system as a VNC server component. Users can start VNC services through command line tools such as vncserver and customize display settings such as resolution and color depth. Cross-platform connection: Tigervnc client supports Windows, Linux, and macOS, which means users can run this from any
 Recommended system maintenance and optimization tools in Mac system
Apr 12, 2025 pm 04:45 PM
Recommended system maintenance and optimization tools in Mac system
Apr 12, 2025 pm 04:45 PM
Mac system maintenance includes: disk management (use OmniDiskSweeper to clean disk space, use disk tools to check disk errors) memory management (use Activity Monitor to monitor memory usage, end over-occupying processes) startup item management (use Linc or LaunchControl to manage startup items, disable unnecessary startup items) system cache cleaning (use CleanMyMac X or manually clean system cache) software update (timely update system and applications) regular backup (use Time Machine to backup data regularly) good usage habits (not installing applications excessively, cleaning files regularly, and monitoring system logs)
 laravel installation code
Apr 18, 2025 pm 12:30 PM
laravel installation code
Apr 18, 2025 pm 12:30 PM
To install Laravel, follow these steps in sequence: Install Composer (for macOS/Linux and Windows) Install Laravel Installer Create a new project Start Service Access Application (URL: http://127.0.0.1:8000) Set up the database connection (if required)
 git software installation
Apr 17, 2025 am 11:57 AM
git software installation
Apr 17, 2025 am 11:57 AM
Installing Git software includes the following steps: Download the installation package and run the installation package to verify the installation configuration Git installation Git Bash (Windows only)
 How to solve complex BelongsToThrough relationship problem in Laravel? Use Composer!
Apr 17, 2025 pm 09:54 PM
How to solve complex BelongsToThrough relationship problem in Laravel? Use Composer!
Apr 17, 2025 pm 09:54 PM
In Laravel development, dealing with complex model relationships has always been a challenge, especially when it comes to multi-level BelongsToThrough relationships. Recently, I encountered this problem in a project dealing with a multi-level model relationship, where traditional HasManyThrough relationships fail to meet the needs, resulting in data queries becoming complex and inefficient. After some exploration, I found the library staudenmeir/belongs-to-through, which easily installed and solved my troubles through Composer.
