
 Common Problem
Windows 11 Registry: 5 Ways to Create a Backup and 2 Ways to Restore the Registry on Windows 11
Common Problem
Windows 11 Registry: 5 Ways to Create a Backup and 2 Ways to Restore the Registry on Windows 11
Windows 11 Registry: 5 Ways to Create a Backup and 2 Ways to Restore the Registry on Windows 11

Registry settings are one of the core locations for configuring most Windows components. It also contains settings and paths for important components of third-party applications.
Therefore, it makes sense to back up your registry as much as possible, especially if you are about to make major changes to your system. Here's everything you need to know about creating a registry backup, full registry or individual entries, and restoring a backup.
Why should you back up your registry?
Registry backup can save you time when you edit and delete system files. They can also help you troubleshoot errors and missing files that may be causing system problems. In addition to this, they can also help you preserve manual changes to the registry that you may want to apply to your system after a fresh installation.
Registry backup can also help restore corrupted settings and system files affected by malware. For all these reasons, we recommend that you back up your registry regularly and restore it when needed.
How to Fully Backup Your Registry [3 Ways]
You can back up your registry settings from Registry Editor, System Restore Utility, or using Command Prompt. In addition to this, you can also back up individual registry keys on your system if needed. Please follow any of the following sections to help you complete the process.
Method 1: Use the Registry Editor
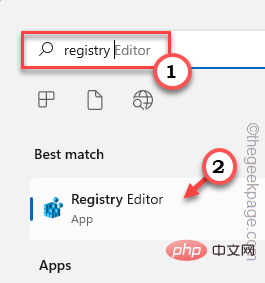
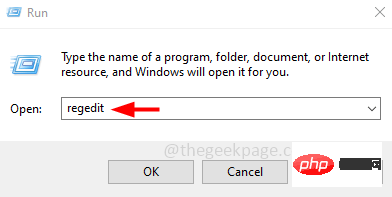
Press the Windows Rkeyboard, enter the following, and then press Enter.
regedit
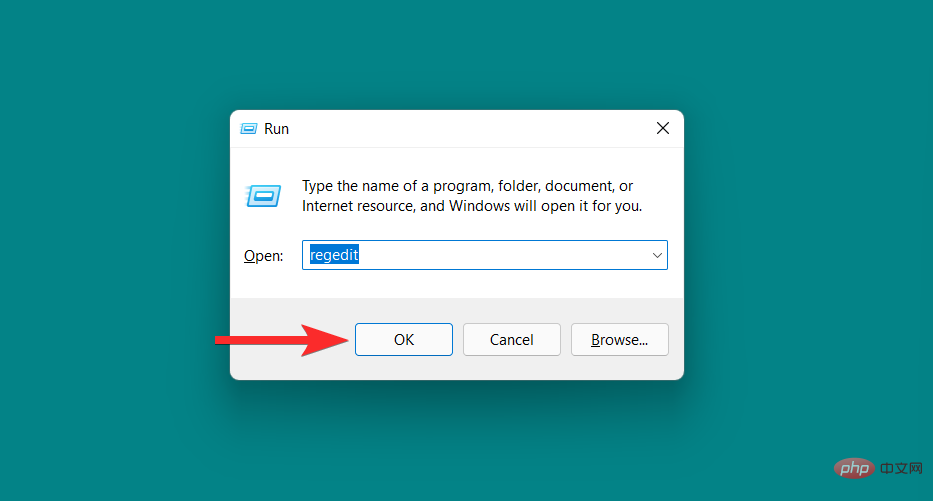
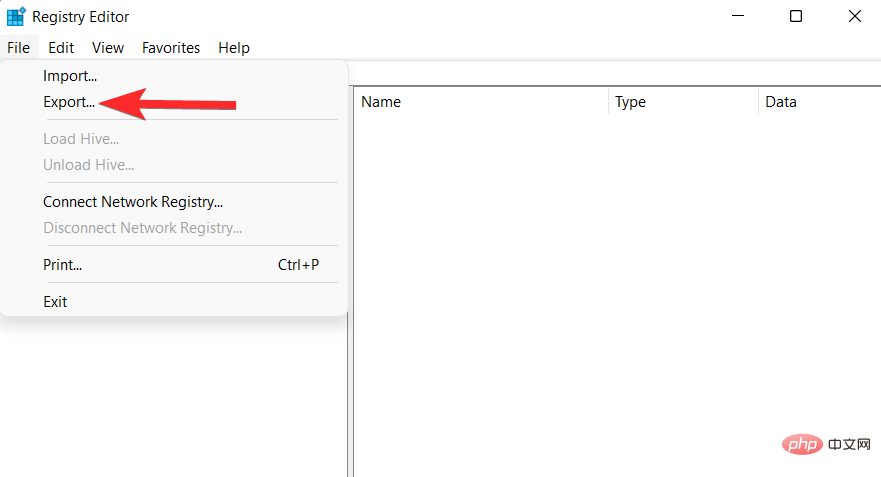
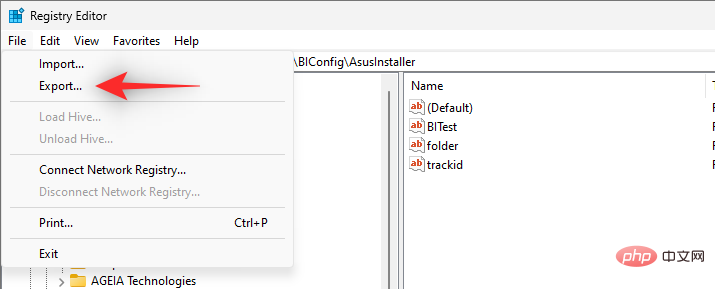
Now click on File and select Export.
Click and select All at the bottom.
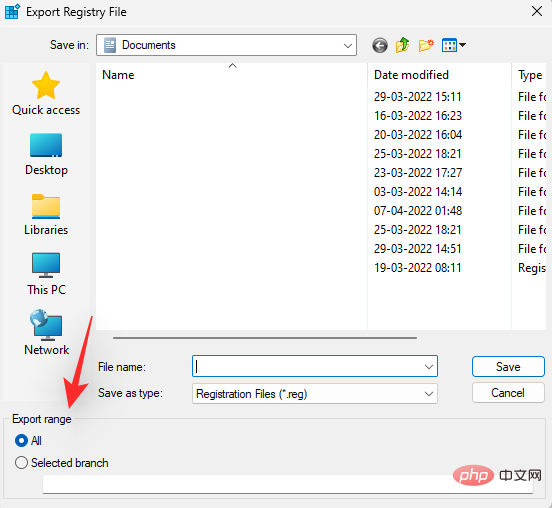
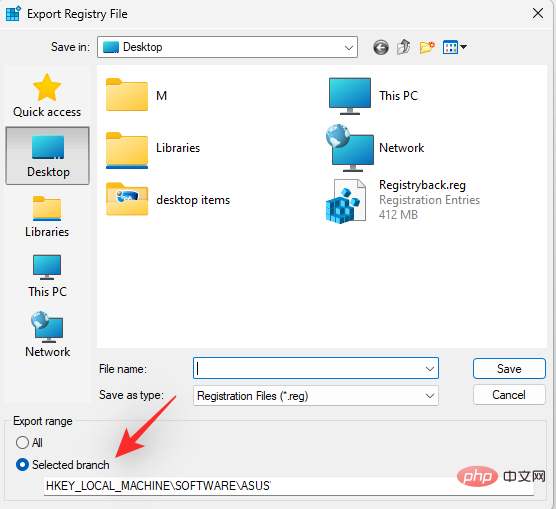
#Select the location where you wish to back up the registry settings files. You can navigate using the quick access options in the left sidebar or using the address bar at the top.
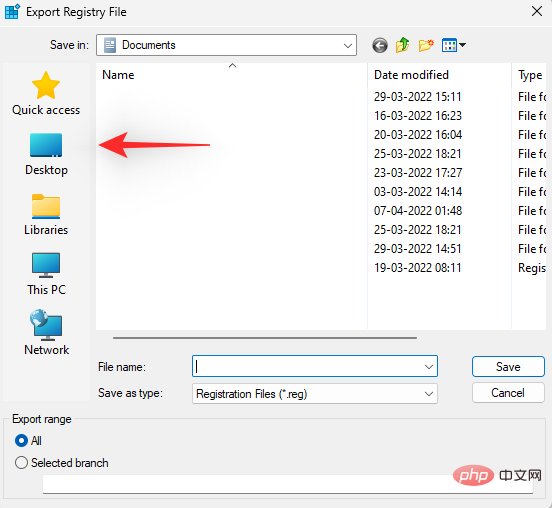
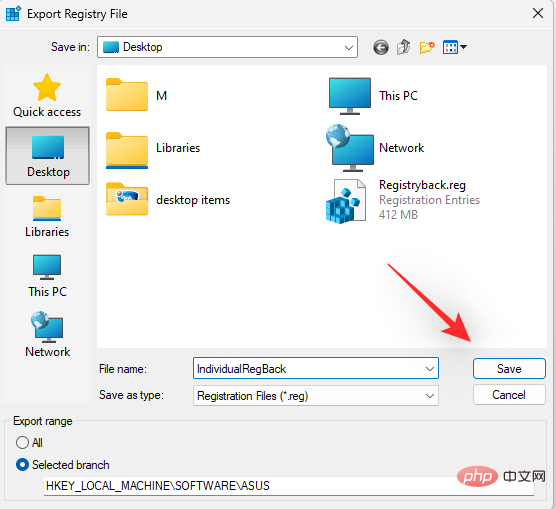
Now enter the name you wish for the backup. We recommend that you add the date to the name so you can easily identify it in the future.
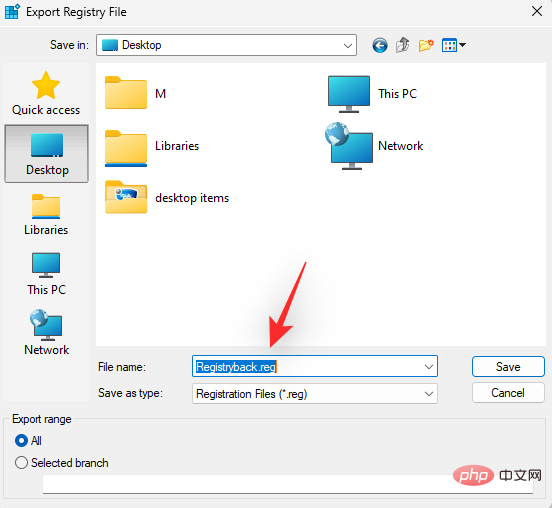
Click to save.
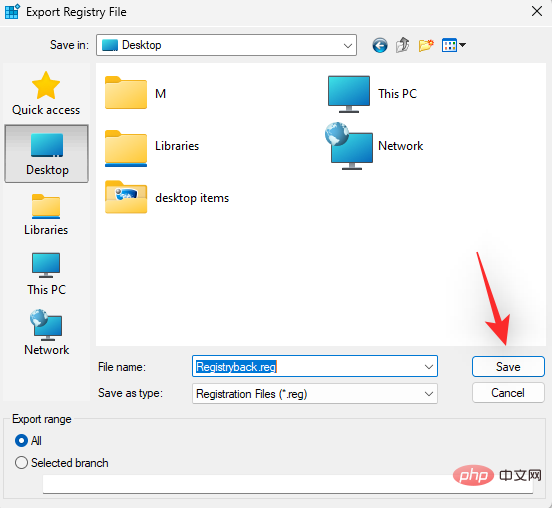
That's it! Your registry settings will now be backed up to the selected location.
Method 2: Using System Restore
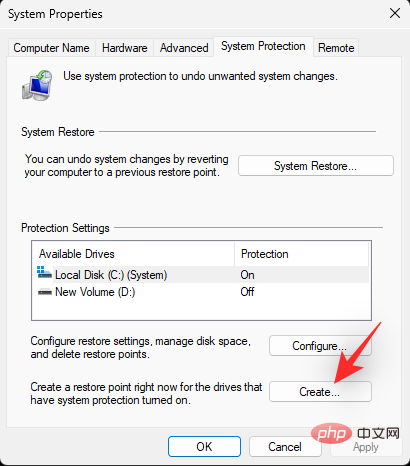
System Restore creates a restore point on your system that can be used to restore the system to a previous state in case of future problems. It goes without saying that System Restore also backs up your registry settings, which we can use to our advantage. Follow the tutorial below to create a restore point on your PC.
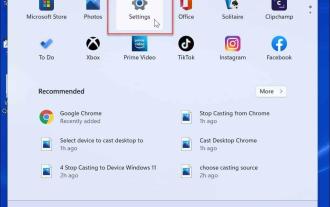
Press the Windows S keyboard and search for Create Restore Point. Click and launch the same content from search results.

Click to create.
#Enter the name of the restore point. Click Create when finished.
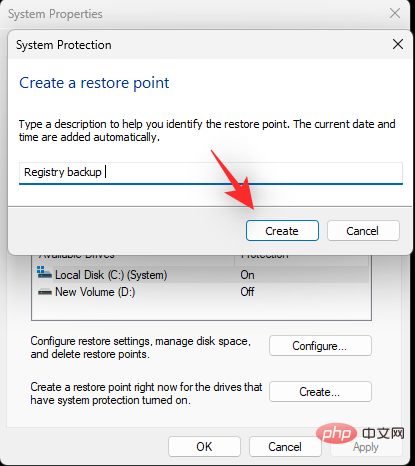
After creating the restore point on your system, click Close.
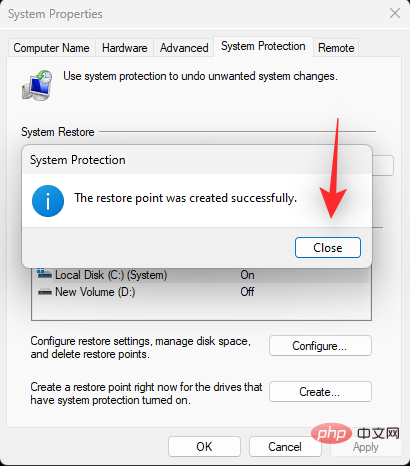
That's it! You will now use System Restore to back up your registry.
Method 3: Using CMD
You can also use CMD to back up your registry keys. This will require you to execute the command from the command prompt and you can use the following steps to help you with the process.
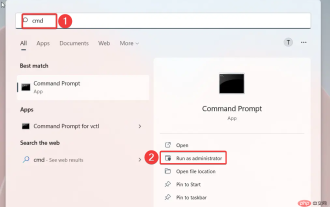
Press on your Windows R keyboard, type the following, and then press Ctrl Shift Enter.
cmd
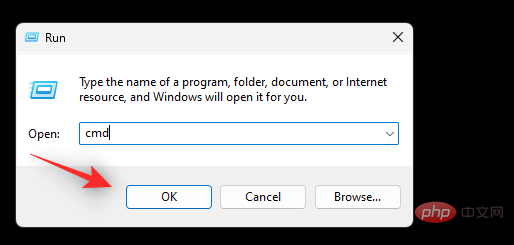
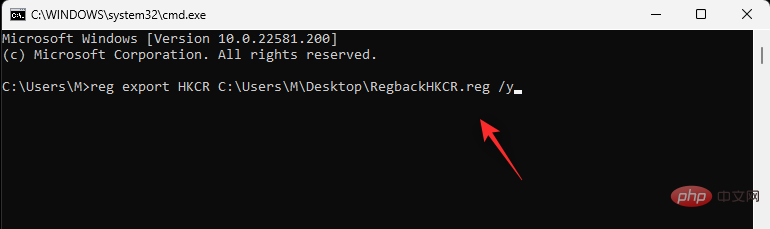
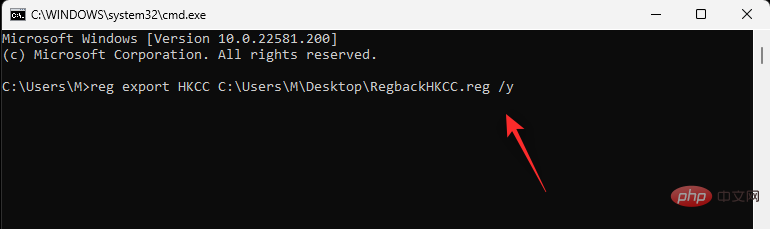
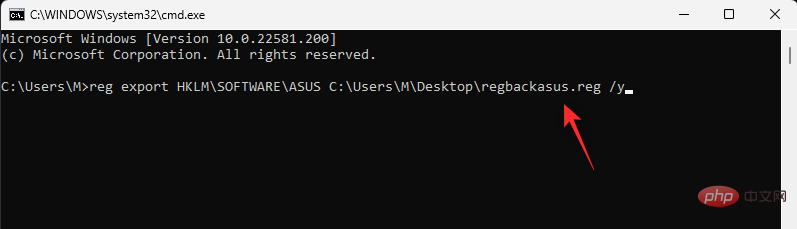
This will launch the command prompt as a system administrator. Now, enter and execute the following commands one by one to backup your registry settings. Replace PATH with the path to where you want the backup file to be stored and the new name for the backup file Name.
NOTE: Make sure to keep the .reg extension in the final command.
reg export HKCR PATH\Name.reg /y
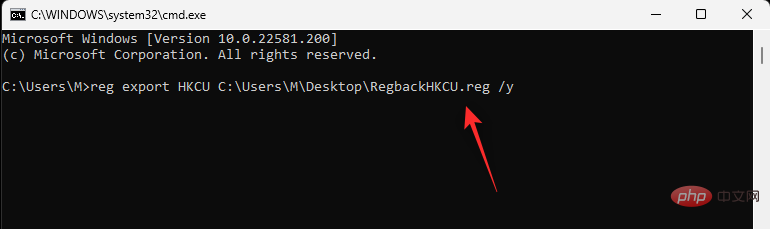
- ##reg export HKCU PATH\Name.reg /y
- ##reg export HKLM PATH\Name.reg /y
reg export HKU PATH\Name.reg /y
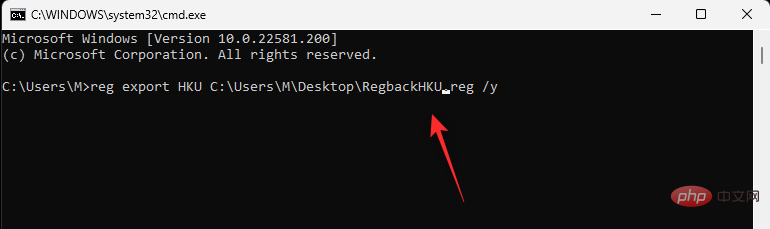
- ##reg export HKCC PATH \Name.reg /y
Windows R, enter the following, and then press Enter.
regedit
File and select Export.
Selected branch is selected at the bottom. If not, click and select the same.
to save.
Windows R, enter the following, and then press Ctrl Shift Enter on your keyboard.
cmd
RPATH with the key you wish to export The path to PATH and the path to the folder where you wish to save the backup.
reg export RPATH PATH /y
Merge.
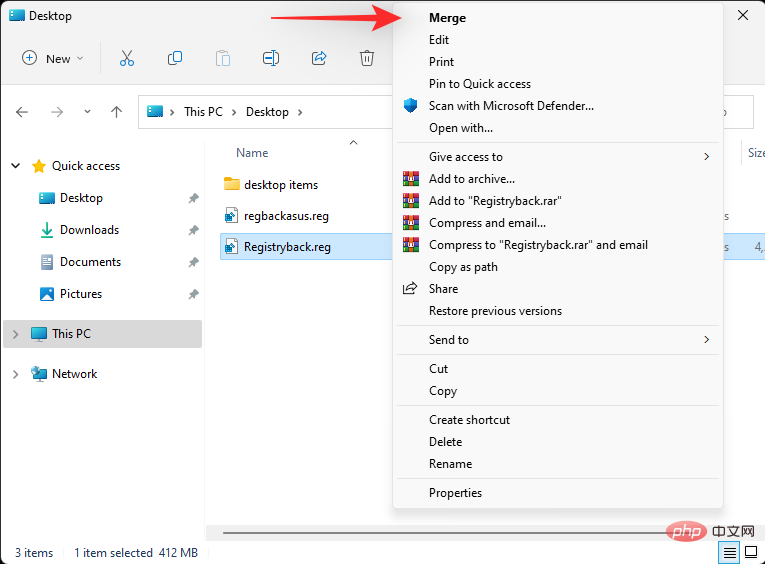
Note: In some cases, you may need to access the larger context menu to display more options by clicking ##Or use the Shift F10 keyboard to access this option. Click
Confirm your selection and the selected registry backup should be automatically restored on your PC.
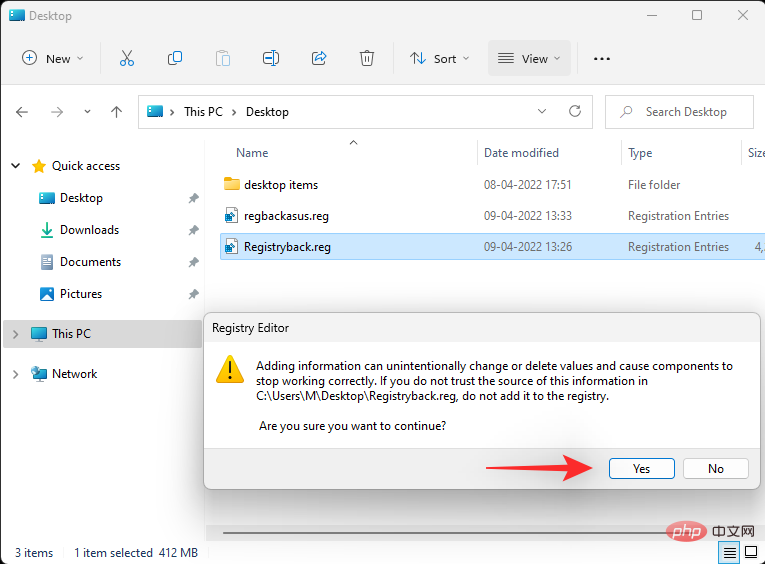 We recommend that you reboot your system to avoid any background conflicts and errors caused by a recent registry restore.
Method 2: Restore the backup from the Registry Editor
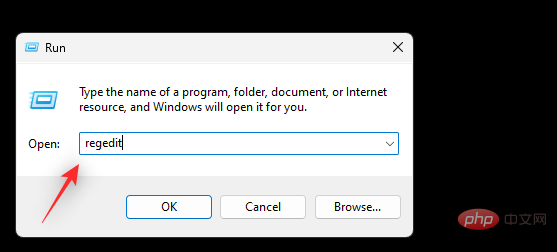
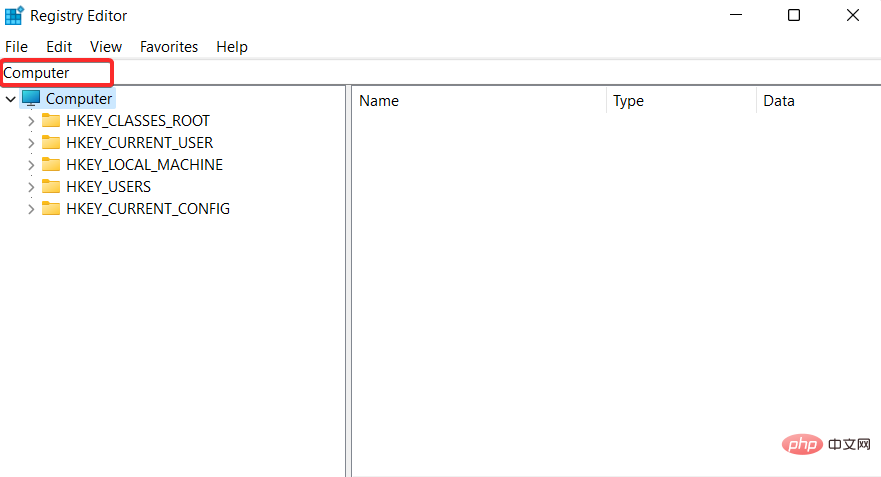
Press the key to open
RunWindows R.
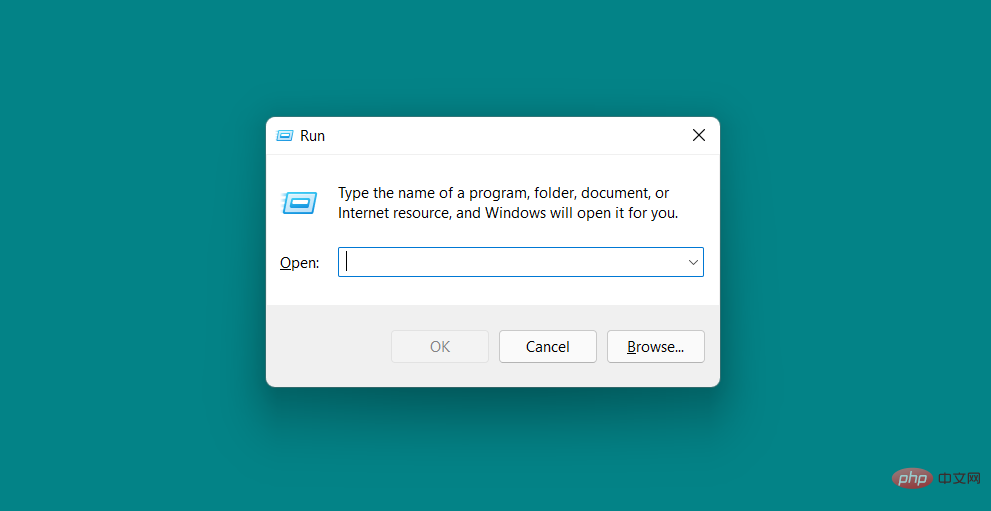 In the Run dialog box, type
and click OK. Confirm the UAC prompt to launch Registry Editor as an administrator.
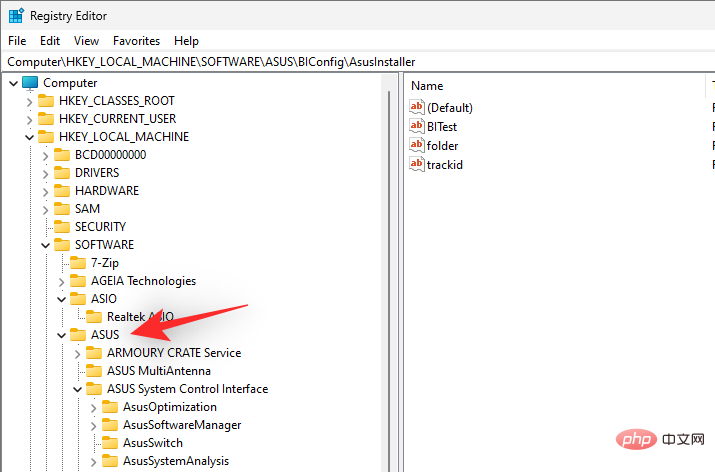
 In the Registry Editor, navigate to the following address:
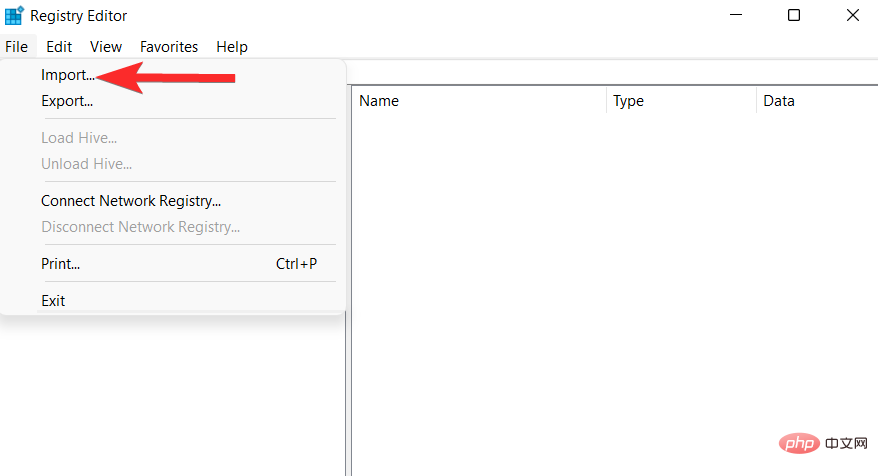
 Click
Click
.
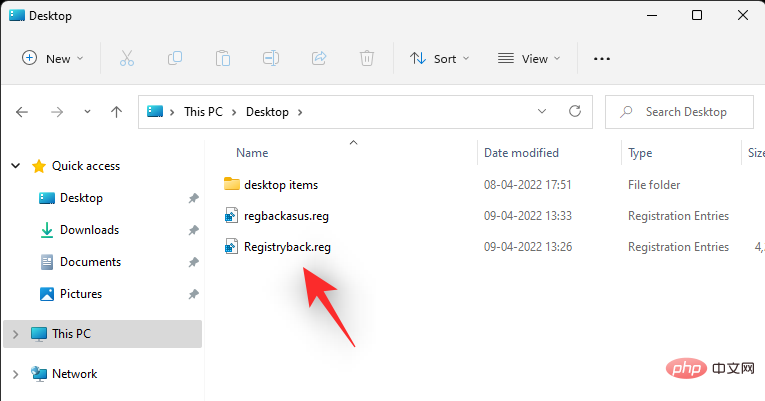
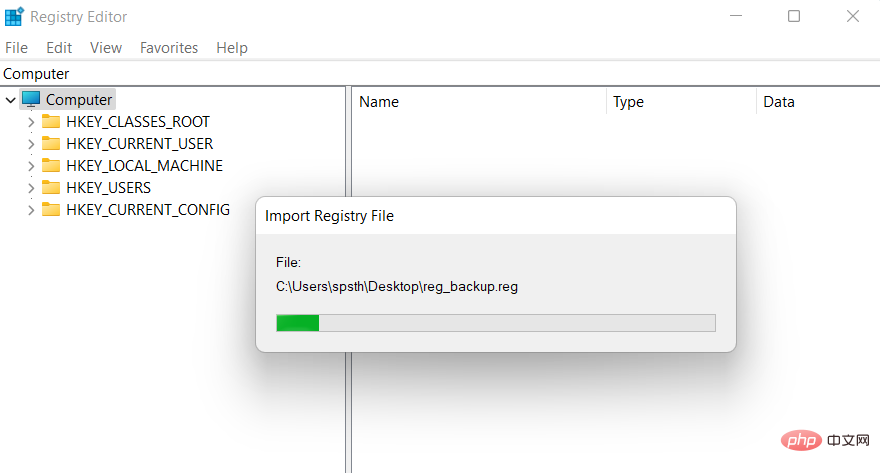
 Navigate to the location where the registry backup is stored.
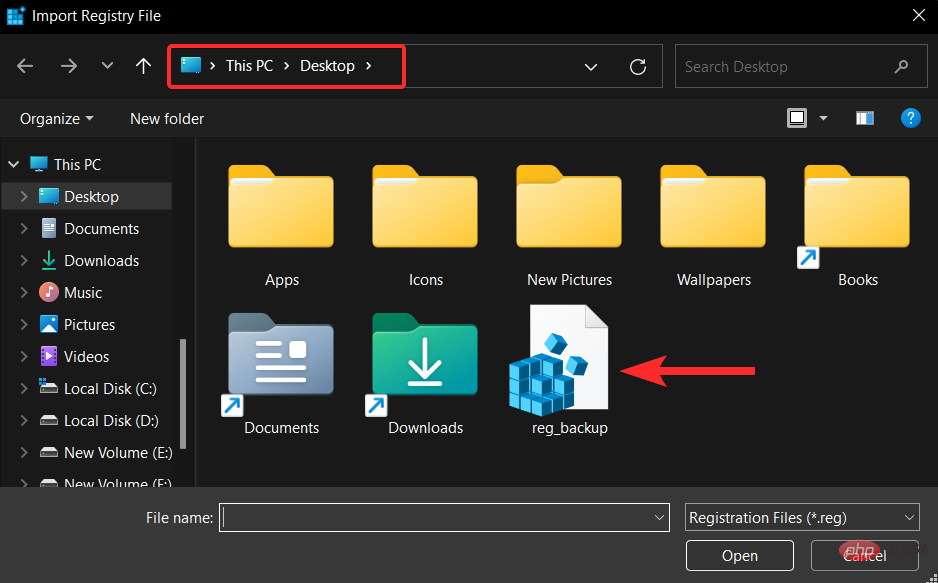 Now, select this registry backup file and click
.
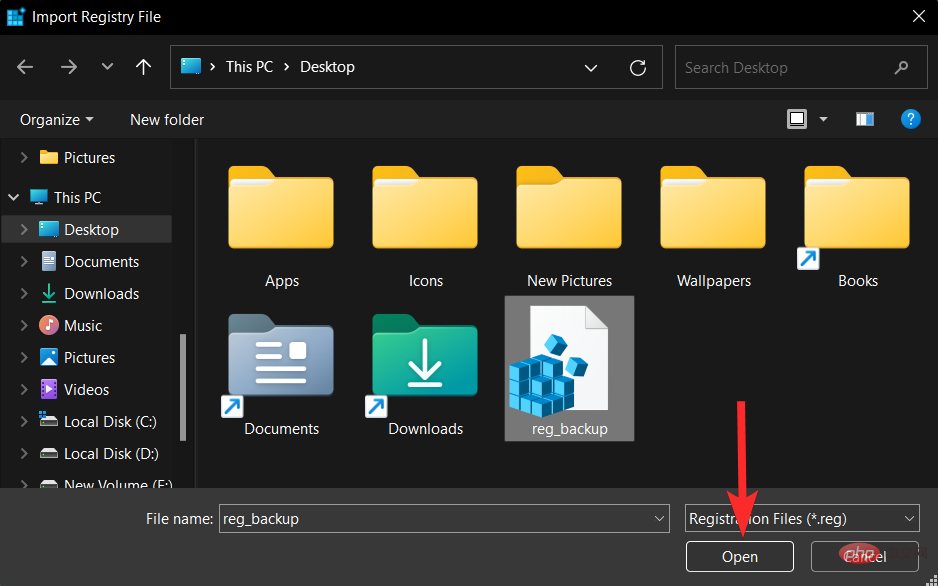 Wait for the Registry Editor to finish importing the backup registry file.
 That’s all. Your registry has been restored.

FAQ
Here are some frequently asked questions about registry backup to help you quickly get up to date.
When should you back up the registry?
When making major changes to your PC or settings, it's a good idea to back up your registry. This includes the following scenarios:
- Swap hardware components
- Edit software components
- Install system privileged applications
- Remove important components
- Modify the operating system
- Modify the registry
- Dual boot
- Create a partition on the boot drive
- Create the boot structure
- Repair Existing partitions and boot structures
- Trying to recover data
and more. Such cases either make changes to your registry or assume that the existing values in the registry are correct and expected. If something goes wrong, a backup can help you restore functionality in that situation.
Advantages of Backing Up the Registry
Backing up your registry settings can help you avoid third-party conflicts, errors, and Windows errors. Also, if you make manual changes to the registry settings, then they can help you restore the same settings in the future in case any issues arise. For all these reasons and more, it is recommended that you back up your registry settings from time to time.
Is system restore better than registry backup?
Technically yes, System Restore is a more thorough backup that supports other items along with your registry settings. This gives you a more comprehensive backup while ensuring you can restore your PC to a known working condition at any time.
The above is the detailed content of Windows 11 Registry: 5 Ways to Create a Backup and 2 Ways to Restore the Registry on Windows 11. For more information, please follow other related articles on the PHP Chinese website!

Hot AI Tools

Undresser.AI Undress
AI-powered app for creating realistic nude photos

AI Clothes Remover
Online AI tool for removing clothes from photos.

Undress AI Tool
Undress images for free

Clothoff.io
AI clothes remover

Video Face Swap
Swap faces in any video effortlessly with our completely free AI face swap tool!

Hot Article
Hot Tools

Notepad++7.3.1
Easy-to-use and free code editor

SublimeText3 Chinese version
Chinese version, very easy to use

Zend Studio 13.0.1
Powerful PHP integrated development environment

Dreamweaver CS6
Visual web development tools

SublimeText3 Mac version
God-level code editing software (SublimeText3)
Hot Topics


 Error code 22: How to fix graphics device driver Try updating graphics driver or clearing CMOS
May 19, 2023 pm 01:43 PM
Error code 22: How to fix graphics device driver Try updating graphics driver or clearing CMOS
May 19, 2023 pm 01:43 PM
What does graphics device error code 22 mean and what causes it? When you encounter error code 22, you will always see the error message This device is disabled. (Code 22). You can view more details about this graphics device driver error code 22 by going to the Device Status area in the device properties. We also discussed Error code 11 in Windows 43. You can also check out our guide on how to fix graphics device error code 31 on your PC. Device is actually disabled: The device in question may throw you this error code 22 and is actually disabled. There are driver issues: Incompatible or corrupted driver files can also cause multiple issues with the device program. Drivers are not the most
 How to solve the problem of location services being grayed out in Windows 10/11?
Apr 26, 2023 pm 03:49 PM
How to solve the problem of location services being grayed out in Windows 10/11?
Apr 26, 2023 pm 03:49 PM
Location services are an important feature for some applications on Windows, depending on the location of your system. So if you see the Location Services option grayed out on your system, you can't even toggle it manually. Usually, some system glitch causes this issue and you can easily fix it by following these simple solutions. Fix 1 – Adjust the registry You can adjust the registry to fix this greyed out location services issue. 1. Press the Win key and type "Registry". 2. Then, click "Registry Editor" to open the Registry Editor on your system. 3. You will delete a specific registry subdirectory. Usually, it won't affect your system at all. However, it is recommended that you perform a system backup. one. After opening the Registry Editor, click
 System Settings.exe Error: What It Is and How to Fix It
Apr 30, 2023 am 09:52 AM
System Settings.exe Error: What It Is and How to Fix It
Apr 30, 2023 am 09:52 AM
System Settings.exe is an executable file that contains machine code in an unreadable form. This file runs as a background service on Windows computers to ensure that Windows applications run properly. What is SystemSettings.exe Error? When a SystemSettings.exe runtime error occurs, a system error prompt appears on the screen with a message: The system has detected a stack-based buffer overflow in this application. This overflow could allow a malicious user to take control of this application. Apart from this, some of our readers have also encountered unknown software exception error 0x40000015. The error mainly occurs when a process requires an executable file to run but cannot launch the EXE. What causes
 How to disable core parking on Windows 10
May 16, 2023 pm 01:07 PM
How to disable core parking on Windows 10
May 16, 2023 pm 01:07 PM
If you are a Windows user and want to disable the core parking functionality in your system, this article will guide you through the process. What is core parking? The core parking function is a power saving mechanism. It puts some of your processors into a sleep mode that doesn't perform any tasks and consumes very little or no power. This helps reduce energy consumption and therefore heat in the system. These cores are unparked when needed. Few users need to disable this feature, especially gamers. Disabling this feature will improve your system performance. Disable Windows Core Parking using Windows Registry Editor Step 1: Use Windows + R keys simultaneously to open the run prompt. Step 2: At the run prompt
 Fix: WD My Cloud doesn't show up on the network in Windows 11
Oct 02, 2023 pm 11:21 PM
Fix: WD My Cloud doesn't show up on the network in Windows 11
Oct 02, 2023 pm 11:21 PM
If WDMyCloud is not showing up on the network in Windows 11, this can be a big problem, especially if you store backups or other important files in it. This can be a big problem for users who frequently need to access network storage, so in today's guide, we'll show you how to fix this problem permanently. Why doesn't WDMyCloud show up on Windows 11 network? Your MyCloud device, network adapter, or internet connection is not configured correctly. The SMB function is not installed on the computer. A temporary glitch in Winsock can sometimes cause this problem. What should I do if my cloud doesn't show up on the network? Before we start fixing the problem, you can perform some preliminary checks:
 How to add jump list items on Windows 10 and 11
May 11, 2023 pm 04:31 PM
How to add jump list items on Windows 10 and 11
May 11, 2023 pm 04:31 PM
Jump list on Windows provides easy access to recent files. If you want to add jump list items on Windows, this tutorial will help you get started. Jump Lists on Windows 10 and Windows 11 allow easy access to recently used files, folders, and websites. However, you may want to display more than the 10 most recent items that Windows displays by default. You can make Windows display more items in your jump list by adjusting the registry. For example, you can set it to display about 15-20 items, which will display well on most monitors. This tutorial will show you how to use Windows 10 and Windows 10
 How to turn off notifications on Windows 11?
Apr 23, 2023 pm 01:28 PM
How to turn off notifications on Windows 11?
Apr 23, 2023 pm 01:28 PM
How to Block Notifications on Windows 11 You can easily block notifications on Windows 11 by following the steps below. To block your notifications: Open the Start menu and select Settings. Alternatively, you can directly press Windows key + I to open Settings. When settings open, click System in the list on the left, then click Notifications on the right. On the following screen, turn off notification options. Exit the Settings application. Going forward, application and system notifications will stop showing on the desktop. However, it's worth noting that some apps have their own built-in notification settings. In this case, you'll need to disable notifications directly from the app - but this is rare. By turning off notifications in Settings, you will eliminate
 How to disable 'Let's finish setting up the device' on Windows
May 12, 2023 pm 10:43 PM
How to disable 'Let's finish setting up the device' on Windows
May 12, 2023 pm 10:43 PM
Windows 11 comes with many features out of the box, as long as you attach a Microsoft account to them. When you clean install Windows 11, it asks you to set up Microsoft Office, OneDrive, Windows Hello, PhoneLinks (formerly YourPhone), and more. If you don't set up these Microsoft services, you will receive a message reminding you to complete the setup every few days. You can click Continue or Remind Me within 3 days. Both options are annoying, and there's no option to say no. Instead, you need to try a workaround. This is done on Windows by disabling "Let