

A quick way to enable and use aligned layout in Windows 11

Microsoft’s Windows 11 Snap Layout feature, among other features, is grabbing everyone’s attention these days. Because it's designed to improve your PC experience and the way you communicate with others.
The operating system comes with dynamic and powerful elements that support your work. Windows 11 includes some interesting features that will make everything different and feature a new design. Among other elements, a taskbar centered on the Start menu was introduced.
In this regard, you will benefit from a multitasking feature called Snap Layout. Therefore, users with larger monitors will be able to split them in various ways and organize them as they please.
Also, to take your multitasking abilities to the next level, another good idea is to invest in a mouse designed specifically for multitasking.
What is Snap Layout in Windows 11?
First of all, Snap layouts is a feature that helps you arrange windows on the screen in the best way to help you with multitasking.
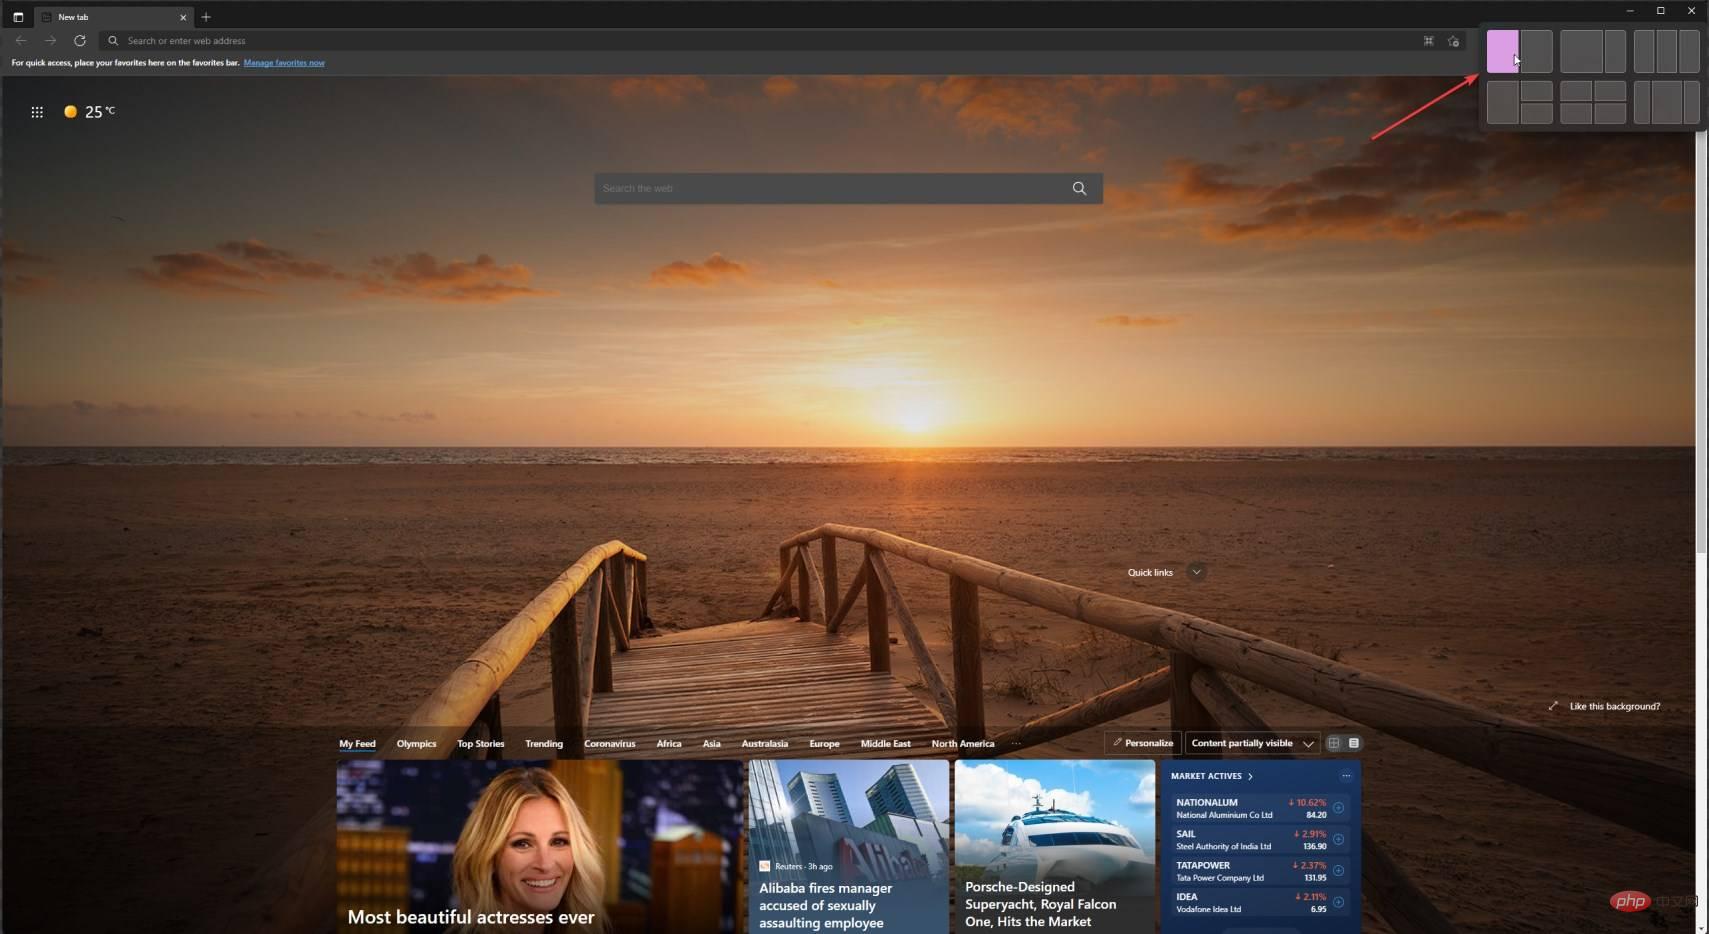
Basically, after you activate the feature using the tutorial below, when you hover over the maximize icon of any window, you will see multiple options to place it on your Laying out.
Also, the word "snap" refers to the fact that the window will immediately position itself at the specified location.
After you create these window arrangements using Snap layouts, you can save them in Snap groups. Which ones are accessible on the taskbar and which ones you can access later.
How do I enable Snap Layout in my Windows 11 PC?
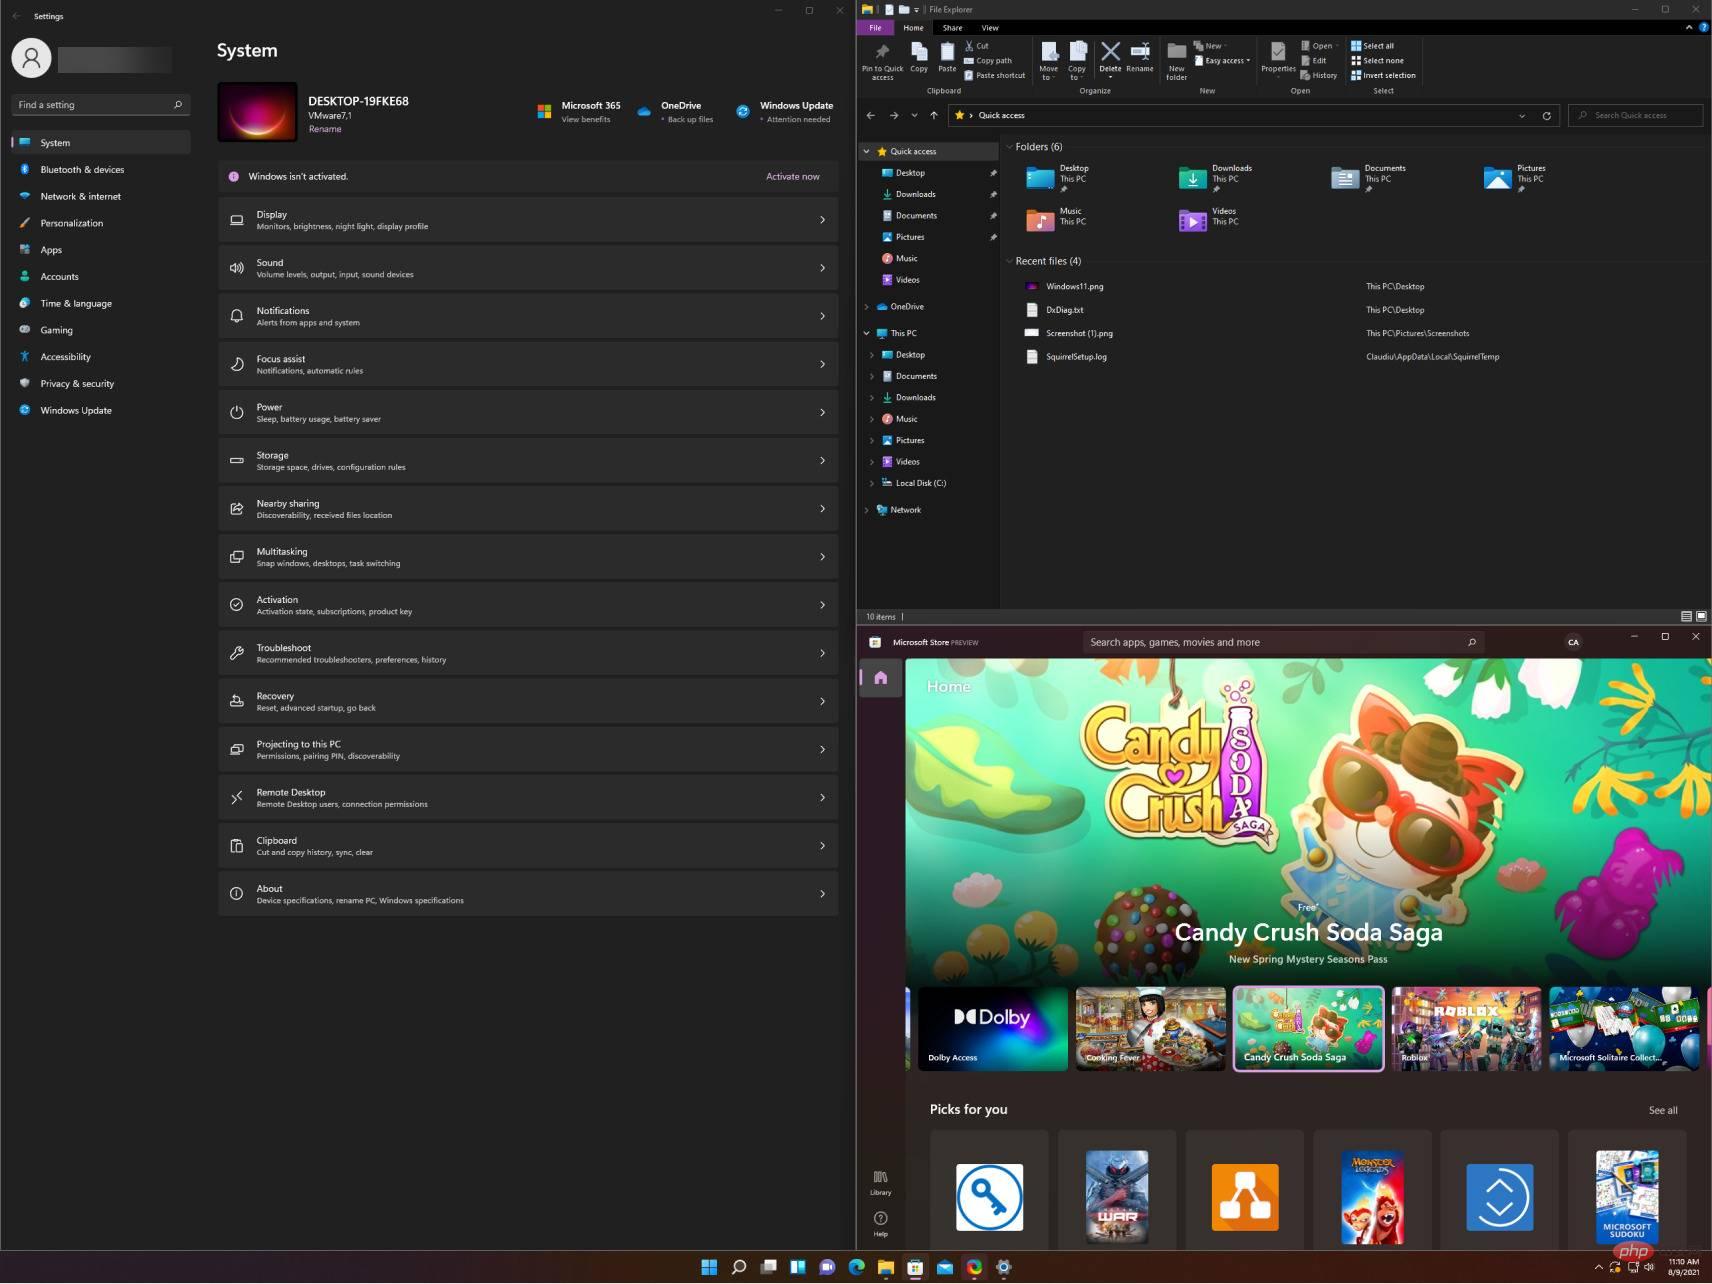
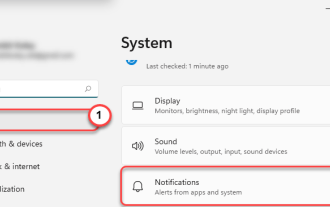
- Click the "Start" button to open the Settings app.

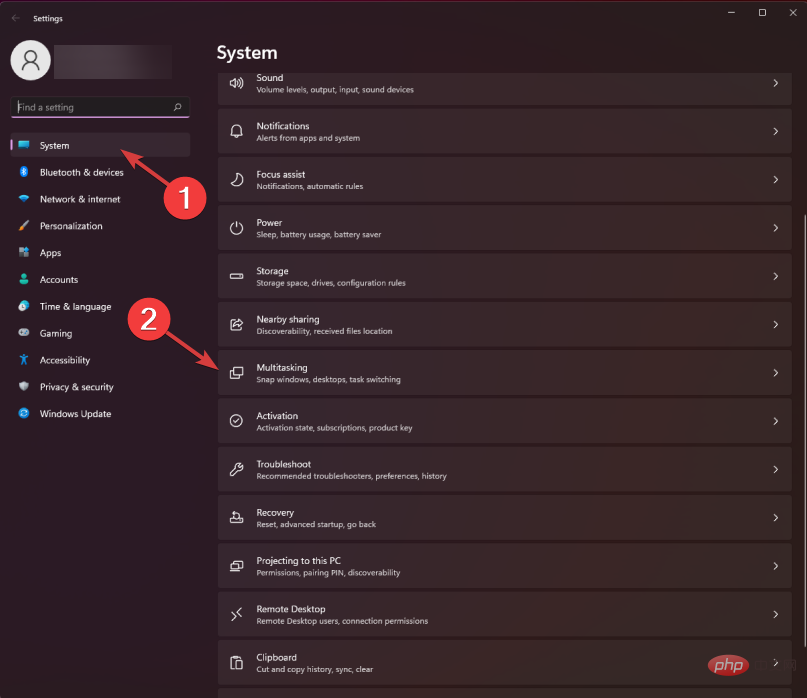
- Select the System category and click the Multitasking tab.
-
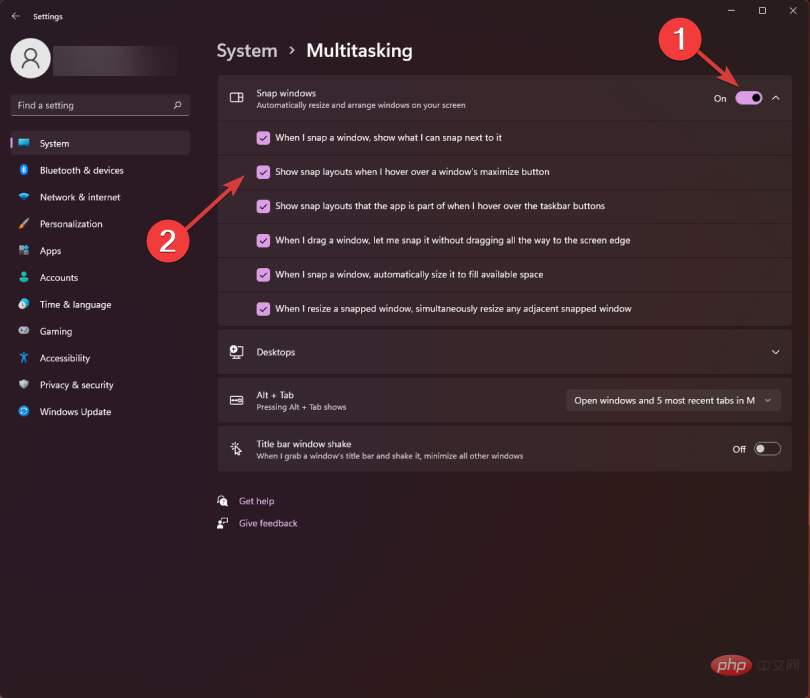
Switch the capture window button to on. Then check the box next to Show snapshot layout when I hover my mouse over the window's maximize button option.
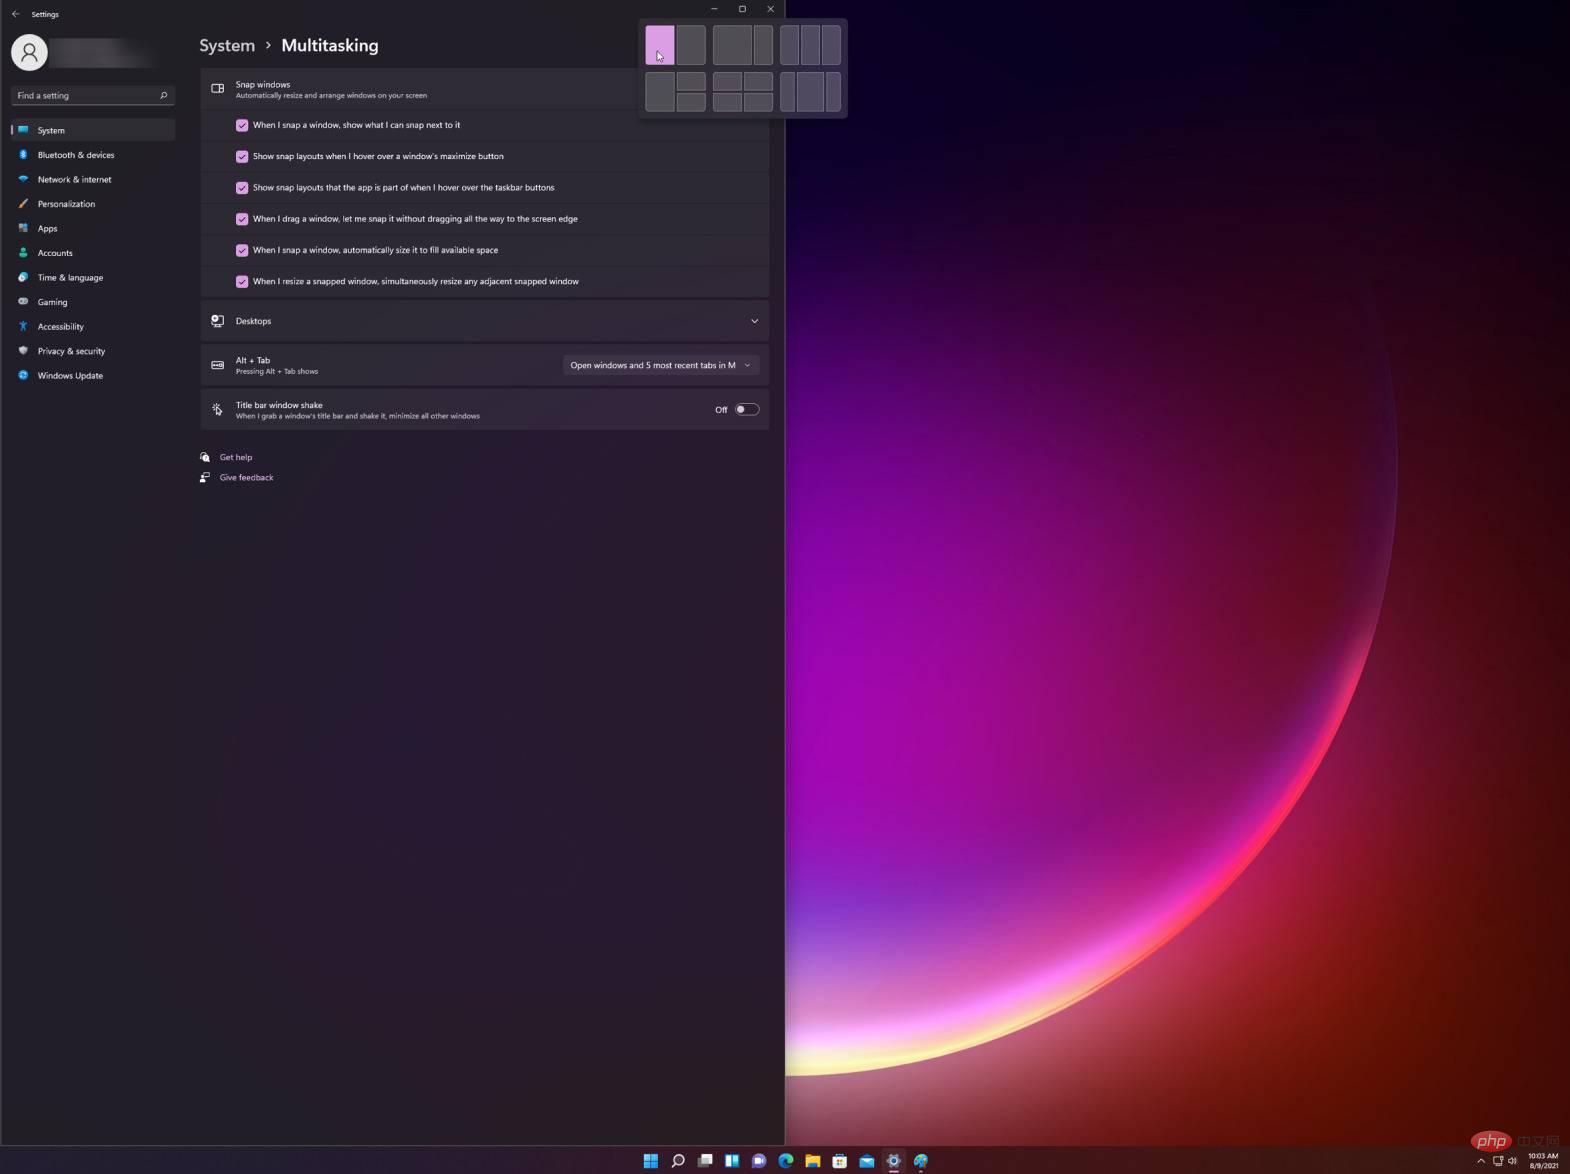
- Now, if you hover over the maximize button of any window, snapping options will appear in the corners.
- Choose from different layout options to arrange your current page alongside other applications.
Another way to quickly access the flyout is to use the Windows 11 Align Layout shortcut: Windows key , which will trigger the Align Layout options for the current window. Z
Notes You can choose the layout based on the width of your monitor. You'll see a set of 4 layout options for 16:9, 16:10, and 3:2 monitors, and a set of 6 layout options for wider monitors.It’s also worth mentioning that Microsoft has announced to users that older monitors with resolutions lower than 1920 pixels will not be able to fully benefit from this powerful feature.
Additionally, considering the system requirements and specifications of the new Windows 11, we found a need for 1080p HD widescreen resolution. To enjoy the standard look provided by Snap Layout feature.
How to vertically align in Windows 11?
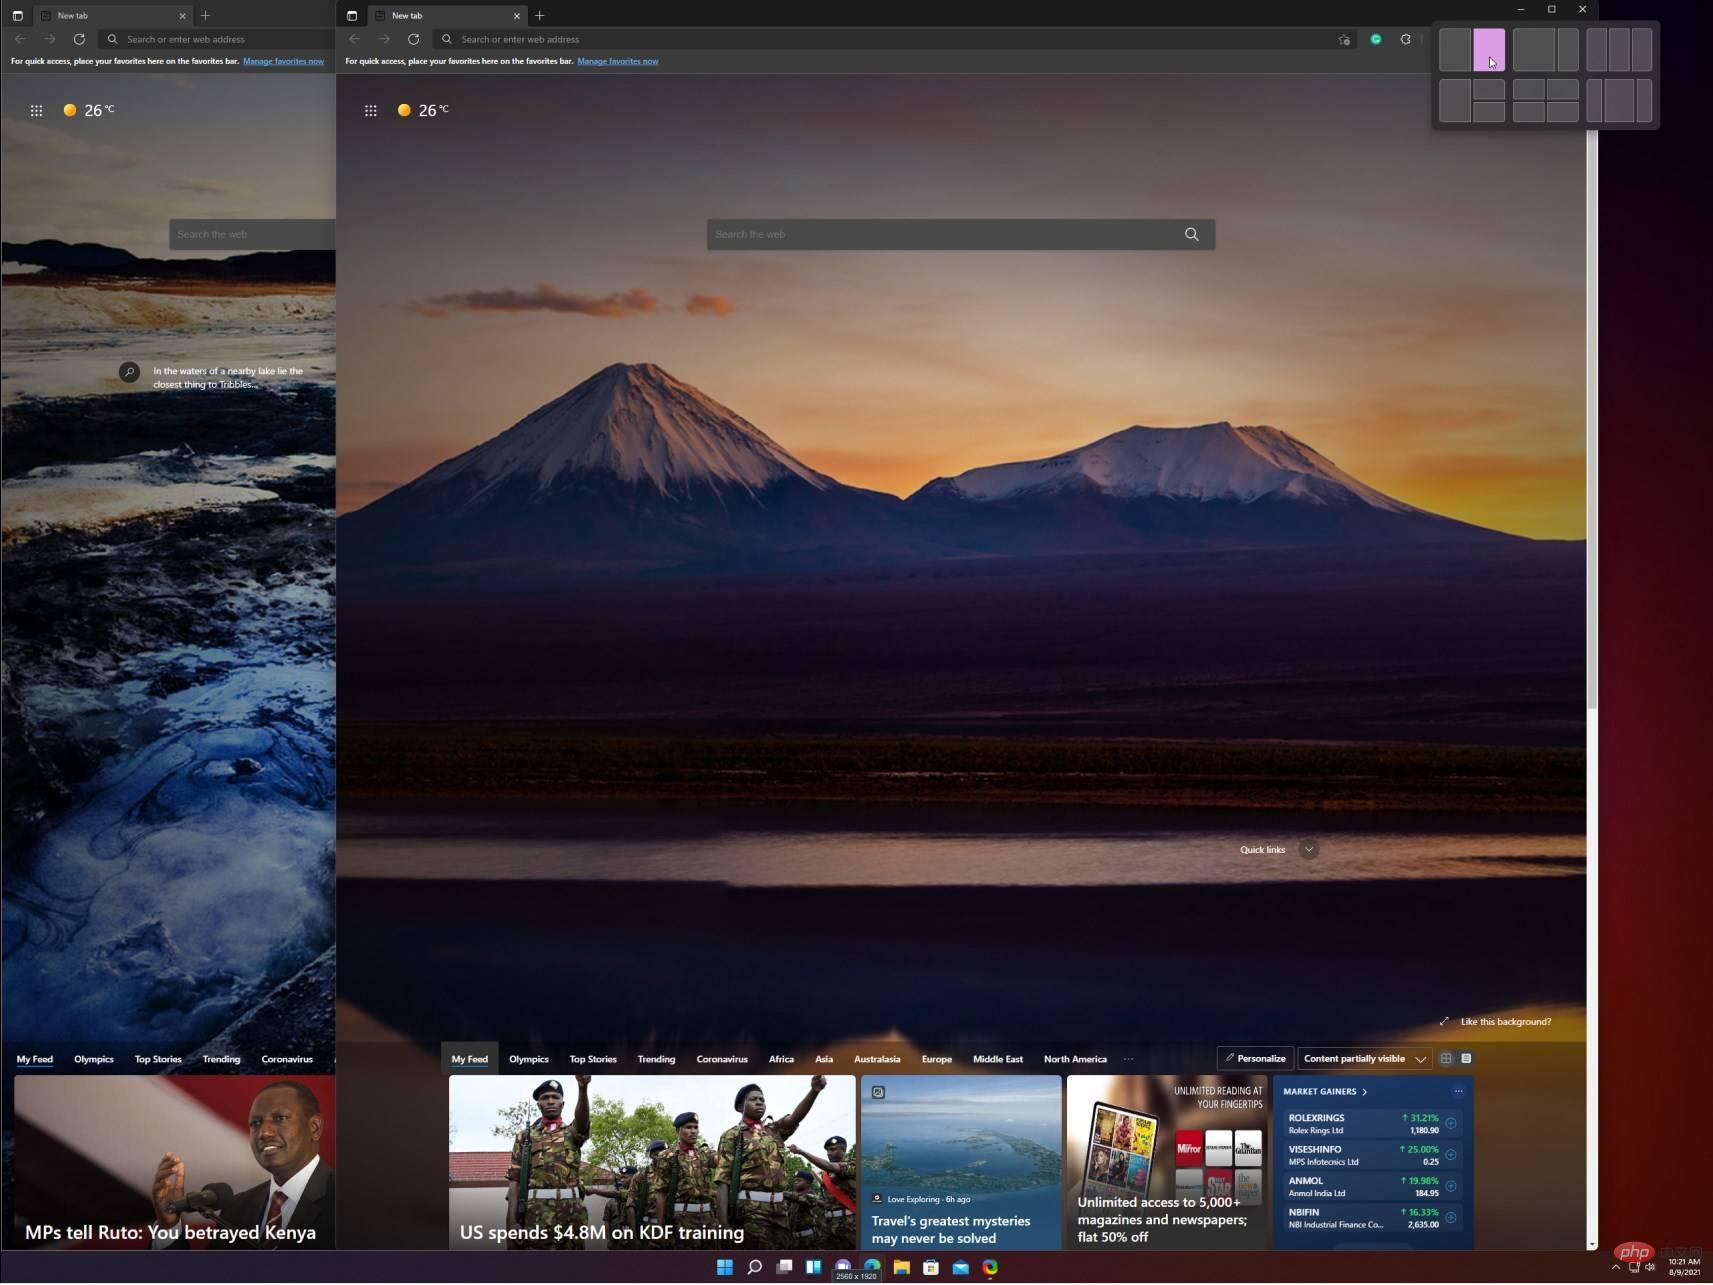
- First, hover over the Maximize icon on the window you wish to have on the left, then select Left Column in the graphics options that appear (there are 3 custom Define Windows 11 alignment layout options for vertical alignment: 2 columns, 3 identical columns, and 3 asymmetric columns).
- Now hover over the maximize icon of the second window and select the second column from the right.
- The two windows will be aligned vertically. You can change their width by dragging the mouse from the edge of the window from the middle to each side.
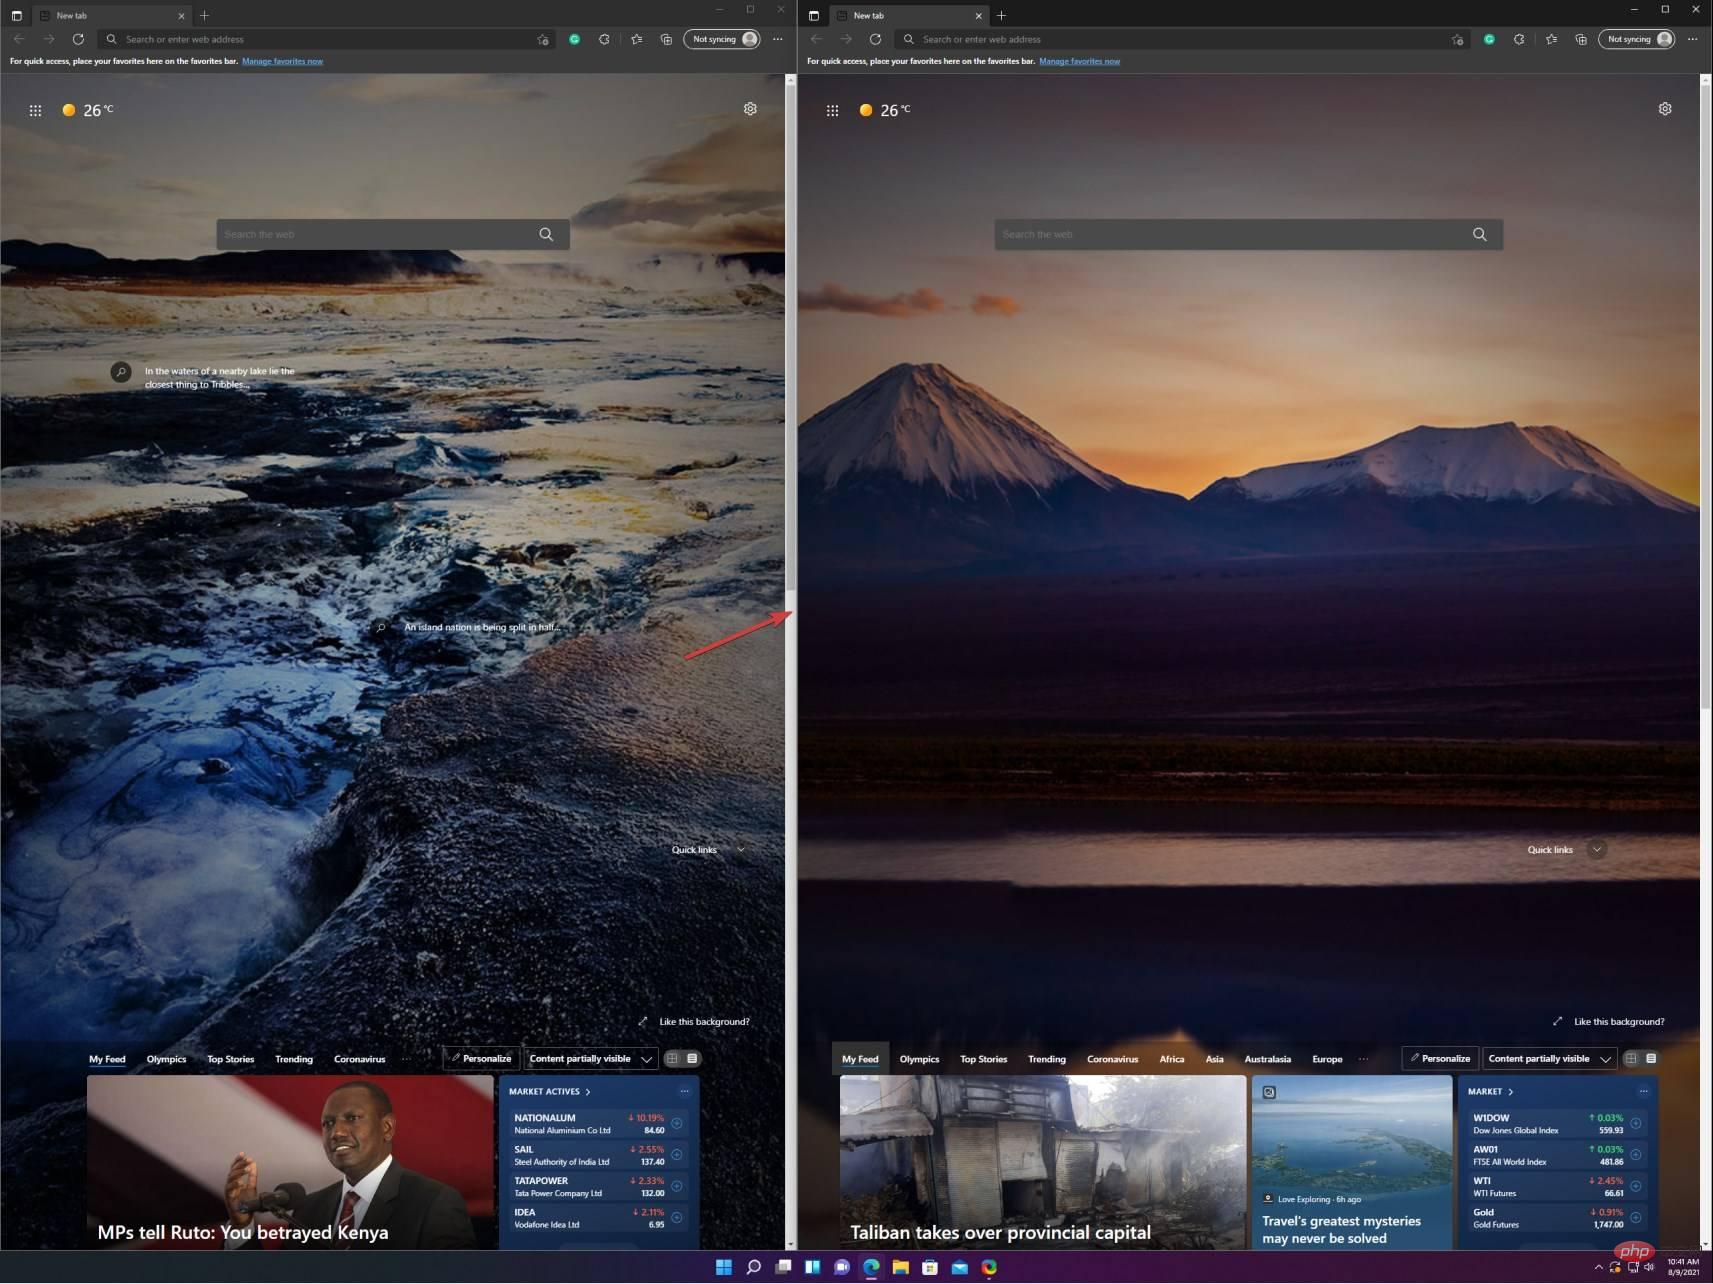
If you choose any other vertical layout, you simply select the appropriate settings for each window in the arrangement. However, as you can see, doing this is very simple.
How to use Snap Layouts on virtual desktops?
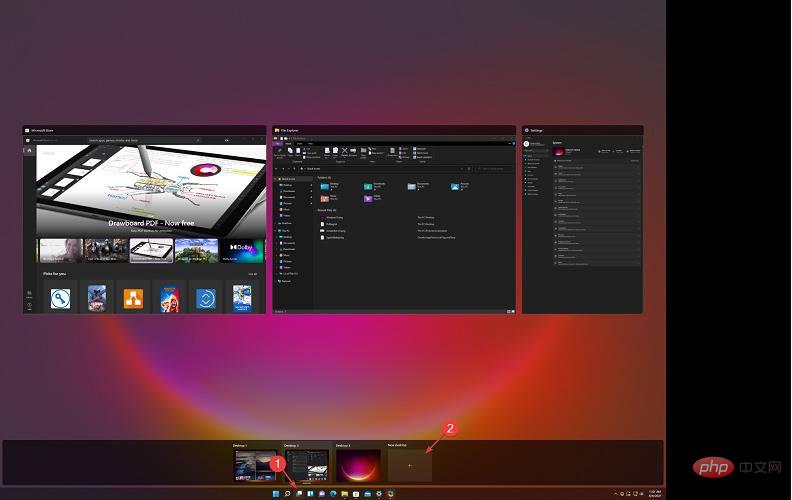
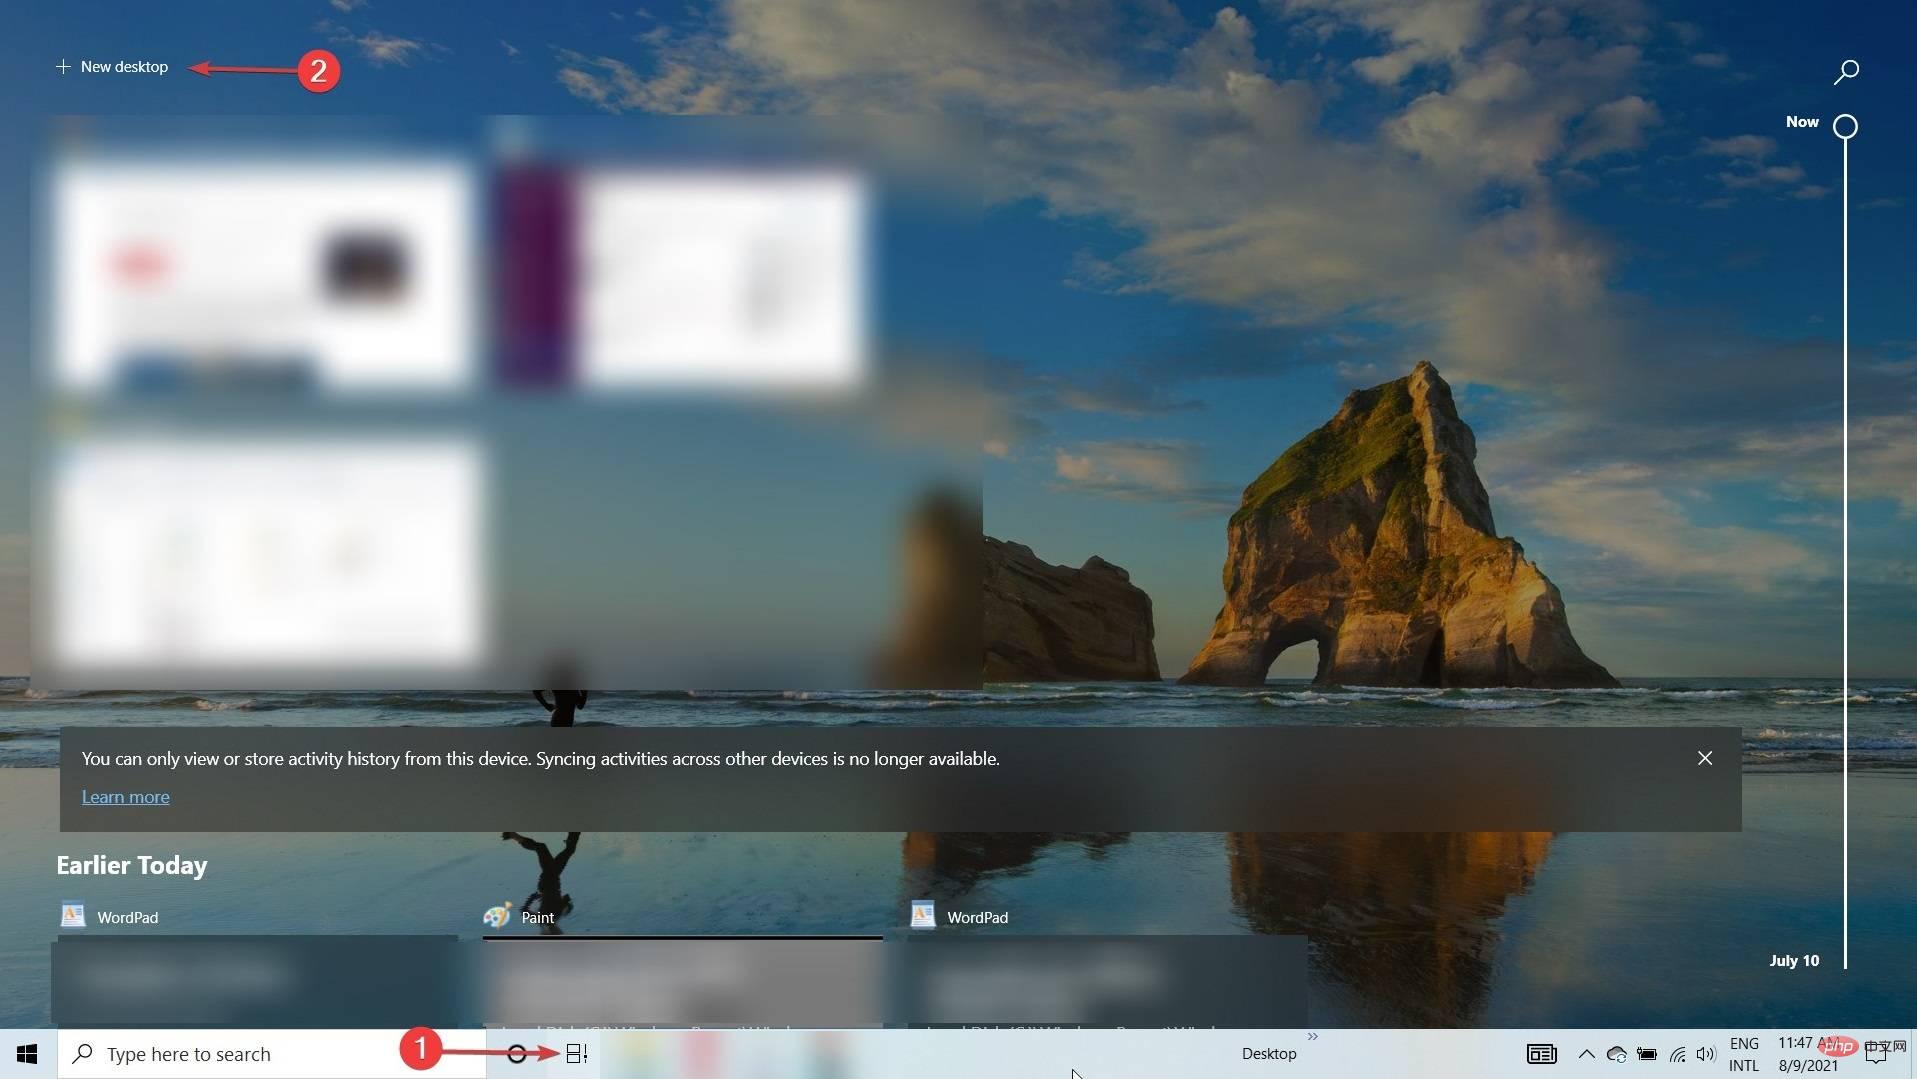
- Click the virtual desktop icon on the taskbar and select the New Desktop tab.
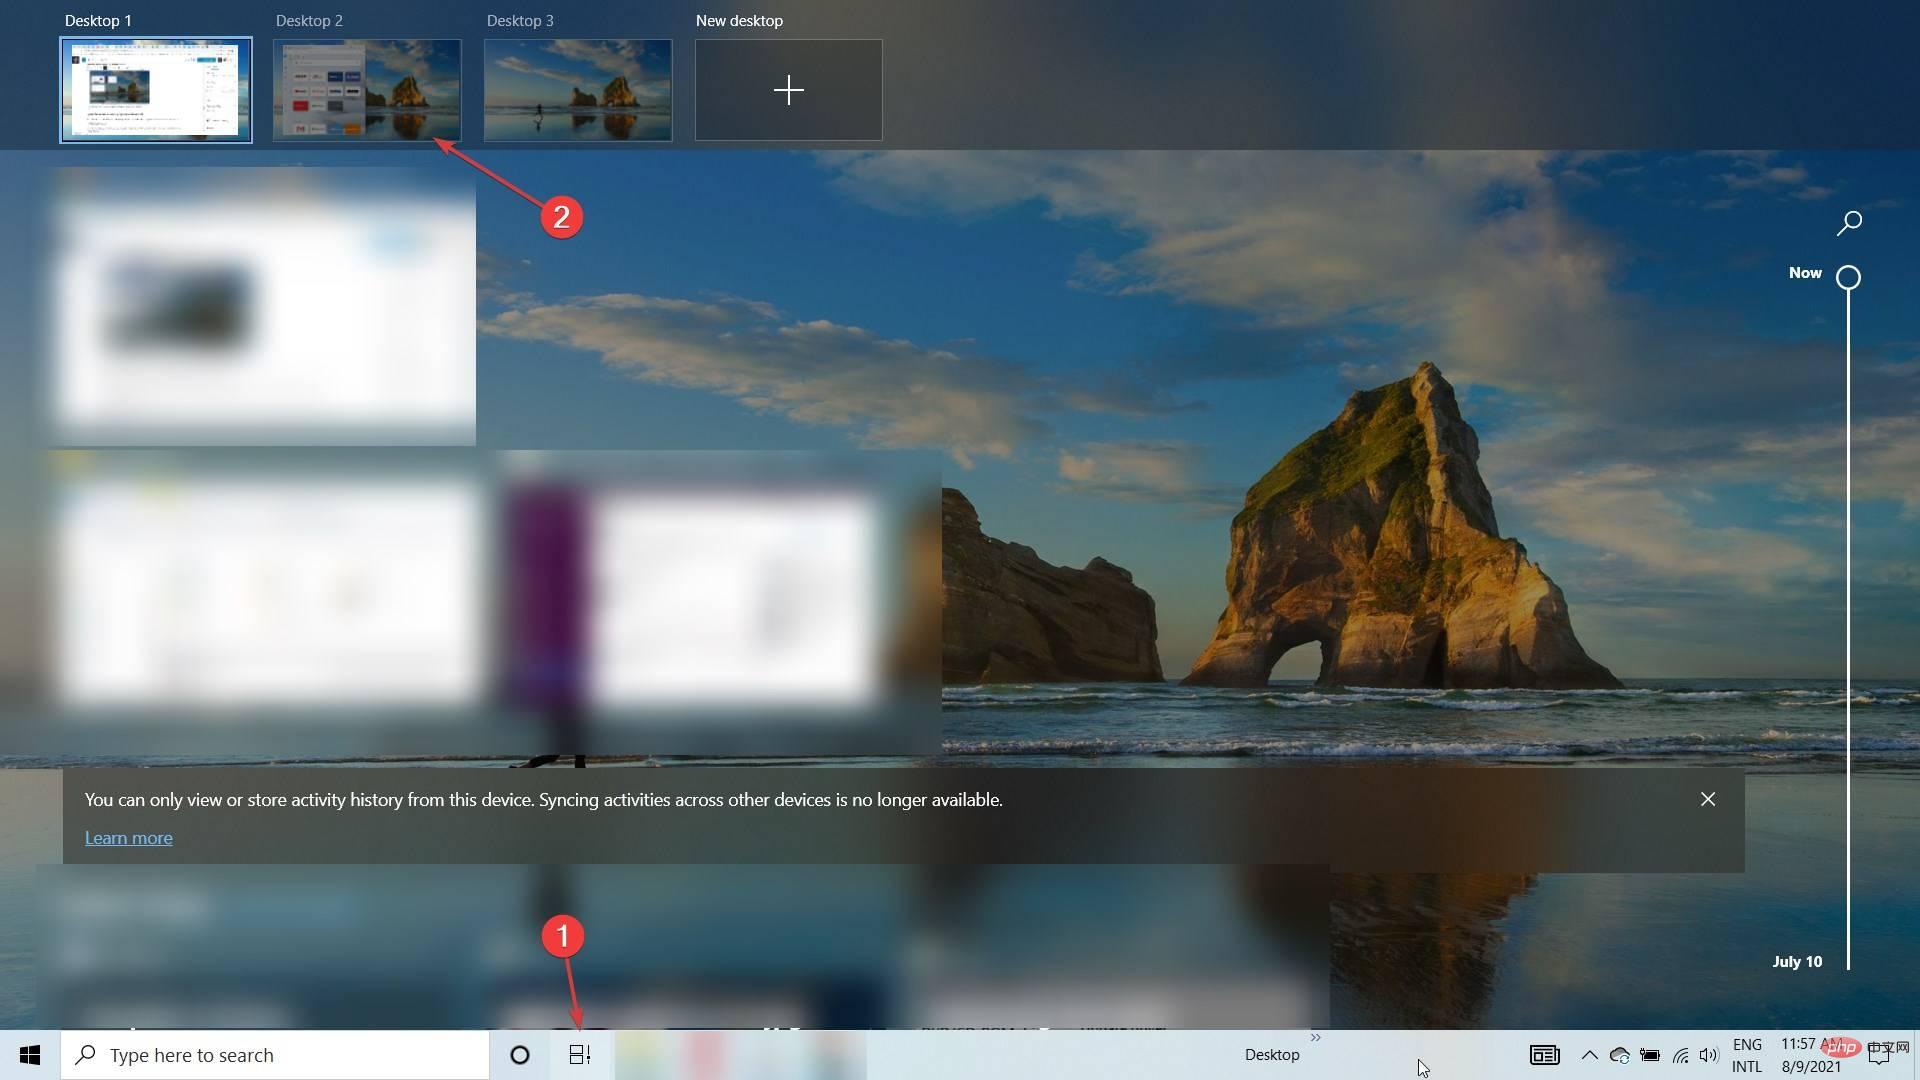
- Now you can select a new desktop by clicking on the virtual desktop icon again and selecting the new desktop you just created.
- Now you can create a new snapshot layout like you saw in the previous solution. We created a random one for you so you can see the possibilities.
- If desired, you can now do this by clicking on the virtual desktop icon and selecting the desired desktop or pressing Ctrl Windows Left Or to switch between created desktopsRight.

How to use Snap layout in Windows 10?
- Click the Task View option in the taskbar and select New Desktop.
- Select the Task View icon again and select the second desktop.
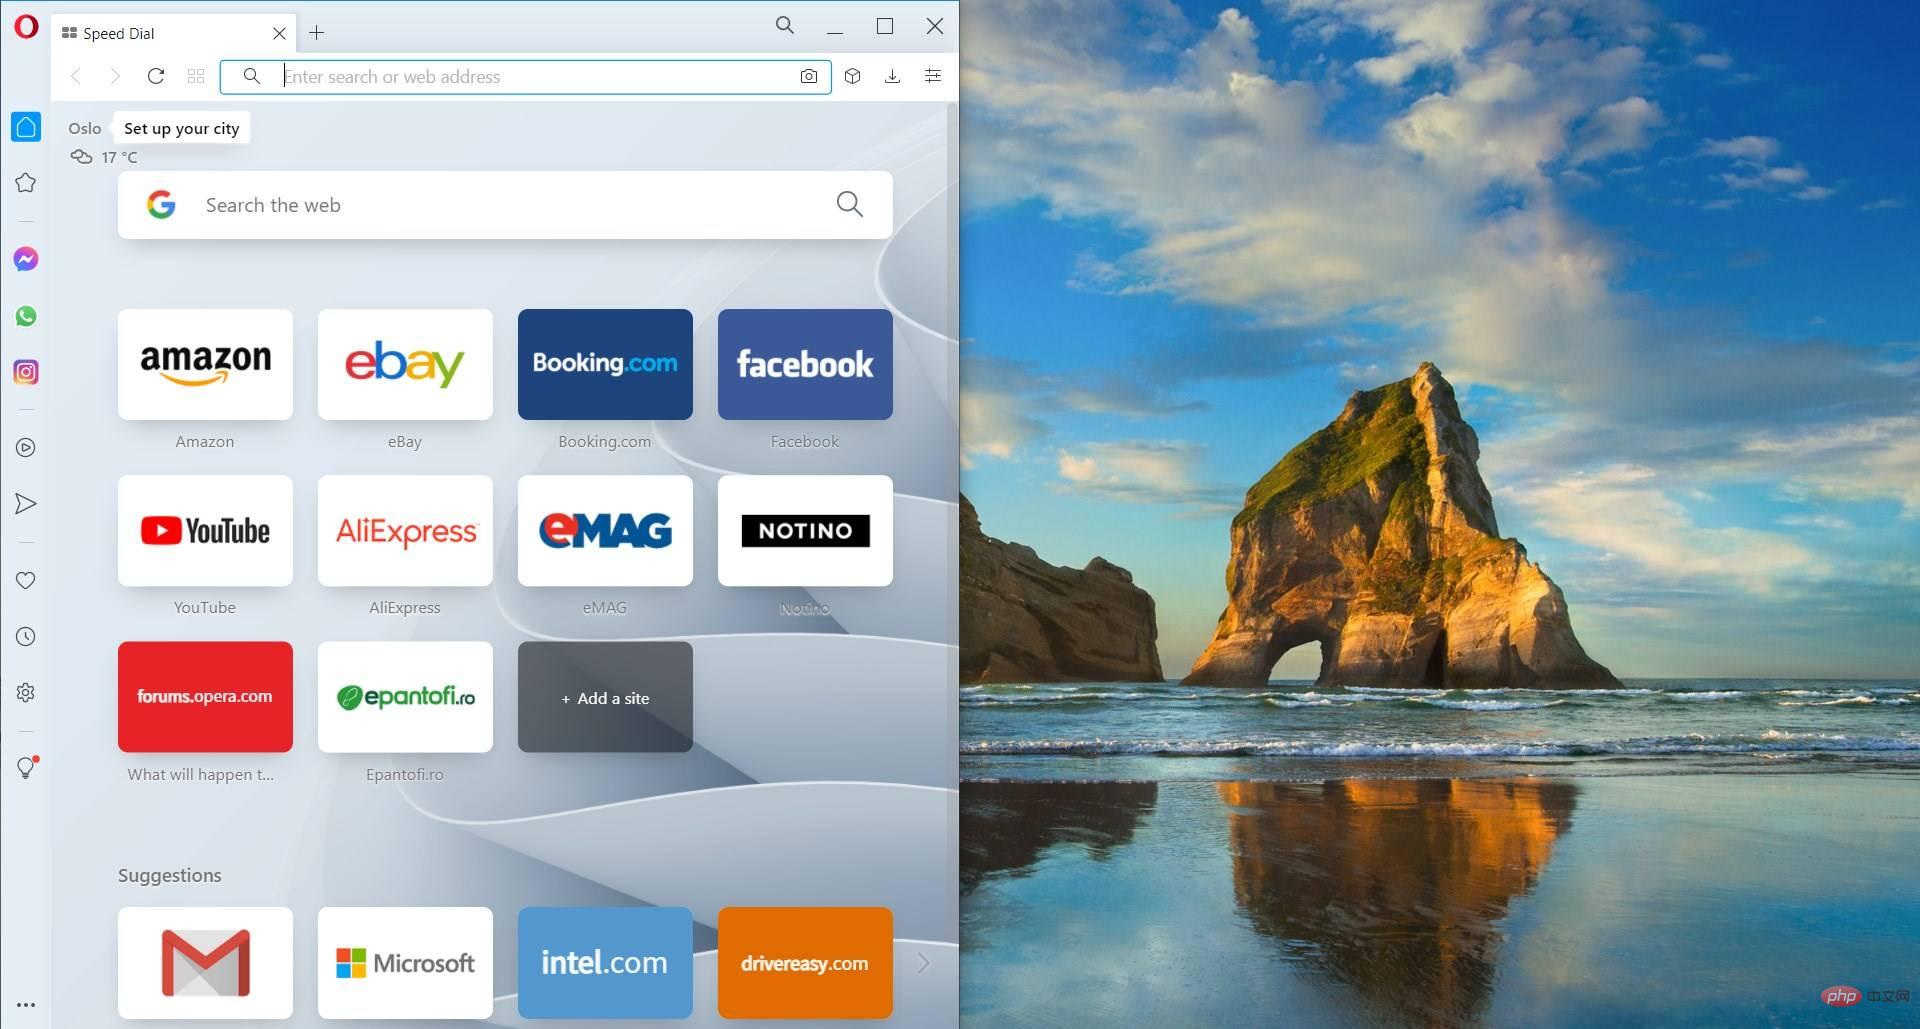
- Now open a window you want to capture and press Windows Left or Windows Right to move the window Snap vertically left or right. As you can see from our screenshot, it's perfectly aligned to the left, covering half of the desktop.
- You can also use the mouse to remove the window from its title bar and then release it close to an edge and it will automatically snap to that edge.
- Of course, you can manually resize the window using your mouse by grabbing the edges with your mouse.
Capturing windows in Windows 10 is not as elegant and straightforward as it is in Windows 11. But you can still get the job done with a few extra moves.
Quick Tips on How to Use Snap Layout in Windows 11
Here are some of the most fun ways to use Snap layouts and groups to improve multitasking:
➡ Divide work and play
Please note , it’s important to separate work-related apps and tabs from non-work-related apps and tabs. The motivation is obvious.
Aligned Layouts and Groups can help you do this easily by grouping apps and windows into specific layouts. This is especially useful if you also use the multiple desktops feature in Windows 11.
➡Find Flights
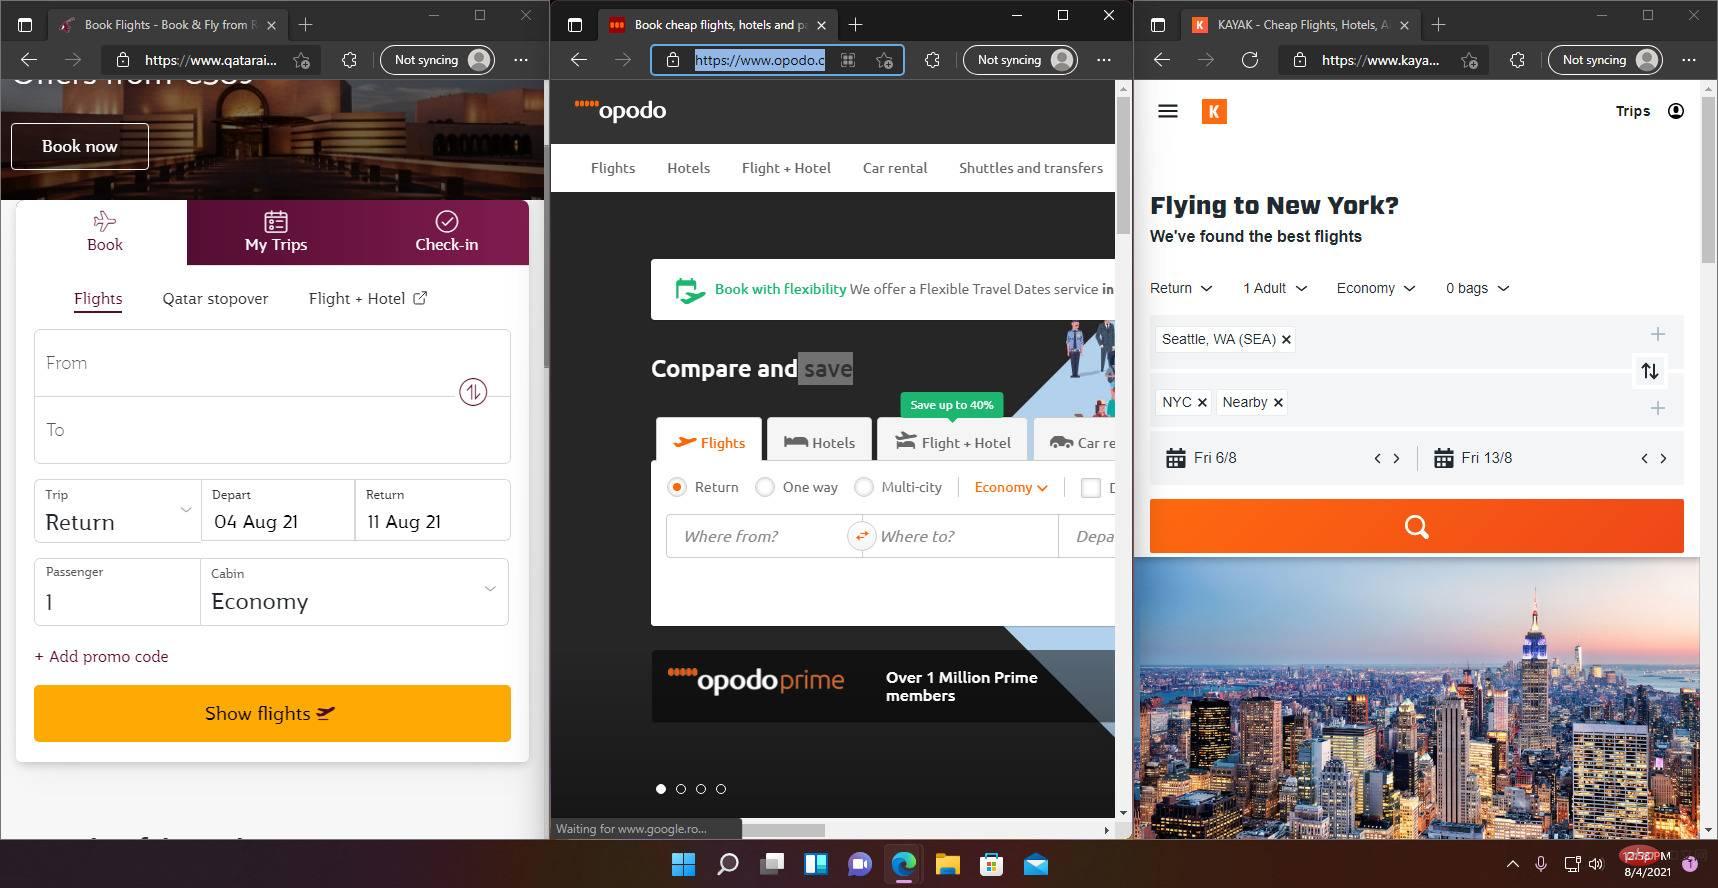
We all know how hard it is to look for more convenient flights and routes on multiple websites and apps difficulty. Getting from one to the other can be hard work.
Using Snap layout, you can snap up to 4 of them in one window. Then check them easily without going back and forth to each one.
➡ FACE THE TECHNICAL SPECS
If you're planning to buy, say, a proper Windows 11 compatible laptop, you're going to want to check out every All the technical specifications of Taiwanese products, right?
Using Snap layout, you can launch 3 browser windows. Capture them in a three-column layout and scroll down through them on the same website to instantly spot the difference.
We hope our tutorial helped you enable the Snap layout feature. Our tips give you some ideas on how to use it. You can finally start creating layouts to your liking, saving and accessing them later in Snap groups.
If you happen to change your mind, let us remind you that disabling Snap layout on Windows 11 is very easy.
The above is the detailed content of A quick way to enable and use aligned layout in Windows 11. For more information, please follow other related articles on the PHP Chinese website!

Hot AI Tools

Undresser.AI Undress
AI-powered app for creating realistic nude photos

AI Clothes Remover
Online AI tool for removing clothes from photos.

Undress AI Tool
Undress images for free

Clothoff.io
AI clothes remover

Video Face Swap
Swap faces in any video effortlessly with our completely free AI face swap tool!

Hot Article
Hot Tools

Notepad++7.3.1
Easy-to-use and free code editor

SublimeText3 Chinese version
Chinese version, very easy to use

Zend Studio 13.0.1
Powerful PHP integrated development environment

Dreamweaver CS6
Visual web development tools

SublimeText3 Mac version
God-level code editing software (SublimeText3)
Hot Topics


 How to fix preview pane not working in Windows 11
Apr 24, 2023 pm 06:46 PM
How to fix preview pane not working in Windows 11
Apr 24, 2023 pm 06:46 PM
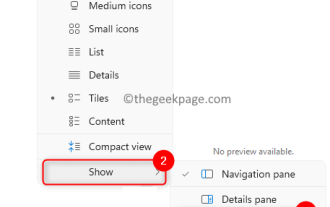
One of the features that comes with Windows File Explorer is the preview pane, which displays a preview of the file you selected. This means you can view the contents of the file before opening it. The preview pane of File Explorer provides previews for different types of files such as Office-related documents, PDFs, text files, images, and videos. It usually works fine, but sometimes the file preview isn't available. Recently, many Windows 11 users have raised the issue that File Explorer’s preview pane is not working and they are unable to view file previews. Are you facing the issue of preview pane not working on your Windows computer? Then, continue reading this article. Here we have compiled a list of fixes that can help you fix
 7 Ways to Fix Printer Access Denied Error in Windows 11
May 10, 2023 pm 03:43 PM
7 Ways to Fix Printer Access Denied Error in Windows 11
May 10, 2023 pm 03:43 PM
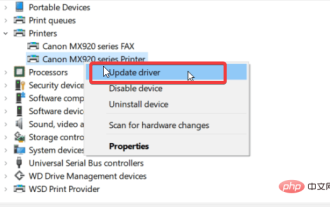
Connecting your Windows computer to external devices such as printers can make things easier for you. However, you may encounter several problems when trying to collect computers from external devices such as printers. Users complain about Windows 11 printer access denied error. Many situations can cause this issue, including hardware issues, driver issues, and more. Therefore, this article will discuss the cause of the problem and how to solve it. Windows 11 printer access denied error prevents you from using the printer to perform any action on your computer. This indicates that there is not a good connection between the computer and the printer. Likewise, printer errors may cause Windows to be unable to connect to the printer Access Denied error 0x0000011b.
 Fix: Snipping Tool notification missing in Windows 11, 10
May 16, 2023 pm 06:34 PM
Fix: Snipping Tool notification missing in Windows 11, 10
May 16, 2023 pm 06:34 PM
Snip&Sketch is an excellent Windows screenshot tool. Microsoft has added tons of new cool features and shortcuts to make this tool almost indispensable for users. However, you may have noticed an issue after taking the screenshot, the preview notification does not appear in the notification panel! There are many reasons that could be the source of the problem. So, no need to waste more time, just follow these solutions to find a quick solution. Fix 1 – Check notification settings You may have blocked Snip & Sketch notification settings. 1. You have to open settings. So, press Windows key + I key at the same time. 2. Now, go to “System” from the left pane. 3. On the right side, click All Options
 3 Ways to Fix Error 740 When Adding a Printer in Windows 11
Apr 22, 2023 pm 12:04 PM
3 Ways to Fix Error 740 When Adding a Printer in Windows 11
Apr 22, 2023 pm 12:04 PM
Can't add printer on Windows 11? If you encounter error 740 when adding a printer to your Windows 11 PC, you are not alone. It often leaves you wondering, will your printer work with Windows 11? This is a common error and the message reads – This doesn’t work. We cannot install this printer at this time. Please try again later or contact your network administrator for assistance. Bug: #740. But, to your relief, this just means that you need to have the required administrator rights to add the printer. Additionally, you may see the message – The requested operation requires elevation: Error 740. This error prevents you from running applications or accessing files on your storage device
 Ghost Specter Windows 11 Superlite: Download and Installation Guide
May 05, 2023 am 09:10 AM
Ghost Specter Windows 11 Superlite: Download and Installation Guide
May 05, 2023 am 09:10 AM
Updating the operating system to the latest Windows 11 poses a challenge for many PCs due to insufficient system requirements. Therefore, Microsoft released a modified version, GhostSpectreWindows11Superlite, compatible with every PC. Therefore, we will discuss how to download and install it. Likewise, if your PC meets the Windows 11 system requirements, you can read further about obtaining a Windows 11 custom ISO. What is Ghost Windows 11? GhostSpectreWindows11 is a modified version called LightWindows11. This is because of the installed
 Fix issue where Windows 11 display language cannot be changed
May 07, 2023 am 10:10 AM
Fix issue where Windows 11 display language cannot be changed
May 07, 2023 am 10:10 AM
The display language is the front-end language in which users can read and view system screen content. Windows 11 releases updated versions regularly, but sometimes this causes some unexpected things to change. Many Windows users have noticed a change in Windows 11 systems where they cannot change their display language. They're not sure why this is happening. We suspect this may be due to a recent Windows version being installed on the system or having sync settings enabled to remember preferences for different devices. Don't worry if you encounter such problems when changing the display language. In this article, we have explained below some solutions that will help users to resolve this issue and be able to change the display language. build
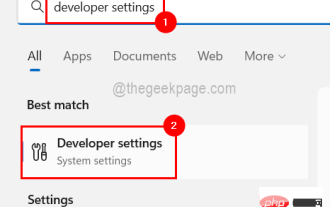 How to enable developer mode in Windows 11
Apr 25, 2023 pm 10:58 PM
How to enable developer mode in Windows 11
Apr 25, 2023 pm 10:58 PM
Microsoft has announced a new feature alongside Windows 10 called Developer Mode, which is also present in Windows 11. This is very important for all developers who code software development on Windows PC and want to deploy it to other devices. To improve the coding environment, users must enable developer mode on Windows systems, which allows users to benefit from enhanced assistance in writing, testing, and deploying code. Users must ensure that developer mode is enabled not only on the Windows machine where coding is done, but also on the device where it is deployed and tested. If you are new to coding and want to make the most of this feature, continue reading this article which will guide you how
 Windows 11 doesn't recognize Bootrec? Apply this simple fix
May 20, 2023 pm 01:50 PM
Windows 11 doesn't recognize Bootrec? Apply this simple fix
May 20, 2023 pm 01:50 PM
The boot sector is a critical part of the drive that takes over shortly after the computer boots. When you have a problem, bootrec is here to help. But what should you do if bootrec is not recognized in Windows 11? The boot sector contains the MBR or Master Boot Record, which helps locate the operating system on the drive and load it. Moreover, its issues may prevent you from booting Windows 11 efficiently or at all. Speaking of issues, many are reporting Bootrec/Fixboot access denied messages and we have detailed this issue in a separate tutorial. In this case, it is recommended that you run the bootrec command to eliminate this issue. If you encounter when running the command