
 Web Front-end
Vue.js
A brief analysis of how to use Intro.js to implement user guidance function in vue project
Web Front-end
Vue.js
A brief analysis of how to use Intro.js to implement user guidance function in vue project
A brief analysis of how to use Intro.js to implement user guidance function in vue project

How to implement user guidance function in vue project? The following article will introduce to you how to use Intro.js to implement the user guidance function in the vue project. I hope it will be helpful to you!

After the system releases a new version or launches new functions, in order to facilitate users to quickly understand the new functions, it is usually necessary to add some user guidance interfaces.
Common plug-ins used to implement user guidance are: Intro.js, Shepherd, vue-tour, Driver. jsetc. Each of these plug-ins has its pros and cons. This article will introduce how to use Intro.js to implement user guidance based on the vue project. [Learning video sharing: vue video tutorial, web front-end video]
What is Intro.js
Intro. js is an open source Javascript/CSS library for adding step-by-step introductions or prompts. It has the following advantages:
- No dependencies: No other dependencies are required.
- Small and fast: The file size is small and the boot process is smooth. Among them, the overall size of the JavaScript file is 10KB and the CSS file is 2.5KB.
- User-friendly: Multiple themes are provided, which can be selected according to personal preferences.
- Browser compatibility: Compatible with all mainstream browsers, including: Chrome, Firefox, Opera, Safari and IE browsers.
- Complete documentation: The documentation contains the content and examples of each element to be introduced.
API & options
Intro.js can implement two user guidance forms: tour (explicit guidance) and hint (implicit guidance) (Note: These two translations are chosen by the author myself and are only used for differentiation!!!).
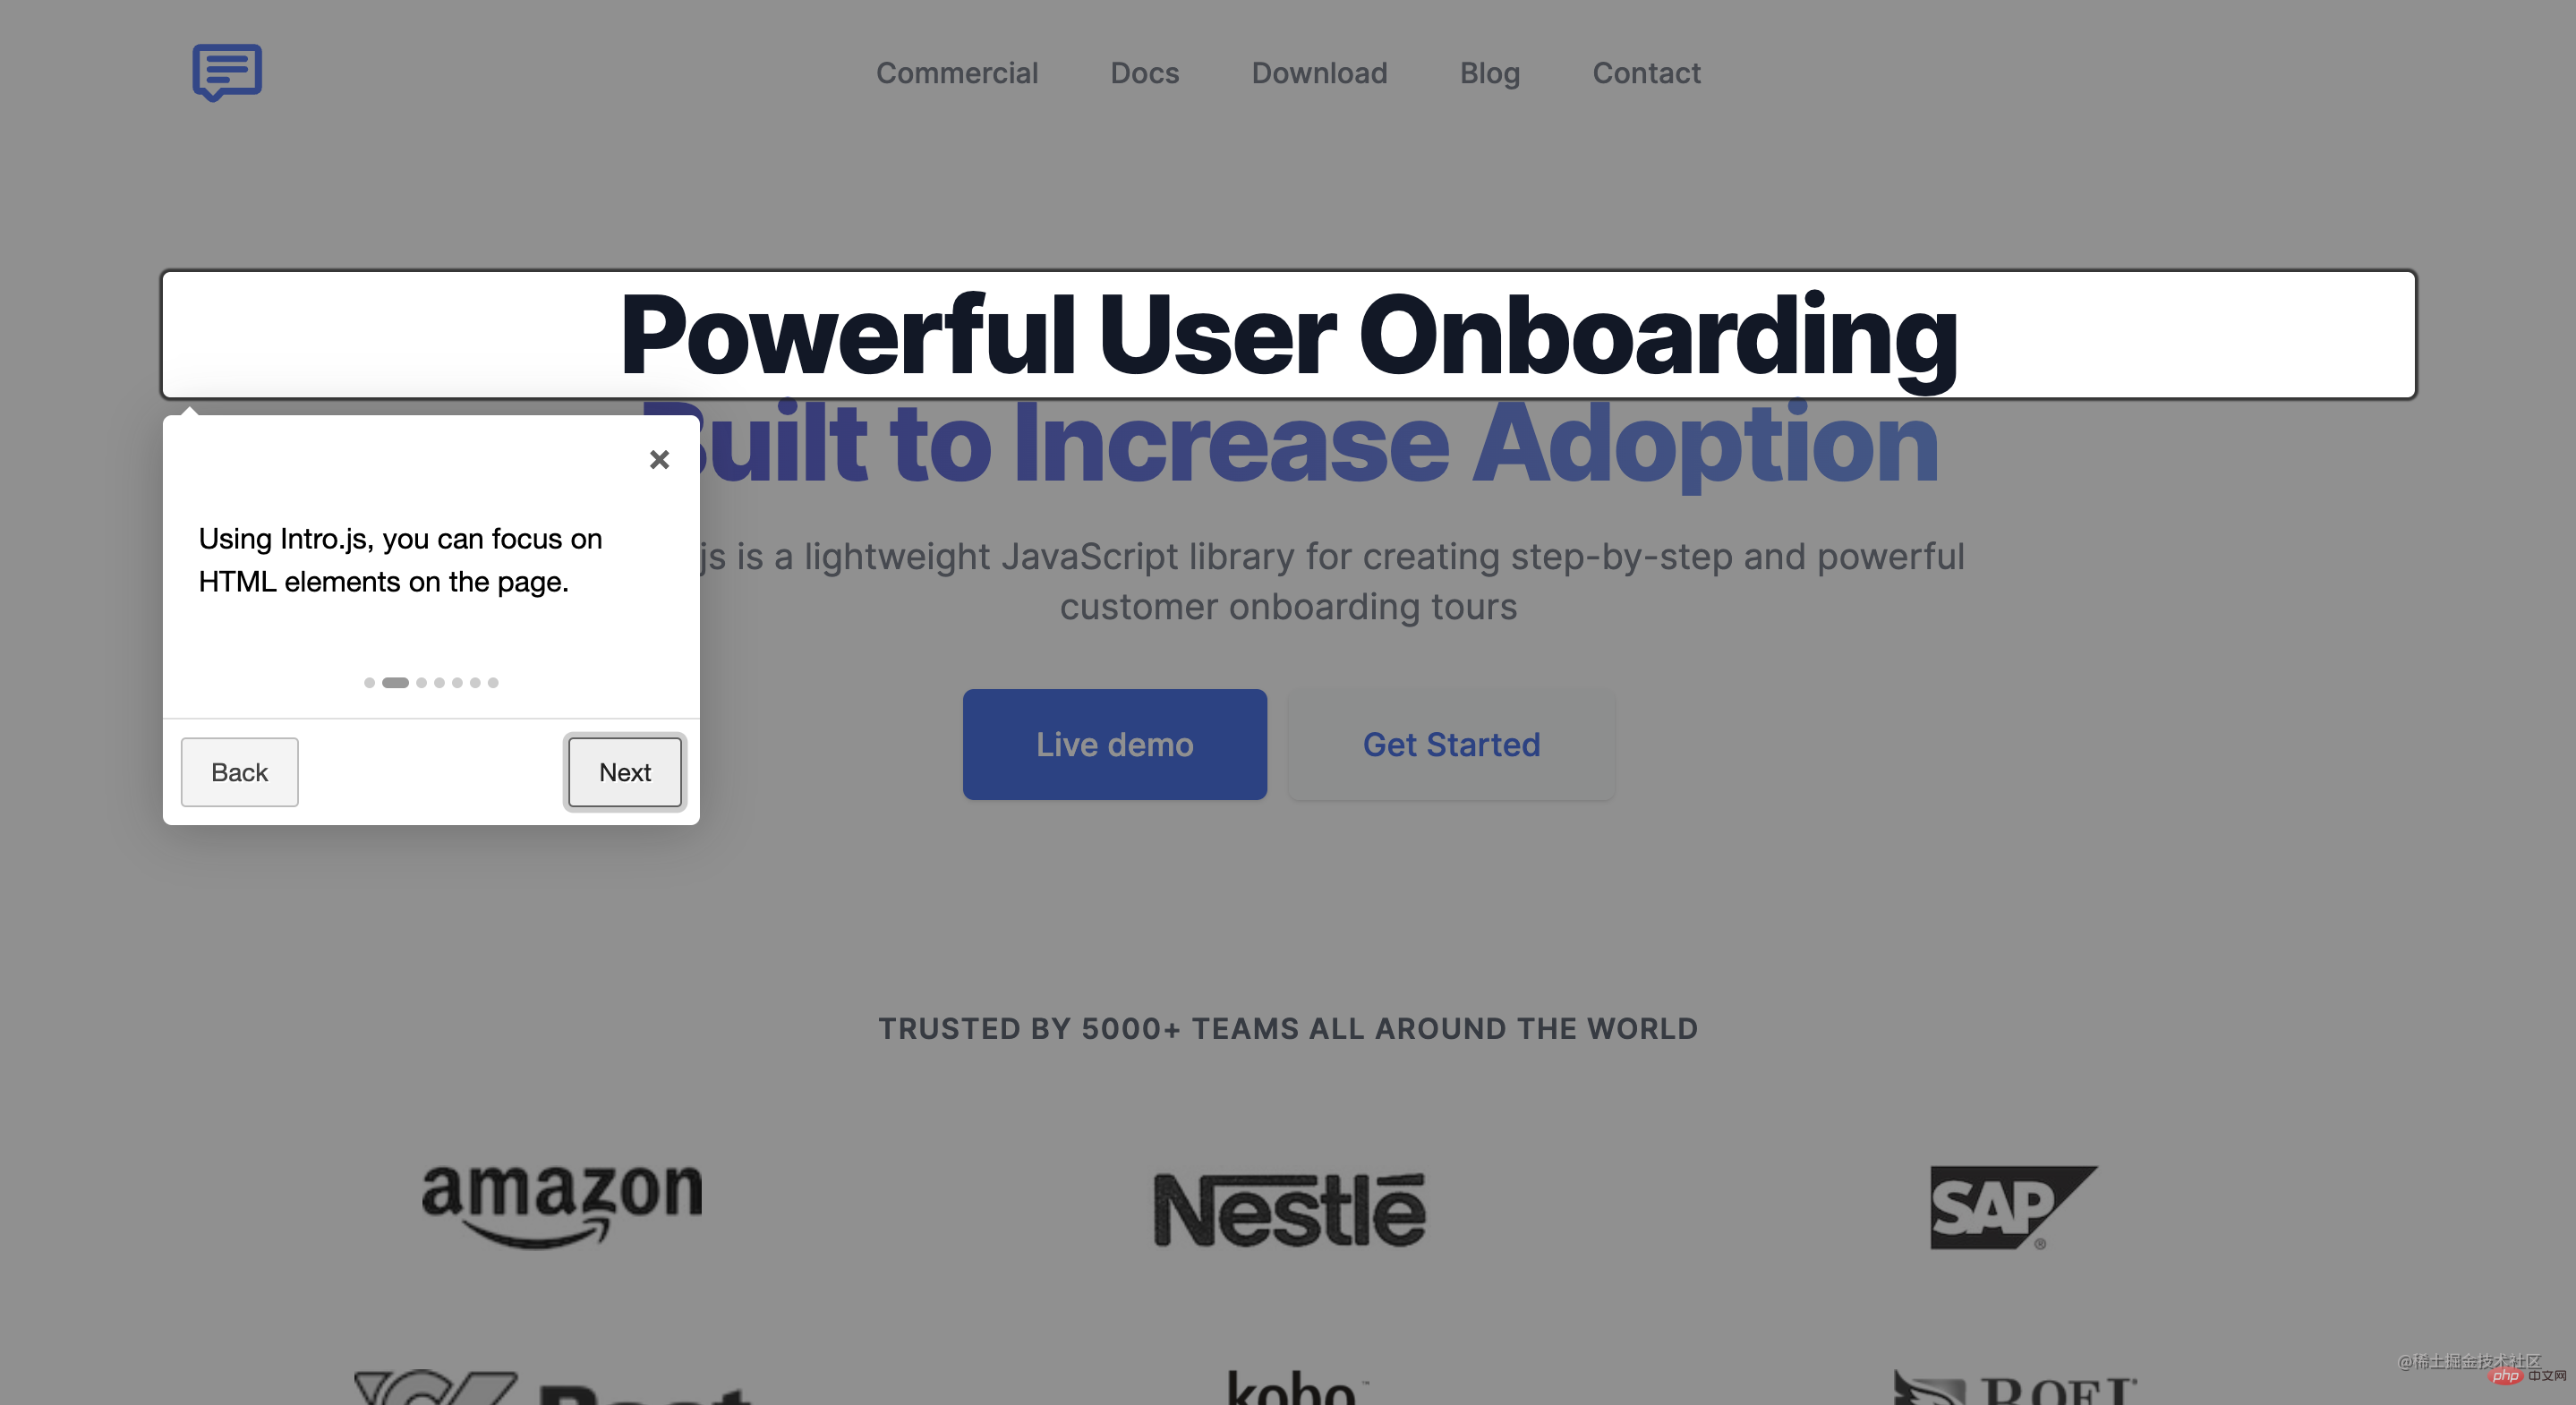
Among them, the display guide is more likely to be a brief introduction to the function. Its effect is as shown in the figure below. It is usually composed of a mask layer, selected page elements, guidance information pop-up windows, etc.
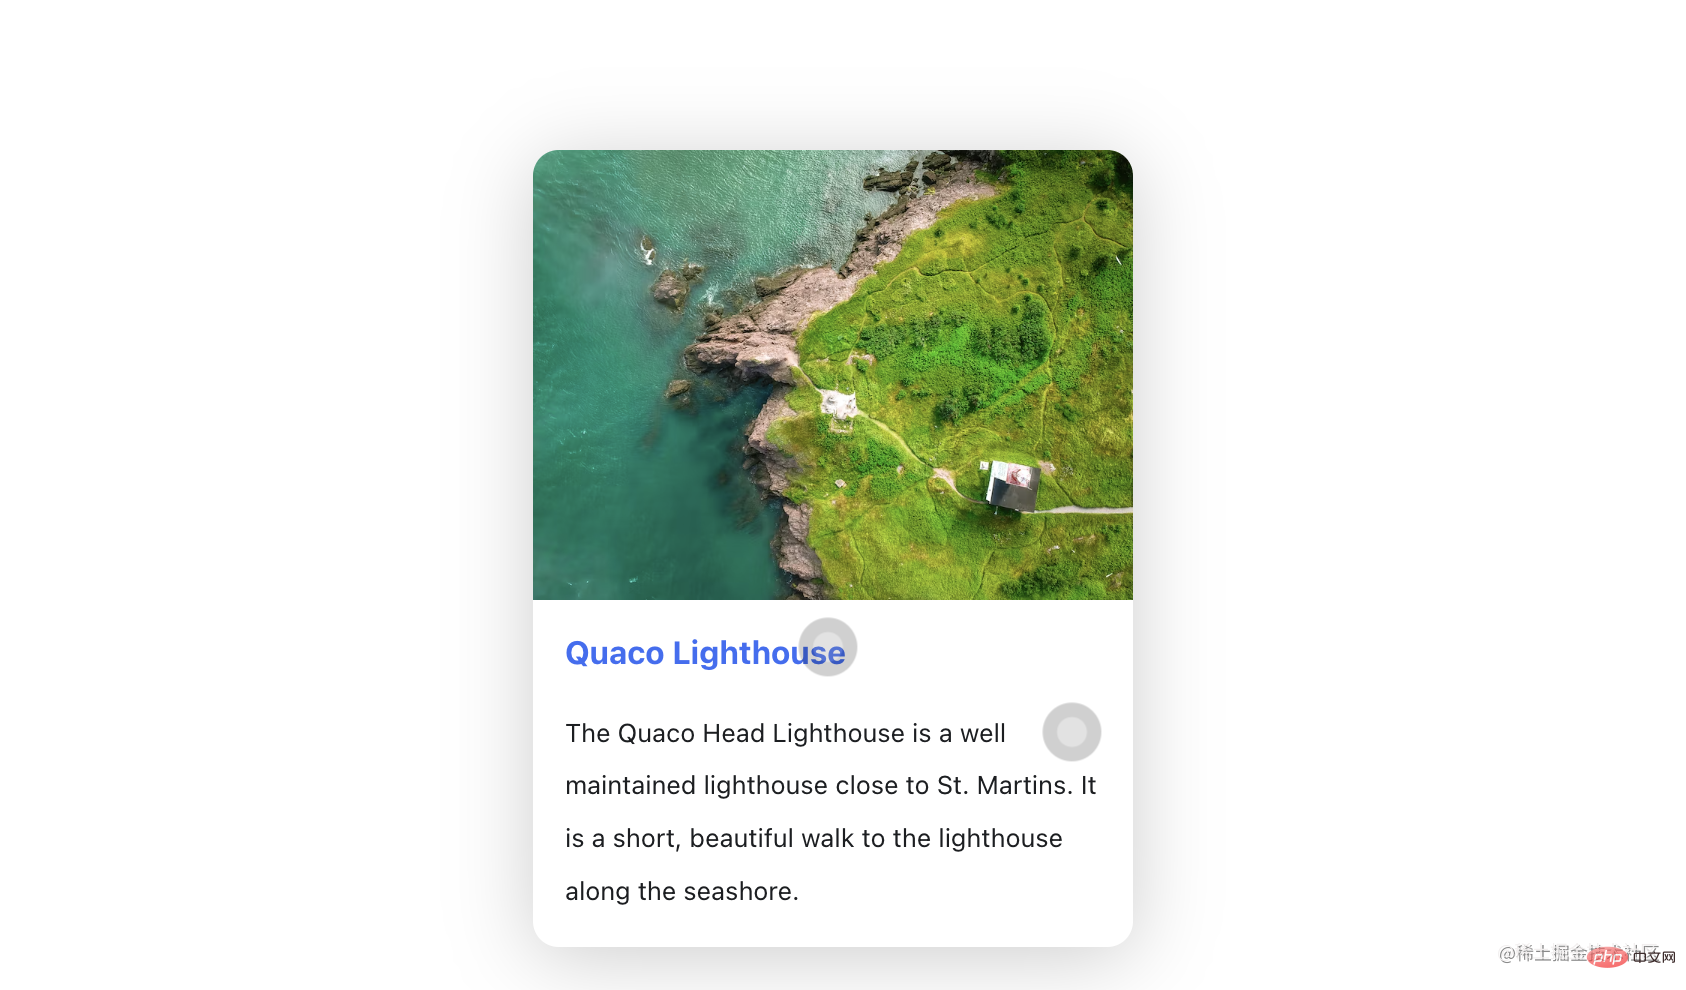
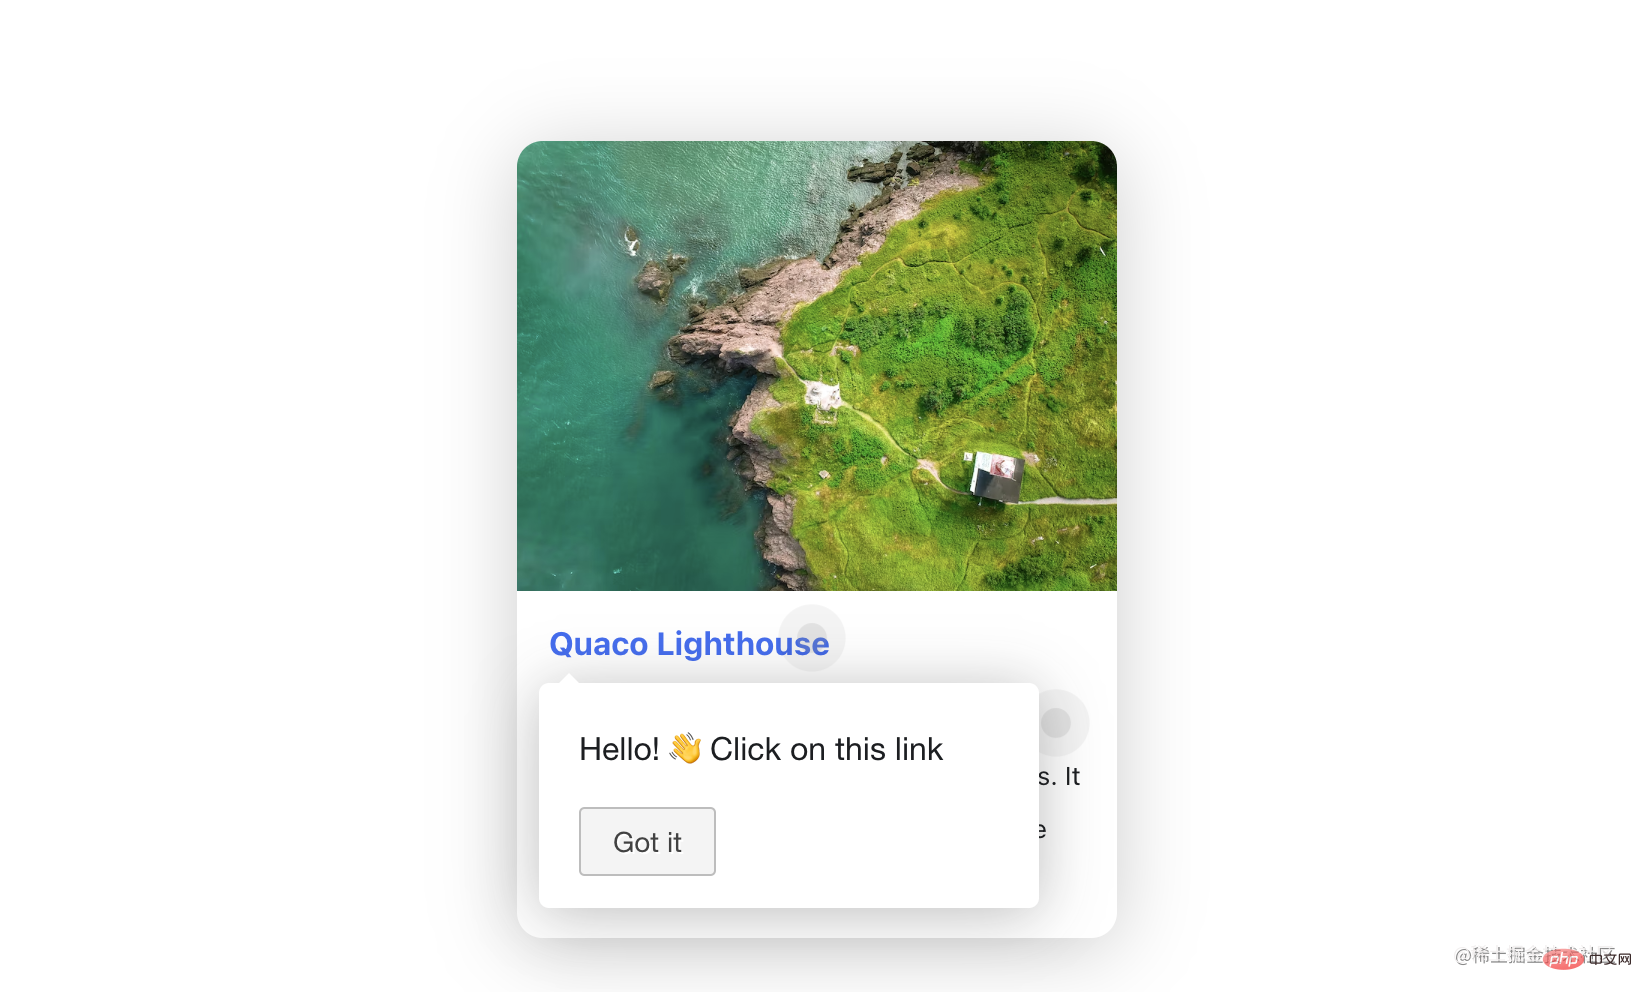
Implicit guidance is like a kind of operational guidance, encouraging users to participate and learn while using it. The default effect is as shown in the figure below, prompting users to click Specify the element, and then the corresponding prompt information will be displayed or the next step will be entered.
The core usage of these two forms is to select elements and preset guidance information. Therefore, this article will mainly introduce the usage of tour. The usage of hint can be understood by analogy. You can easily get started by referring to the usage of tour and the demo in the official document, so I will not go into details here.
Tour API
Intro.js officially provides a lot of Tour APIs. Here we only introduce the most commonly used basic APIs. The complete API introduction can be viewedOfficial API documentation.
introJs([targetElm])
is used to create an object ofintroJs, the optional parameter targetElm is a String type, referring to the specific element that starts the intro, for example: "#intro-farm".
introJs.start()
Start introducing the defined elements, which is to start user guidance.introJs.setOptions(options)
Set a set of options for the created introJs object. The parameter options is an object type that includes all information in the guide, such as button display text, mask layer transparency, prompt text, etc.
Tour options
Commonly used options are as follows:
- nextLabel: Next button text
- prevLabel: Previous Button text
- skipLabel: Skip button text
- doneLabel: Complete button text
- hidePrev: Whether to hide the "Previous" button in the first step; no Hide, it will be presented as a disabled button
- hideNext: Whether to hide the "Next" button in the last step (the completion button will also be hidden); if not hidden, it will be presented as a disabled button
- exitOnEsc: Whether to exit the guide by clicking the ESC button on the keyboard
- exitOnOverlayClick: Whether to exit the guide when clicking the mask layer
- showStepNumbers: Whether to display the step number
- disableInteraction: Whether to disable Interaction of elements in the highlighted box
- showBullets: whether to display the indicator point of the panel
- overlayOpacity: the transparency of the mask layer between 0-1
- helperElementPadding: selected Padding distance around the guidance element
- steps: Relevant parameter configuration in the guidance box, see below for specific configuration
The contents corresponding to some of the above fields are shown in the figure below, more complete options You can view the Official Document.

Among them, doneLable will only appear in the last step of guidance and will occupy the position of nextLabel. Therefore, if ## When #hideNext is set to true, both nextLabel and doneLabel will be hidden in the last step.
helperElementPadding is the white border part of the highlighted area in the picture (in order to distinguish the corresponding area of the field, a pink background color is specially given to the selected element).
Installation
Intro.js does not have any dependencies, you only need to install intro.js.- Use npm:
npm install intro.js --save
Copy after login
- Use yarn
yarn add intro.js
- Git
git clone https://github.com/usablica/intro.js.git
Use
Method 1
If the user guide content is relatively simple and fixed, you can directly write the attributes in the html tag and call introJs ().start(). The main attributes are as follows:- data-title: title text data-intro: prompt information content data-step: step number (priority)data-tooltipClass: Define the CSS class for the tip data-highlightClass: Attach the CSS class to the helperLayerdata-position: The position of the tip, the default is bottom
- data-scrollTo: The element to scroll to, element or tooltip. The default value is element. data-disable-interaction: Whether to disable interaction with elements in the highlighted box
<template>
    <div data-title="Welcome!" data-intro="Hello World!">
        hello!
    </div>
</template>

<script>
import introJs from "intro.js"; // 引入intro.js
import "intro.js/introjs.css"; // intro.js的基础样式文件

export default {
    mounted () {
        this.$nextTick(() => {
            // Intro.js扫描页面并找到所有具有“data intro”属性的元素
            introJs().start();
        })
    }
}
</script>introConfig.js
introConfig.js. The content of the file is as follows:
// src/utils/introConfig.js

import introJs from "intro.js";
import "intro.js/introjs.css"; // intro.js的基础样式文件
import "intro.js/themes/introjs-modern.css"; // 主题样式文件

const intro = introJs();

intro.setOptions({
  nextLabel: "下一步", // 下一个的按钮文字
  prevLabel: "上一步", // 上一个按钮文字
  skipLabel: "跳过", // 跳过指引的按钮文字
  doneLabel: "完成", // 完成按钮的文字
  hidePrev: false, // 是否在第一步中隐藏“上一步”按钮;不隐藏,将呈现为一个禁用的按钮
  hideNext: false, // 是否在最后一步中隐藏“下一步”按钮(同时会隐藏完成按钮);不隐藏,将呈现为一个禁用的按钮
  exitOnEsc: false, // 点击键盘的ESC按钮是否退出指引
  exitOnOverlayClick: false, // 点击遮罩层时是否退出介绍
  showStepNumbers: false, // 是否显示步骤编号
  disableInteraction: true, // 是否禁用高亮显示框内元素的交互
  showBullets: true, // 是否显示面板的指示点
  overlayOpacity: 0.7, // 遮罩层的透明度 0-1之间
  helperElementPadding: 10, // 选中的指引元素周围的填充距离
});

export default intro;
introConfig.js file into the file where user guidance needs to be added:
import intro from "@/utils/introConfig.js";
steps attribute of setOptions. It is an array type, and each item corresponds to a guidance. Steps, the meanings of the fields are as follows:
element: Locate the corresponding element position. If not set, it will be displayed in the center of the screen by default
title: Title of the guidance pop-up window
intro:指引弹窗的文本内容,可插入html内容
示例如下:
methods: {
    guide() {
        intro.setOptions({
            steps: [
              {
                element: document.querySelector('#step1'), // 定位到相应的元素位置,如果不设置element,则默认展示在屏幕中央
                title: 'Welcome', // 标题
                intro: 'Hello World! ?' // 内容
              },
              {
                element: document.querySelector('#step2'),
                intro: '有关如何配置/自定义该项目的指南和方法,请查看vue-cli文档。'
              },
              {
                element: document.querySelector('#step3'),
                intro: '已安装的cli插件'
              },
              {
                element: document.querySelector('#step4'),
                intro: '基本链接'
              },
              {
                element: document.querySelector('#step5'),
                intro: '生态系统'
              },
              {
                title: "开始体验吧!",
                intro: `<img class="specialImg lazy"  src="/static/imghw/default1.png"  data-src="interesting.GIF"   alt=""   style="max-width:90%" />`
              },
            ]
      });
      this.$nextTick(() => {
        intro.start();
      })
    }
},
mounted() {
    this.$nextTick(() => {
        this.guide();
    })
}上述代码中,guide() 方法里配置了指引步骤和开始指引;并在 mounted 生命周期中调用 guide() 方法以展示指引内容。需要注意的是,为确保指引信息在原始页面渲染完毕后调用,需要在 $nextTick() 中调用 guide() 方法。
4、Demo效果
本demo仅用作讲解如何使用Intro.js,并未修改原始样式,比较简陋,还请包涵,实际使用时需要根据实际需要自定义样式。点击查看demo代码,效果如下图:
注意事项
-
必须在原始页面渲染完毕后再加载intro.js
如果原始界面没有完全渲染完毕,可能存在intro.js无法找到指定元素的情况,可通过this.$nextTick()解决
-
实际使用中可能存在一些复杂的交互场景,可借助一些API来解决
introJs.onexit(providedCallback):退出用户指引时触发 introJs.onchange(providedCallback):步骤改变时触发 introJs.onbeforechange(providedCallback):步骤改变前触发 introJs.onafterchange(providedCallback):步骤改变后触发
如果现有主题无法满足需求,可以通过设置tooltipClass来自定义样式
The above is the detailed content of A brief analysis of how to use Intro.js to implement user guidance function in vue project. For more information, please follow other related articles on the PHP Chinese website!

Hot AI Tools

Undresser.AI Undress
AI-powered app for creating realistic nude photos

AI Clothes Remover
Online AI tool for removing clothes from photos.

Undress AI Tool
Undress images for free

Clothoff.io
AI clothes remover

Video Face Swap
Swap faces in any video effortlessly with our completely free AI face swap tool!

Hot Article
Hot Tools

Notepad++7.3.1
Easy-to-use and free code editor

SublimeText3 Chinese version
Chinese version, very easy to use

Zend Studio 13.0.1
Powerful PHP integrated development environment

Dreamweaver CS6
Visual web development tools

SublimeText3 Mac version
God-level code editing software (SublimeText3)
Hot Topics


 PHP and Vue: a perfect pairing of front-end development tools
Mar 16, 2024 pm 12:09 PM
PHP and Vue: a perfect pairing of front-end development tools
Mar 16, 2024 pm 12:09 PM
PHP and Vue: a perfect pairing of front-end development tools. In today's era of rapid development of the Internet, front-end development has become increasingly important. As users have higher and higher requirements for the experience of websites and applications, front-end developers need to use more efficient and flexible tools to create responsive and interactive interfaces. As two important technologies in the field of front-end development, PHP and Vue.js can be regarded as perfect tools when paired together. This article will explore the combination of PHP and Vue, as well as detailed code examples to help readers better understand and apply these two
 C# development experience sharing: front-end and back-end collaborative development skills
Nov 23, 2023 am 10:13 AM
C# development experience sharing: front-end and back-end collaborative development skills
Nov 23, 2023 am 10:13 AM
As a C# developer, our development work usually includes front-end and back-end development. As technology develops and the complexity of projects increases, the collaborative development of front-end and back-end has become more and more important and complex. This article will share some front-end and back-end collaborative development techniques to help C# developers complete development work more efficiently. After determining the interface specifications, collaborative development of the front-end and back-end is inseparable from the interaction of API interfaces. To ensure the smooth progress of front-end and back-end collaborative development, the most important thing is to define good interface specifications. Interface specification involves the name of the interface
 Questions frequently asked by front-end interviewers
Mar 19, 2024 pm 02:24 PM
Questions frequently asked by front-end interviewers
Mar 19, 2024 pm 02:24 PM
In front-end development interviews, common questions cover a wide range of topics, including HTML/CSS basics, JavaScript basics, frameworks and libraries, project experience, algorithms and data structures, performance optimization, cross-domain requests, front-end engineering, design patterns, and new technologies and trends. . Interviewer questions are designed to assess the candidate's technical skills, project experience, and understanding of industry trends. Therefore, candidates should be fully prepared in these areas to demonstrate their abilities and expertise.
 Is Django front-end or back-end? check it out!
Jan 19, 2024 am 08:37 AM
Is Django front-end or back-end? check it out!
Jan 19, 2024 am 08:37 AM
Django is a web application framework written in Python that emphasizes rapid development and clean methods. Although Django is a web framework, to answer the question whether Django is a front-end or a back-end, you need to have a deep understanding of the concepts of front-end and back-end. The front end refers to the interface that users directly interact with, and the back end refers to server-side programs. They interact with data through the HTTP protocol. When the front-end and back-end are separated, the front-end and back-end programs can be developed independently to implement business logic and interactive effects respectively, and data exchange.
 How to implement instant messaging on the front end
Oct 09, 2023 pm 02:47 PM
How to implement instant messaging on the front end
Oct 09, 2023 pm 02:47 PM
Methods for implementing instant messaging include WebSocket, Long Polling, Server-Sent Events, WebRTC, etc. Detailed introduction: 1. WebSocket, which can establish a persistent connection between the client and the server to achieve real-time two-way communication. The front end can use the WebSocket API to create a WebSocket connection and achieve instant messaging by sending and receiving messages; 2. Long Polling, a technology that simulates real-time communication, etc.
 Exploring Go language front-end technology: a new vision for front-end development
Mar 28, 2024 pm 01:06 PM
Exploring Go language front-end technology: a new vision for front-end development
Mar 28, 2024 pm 01:06 PM
As a fast and efficient programming language, Go language is widely popular in the field of back-end development. However, few people associate Go language with front-end development. In fact, using Go language for front-end development can not only improve efficiency, but also bring new horizons to developers. This article will explore the possibility of using the Go language for front-end development and provide specific code examples to help readers better understand this area. In traditional front-end development, JavaScript, HTML, and CSS are often used to build user interfaces
 Django: A magical framework that can handle both front-end and back-end development!
Jan 19, 2024 am 08:52 AM
Django: A magical framework that can handle both front-end and back-end development!
Jan 19, 2024 am 08:52 AM
Django: A magical framework that can handle both front-end and back-end development! Django is an efficient and scalable web application framework. It is able to support multiple web development models, including MVC and MTV, and can easily develop high-quality web applications. Django not only supports back-end development, but can also quickly build front-end interfaces and achieve flexible view display through template language. Django combines front-end development and back-end development into a seamless integration, so developers don’t have to specialize in learning
 Combination of Golang and front-end technology: explore how Golang plays a role in the front-end field
Mar 19, 2024 pm 06:15 PM
Combination of Golang and front-end technology: explore how Golang plays a role in the front-end field
Mar 19, 2024 pm 06:15 PM
Combination of Golang and front-end technology: To explore how Golang plays a role in the front-end field, specific code examples are needed. With the rapid development of the Internet and mobile applications, front-end technology has become increasingly important. In this field, Golang, as a powerful back-end programming language, can also play an important role. This article will explore how Golang is combined with front-end technology and demonstrate its potential in the front-end field through specific code examples. The role of Golang in the front-end field is as an efficient, concise and easy-to-learn
