

Introduction to Image control in React-native

1. Introduction
A React component used to display many different types of images, including network images, static resources, temporary local images, and Pictures on local disk (such as photo album), etc.
Starting from version 0.14, React Native provides a unified way to manage images in iOS and Android applications. To add a static image to your App, just place the image file somewhere in the code folder such as img, and then reference it like this: <Image source= {require('./img/check.png')} />
If you have my-icon.ios.png and my-icon.android.png, Packager Different files are selected depending on the platform.
You can also use file name suffixes such as @2x and @3x to provide images for different screen resolutions. For example, the following code structure:
------ button.js
------ img
------ |-------- check@2x.png
------ |-------- check@3x.p
Packager will package all images and provide corresponding resources according to screen accuracy. For example, iPhone 5s will use check@2x.png, while Nexus 5 will use check@3x.png. If there is no image that exactly meets the screen resolution, the closest image will be automatically selected.
[Note] If the packager is running when you add images, you may need to restart the packager so that the newly added images can be correctly introduced. In order for the new image resource mechanism to work properly, the image name in require must be a static string and cannot be spliced in require.
//Correct<Image source={require('./my-icon.png')} />
Errorvar icon = this.props.active ? 'my-icon-active' : 'my-icon-inactive';<Image source={require('./' + icon + '.png')} />
Using the image resources of hybrid App
If you are writing a hybrid App (part of the UI uses React Native, and the other part uses platform native code), you can also use the image resources that have been packaged into the App. Image resources (packaged through Xcode's asset category or Android's drawable folder): <Image source={{uri: 'app_icon'}} style={{width: 40, height: 40}} />
Note: This approach does not have any security checks. You need to ensure that the image actually exists in the application yourself, and also need to specify the size.
Load network images
Different from static resources, you need to manually specify the size of the image.
//Correct<Image source={{uri: 'https://facebook.github.io/react/img/logo_og. png'}}
style={{width: 400, height: 400}} />
//Error<Image source={{ uri: 'https://facebook.github.io/react/img/logo_og.png'}} />
Why not specify the size in all cases
In the browser, if you do not specify the size of the image, the browser will first render a 0x0 size The element takes the place, then downloads the image, and then renders the image based on the correct size after the download is completed. The biggest problem with this is that the UI will jump up and down during the image loading process, making the user experience very bad.
In React
This behavior is intentionally avoided in Native. This will require developers to do more work to know the size (or aspect ratio) of the remote image in advance, but we believe this can lead to a better user experience. However, when reading images from packaged application resource files (using the require('image!x') syntax), there is no need to specify the size, because their size is known immediately when loading.
For example, the actual output result of such a reference require('image!logo') may be: {"__packager_asset":true,"isStatic" :true,"path":"/Users/react/HelloWorld/iOS/Images.xcassets/react.imageset/logo.png","uri":"logo","width":591,"height":573}
Realizing background images through nesting
Similar to the background-image in the web, just create it simply An return (
<Image source={...}>
<Text>Inside</Text>
</Image>
);
Support GIF and WebP format images on Android
dependencies {
// If you need to support versions before Android4.0 (API level 14)
compile 'com.facebook.fresco:animated-base-support:0.11.0'
// If you need to support GIF animation
compile 'com.facebook.fresco:animated-gif:0.11.0'
// If you need to support WebP format, including WebP animations
compile 'com.facebook.fresco:animated-webp:0.11.0'
compile 'com.facebook.fresco:webpsupport:0.11.0'
// If you only need to support WebP format without moving images
compile 'com .facebook.fresco:webpsupport:0.11.0'
}
If you are using GIF and also using ProGuard, you need to set it in proguard-rules.pro Add the following rules: -keep class com.facebook.imagepipeline.animated.factory.AnimatedFactoryImpl { public AnimatedFactoryImpl(com.facebook.imagepipeline.bitmaps.PlatformBitmapFactory, com.facebook.imagepipeline .core.ExecutorSupplier);
}
2. Attributes
##1.onLayout (function) When the Image layout changes, this method will be called. The calling code is:
{nativeEvent: {layout: {x, y, width, height}}}.
2.onLoad (function): When the image is loaded successfully, call back this method
3.onLoadEnd (function): This method is called back when the image fails to load, regardless of whether the image is loaded successfully or failed
4.onLoadStart (fcuntion): When the image starts to load This method is called when
5.resizeMode scaling ratio, optional parameters ('cover', 'contain', 'stretch') When the size of the image exceeds the size of the layout, the Mode will be set according to Scale or crop the image
cover: Scale the image while maintaining the aspect ratio of the image until the width and height are greater than or equal to the size of the container view (if the container has padding, then accordingly minus). Annotation: In this way, the image completely covers or even exceeds the container, leaving no blank space in the container.
contain: Scale the image while maintaining the aspect ratio of the image until the width and height are less than or equal to the size of the container view (if the container has padding, subtract accordingly). Translation Note: In this way, the image is completely wrapped in the container, and there may be some blank space in the container.
stretch: Stretch the image without maintaining the aspect ratio until the width and height just fill the container.
repeat: Repeat tiles until the container is filled. The image will maintain its original size. Available for iOS only.
center: Centered without stretching.
6.source {uri:string} refers to the marked image. This parameter can be a network URL address or a local (use require (relative path) to reference) path
3. Style
1.FlexBox supports flexible box style
2.Transforms supports attribute animation 3.resizeMode setting Zoom mode
4.backgroundColor background color
5.borderColor border color 6.borderWidth border width
7.borderRadius border rounded corner
8.overflow If the image size exceeds the container, you can set the display or hide ('visible', 'hidden')
9.tintColor color setting 10.opacity setting Transparency 0.0 (transparent)-1.0 (completely opaque)
四. 示例
加载网路图片的例子class MyImageDemo extends Component {
render() {
return (
<View style={[styles.flex,{marginTop:45}]}>
<MyImage imgs={imgs}> </MyImage>
</View>
);
}
}class MyImage extends Component {
constructor(props) {
super(props);
this.state = {
count: 0,//图片索引
imgs: this.props.imgs,
};
}render() {
return (
<View style={[styles.flex,{alignItems:'center'}]}>
<View style={styles.image}>
<Image style={styles.img}
resizeMode='contain'
source={{uri:this.state.imgs[this.state.count]}}/>
</View>
<View style={styles.btns}>
<TouchableOpacity onPress={this.onPrevious.bind(this)}><View
style={styles.btn}><Text>上一张</Text></View></TouchableOpacity><TouchableOpacity onPress={this.onNext.bind(this)}><View style={styles.btn}><Text>下一张</Text></View></TouchableOpacity>
</View>
</View>
);
}onPrevious() {
var count = this.state.count;
count--;
if (count >= 0) {
this.setState({
count: count,
});
}
}
onNext() {
var count = this.state.count;
count++;
if (count < this.state.imgs.length) {
this.setState({
count: count,
});
}
}
}const styles = StyleSheet.create({
flex: {
flex: 1,
},
image: {
width: 300,
height: 200,
borderWidth: 1,
justifyContent: 'center',
alignItems: 'center',
borderColor: '#ccc',
borderRadius: 5,
},
img: {
width: 200,
height: 150,
},
btn: {
width: 60,
height: 35,
borderWidth: 1,
borderColor: '#ccc',
borderRadius: 3,
justifyContent: 'center',
alignItems: 'center',
marginRight: 30,
},
btns: {
flexDirection: 'row',
marginTop: 20,
justifyContent: 'center'
}
}
);
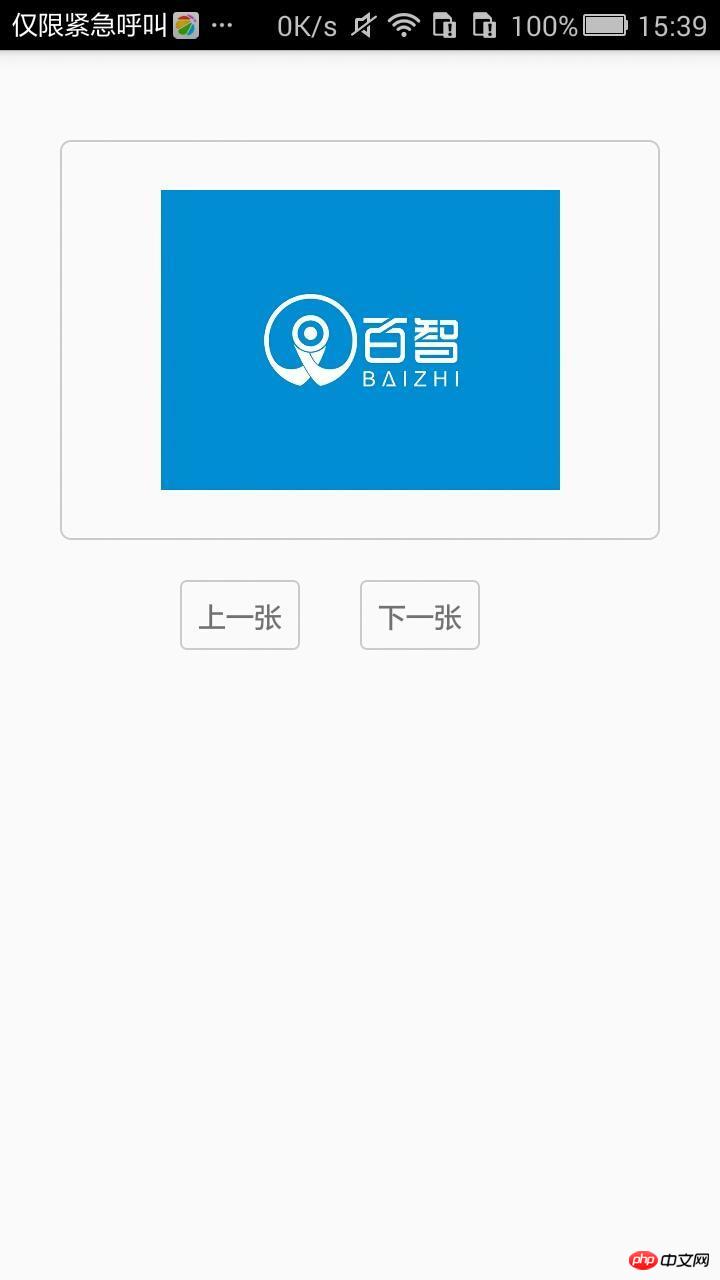
效果

点击下一张

点击下一张
记录我自己的RN学习之路,纯属自己增值,有什么不对的地方,一起讨论进步
The above is the detailed content of Introduction to Image control in React-native. For more information, please follow other related articles on the PHP Chinese website!

Hot AI Tools

Undresser.AI Undress
AI-powered app for creating realistic nude photos

AI Clothes Remover
Online AI tool for removing clothes from photos.

Undress AI Tool
Undress images for free

Clothoff.io
AI clothes remover

Video Face Swap
Swap faces in any video effortlessly with our completely free AI face swap tool!

Hot Article
Hot Tools

Notepad++7.3.1
Easy-to-use and free code editor

SublimeText3 Chinese version
Chinese version, very easy to use

Zend Studio 13.0.1
Powerful PHP integrated development environment

Dreamweaver CS6
Visual web development tools

SublimeText3 Mac version
God-level code editing software (SublimeText3)
Hot Topics


 How to change the version of react native
Jan 19, 2023 pm 02:31 PM
How to change the version of react native
Jan 19, 2023 pm 02:31 PM
How to change the version of react native: 1. Enter the React Native project directory and enter "react-native --version" on the command line; 2. View the React Native version managed by npm package; 3. Open the "package.json" file in the project , modify the dependencies field and change the "react-native" version to the target version.
 How to use Bing Image Creator for free
Feb 27, 2024 am 11:04 AM
How to use Bing Image Creator for free
Feb 27, 2024 am 11:04 AM
This article will introduce seven ways to get high-quality output using the free BingImageCreator. BingImageCreator (now known as ImageCreator for Microsoft Designer) is one of the great online artificial intelligence art generators. It generates highly realistic visual effects based on user prompts. The more specific, clear, and creative your prompts are, the better the results will be. BingImageCreator has made significant progress in creating high-quality images. It now uses Dall-E3 training mode, showing a higher level of detail and realism. However, its ability to consistently produce HD results depends on several factors, including fast
 How to delete images from Xiaomi phones
Mar 02, 2024 pm 05:34 PM
How to delete images from Xiaomi phones
Mar 02, 2024 pm 05:34 PM
How to delete images on Xiaomi mobile phones? You can delete images on Xiaomi mobile phones, but most users don’t know how to delete images. Next is the tutorial on how to delete images on Xiaomi mobile phones brought by the editor. Interested users can come and join us. Let's see! How to delete images on Xiaomi mobile phone 1. First open the [Album] function in Xiaomi mobile phone; 2. Then check the unnecessary pictures and click the [Delete] button in the lower right corner; 3. Then click [Album] at the top to enter the special area , select [Recycle Bin]; 4. Then directly click [Empty Recycle Bin] as shown in the figure below; 5. Finally, directly click [Permanent Delete] to complete.
 Imagemagic installation Centos and Image installation tutorial
Feb 12, 2024 pm 05:27 PM
Imagemagic installation Centos and Image installation tutorial
Feb 12, 2024 pm 05:27 PM
LINUX is an open source operating system. Its flexibility and customizability make it the first choice of many developers and system administrators. In the LINUX system, image processing is a very important task, and Imagemagick and Image are Two very popular image processing tools, this article will introduce you to how to install Imagemagick and Image in Centos system, and provide detailed installation tutorials. Imagemagic installation Centos tutorial Imagemagick is a powerful image processing toolset, which can perform various image operations under the command line. The following are the steps to install Imagemagick on Centos system: 1
 Common rich text editor controls in Go language web development framework
Jun 04, 2023 am 09:10 AM
Common rich text editor controls in Go language web development framework
Jun 04, 2023 am 09:10 AM
With the popularity of web applications, rich text editors have become an indispensable tool in web development. When using Go language for web development, we also need to choose a suitable rich text editor control to enrich our websites and applications. In this article, we will discuss common rich text editor controls in Go language web development. FroalaEditorFroalaEditor is a popular rich text editor control that is widely used in web development. it has modernity
 What to do if react native red screen error occurs
Jan 03, 2023 pm 02:37 PM
What to do if react native red screen error occurs
Jan 03, 2023 pm 02:37 PM
Solution to react native red screen error: 1. Create the folder assets in "android/app/src/main/"; 2. Execute the command "react-native bundle --platform android --dev false --entry-file index.android.js..."; 3. Execute "react-native run-android" in the project.
 How to make excel controls
Mar 20, 2024 am 09:40 AM
How to make excel controls
Mar 20, 2024 am 09:40 AM
When we use the excel office software, if we can use some controls skillfully, it can help us create more professional effects in the excel form. For example, adding selection controls can make the form filler easily complete the form. Below, we will demonstrate how to make an excel selection control. We hope it will be helpful to you! 1. First, we create and open a blank excel table. 2. Add the "Development Tools" tab, click the file button on the upper left side, and find "Excel Options". After that, we find the development tools in the options of the custom ribbon and check it so that a check mark appears in front of it. 3. Return to the Excel work interface and you can see the "Development Tools" tab. Generally speaking, it is not
 What to do if react native update fails
Jan 09, 2023 am 10:41 AM
What to do if react native update fails
Jan 09, 2023 am 10:41 AM
Solution to react native update failure: 1. Directly submit the IPA package to the App Store for review, and then upload the IPA package to the pushy platform; 2. Upload the archived IPA package to the pushy platform, and then submit the IPA package to iTunes connect; 3. . Compile a release mode package to the mobile phone through Xcode, then use iTunes to export the IPA package, and then upload the IPA to the pushy platform.
