
 Database
Mysql Tutorial
Detailed explanation of MySQL5.7.18 yum method from uninstallation to installation under Linux (picture and text)
Database
Mysql Tutorial
Detailed explanation of MySQL5.7.18 yum method from uninstallation to installation under Linux (picture and text)
Detailed explanation of MySQL5.7.18 yum method from uninstallation to installation under Linux (picture and text)

This article mainly introduces LinuxMySQL5.7.18 yum method from uninstallation to installation process diagram, friends in need can refer to the following
After struggling for a long time, after thinking about it, I finally figured out the yum installation process. I have written about binary package installation before. Here I use yum to install it. The environment is the same, Centos7.2+ MySQL5.7.18.
Every step refers to many articles, which will be listed one by one later. Because this machine has already been installed, simply follow the steps step by step to uninstall and then reinstall.
This article is implemented through a series of relatively copycat methods. For users like me who have not been exposed to Linux for a long time, it is relatively easy to understand and accept. For example, download the file directly under Windows and drag it to the Linux system. Instead of downloading with wget command, directly use the editing function of winscpeditor instead of vim command editing.
Uninstall
Operating system version

   rpm -qa | grep -i mysql
   rpm -qa | grep -i mysql命令查看已经安装过的组件。
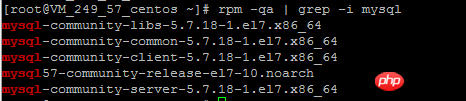
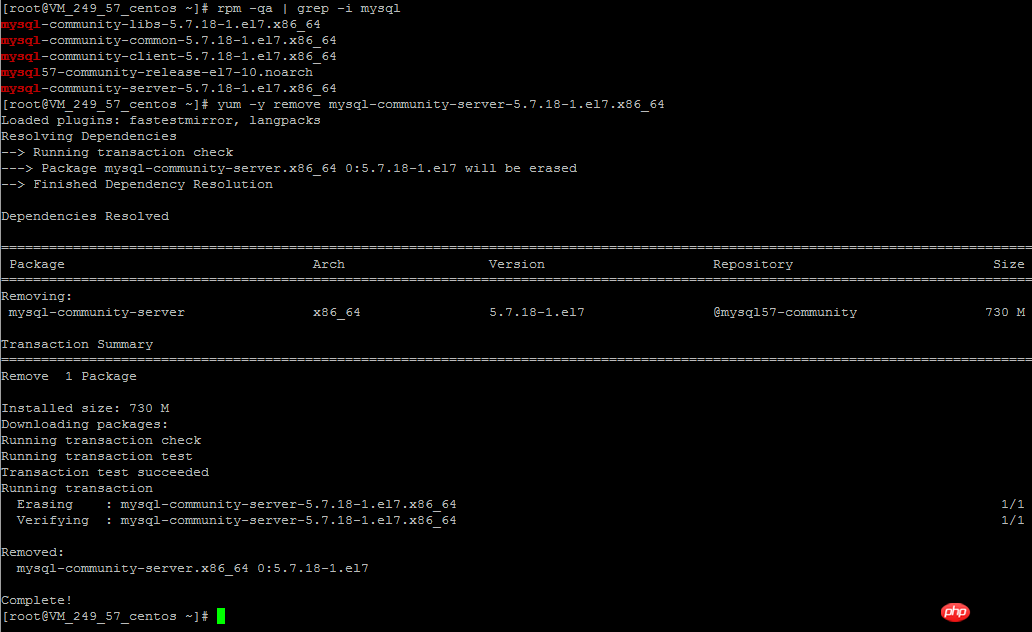
Use the yum -y remove command to uninstall the installed MySQL component, use the following command, for the above Uninstall those that have been installed separately.
yum -y remove mysql-community-libs-5.7.18-1.el7.x86_64
yum -y remove mysql-community-common-5.7.18-1.el7.x86_64
yum -y remove mysql-community-client-5.7.18-1.el7.x86_64
yum -y remove mysql57-community-release-el7-10.noarch
yum -y remove mysql-community-server-5.7.18-1.el7.x86_64
Many pictures will not be taken. Here is an example.
Use rpm -qa | grep -i mysql again to view the installed components. They have been completely uninstalled.

Whereis mysqlQuery the directories generated by the previous installation and remove them respectively.

Installation
Download the repo source of MySQL. As for what this file is for, I understand it personally. It will automatically help you configure the yum source of the MySQL installation component. This file can be downloaded under Windows and then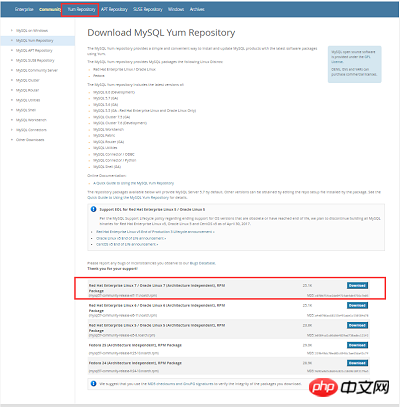
file, drag it to the root directory of the linux server through winscp
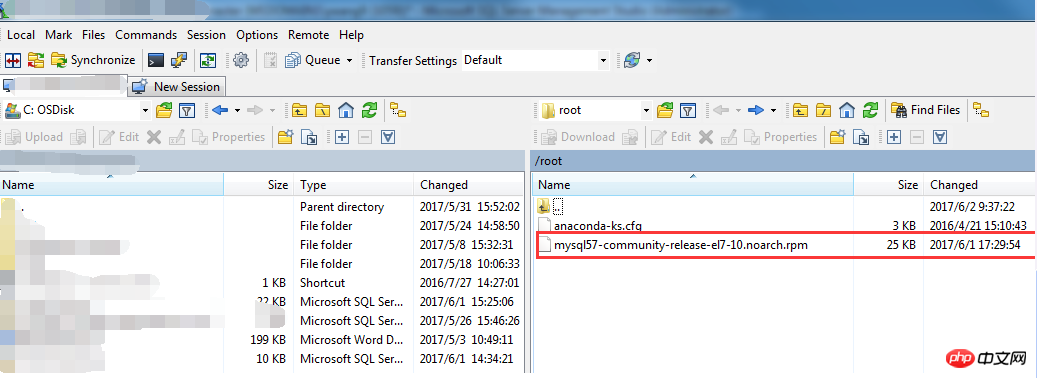

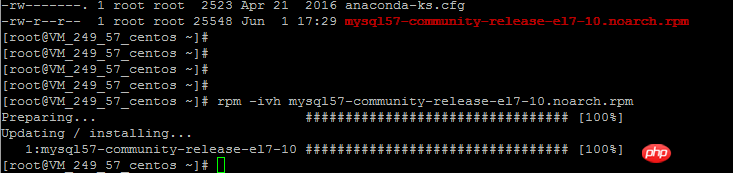
rpm -ivh mysql57-community-release-el7-10.noarch.rpm
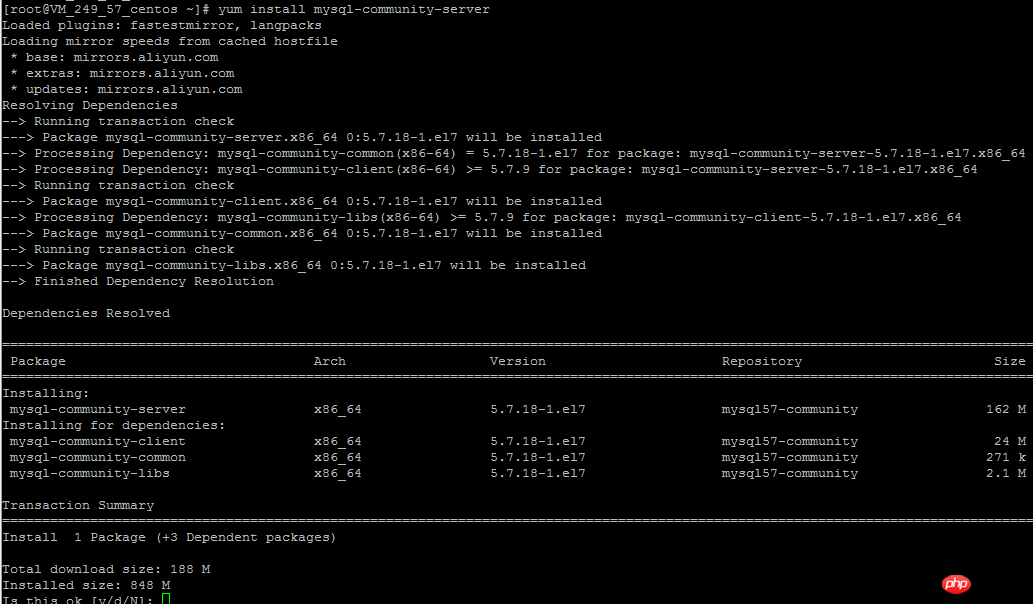
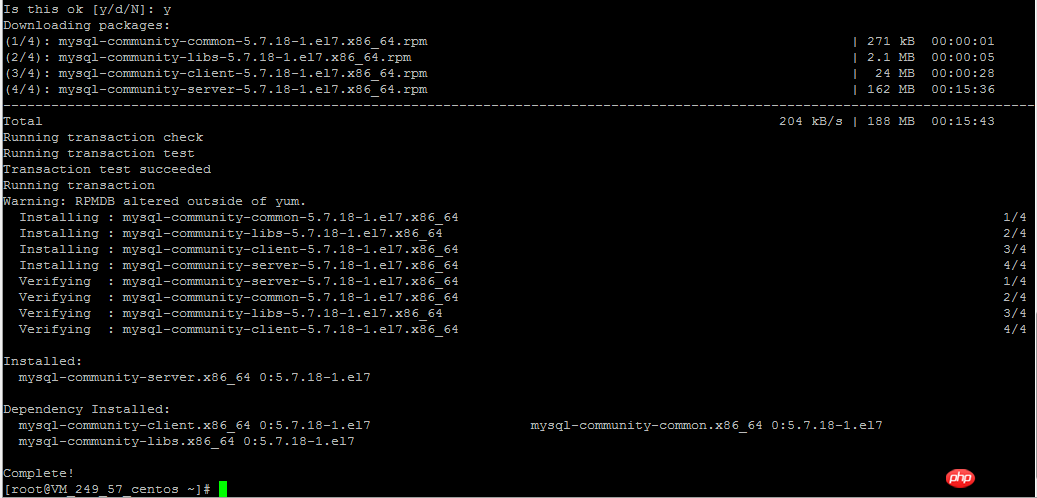
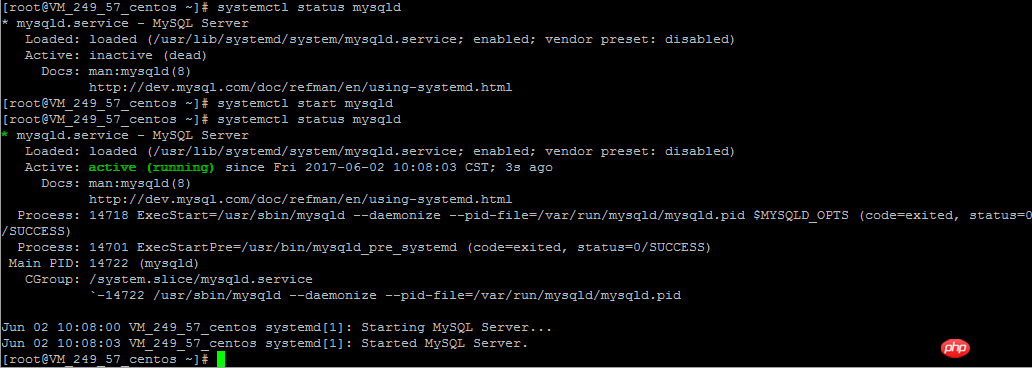
yum install mysql-community-server
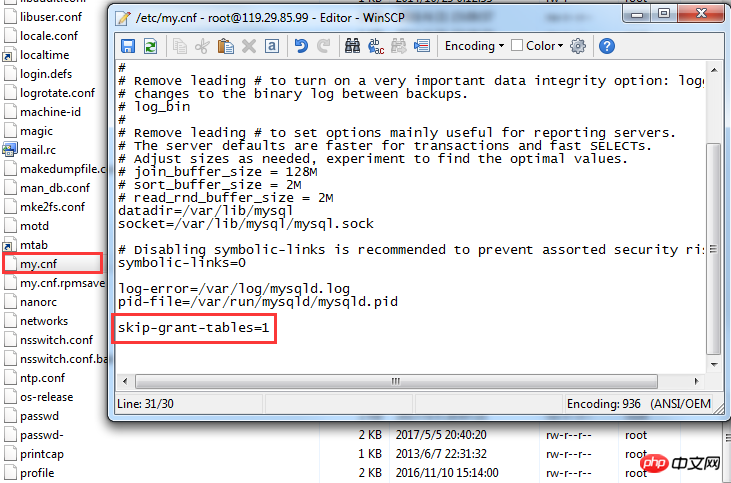
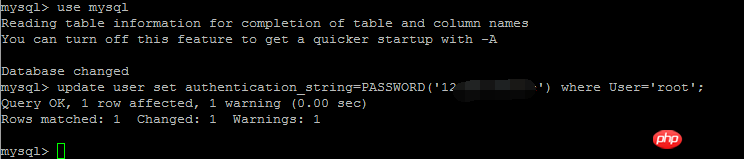
update user set authentication_string=PASSWORD('newpassword') where User='root';
利用这个语句修改root用户可远程访问,update user set host = '%' where user = 'root'

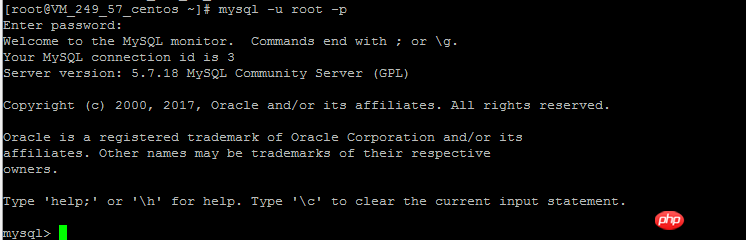
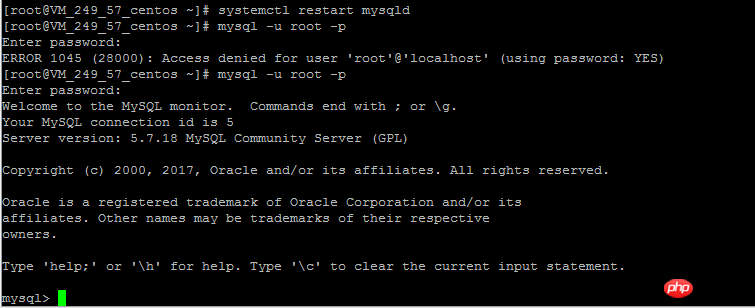
重启之后,可以用预制的密码登陆连接至MySQL
整个过程还是比较简单的,熟悉的话,也就是几分钟的事
这么折腾一遍其实花不了多久时间,只不过是自己不熟悉,一边摸索一边尝试,如果有人指导一下或者多摸索一下就会简单很多
The above is the detailed content of Detailed explanation of MySQL5.7.18 yum method from uninstallation to installation under Linux (picture and text). For more information, please follow other related articles on the PHP Chinese website!

Hot AI Tools

Undresser.AI Undress
AI-powered app for creating realistic nude photos

AI Clothes Remover
Online AI tool for removing clothes from photos.

Undress AI Tool
Undress images for free

Clothoff.io
AI clothes remover

Video Face Swap
Swap faces in any video effortlessly with our completely free AI face swap tool!

Hot Article
Hot Tools

Notepad++7.3.1
Easy-to-use and free code editor

SublimeText3 Chinese version
Chinese version, very easy to use

Zend Studio 13.0.1
Powerful PHP integrated development environment

Dreamweaver CS6
Visual web development tools

SublimeText3 Mac version
God-level code editing software (SublimeText3)
Hot Topics


 What computer configuration is required for vscode
Apr 15, 2025 pm 09:48 PM
What computer configuration is required for vscode
Apr 15, 2025 pm 09:48 PM
VS Code system requirements: Operating system: Windows 10 and above, macOS 10.12 and above, Linux distribution processor: minimum 1.6 GHz, recommended 2.0 GHz and above memory: minimum 512 MB, recommended 4 GB and above storage space: minimum 250 MB, recommended 1 GB and above other requirements: stable network connection, Xorg/Wayland (Linux)
 Linux Architecture: Unveiling the 5 Basic Components
Apr 20, 2025 am 12:04 AM
Linux Architecture: Unveiling the 5 Basic Components
Apr 20, 2025 am 12:04 AM
The five basic components of the Linux system are: 1. Kernel, 2. System library, 3. System utilities, 4. Graphical user interface, 5. Applications. The kernel manages hardware resources, the system library provides precompiled functions, system utilities are used for system management, the GUI provides visual interaction, and applications use these components to implement functions.
 How to run java code in notepad
Apr 16, 2025 pm 07:39 PM
How to run java code in notepad
Apr 16, 2025 pm 07:39 PM
Although Notepad cannot run Java code directly, it can be achieved by using other tools: using the command line compiler (javac) to generate a bytecode file (filename.class). Use the Java interpreter (java) to interpret bytecode, execute the code, and output the result.
 vscode cannot install extension
Apr 15, 2025 pm 07:18 PM
vscode cannot install extension
Apr 15, 2025 pm 07:18 PM
The reasons for the installation of VS Code extensions may be: network instability, insufficient permissions, system compatibility issues, VS Code version is too old, antivirus software or firewall interference. By checking network connections, permissions, log files, updating VS Code, disabling security software, and restarting VS Code or computers, you can gradually troubleshoot and resolve issues.
 How to check the warehouse address of git
Apr 17, 2025 pm 01:54 PM
How to check the warehouse address of git
Apr 17, 2025 pm 01:54 PM
To view the Git repository address, perform the following steps: 1. Open the command line and navigate to the repository directory; 2. Run the "git remote -v" command; 3. View the repository name in the output and its corresponding address.
 Can vscode be used for mac
Apr 15, 2025 pm 07:36 PM
Can vscode be used for mac
Apr 15, 2025 pm 07:36 PM
VS Code is available on Mac. It has powerful extensions, Git integration, terminal and debugger, and also offers a wealth of setup options. However, for particularly large projects or highly professional development, VS Code may have performance or functional limitations.
 Where to write code in vscode
Apr 15, 2025 pm 09:54 PM
Where to write code in vscode
Apr 15, 2025 pm 09:54 PM
Writing code in Visual Studio Code (VSCode) is simple and easy to use. Just install VSCode, create a project, select a language, create a file, write code, save and run it. The advantages of VSCode include cross-platform, free and open source, powerful features, rich extensions, and lightweight and fast.
 vscode terminal usage tutorial
Apr 15, 2025 pm 10:09 PM
vscode terminal usage tutorial
Apr 15, 2025 pm 10:09 PM
vscode built-in terminal is a development tool that allows running commands and scripts within the editor to simplify the development process. How to use vscode terminal: Open the terminal with the shortcut key (Ctrl/Cmd). Enter a command or run the script. Use hotkeys (such as Ctrl L to clear the terminal). Change the working directory (such as the cd command). Advanced features include debug mode, automatic code snippet completion, and interactive command history.
