
 Mobile Game Tutorial
Mobile Game Guide
Ys Memoire: The Oath In Felghana - Dularn, The Tragic Loyalist Boss Guide
Mobile Game Tutorial
Mobile Game Guide
Ys Memoire: The Oath In Felghana - Dularn, The Tragic Loyalist Boss Guide
Ys Memoire: The Oath In Felghana - Dularn, The Tragic Loyalist Boss Guide

Teasing you ever since your first encounter with him in the Tigray Quarry, Dularn has been summoning enemies to halt your progress and test your might, ultimately leading to your second and final showdown against him on Genos Island, kickstarting the final stretch of Adol's journey in Ys Memoire: The Oath in Felghana.

Despite being a Pushover during your first bout, Dularn was clearly holding back and is now ready to showcase his capabilities, making for an exhilarating and rewarding encounter. This battle will require lots of focus, patience, and some luck if you want to make it any further in Genos Island!
Dularn, The Tragic Loyalist Overview In Ys Memoire: The Oath In Felghana
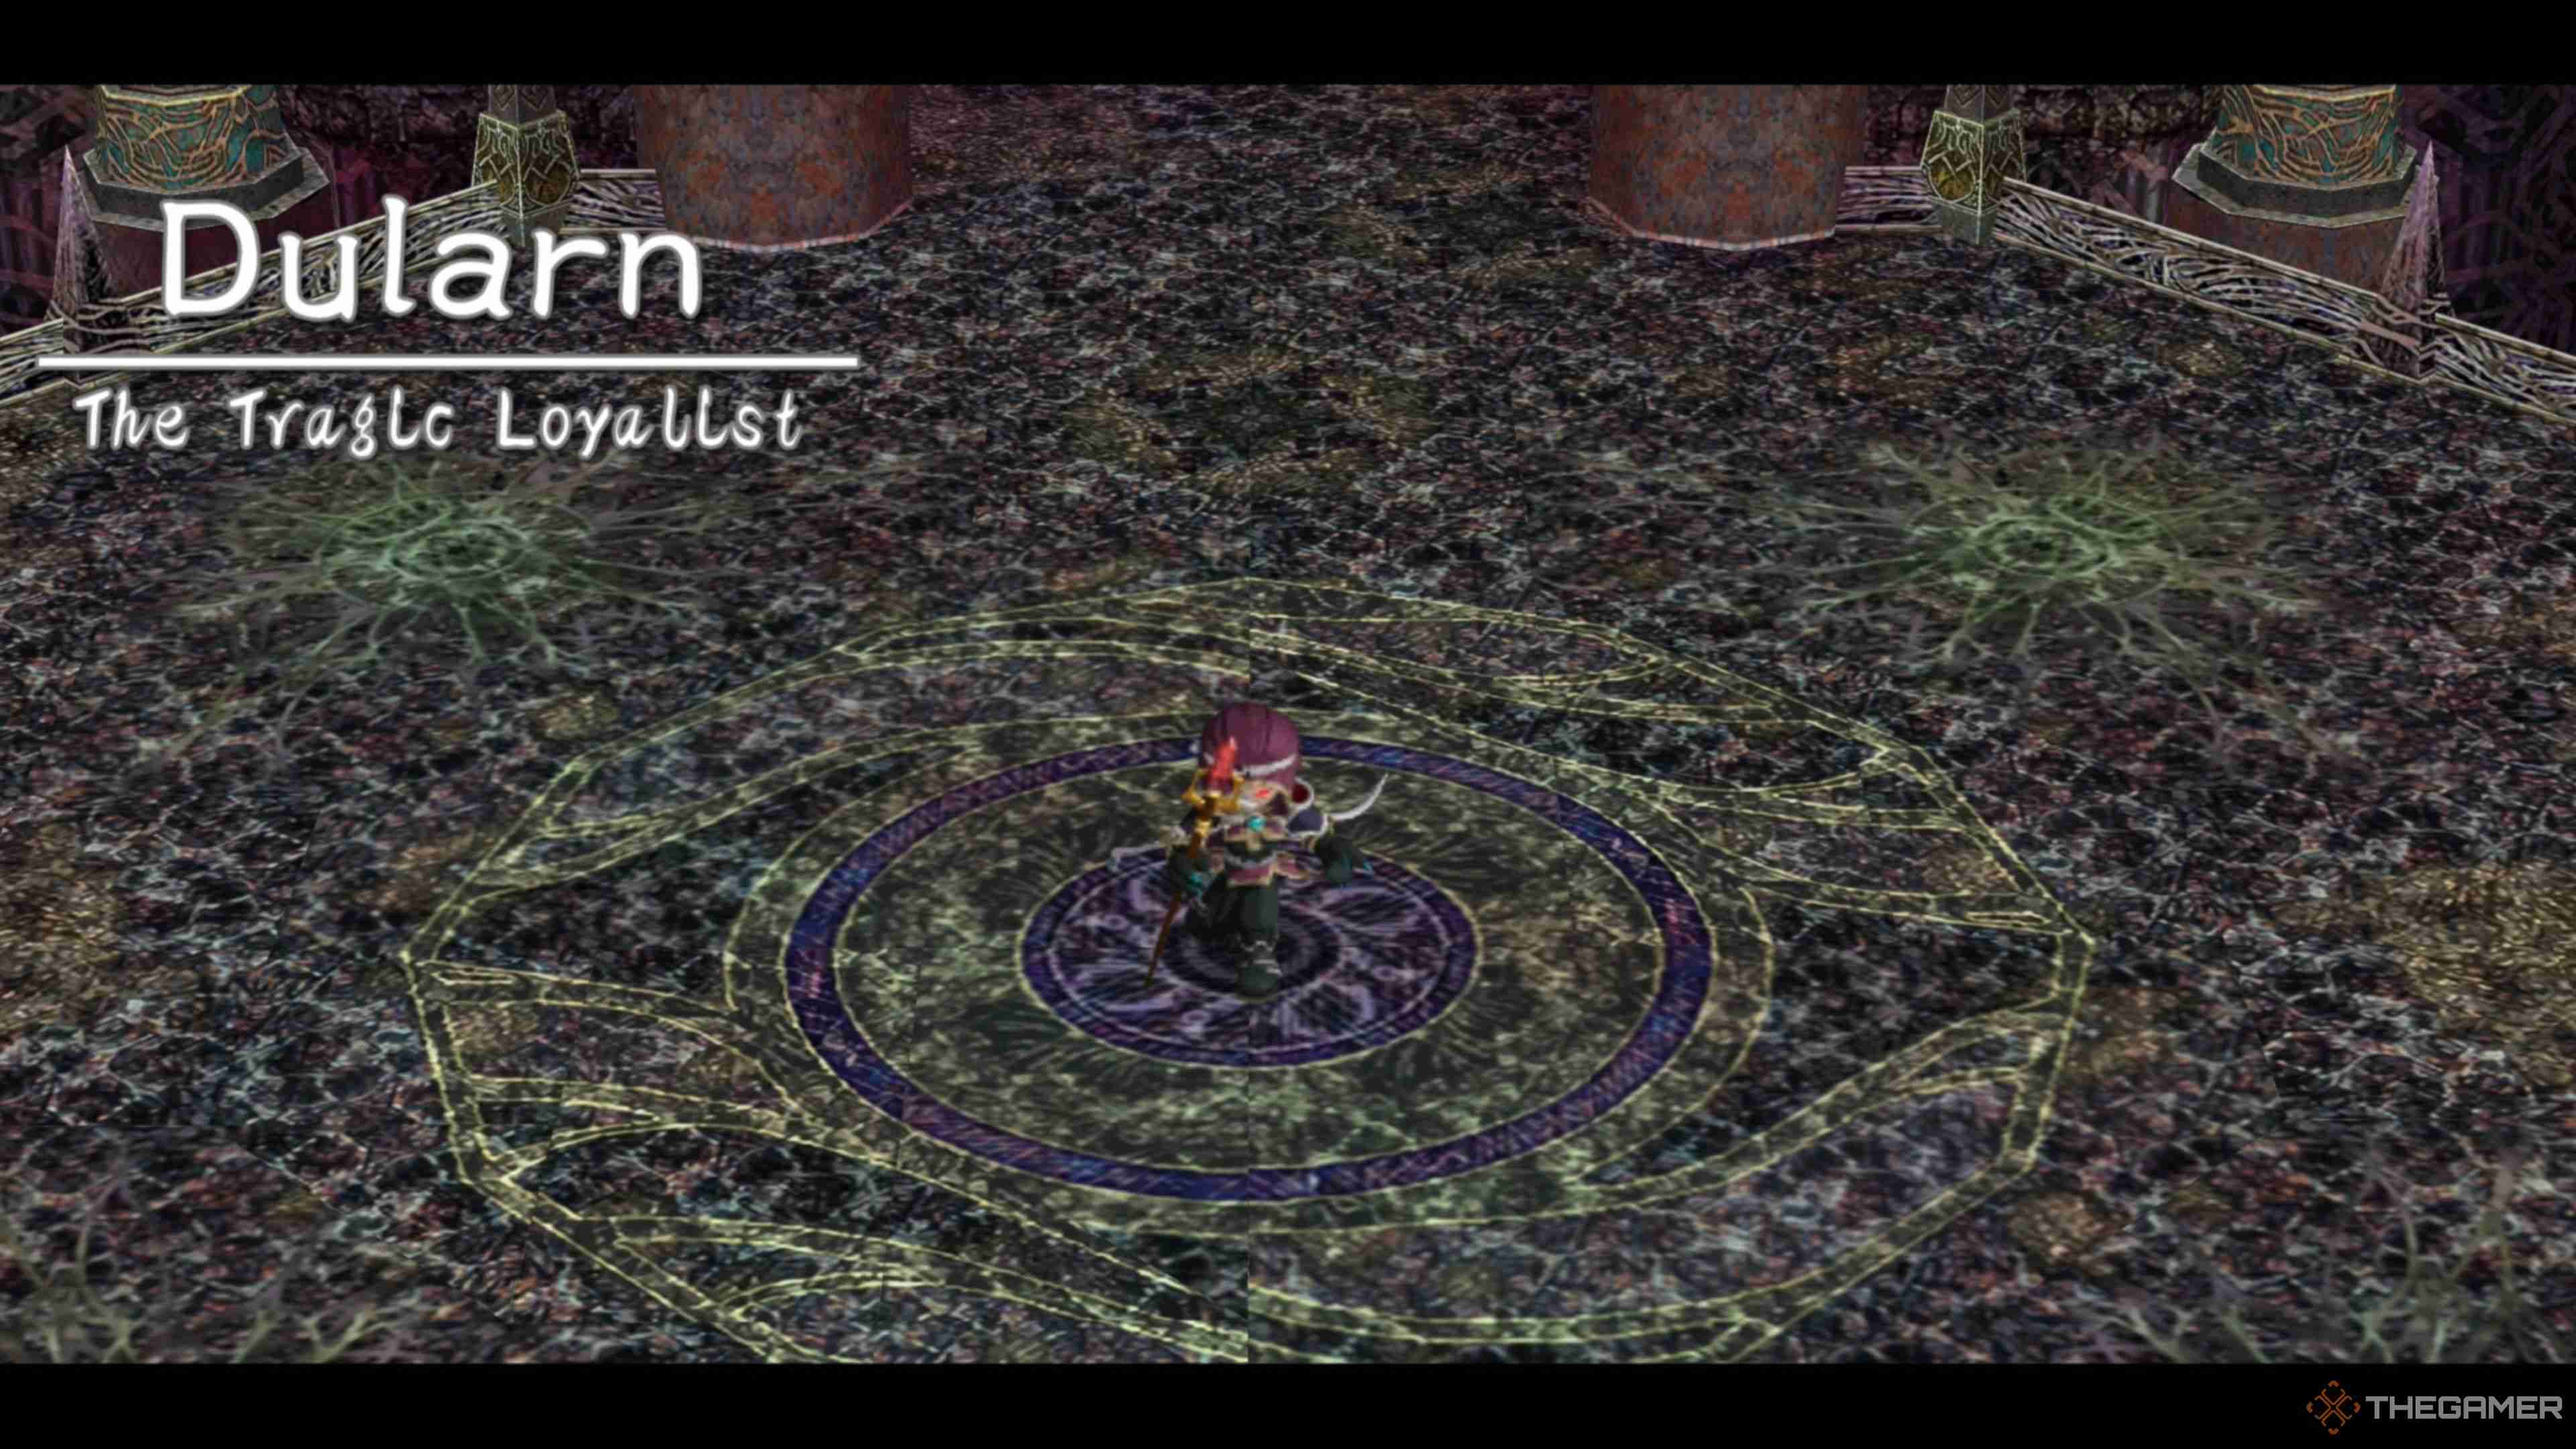
Dularn, the Tragic Loyalist, is the same powerful Sorcerer you encountered earlier in your journey, except this time, he isn't here for show and intends to end your journey here. After a few twists and revelations, you will be ready to battle him for the second time, but you must go into this prepared, as it won't be easy by any means.
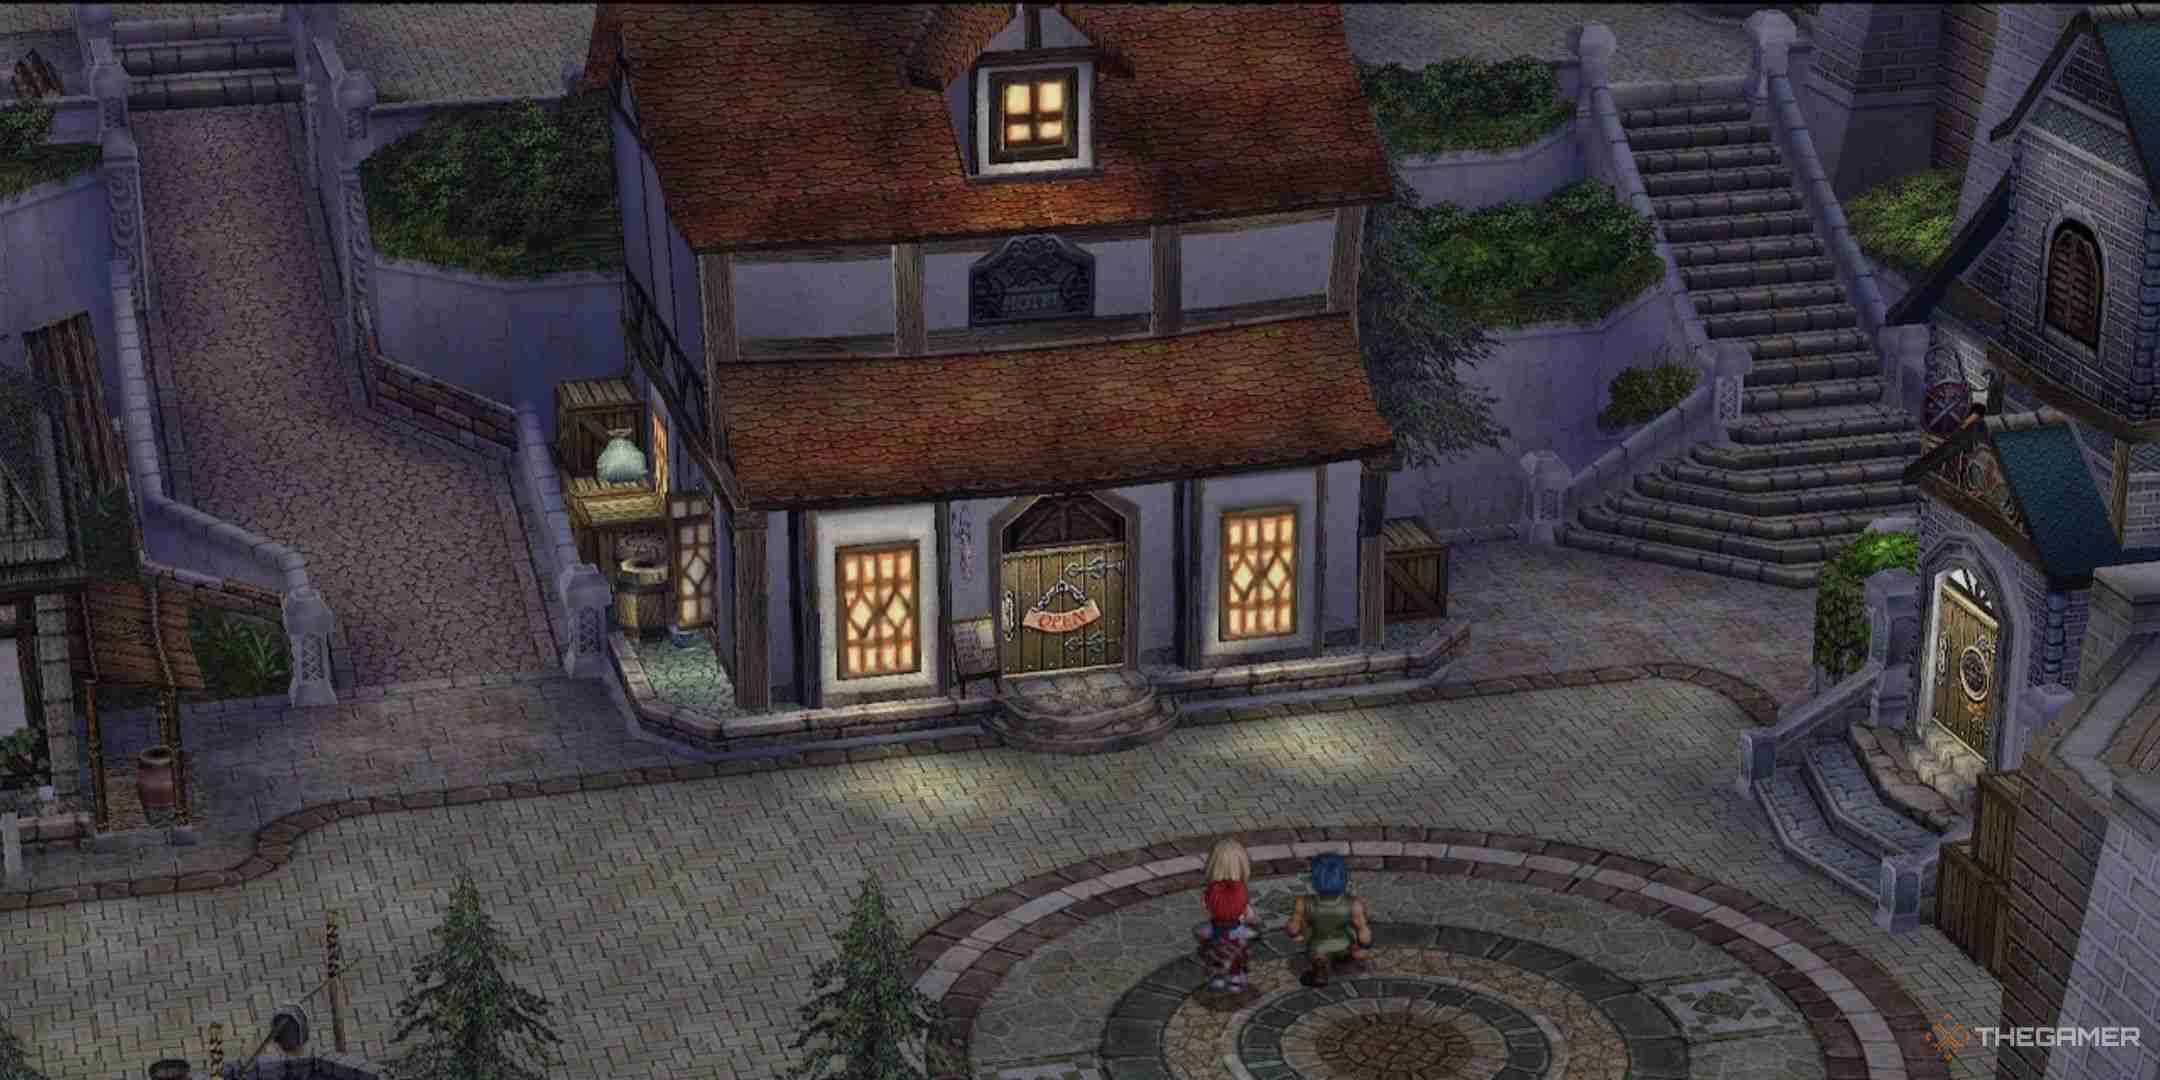
Before diving headfirst into this encounter, ensure you have the Brave Sword equipped after obtaining it from Chester inside Edgar's house in Redmont. Also, make sure you have the Battle Armor and Battle Shield at Max Level, as you will need all the Defense you can get for this battle!
Dularn, The Tragic Loyalist Information
|
|||||||
|---|---|---|---|---|---|---|---|
| HP | 4,000 HP | ||||||
| Recommended Level | Level 42 | ||||||
You should be at least Level 42 before taking on Dularn, the Tragic Loyalist, as he packs a punch and will eviscerate you if you lack Defense. If you aren't Level 42, we strongly recommend returning to the Clock Tower dungeon and farming the enemies there until you are.
Additionally, having fully upgraded Battle Armor and Battle Shield will go a long way, allowing you to take a beating before falling in battle. You won't have to upgrade the Brave Sword at all before heading out, as it should be plenty powerful with its default stats to take Dularn down!
How To Defeat Dularn, The Tragic Loyalist In Ys Memoire: The Oath In Felghana
While this encounter is substantially more challenging than the first time, it still follows a similar pattern but has several curveballs tossed into the mix that will constantly keep you on your toes and will punish you if you make the slightest mistake, making this more of an endurance test than anything.
Throughout this encounter, you must be quick, make snap decisions, and will have to hit him every single time he exposes himself, or you risk throwing the run and will likely have to start over. While there is some room for error, there isn't much, so you best be on the ball if you want any hope of emerging the victor!
Dularn - Six Sword Attack
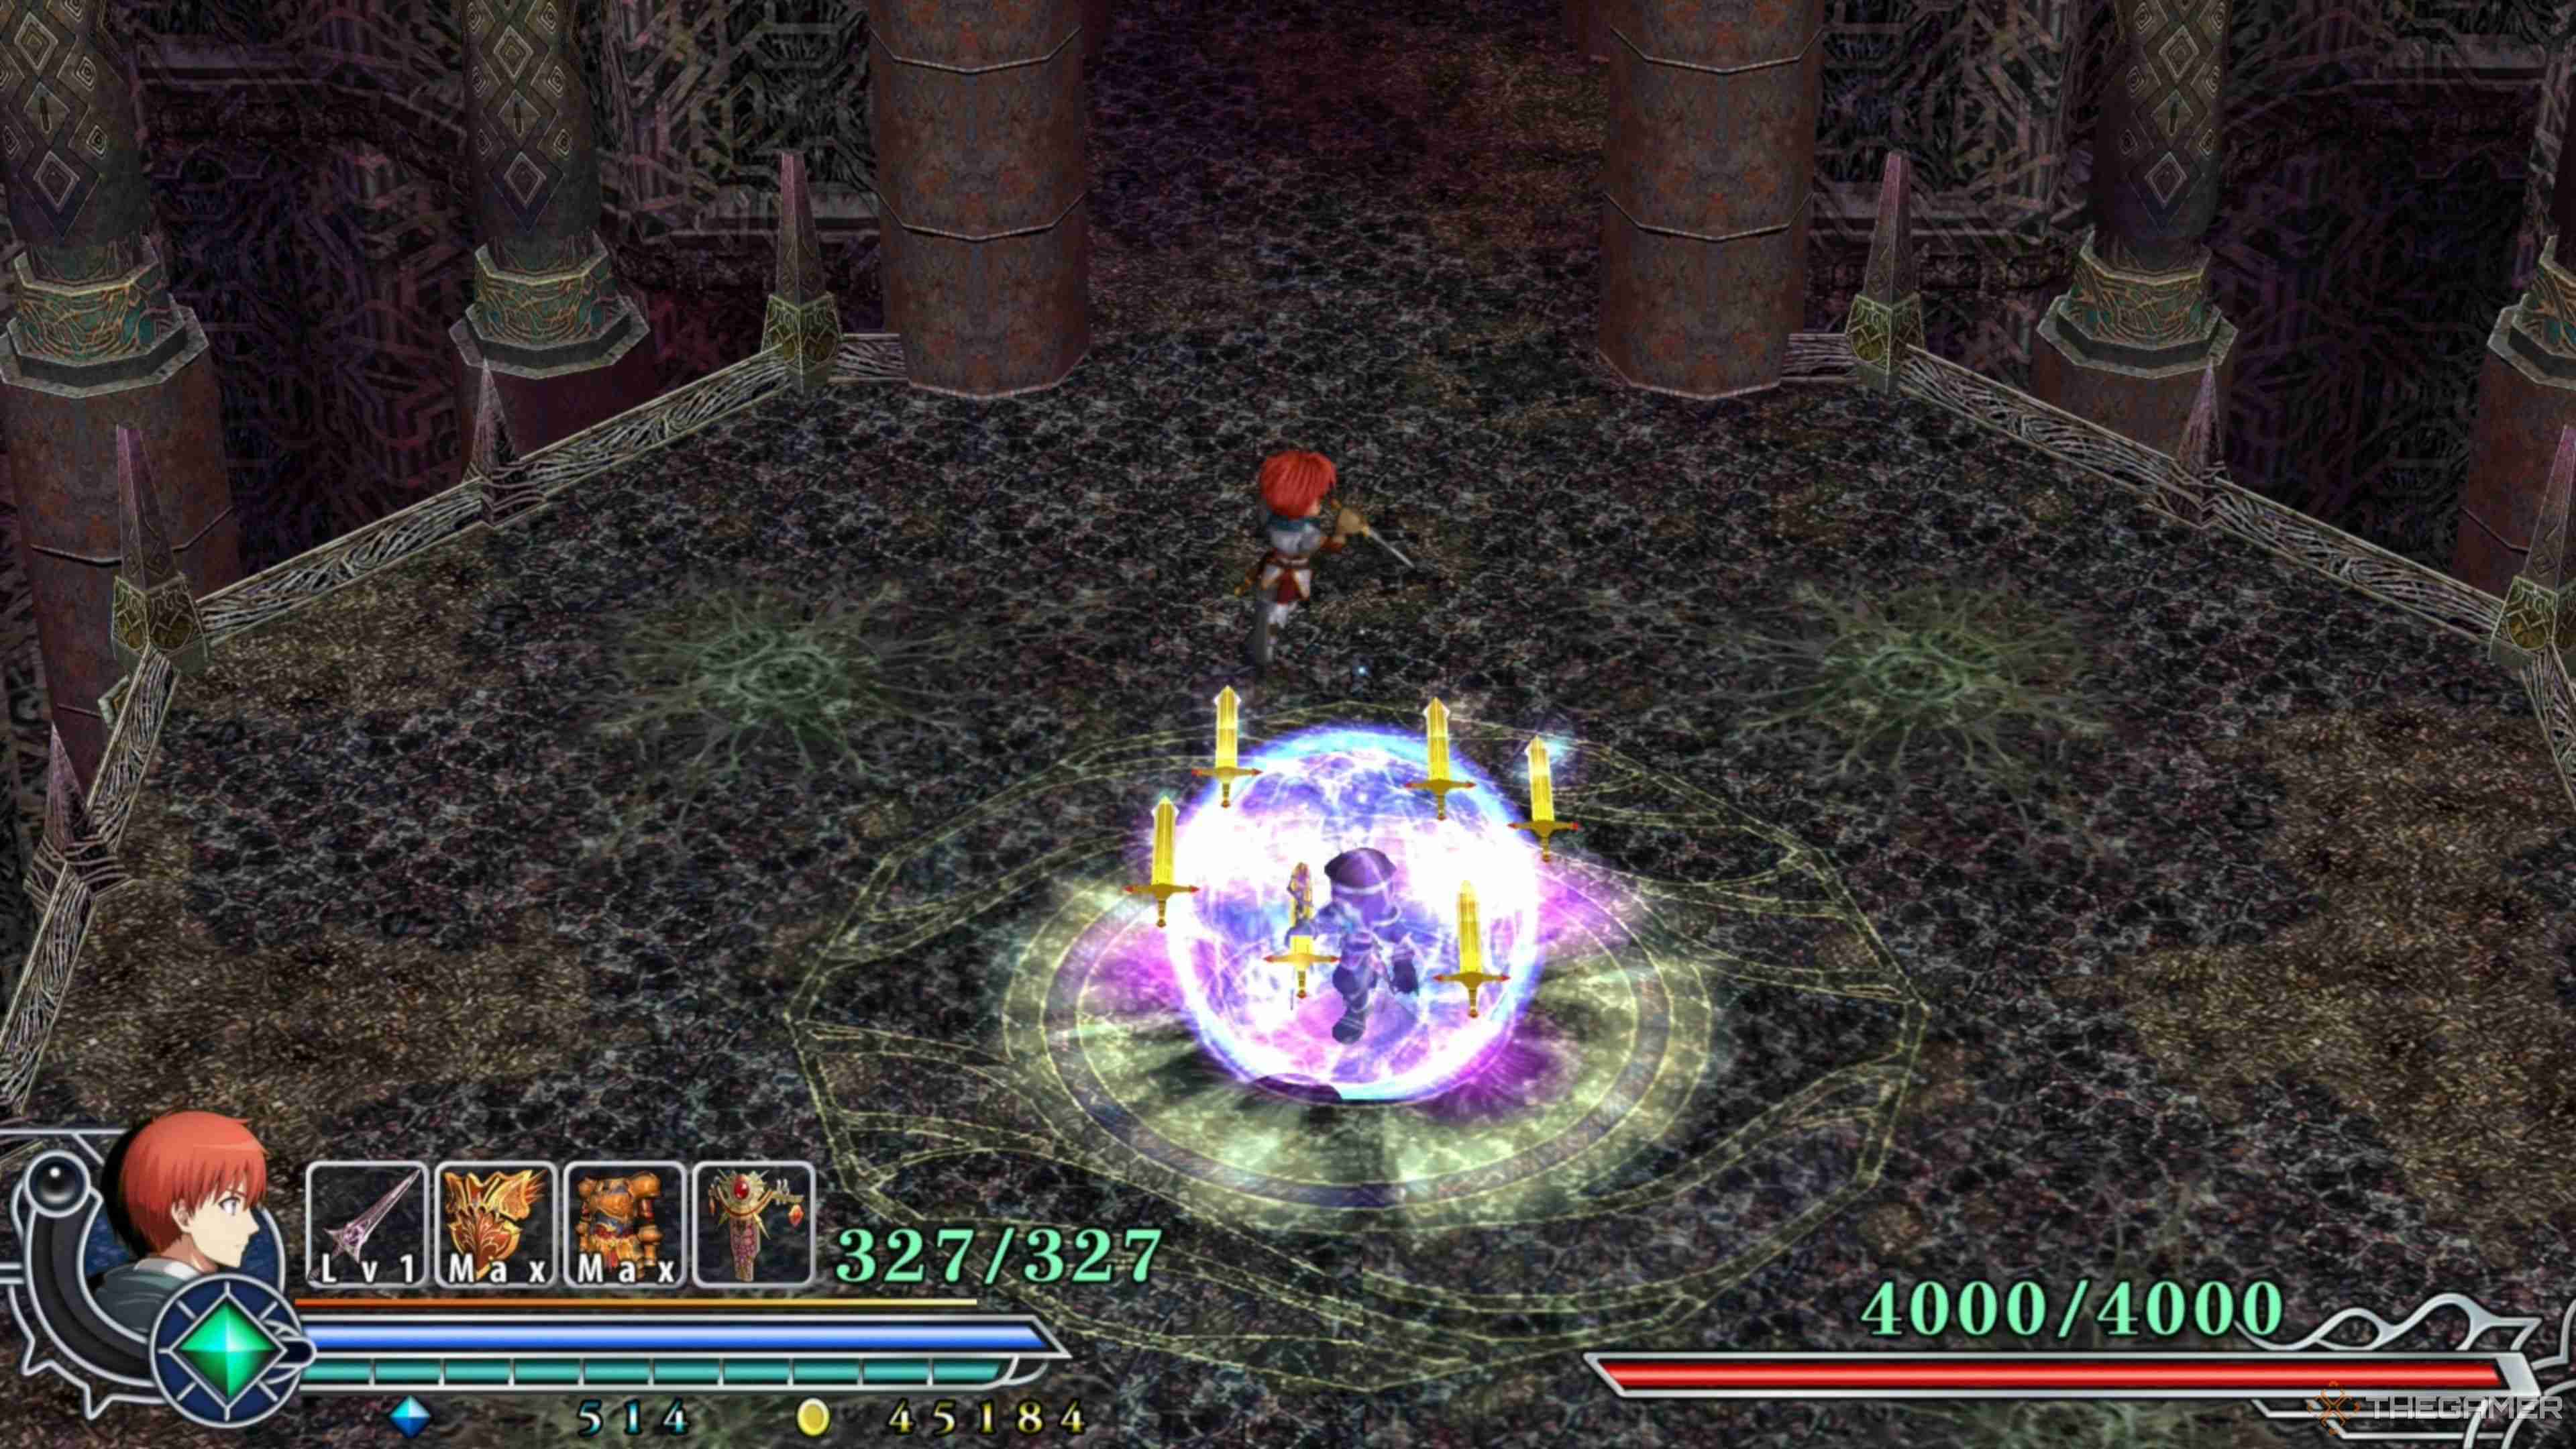
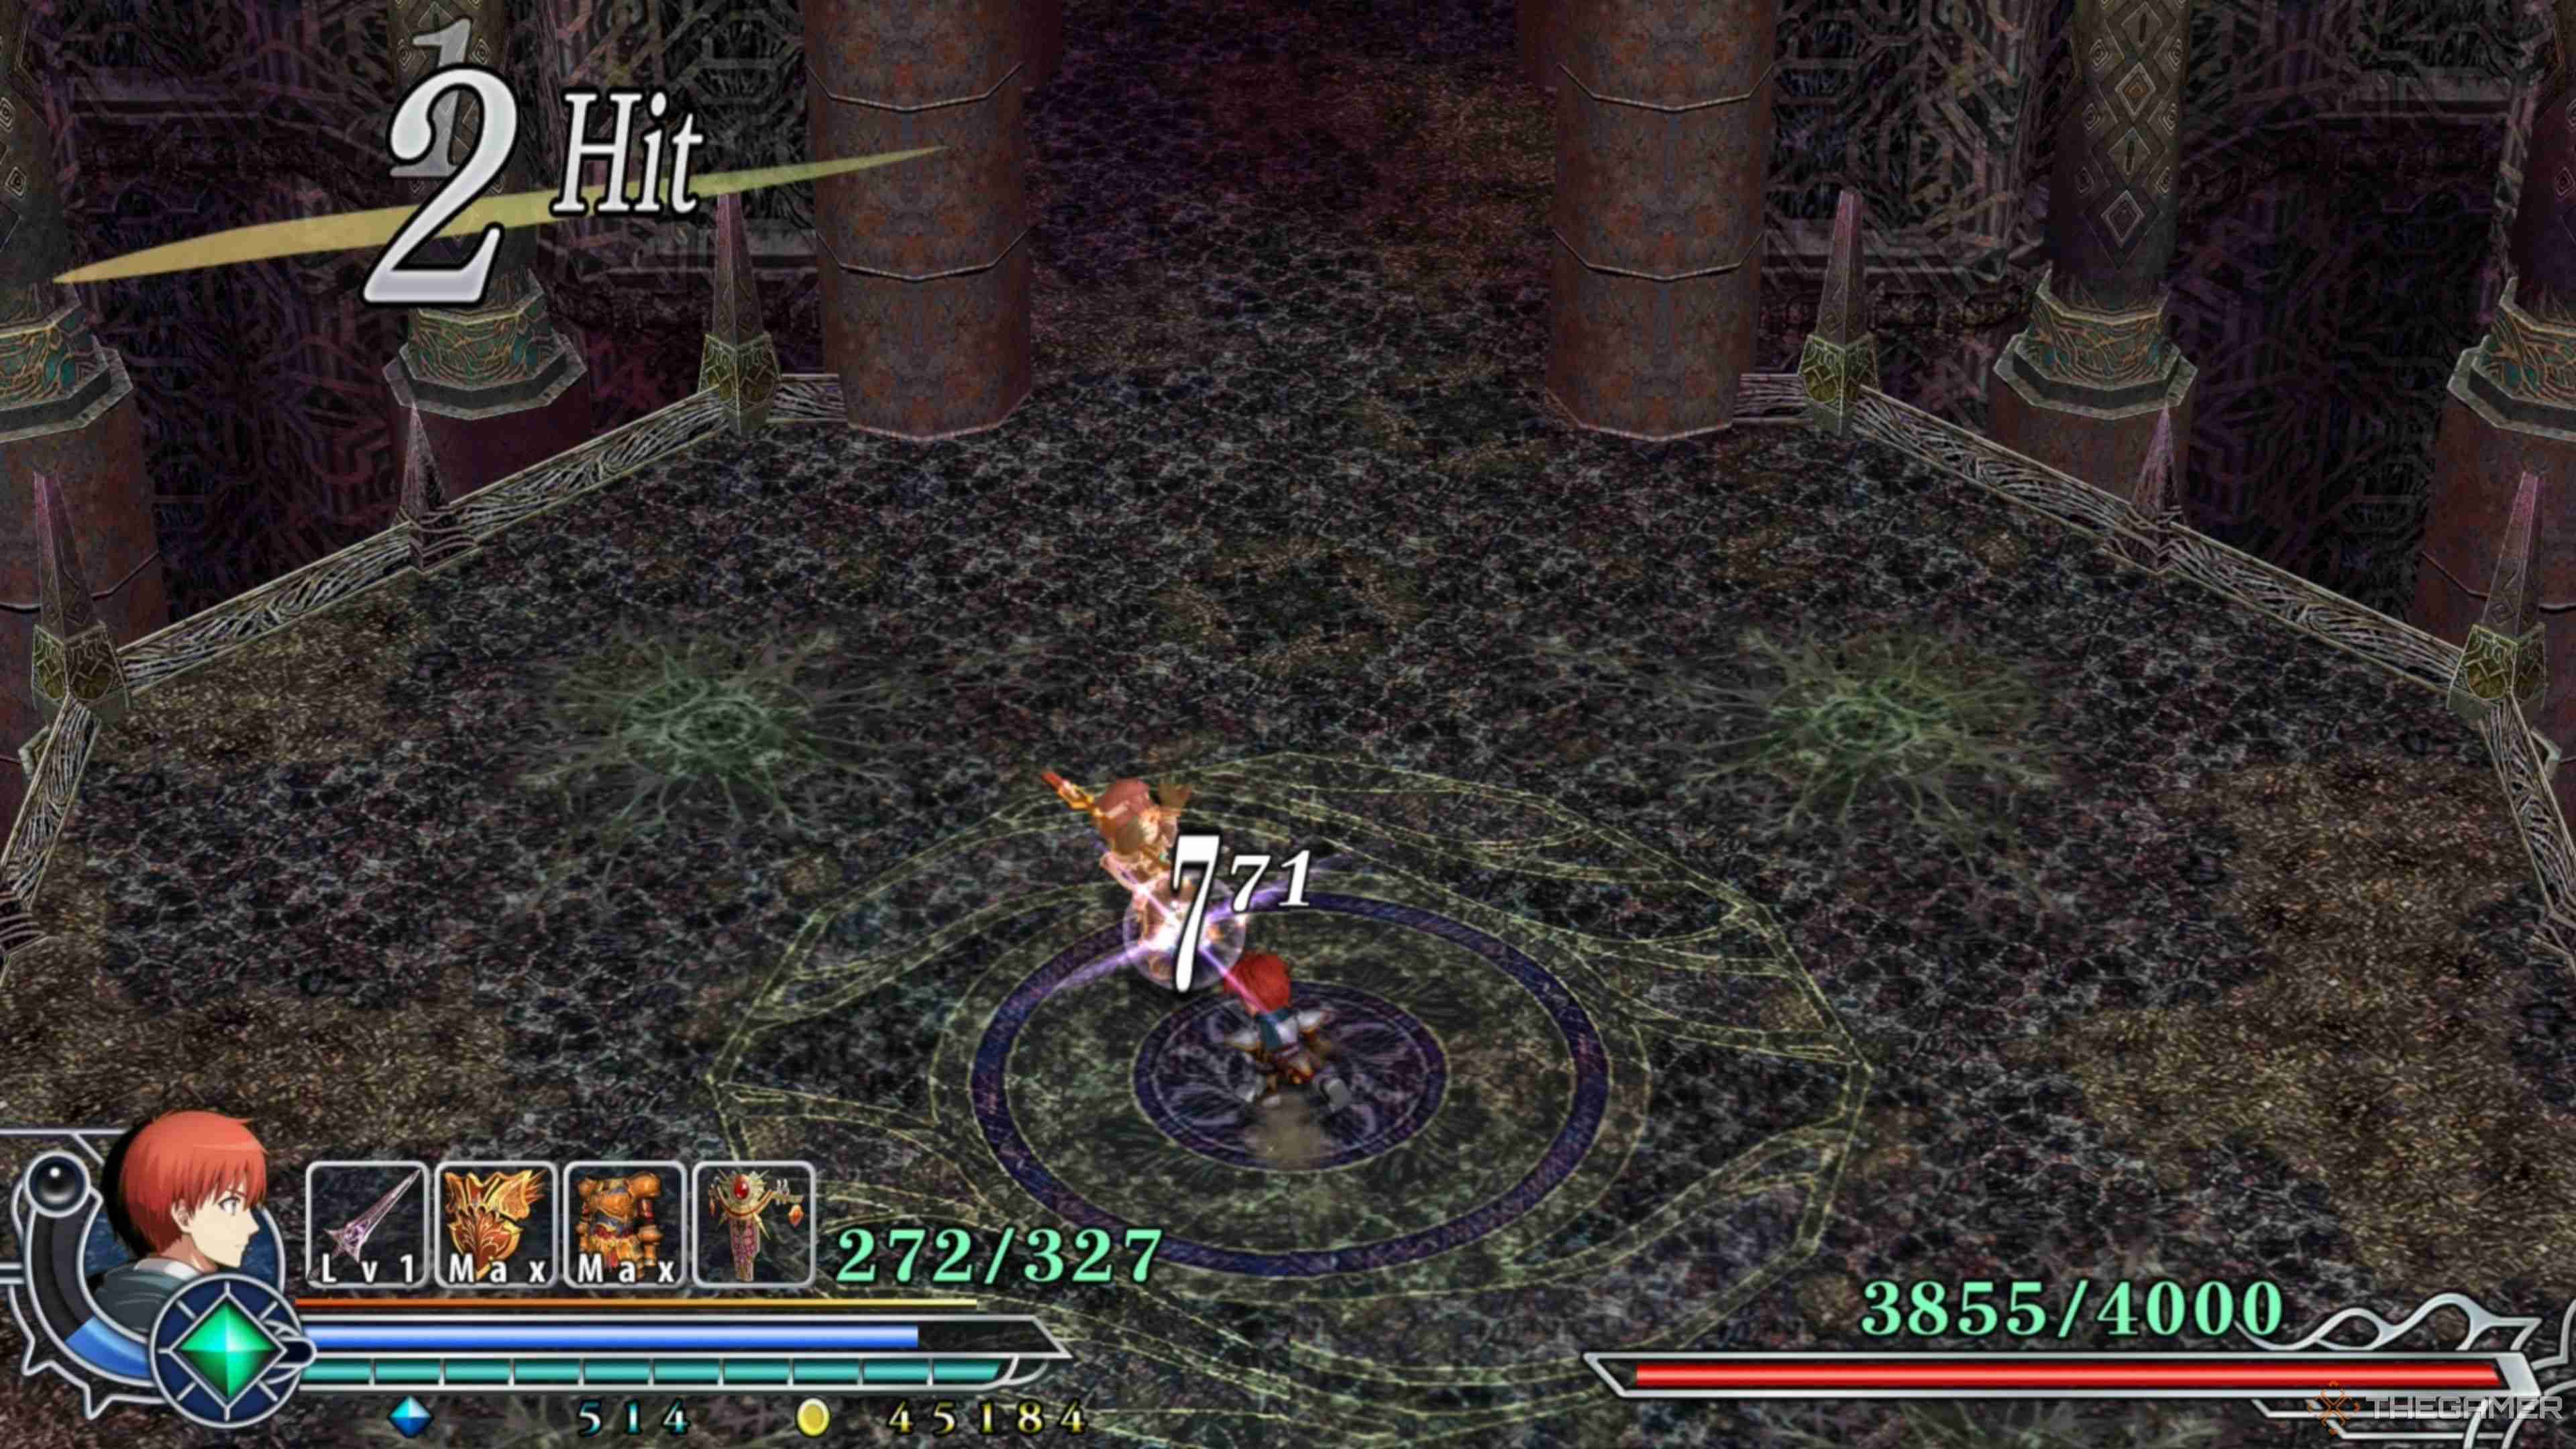
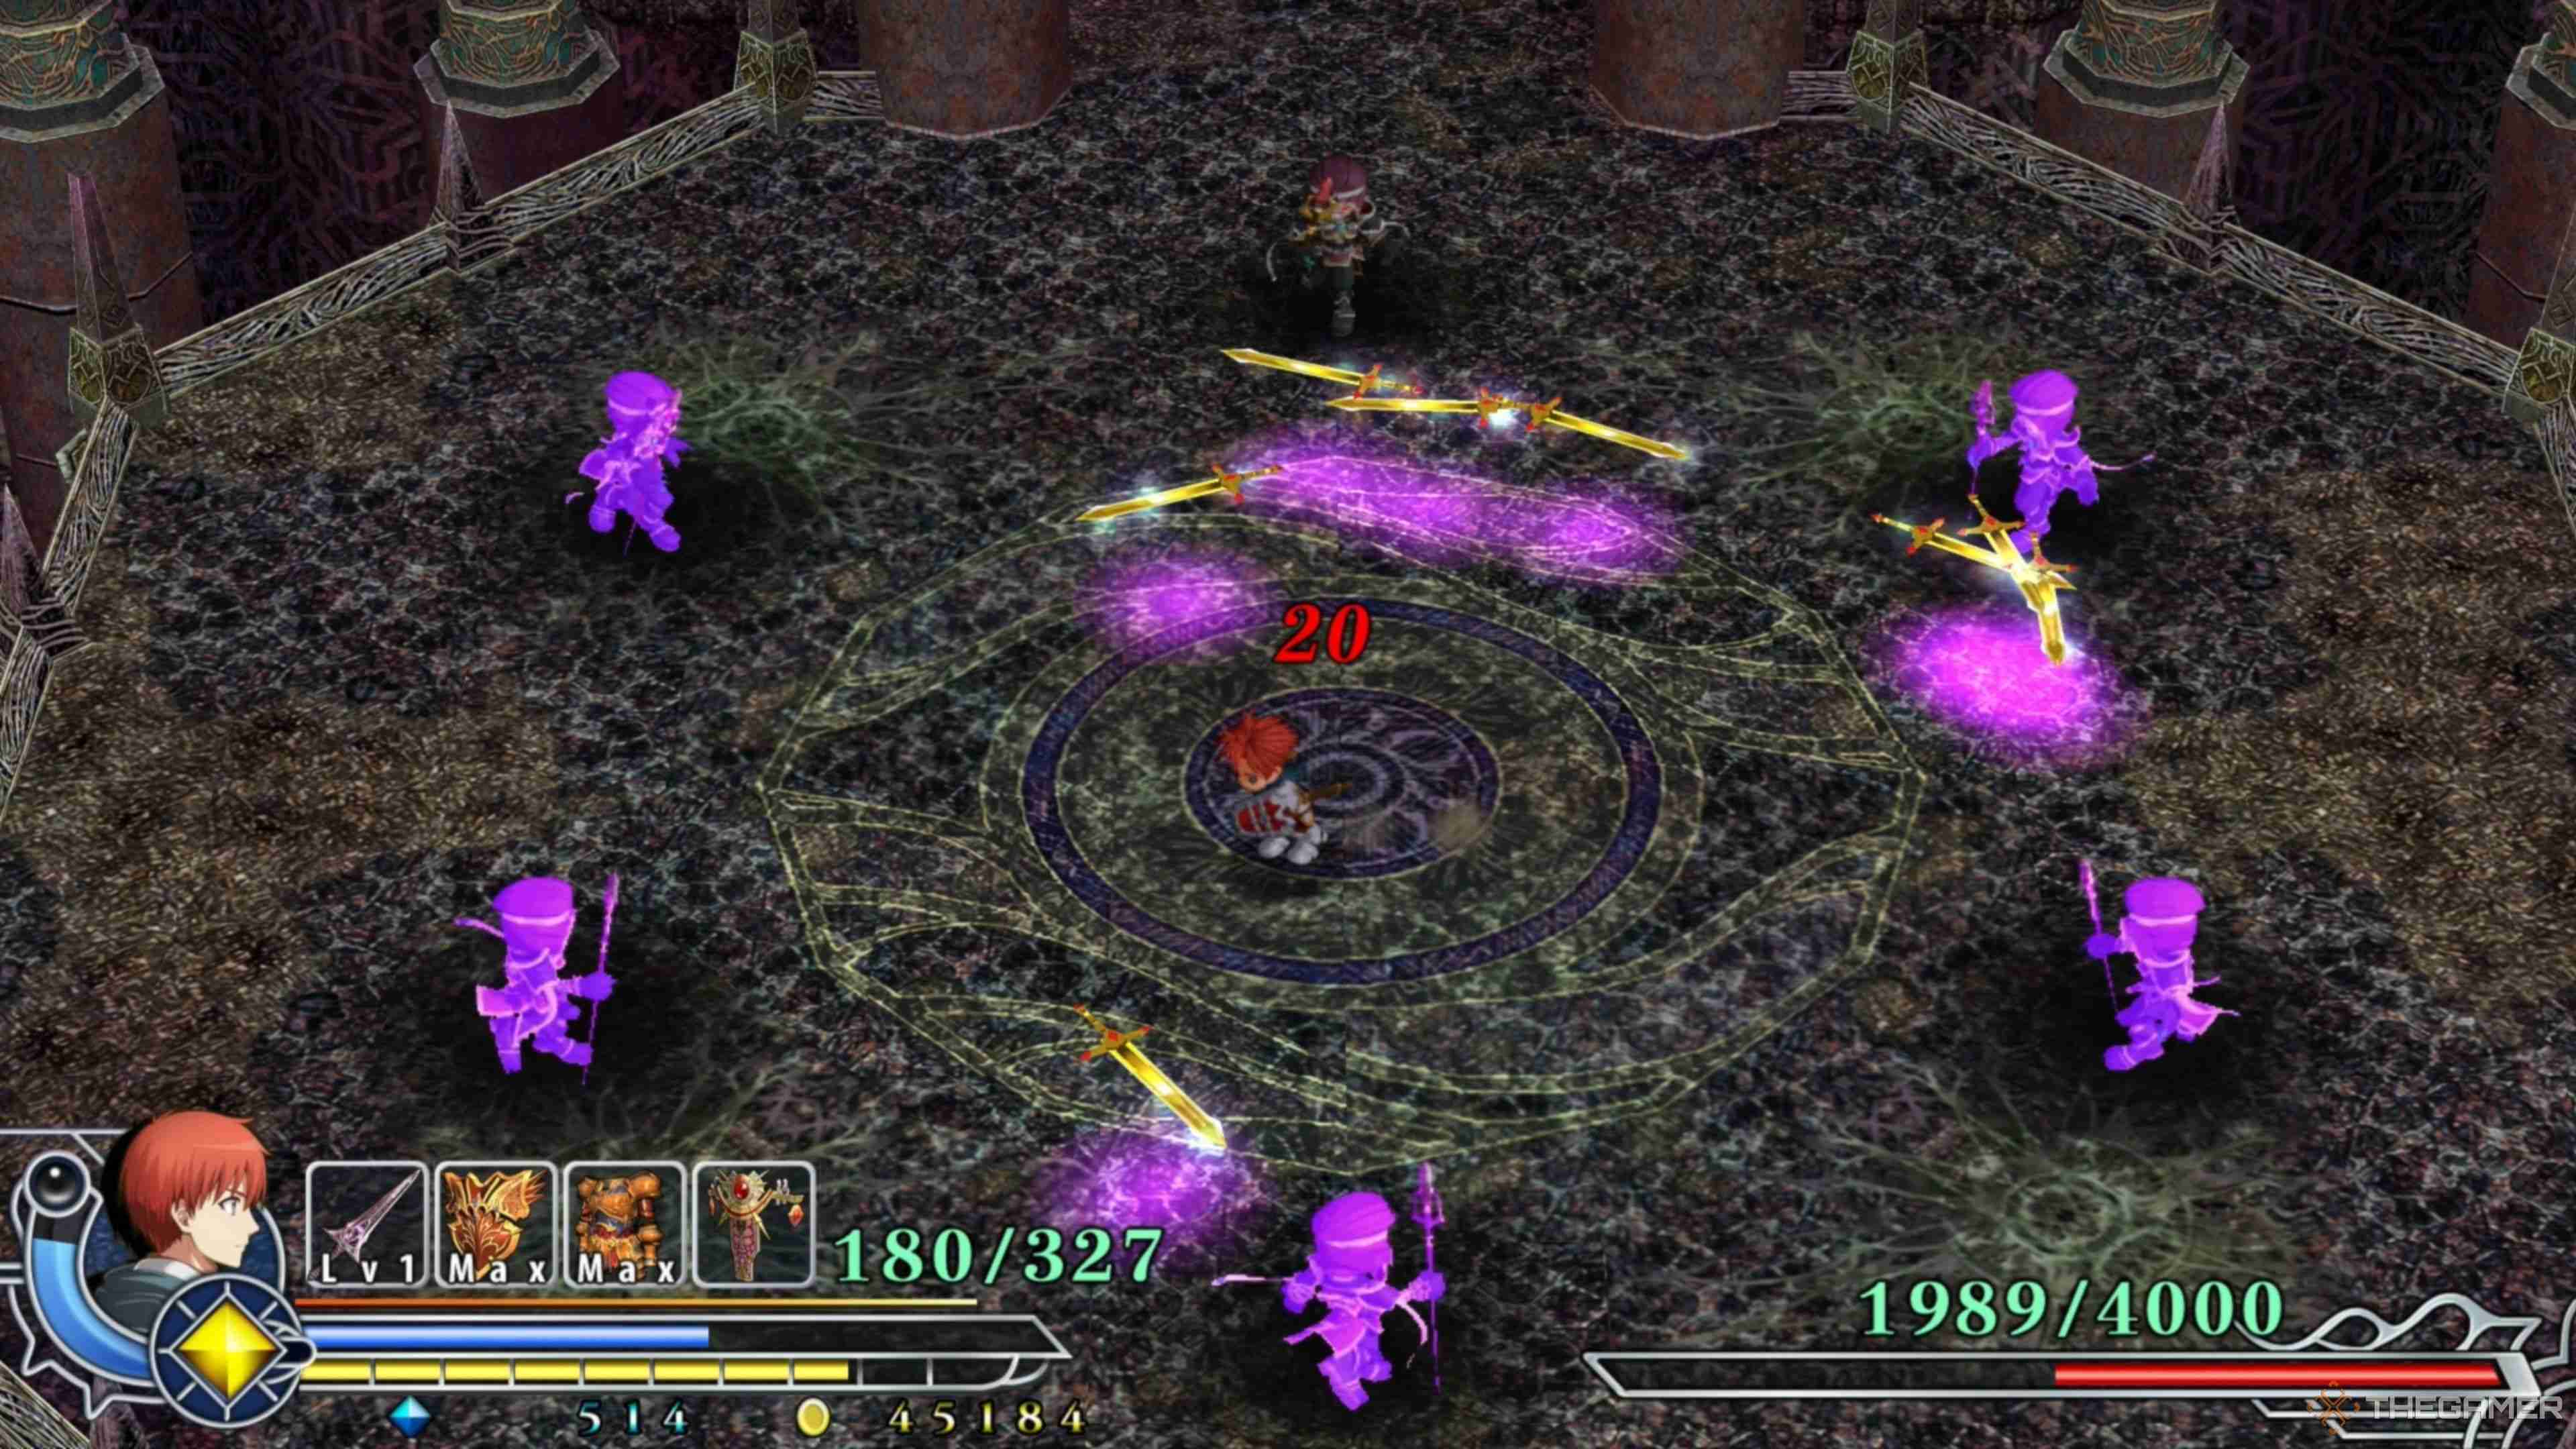
As you likely remember from your first encounter with Dularn, he summons an impenetrable Barrier around himself and launches a series of Gold Sword attacks, forcing you to dodge them before getting the opportunity to attack him. His Six Sword attack is one of the three he will use in this battle.
He will summon three pairs of Gold Swords before launching them at Adol with heat-seeking properties, forcing you to run to the left or right and Double Jump at the right moment to avoid them altogether. You're likely fine if one or two hit you, but don't make it a habit!
Dularn - Eight Sword Attack
Another one of his Gold Sword attacks is his Eight Sword attack, summoning two Gold Sword at each cardinal direction before letting them loose, having them sporadically zip around the arena toward Adol. These can be very tricky to evade, so be on high alert.
These Gold Swords will essentially swim around you briefly, forcing you to jump into open spaces and then jump again to evade them once more before they fly away. They flow through the air like they're surfing, making their movements hard to pin down and adapt to. Just try jumping away from them, and then Double Jump back toward them to clear them!
Dularn - Ten Sword Attack

The last of the Gold Sword attacks is Dularn's Ten Sword attack, which has him launch two rows of five Gold Swords straight ahead in a spread-out pattern, making them nearly impossible to sidestep. And this attack comes out FAST, so you will barely have much time to react to it.
Fortunately, there are two ways you can evade these Gold Swords. There will be gaps between each Sword, allowing you to quickly try running between them to avoid damage. Alternatively, you can perform a delayed Double Jump and leap over the first row normally, wait a brief second, and use your Double Jump to clear the second row. It's harder to pull off, but we think it's the best strategy!
Adol - Attack When Barrier Is Down
Like the first time you faced Dularn, after he performs three Gold Sword attacks in a row, his Barrier will deactivate, enabling you to run up to him and land several attacks, carving away at his health. There's no set pattern for which Gold Sword attacks he will use, but he will always only do three before his Barrier gets removed.
For example he can do two Eight Sword attacks and one Ten Sword attack or one Eight Sword Attack and two Six Sword attacks. He may never even do one of the attacks throughout the entire encounter. It's all a game of chance, and you must adapt to whichever ones he decides to use for his three attacks!
Dularn - One Clone
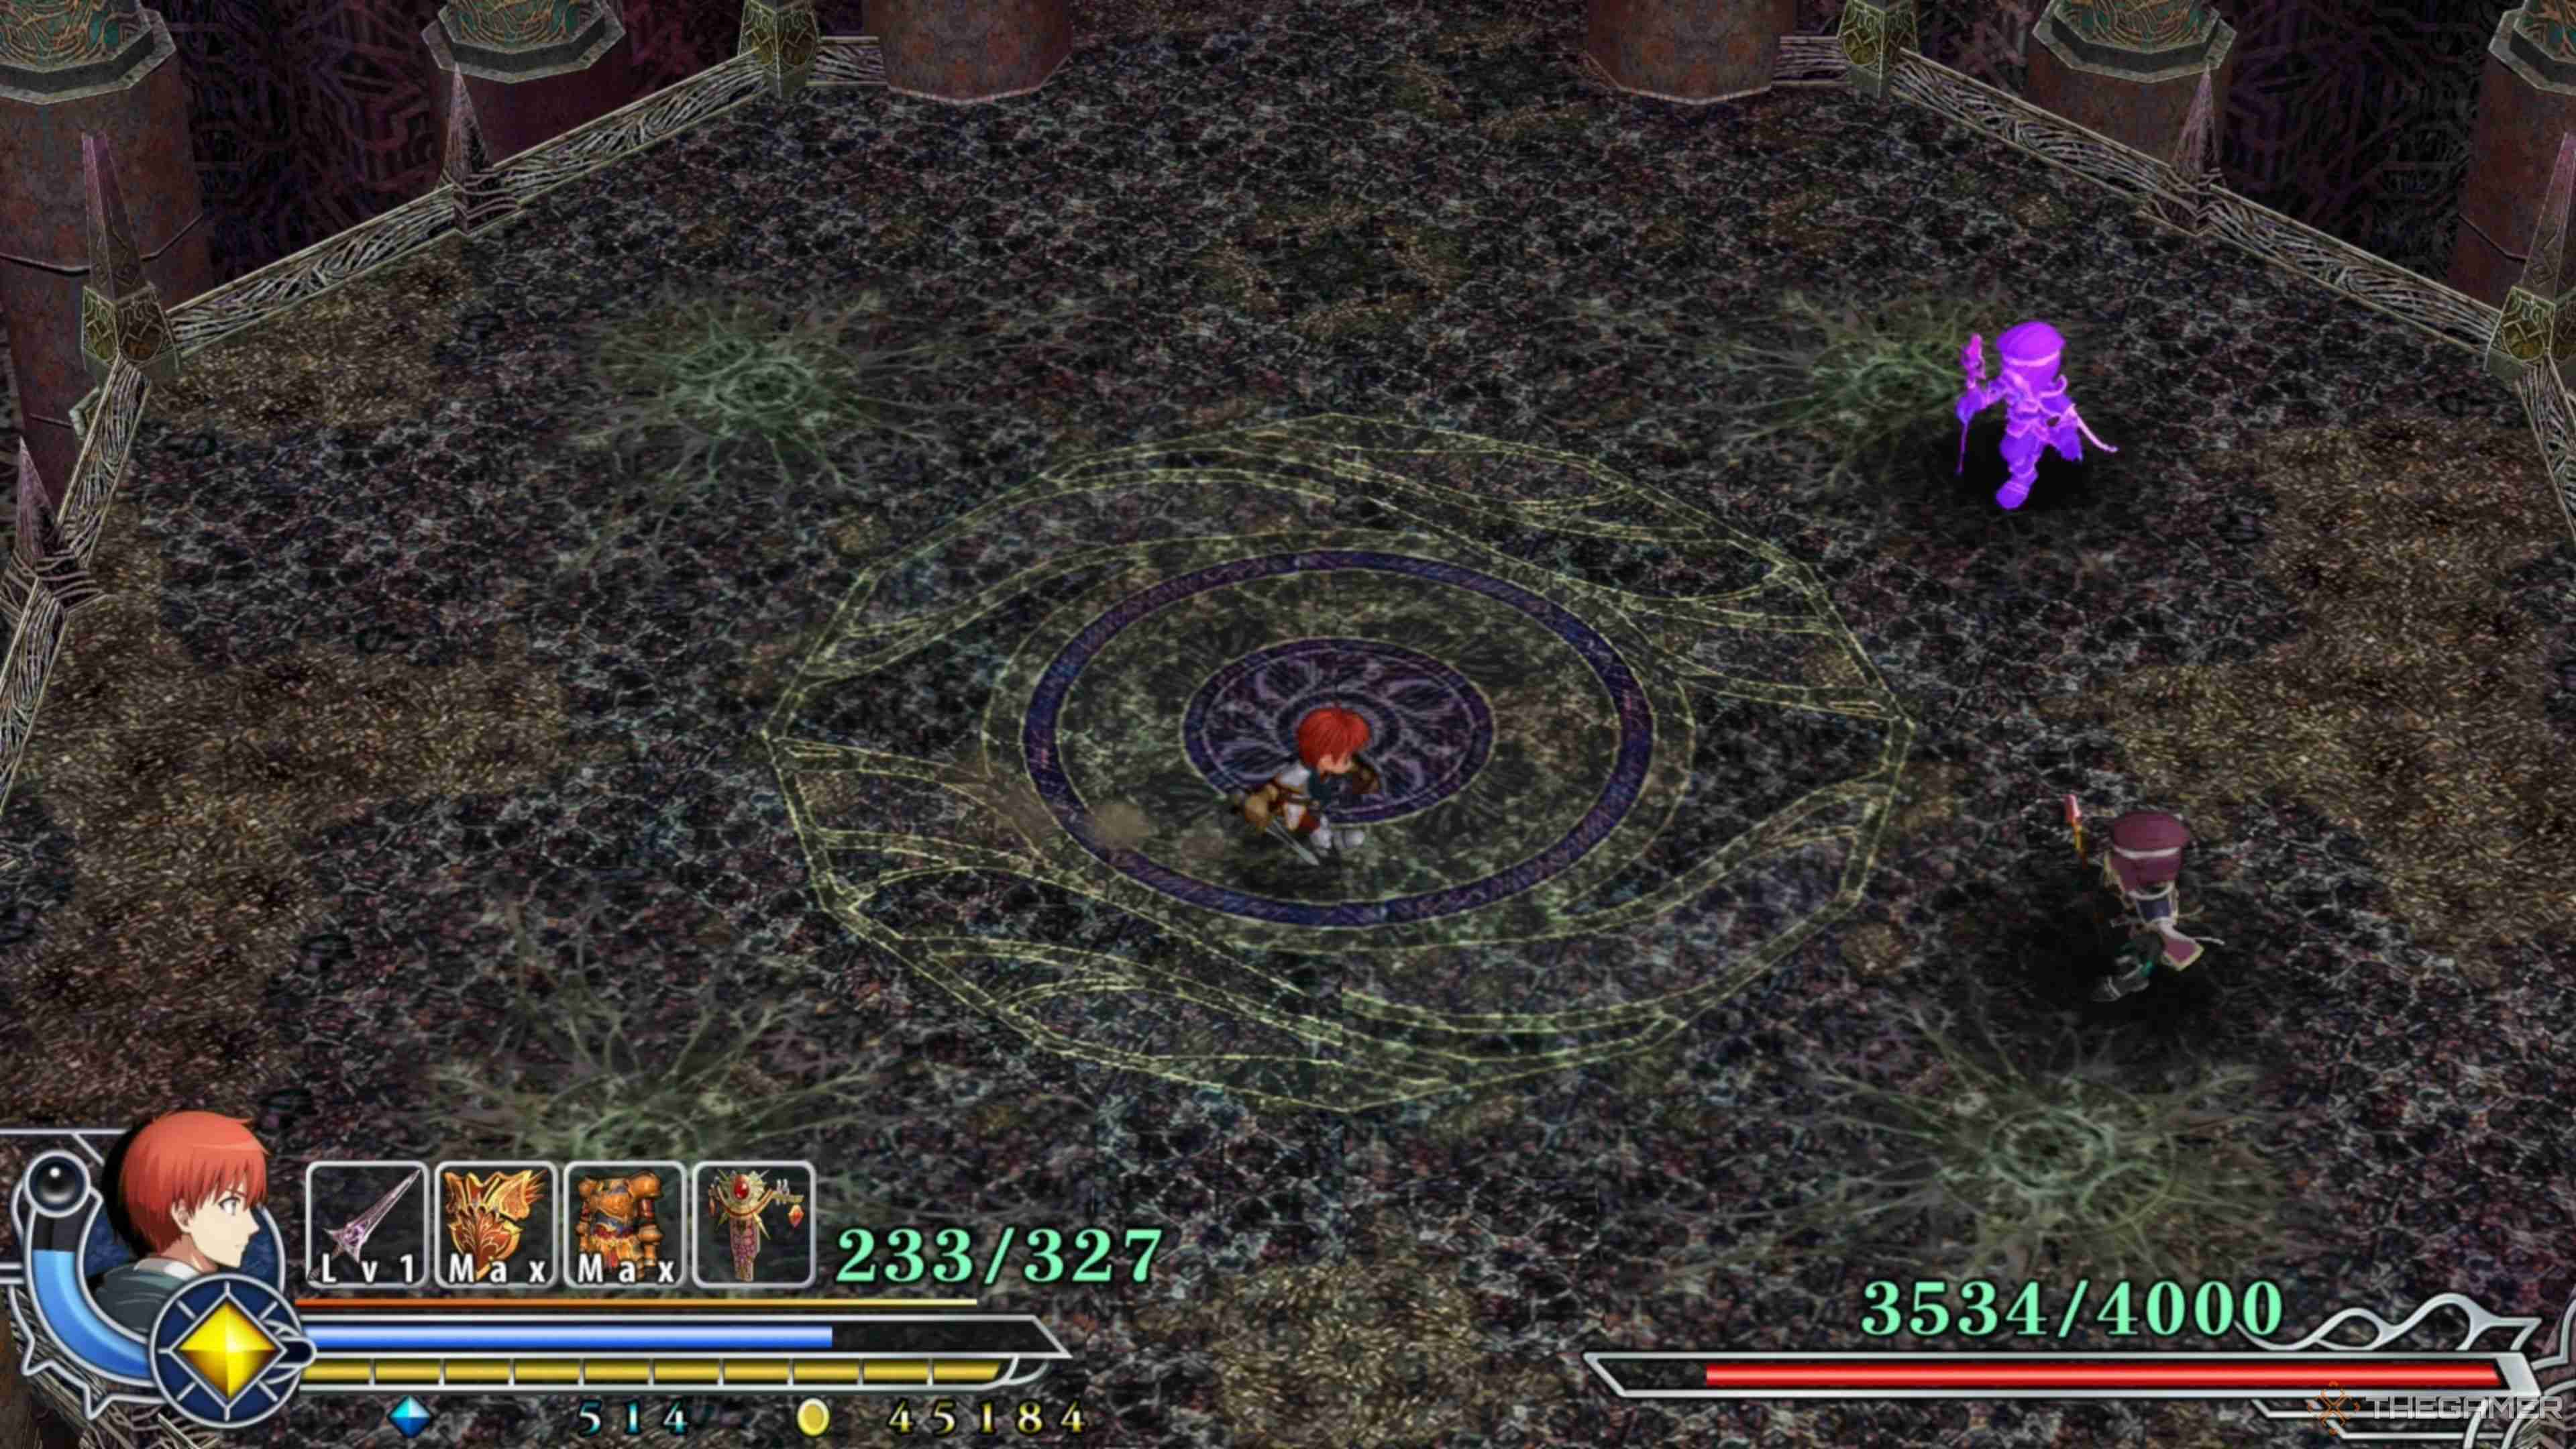
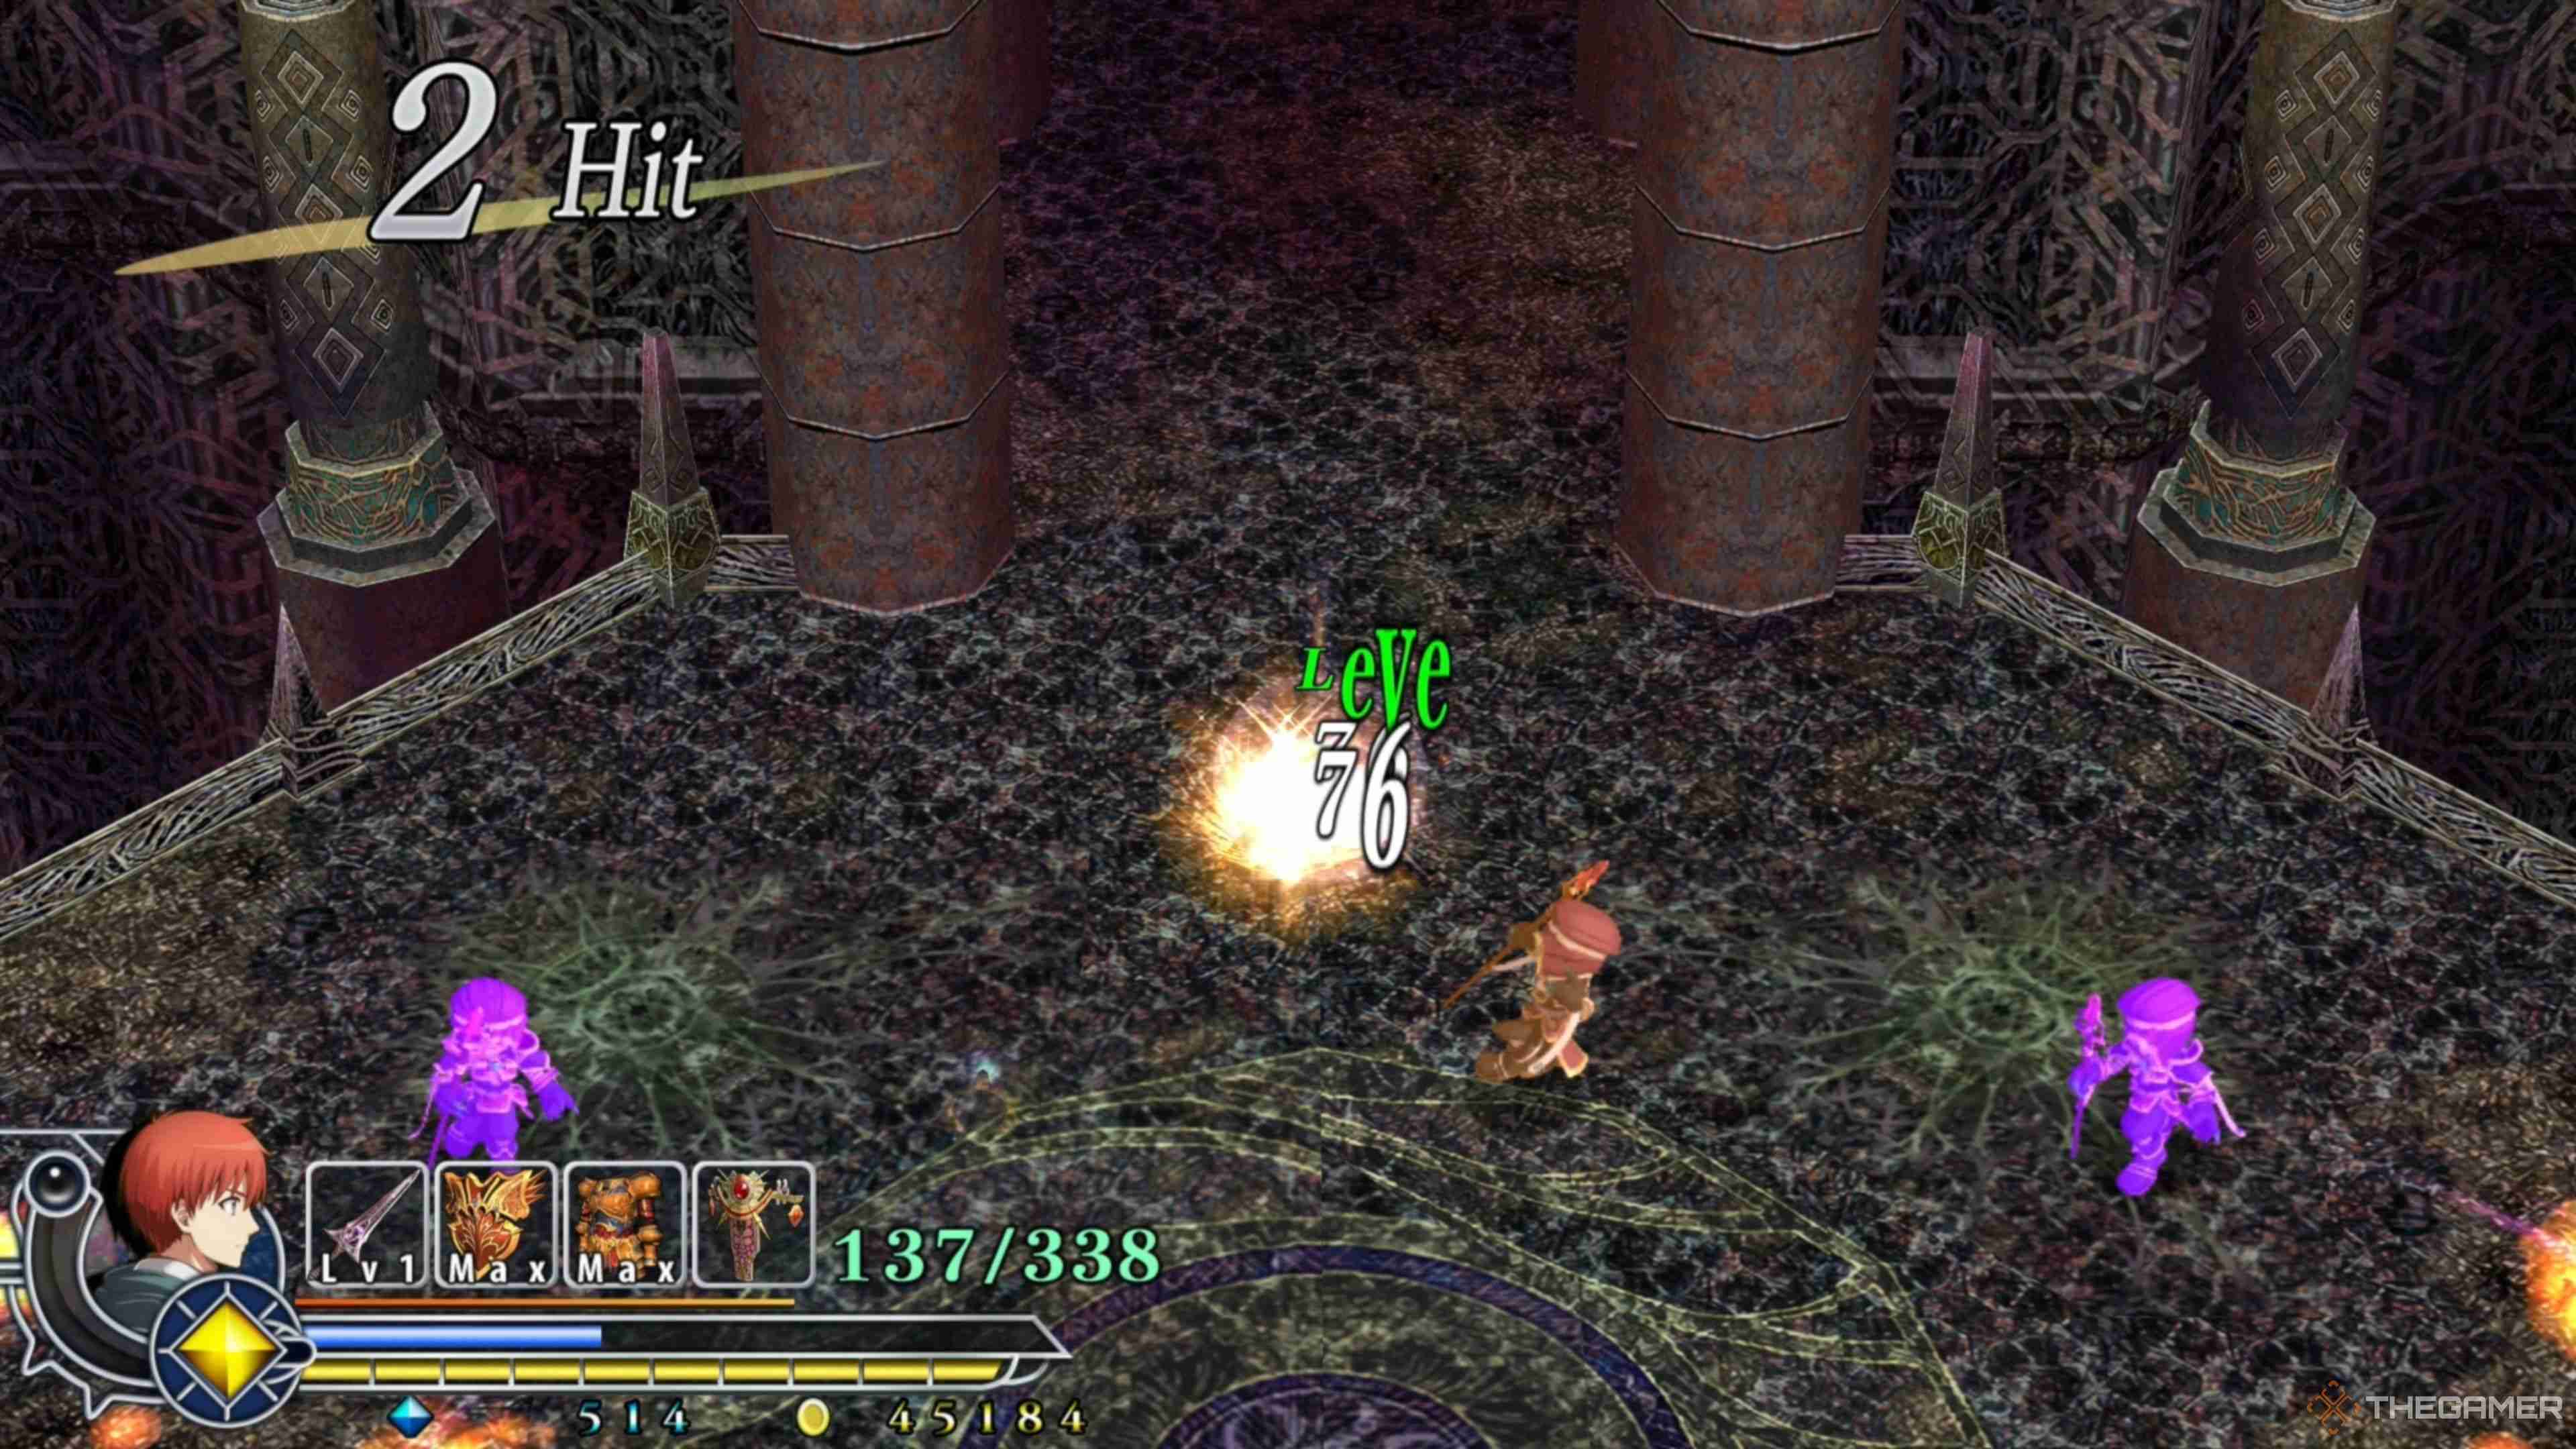
After attacking Dularn when his Barrier is down, and he runs through his Gold Sword attacks again, his Barrier will deactivate again, but he will suddenly vanish from the arena, appearing briefly later alongside a Clone. The Clone will be a deep purple color and will toss out a sizeable crescent-shaped attack.
Luckily, Dularn will look the same as before, making him easy to spot. However, he will toss out a Fire Wall attack, hurling fireballs in a group that gradually spreads out as they travel further. As soon as Dularn reappears, locate him, and then Double Jump toward him to clear his magic and attack him for massive damage!
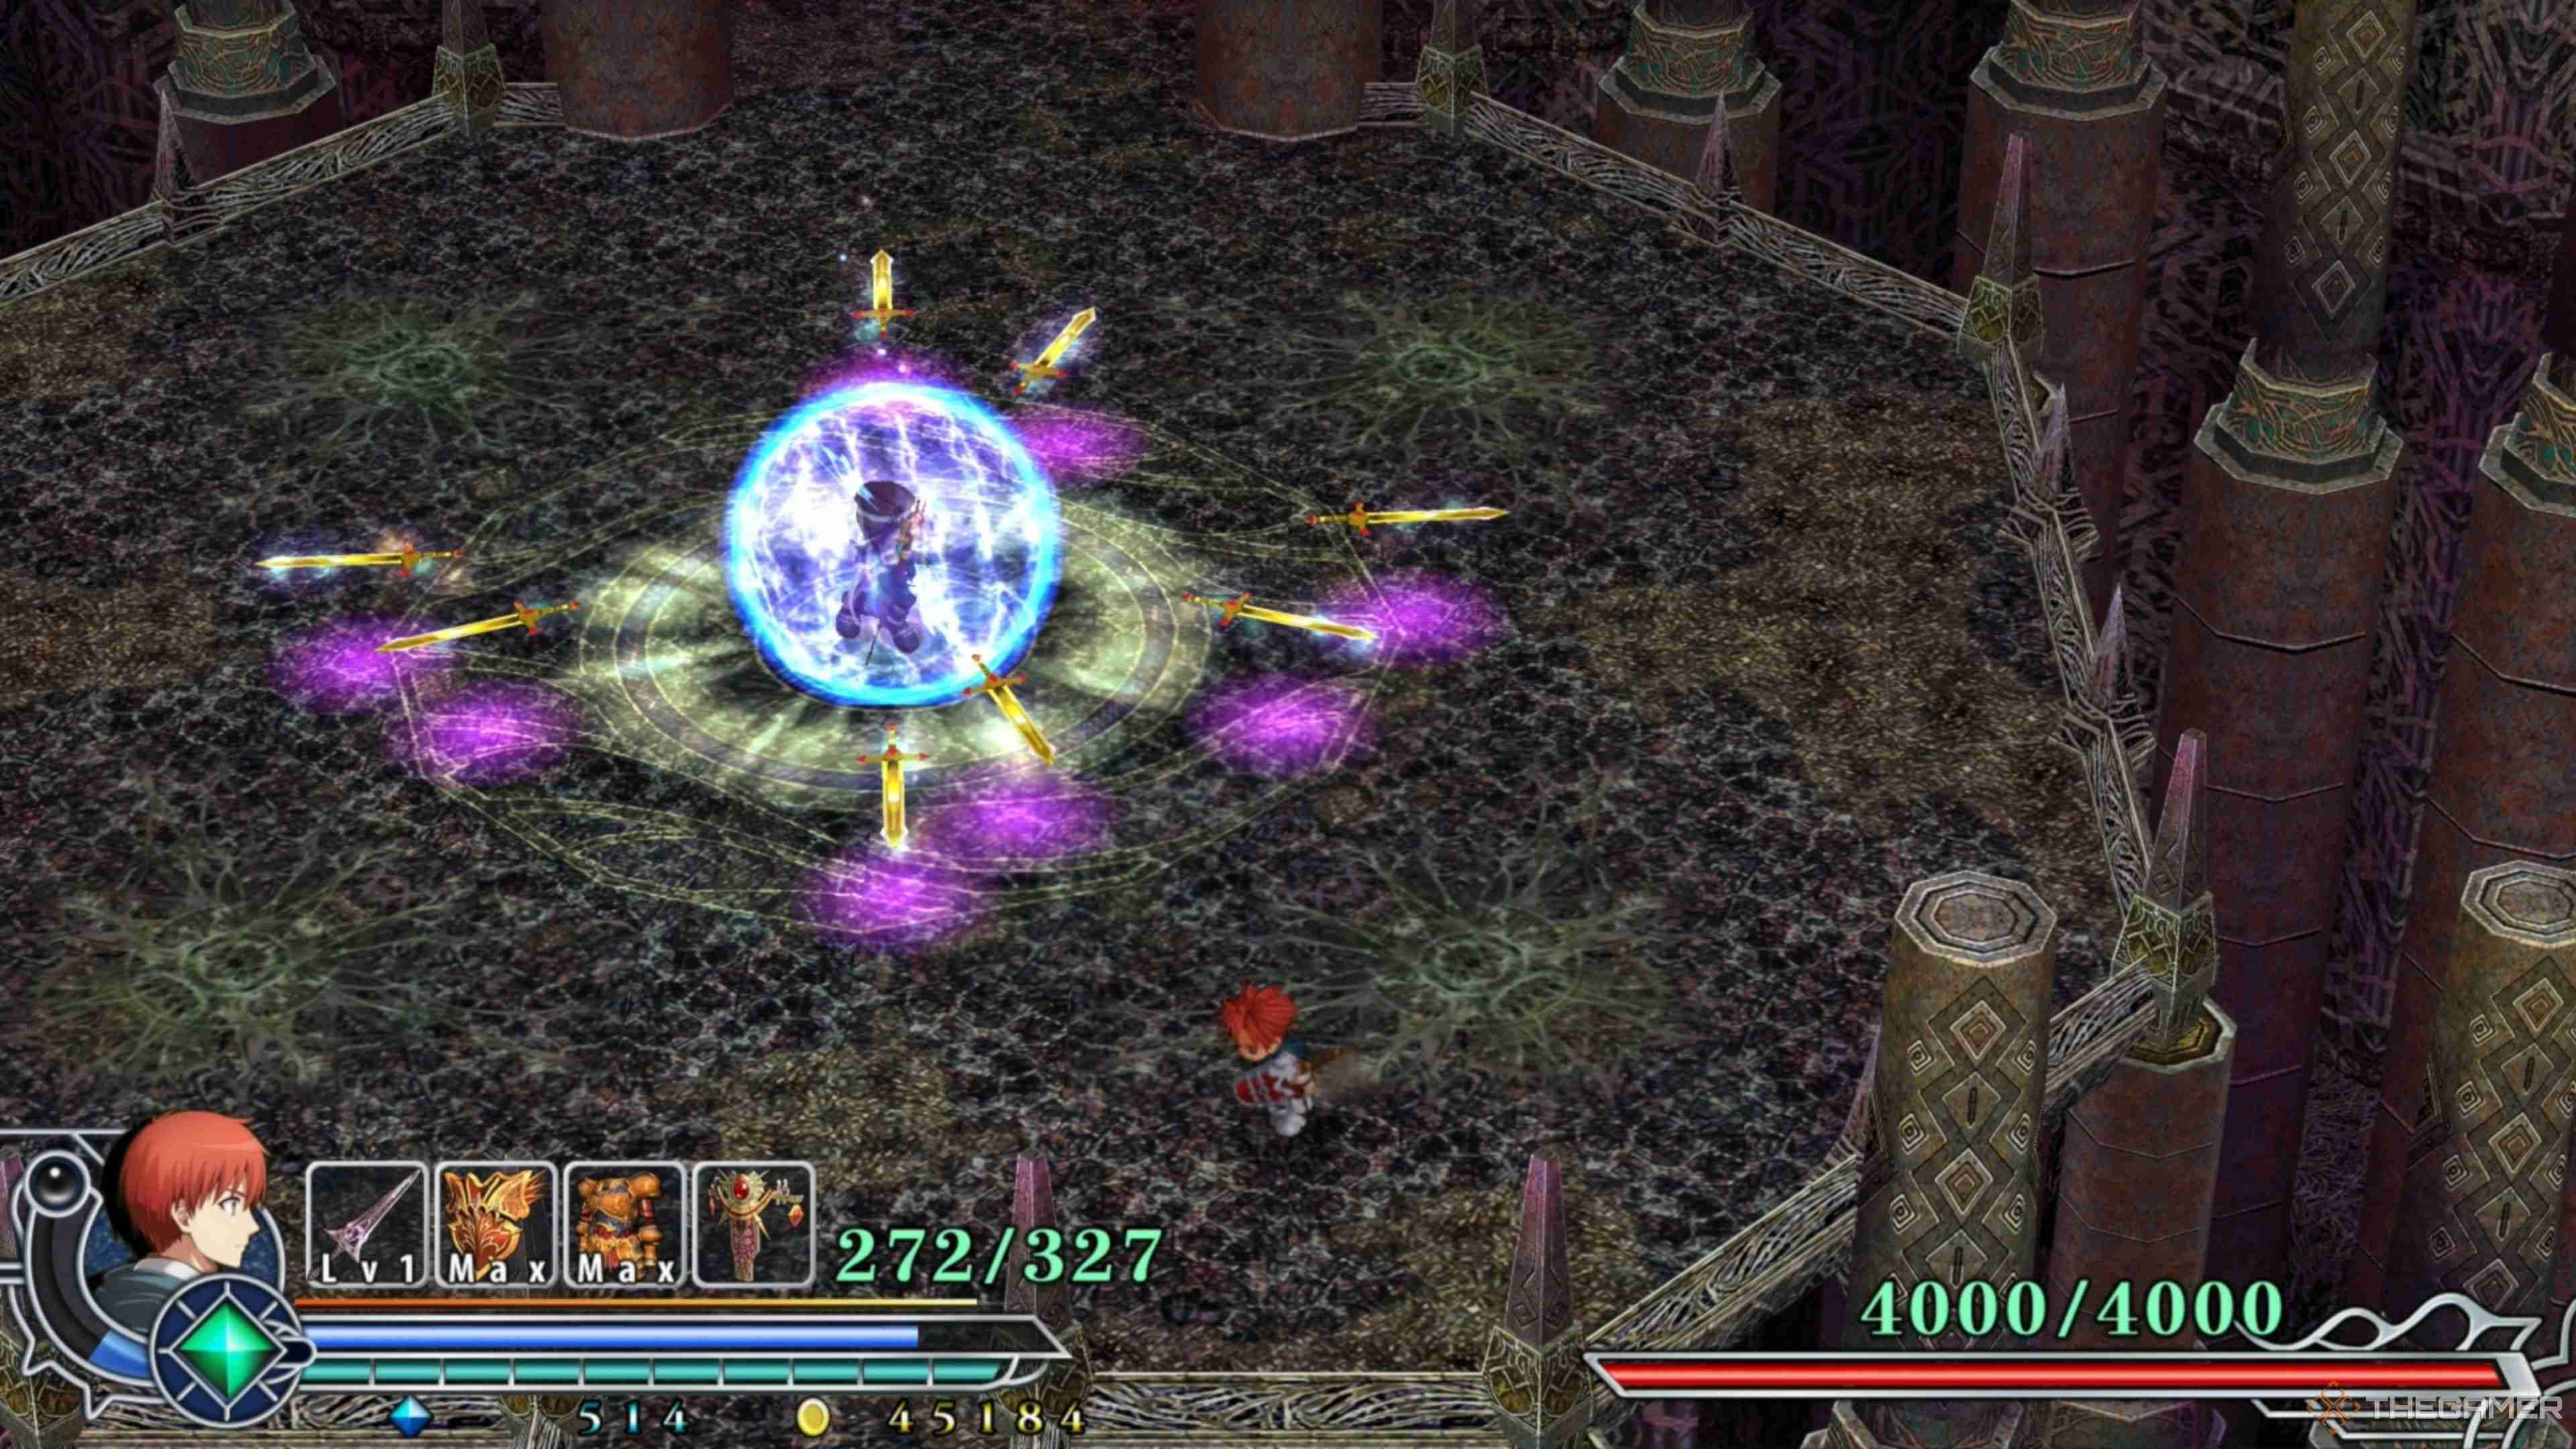
Dularn - Two Clones
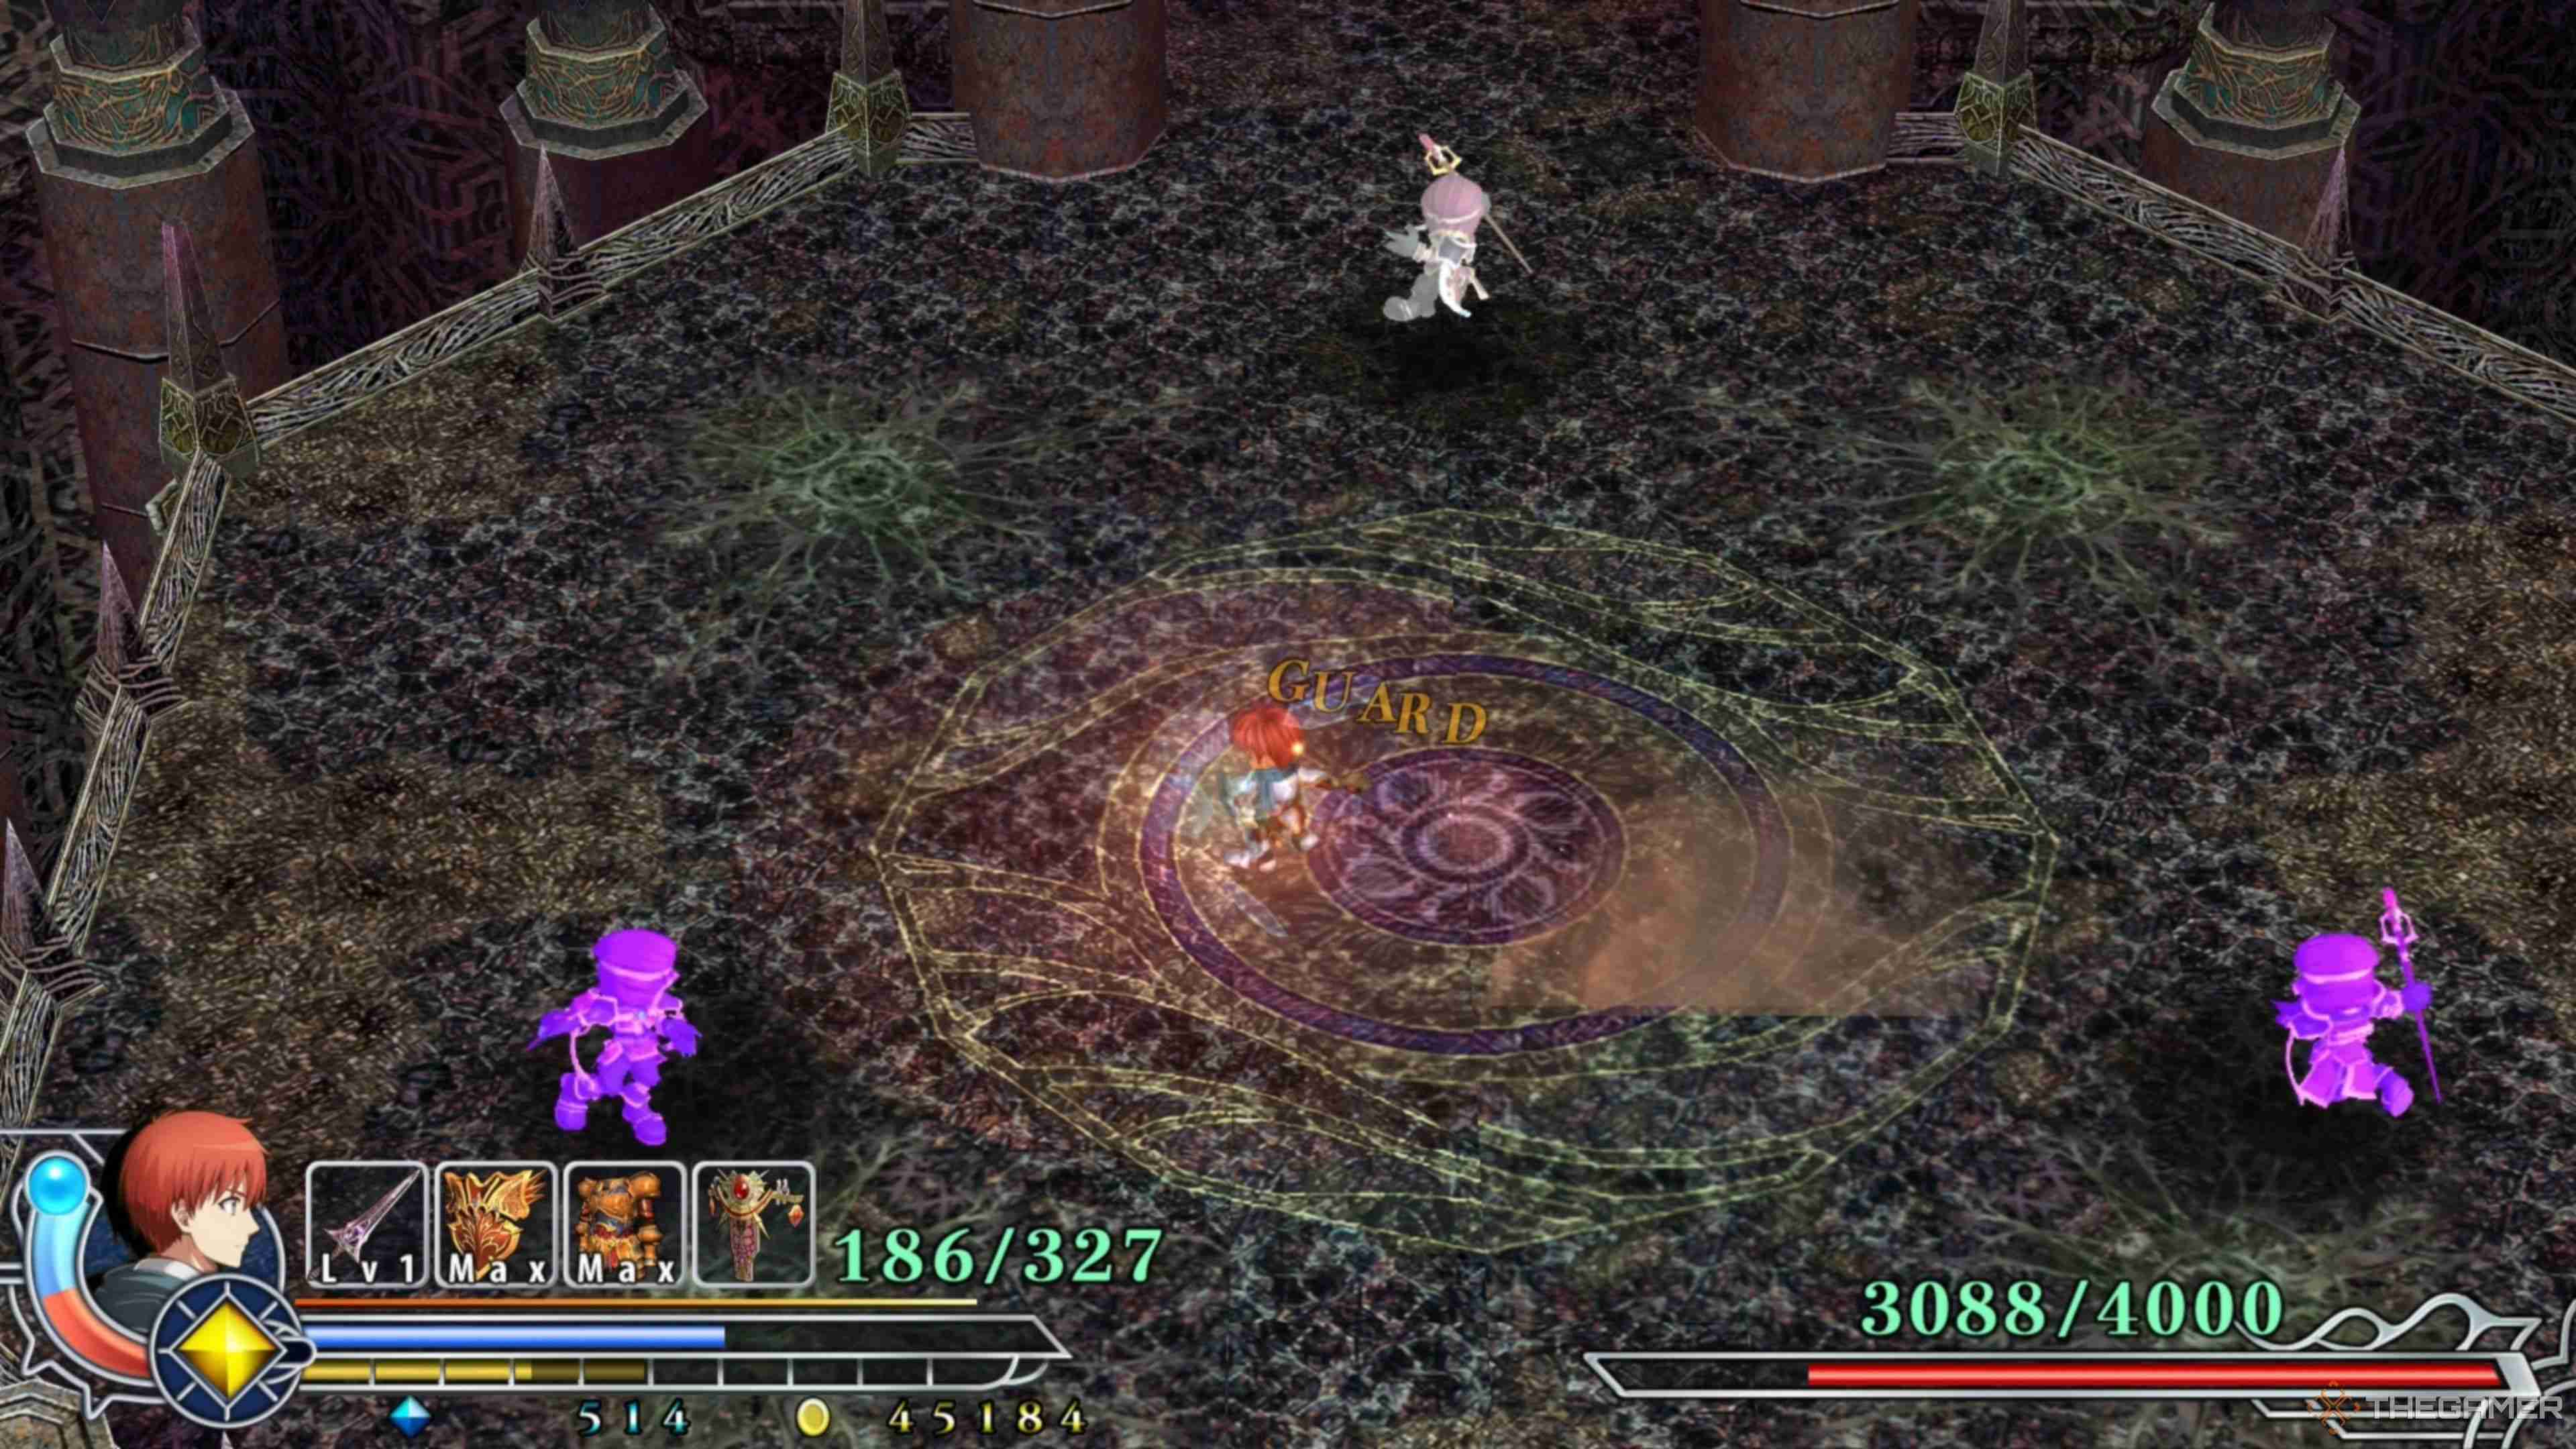
Evading his Gold Sword attacks again will have Dularn teleport out of the arena and then back in again with an additional Clone this time around, with both Clones tossing out the sizable crescent-shaped attack, covering a decent chunk of the arena.
Stand near the center of the arena every time Dularn disappears, as it will make spotting him easier. The moment he comes back into the arena, Double Jump at him and begin attacking. If you have your Double Boost ready, let it rip to recover health and deal massive damage to him!
Dularn - Three Clones
Go through another rotation of his Gold Sword attacks and wait for him to teleport away and back in again, for Dularn to bring in three Clones this time around, which is where things start to get pretty serious. Before, you could sort of ignore them as long as you Double Jumped, but now your strategy has to change slightly.
When Dularn reappears, stay in the center briefly, delaying your Double Jump to have the large crescent-shaped attacks get close to you. Right before they hit you, perform a Double Jump toward Dularn and begin attacking him. Since the Clones are facing away from Dularn, they will miss you completely, allowing you to attack him!
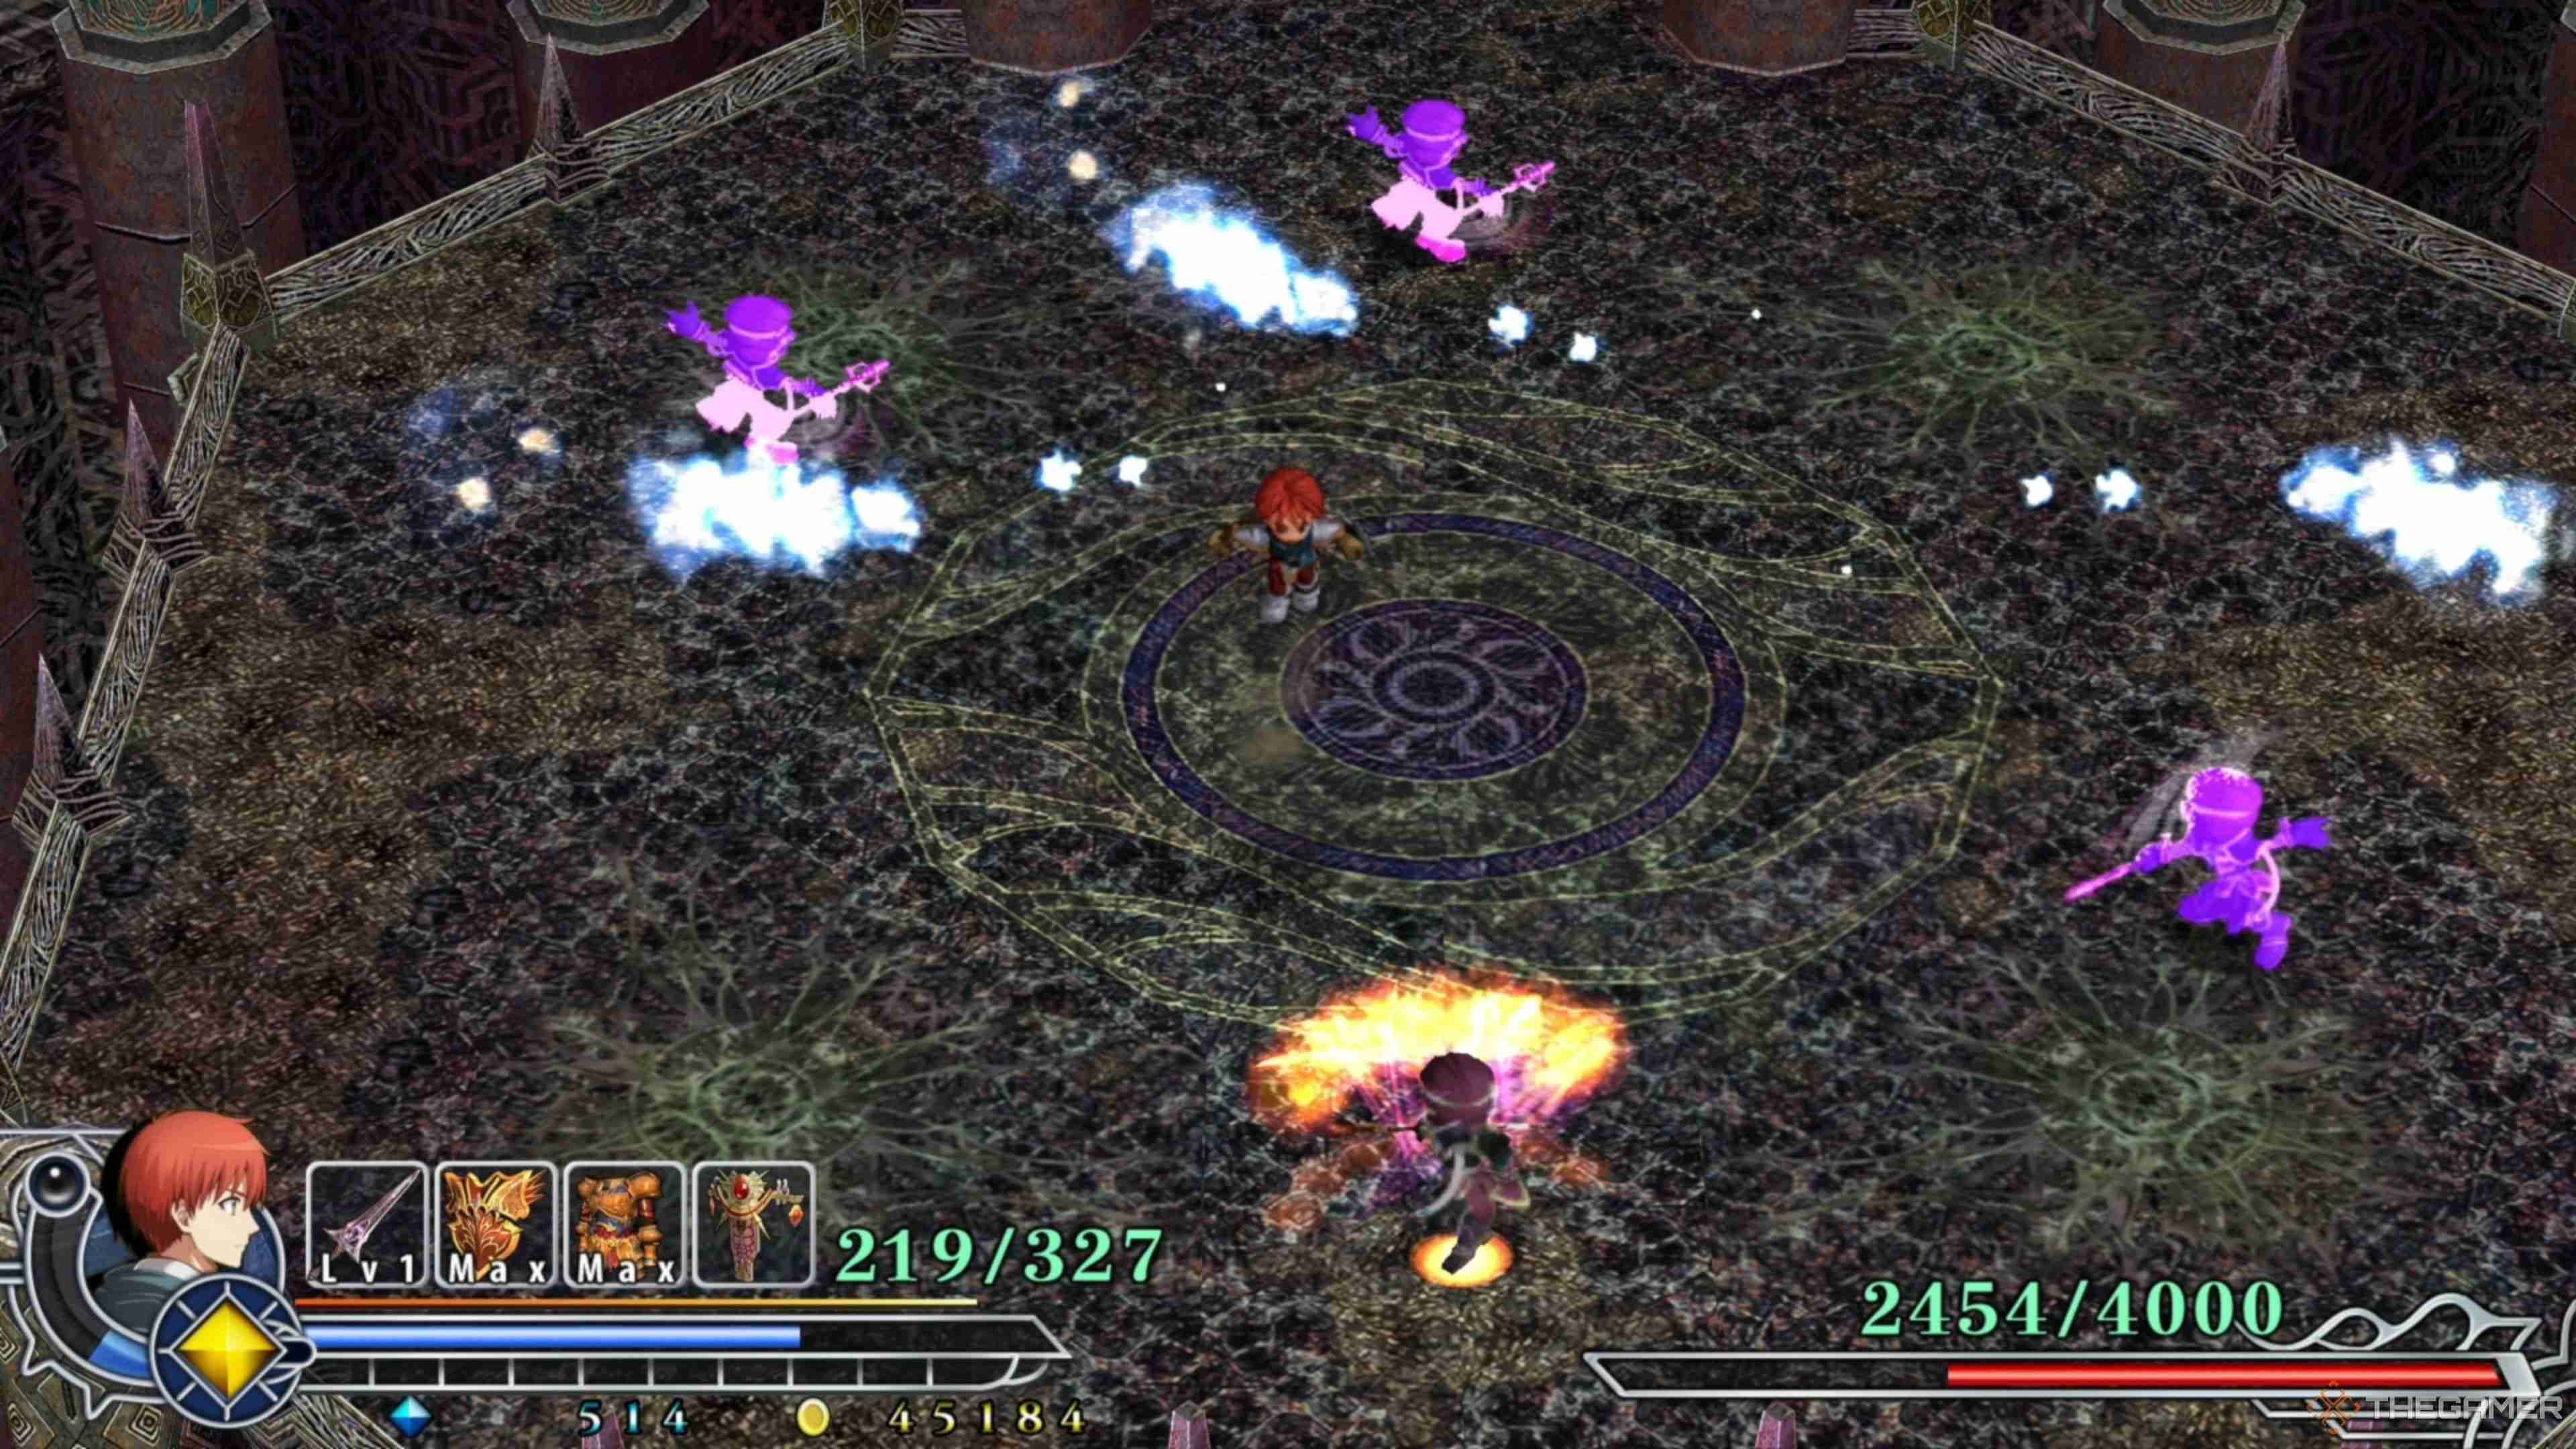
Dularn - Five Clones
You guessed it: Dularn will run through his same rigamarole again with a slight tempo increase and blink out of the arena and back in. However, instead of four Clones, he will have five Clones, which makes things substantially more challenging than it needs to be.
Stand in the center of the arena as always, and the moment you see Dularn appear, move to the left or right to have the Clones throw their crescent-shaped attacks slightly away from Dularn. As they approach you, Double Jump toward Dularn and begin attacking him for big damage!
Dularn - Lasers And Clones
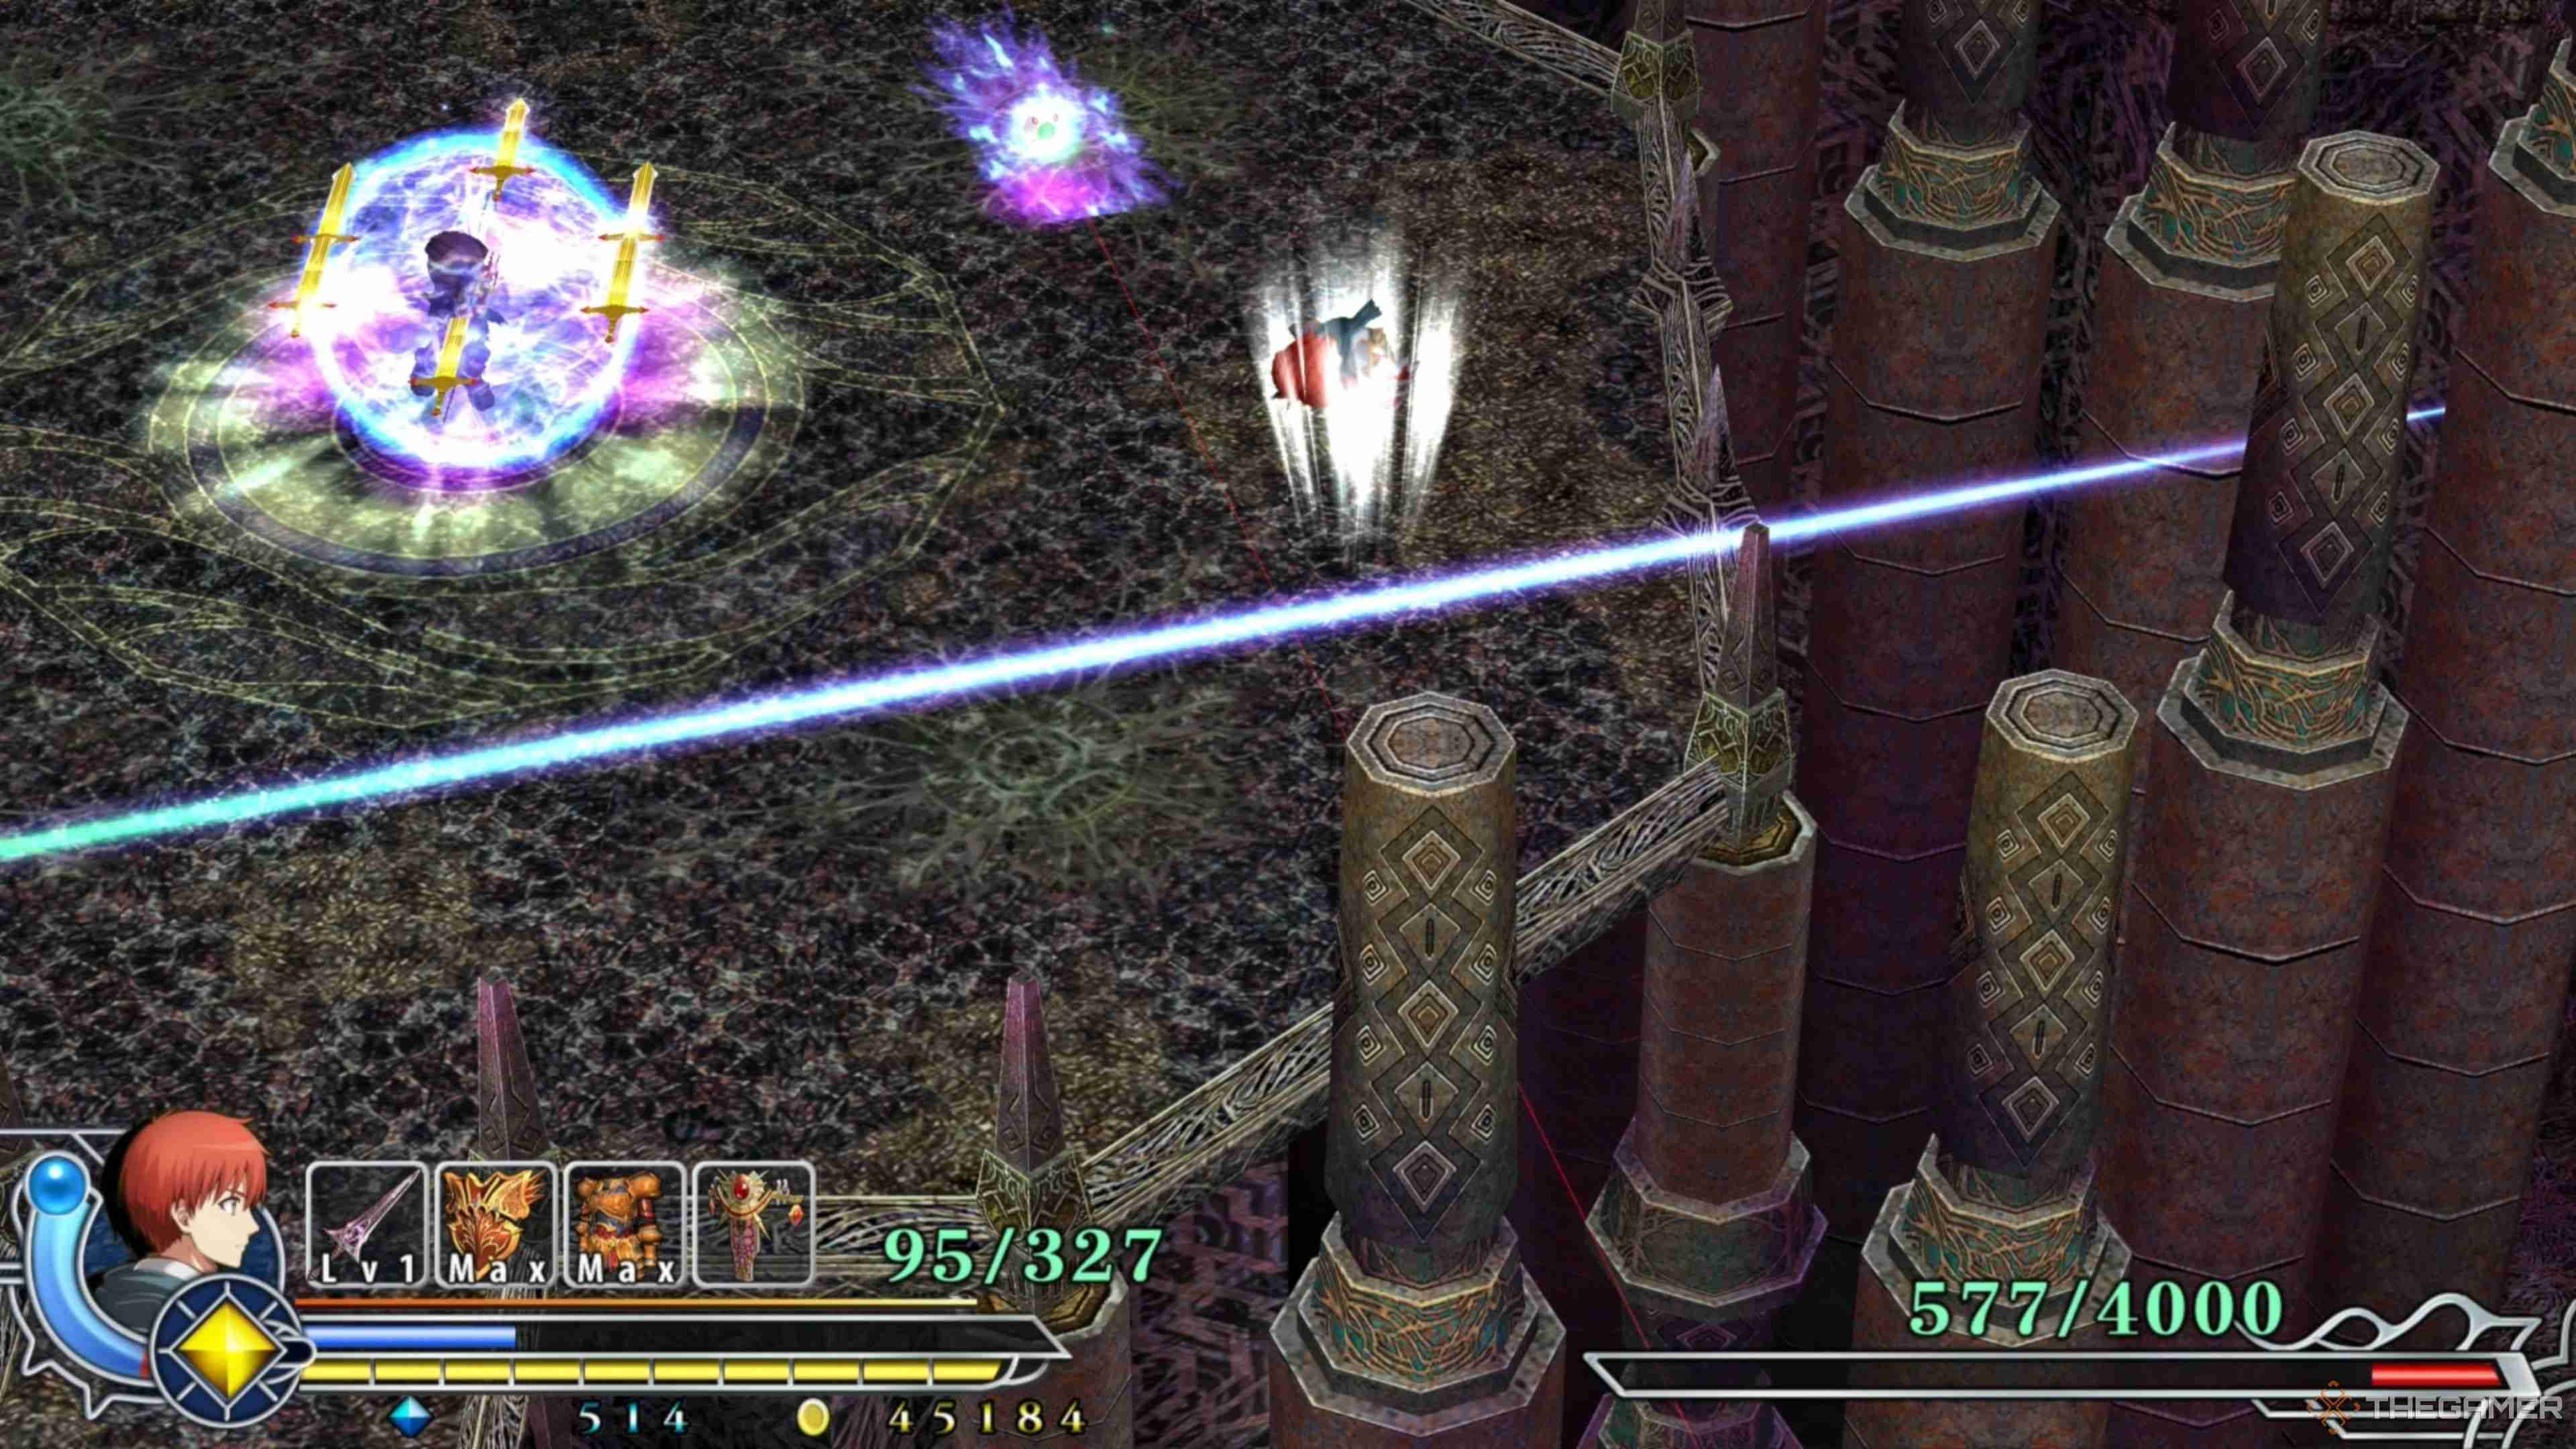
Finally, the last trick up Dularns sleeves... Lasers! Wait, what? Yup, he will summon two lasers into the arena that make things extremely chaotic. He will only put these into play when his health is at critical levels, meaning you have him on his back foot.
The good news is that these lasers are extremely visible and show their trajectory well before they fire, allowing you to get out of their way. Unfortunately, you must evade his Gold Swords on top of these new lasers and dodge the Clone's attacks before you can attack him.
Your Double Boost should almost be back by now, so let it build up, get to the Clone phase, and let it rock to land the finishing blow on Dularn. This phase is no joke, but if you made it this far, you should be more than ready to end things here and now!
The above is the detailed content of Ys Memoire: The Oath In Felghana - Dularn, The Tragic Loyalist Boss Guide. For more information, please follow other related articles on the PHP Chinese website!

Hot AI Tools

Undresser.AI Undress
AI-powered app for creating realistic nude photos

AI Clothes Remover
Online AI tool for removing clothes from photos.

Undress AI Tool
Undress images for free

Clothoff.io
AI clothes remover

Video Face Swap
Swap faces in any video effortlessly with our completely free AI face swap tool!

Hot Article
Hot Tools

Notepad++7.3.1
Easy-to-use and free code editor

SublimeText3 Chinese version
Chinese version, very easy to use

Zend Studio 13.0.1
Powerful PHP integrated development environment

Dreamweaver CS6
Visual web development tools

SublimeText3 Mac version
God-level code editing software (SublimeText3)
Hot Topics


 InZoi: How To Apply To School And University
Apr 02, 2025 am 12:08 AM
InZoi: How To Apply To School And University
Apr 02, 2025 am 12:08 AM
In the vibrant world of InZoi, you're free to shape your character's life, from exploring its diverse environments to mastering various skills. Whether it's culinary adventures, household chores, or relaxing on the beach, the choices are yours. But
 Where to find the Site Office Key in Atomfall
Apr 02, 2025 pm 06:03 PM
Where to find the Site Office Key in Atomfall
Apr 02, 2025 pm 06:03 PM
In Atomfall's Interchange, the locked Site Office presents an early challenge. The "Strange Noises From Below" note hints at the key's location: the Robotics lab. However, accessing Robotics requires completing several preliminary tasks.
 Blue Prince: How To Get To The Basement
Apr 11, 2025 am 04:04 AM
Blue Prince: How To Get To The Basement
Apr 11, 2025 am 04:04 AM
Unlocking the Basement in Blue Prince: A Comprehensive Guide Finding the basement in Blue Prince is crucial for progressing to Room 46, but its location and access method aren't immediately obvious. This guide will walk you through accessing the base
 Roblox: Dead Rails - How To Tame Wolves
Apr 07, 2025 am 06:05 AM
Roblox: Dead Rails - How To Tame Wolves
Apr 07, 2025 am 06:05 AM
In the desolate landscapes of Roblox's Dead Rails, survival hinges on overcoming numerous threats. Undead hordes, vampires, and werewolves roam the wasteland, alongside the outlaws and wolves that predate the outbreak. However, a unique opportunity
 InZoi: How To Surf
Apr 03, 2025 am 03:43 AM
InZoi: How To Surf
Apr 03, 2025 am 03:43 AM
In InZoi, your Zois can enjoy a variety of activities, fulfilling their ever-changing Urges to keep them happy. Surfing is a popular choice, particularly for Zois with the "Life of Excitement" Desired Life. This guide explains how and whe
 Where to find and use the Castle Key in Atomfall
Apr 04, 2025 am 01:02 AM
Where to find and use the Castle Key in Atomfall
Apr 04, 2025 am 01:02 AM
In Atomfall, numerous keys unlock the game's many locked doors and bunkers. One such key, the Castle Key, can be easily overlooked. This guide details its location and use. To view this content, please enable targeting cookies. Locating the Castle K
 Roblox: Bubble Gum Simulator Infinity - How To Get And Use Royal Keys
Apr 16, 2025 am 11:05 AM
Roblox: Bubble Gum Simulator Infinity - How To Get And Use Royal Keys
Apr 16, 2025 am 11:05 AM
Royal Keys are some of the most valuable items you can find in Roblox's Bubble Gum Simulator Infinity. These rare tools allow you to open Royal Chests — limited-time loot containers packed with high-tier items, boosts, and even ultra-rare rewards. If
 Strength Levels for Every Enemy & Monster in R.E.P.O.
Apr 07, 2025 am 10:45 AM
Strength Levels for Every Enemy & Monster in R.E.P.O.
Apr 07, 2025 am 10:45 AM
In R.E.P.O., some monsters are small enough to throw out easily, while others are as hard to shake like tanks unless you have strong powers—or stacked with a lot of powerful upgrades (because your life may depend on that). If you're tired of pressing the grab button and being crushed, this list will tell you how much power you need to lift, throw or slam them against every monster in the game, from a small goblin to a giant Trucci. Requires 4 power upgrades: animal Mind manipulator Squirter 9 power upgrades are required: Men with bow chef hunter Shadow Children 13 power upgrades are required: Clown (beam transmitter) Leader Robe monster Truci No need for strength (or
