

Sword Art Online Fractured Daydream: 8 Beginner Tips

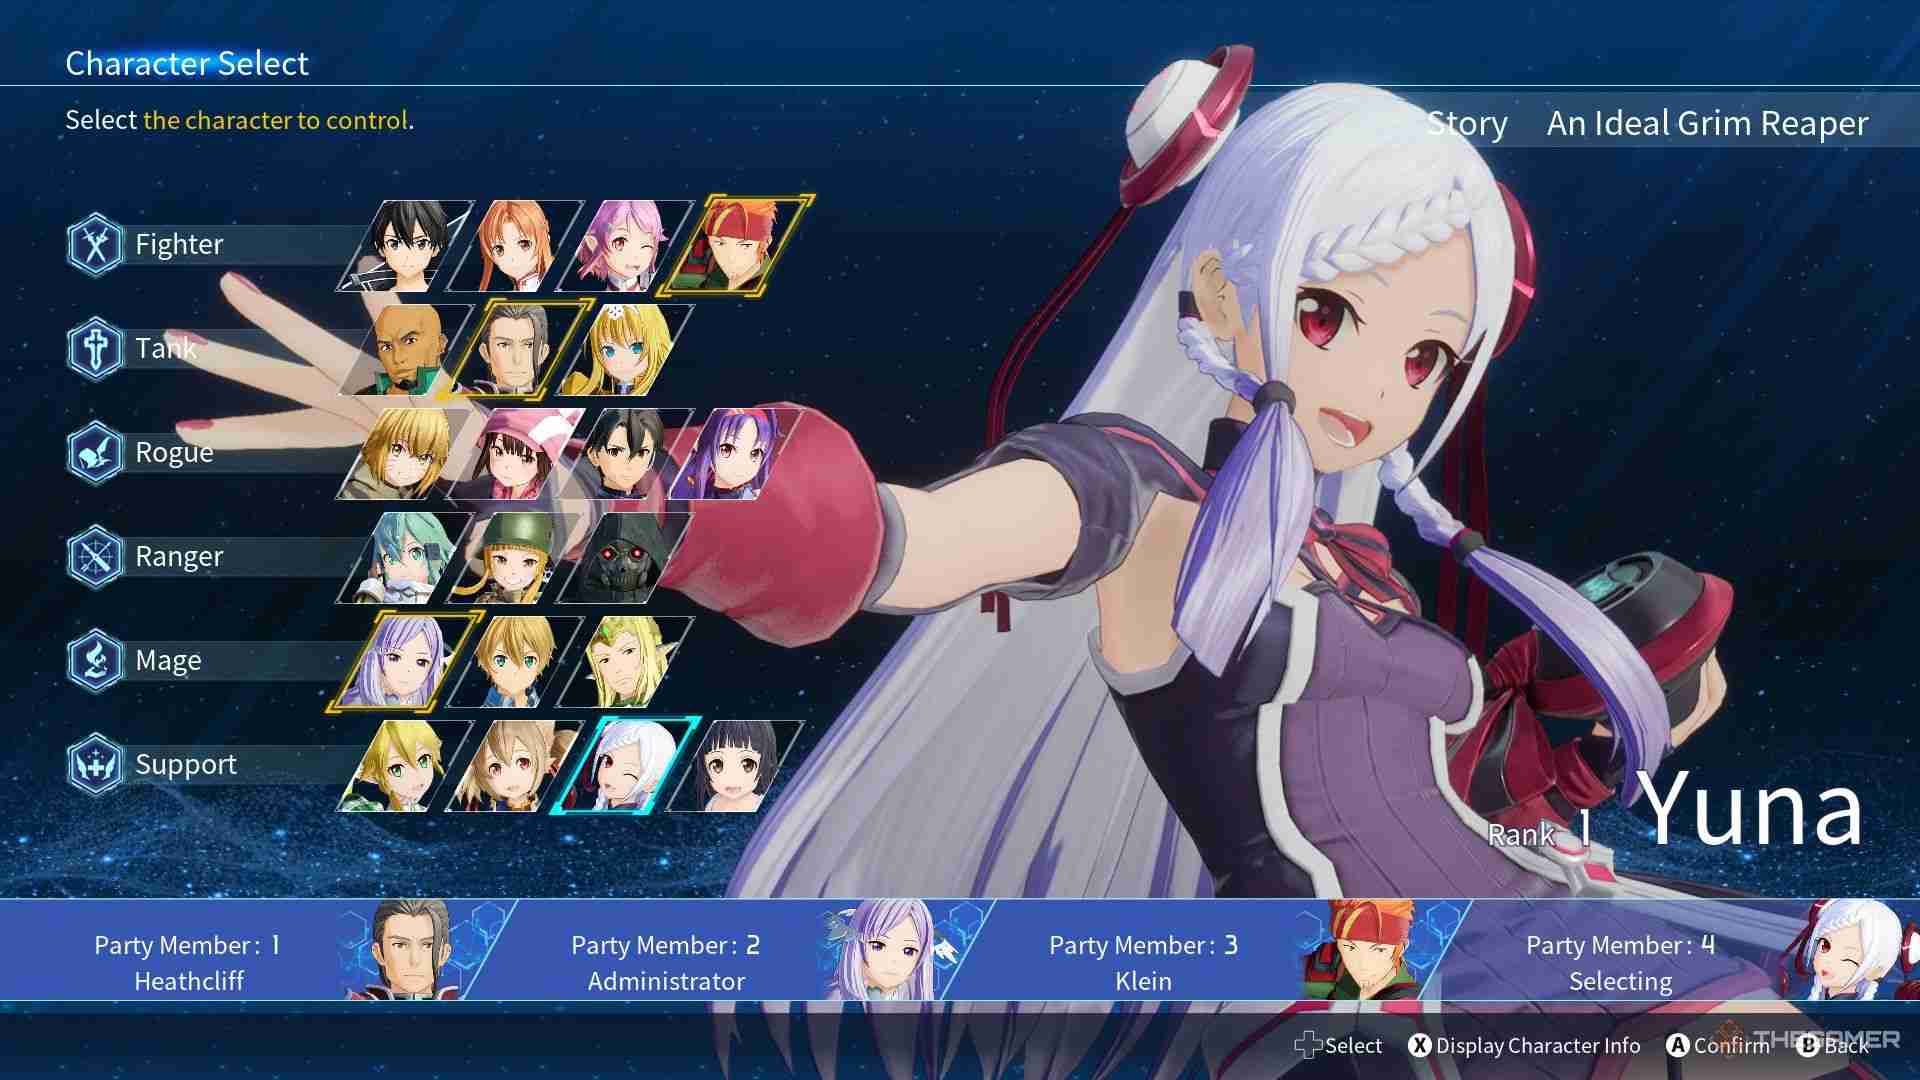
Sword Art Online: Fractured Daydream is an engaging game not only for its story but also for its mechanics. Whether you're familiar with the Sword Art Online anime or not, the game does an excellent job pulling you into its world. With nearly 20 characters, you'll have plenty of time to find the one that fits your playstyle.
After the main story, the co-op mode, where you team up with other players to battle epic bosses, is just as enjoyable. However, if you're new to the game, the tutorial section might feel overwhelming with all the information, so we’ve put together some tips to help you get started.
Aim For The Highest Score
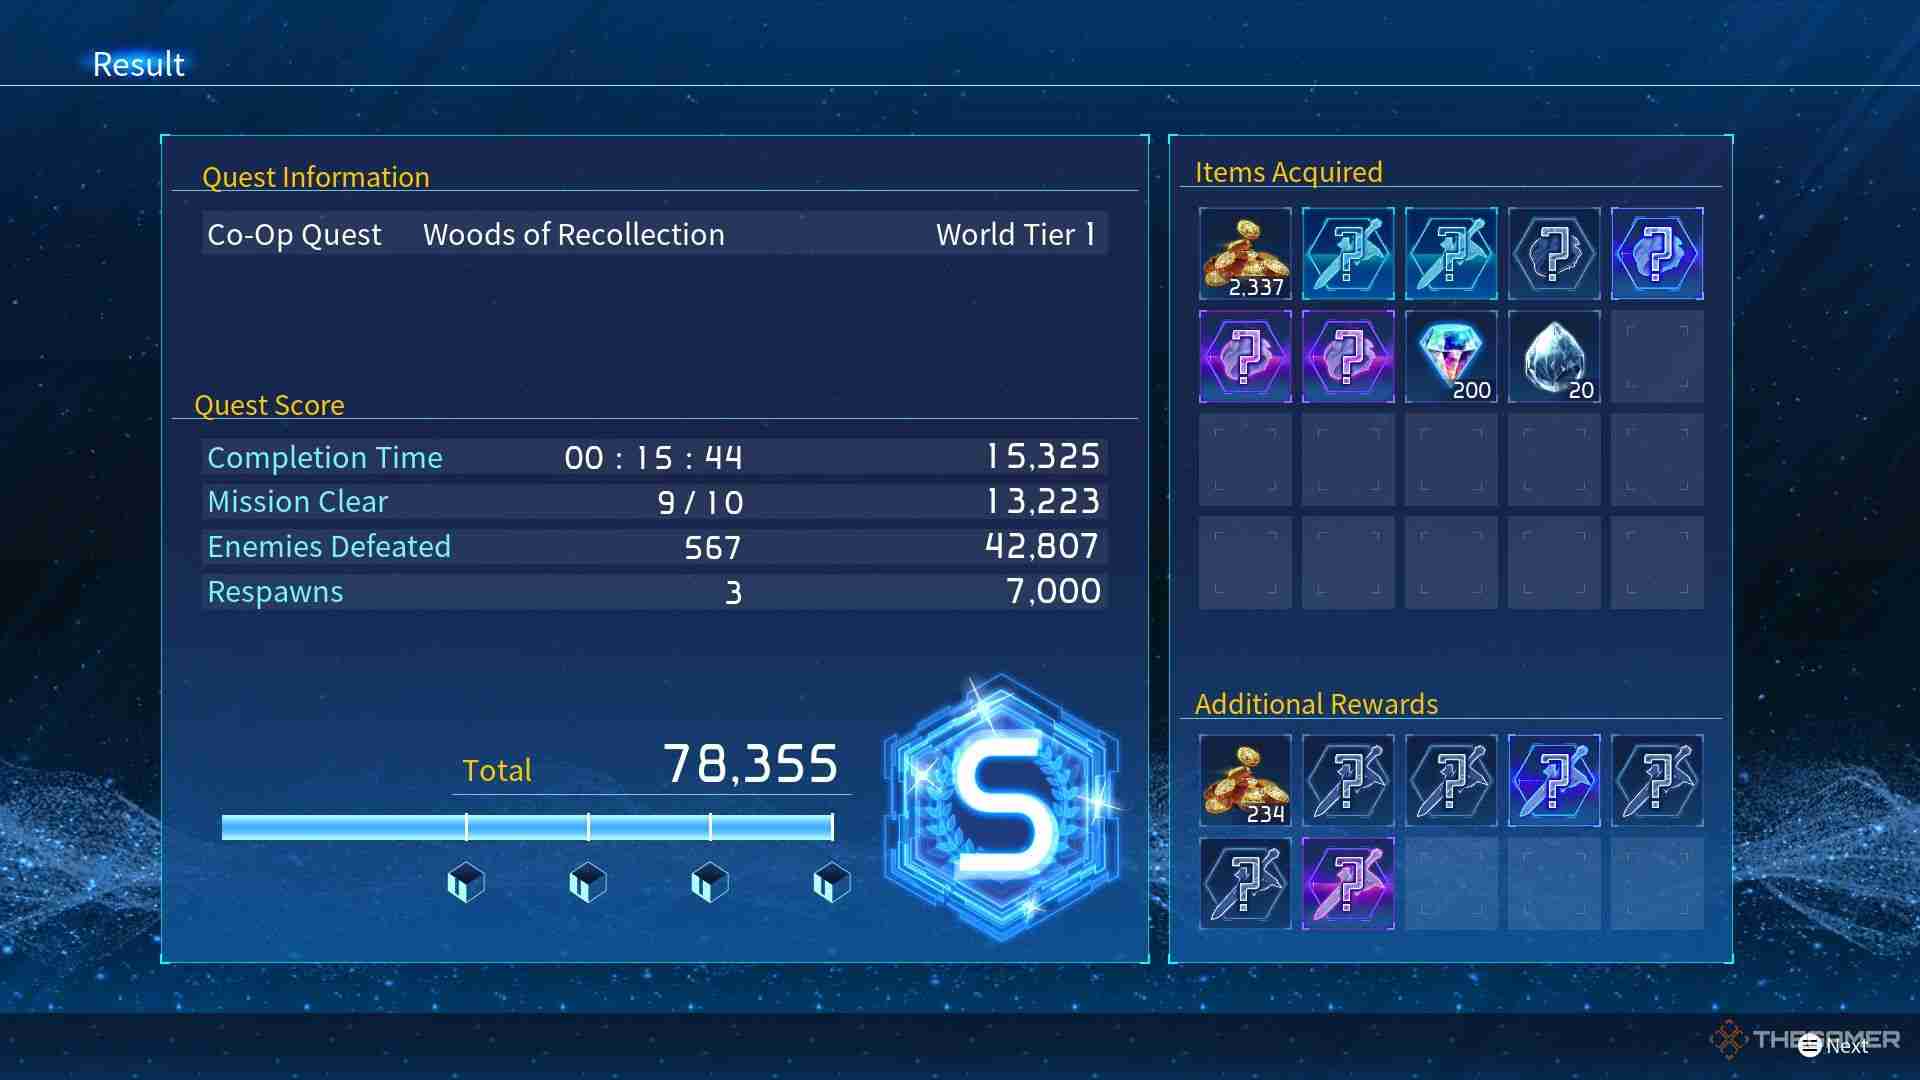
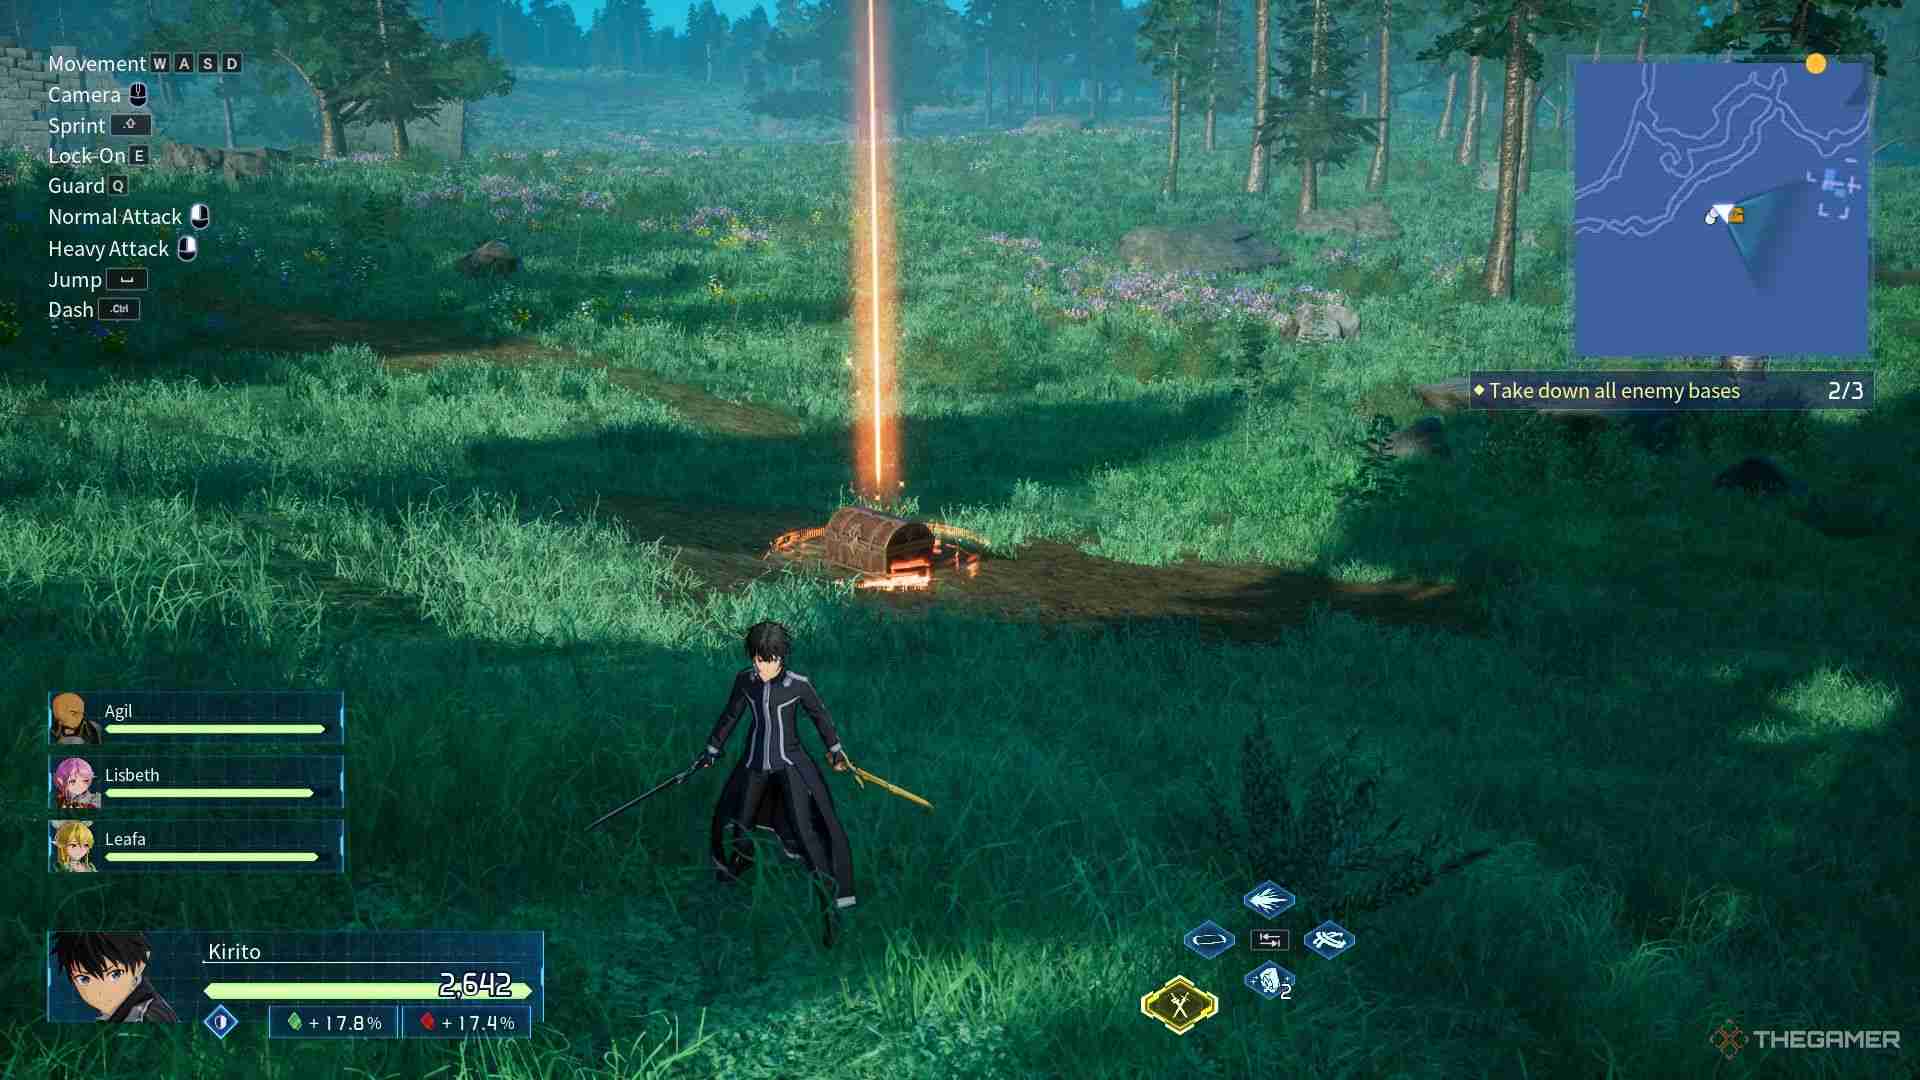
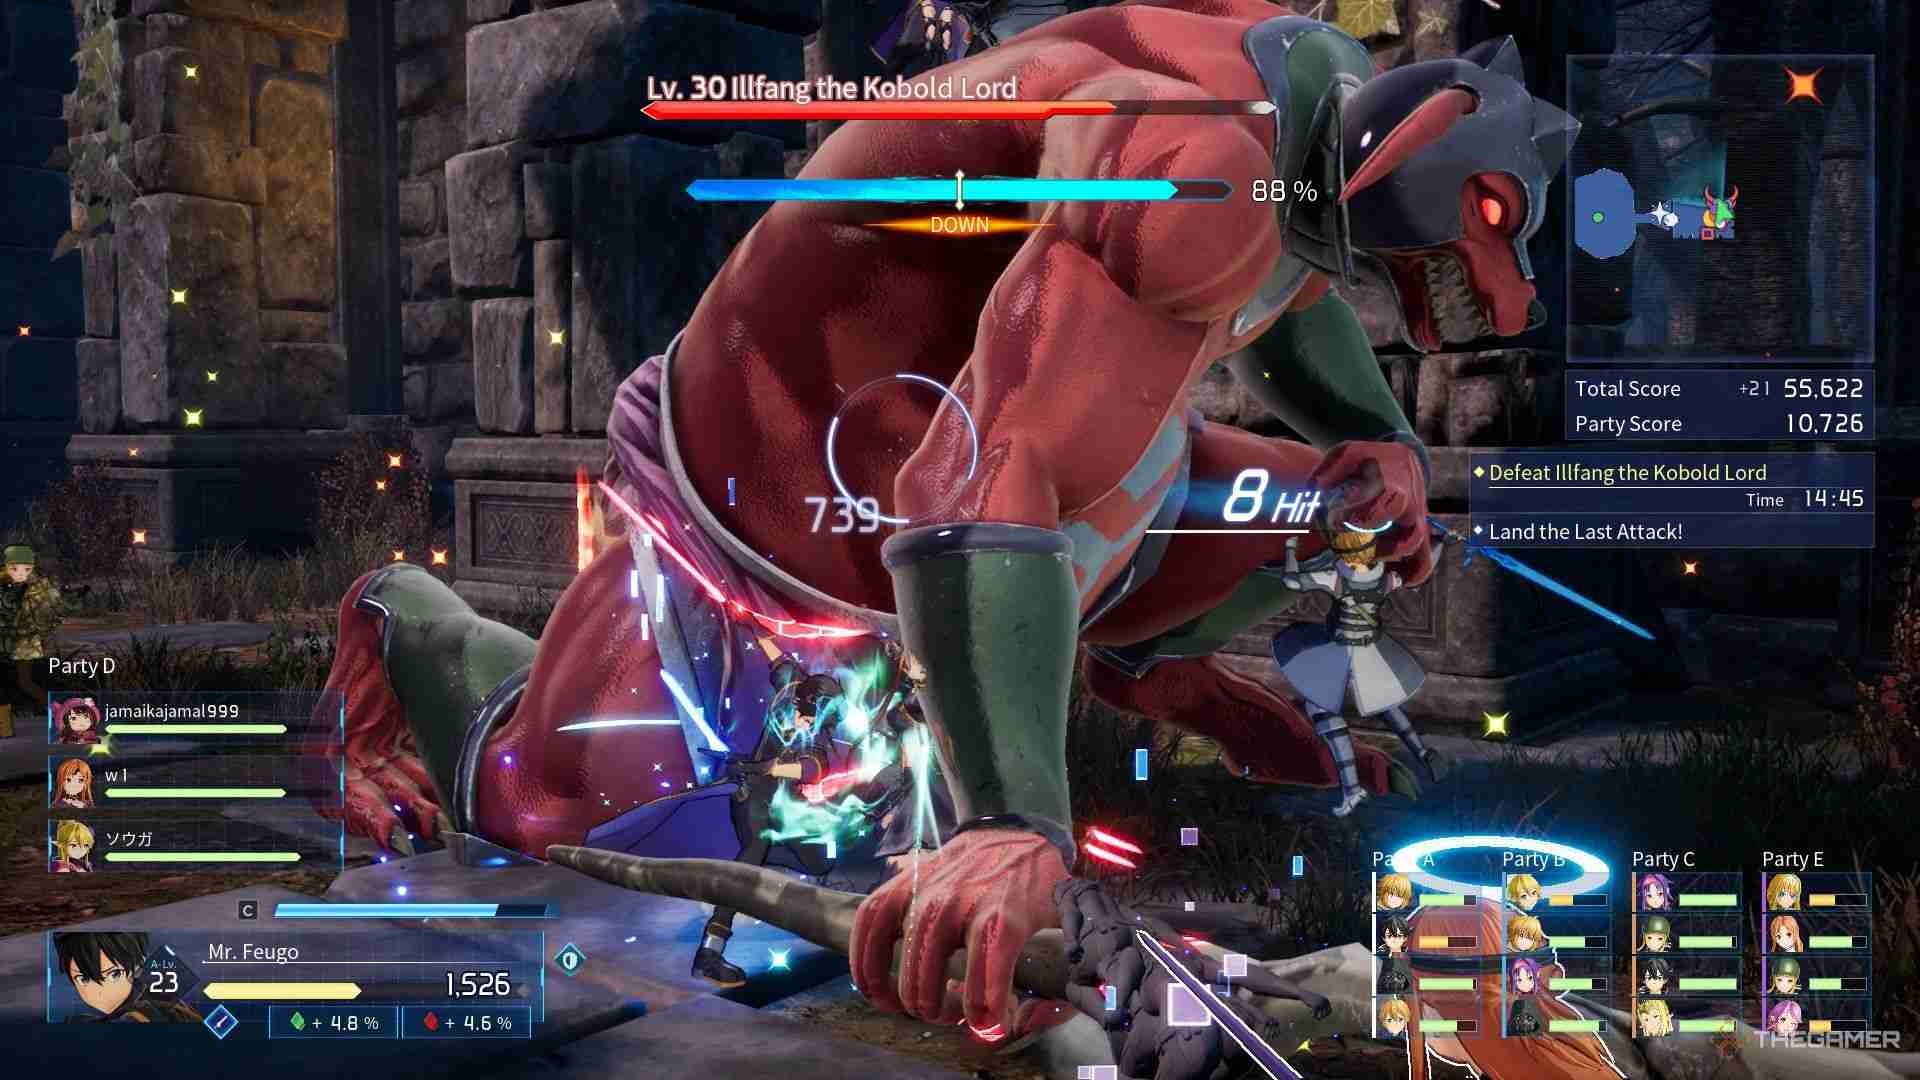
The game consists of five chapters, each with a varying number of quests. To achieve an S rank in a chapter, you need to surpass a score of 50,000. Aiming for the highest score not only helps you earn the S rank but also allows you to fully explore the chapter's map and collect valuable items.
To maximize your score, engage with every enemy on the map, defeat Named Enemies, and complete Console challenges. It's best to focus on these tasks before heading to the final objective of a quest, as completing the last objective will end the quest within 20 seconds. Aim to accumulate around 20,000 points before tackling the final objective.
Additionally, completing the quest without dying grants you an extra 10,000 points. To avoid deaths, use your Healing Crystals effectively, collect Healing Spheres from chests, and, if possible, include a support character in your party who can heal you. Ensure you traverse the entire map and defeat all enemy groups.
Note that throwing enemies into bottomless pits does not count as defeating them, so you won’t earn points this way.
If the quest involves protecting a character or object with a health bar, ensure they take as little damage as possible, as this will impact your score. Keep in mind that dying and respawning will result in a loss of rewards, so prioritize survival throughout the quest.
Essential Survival Tips
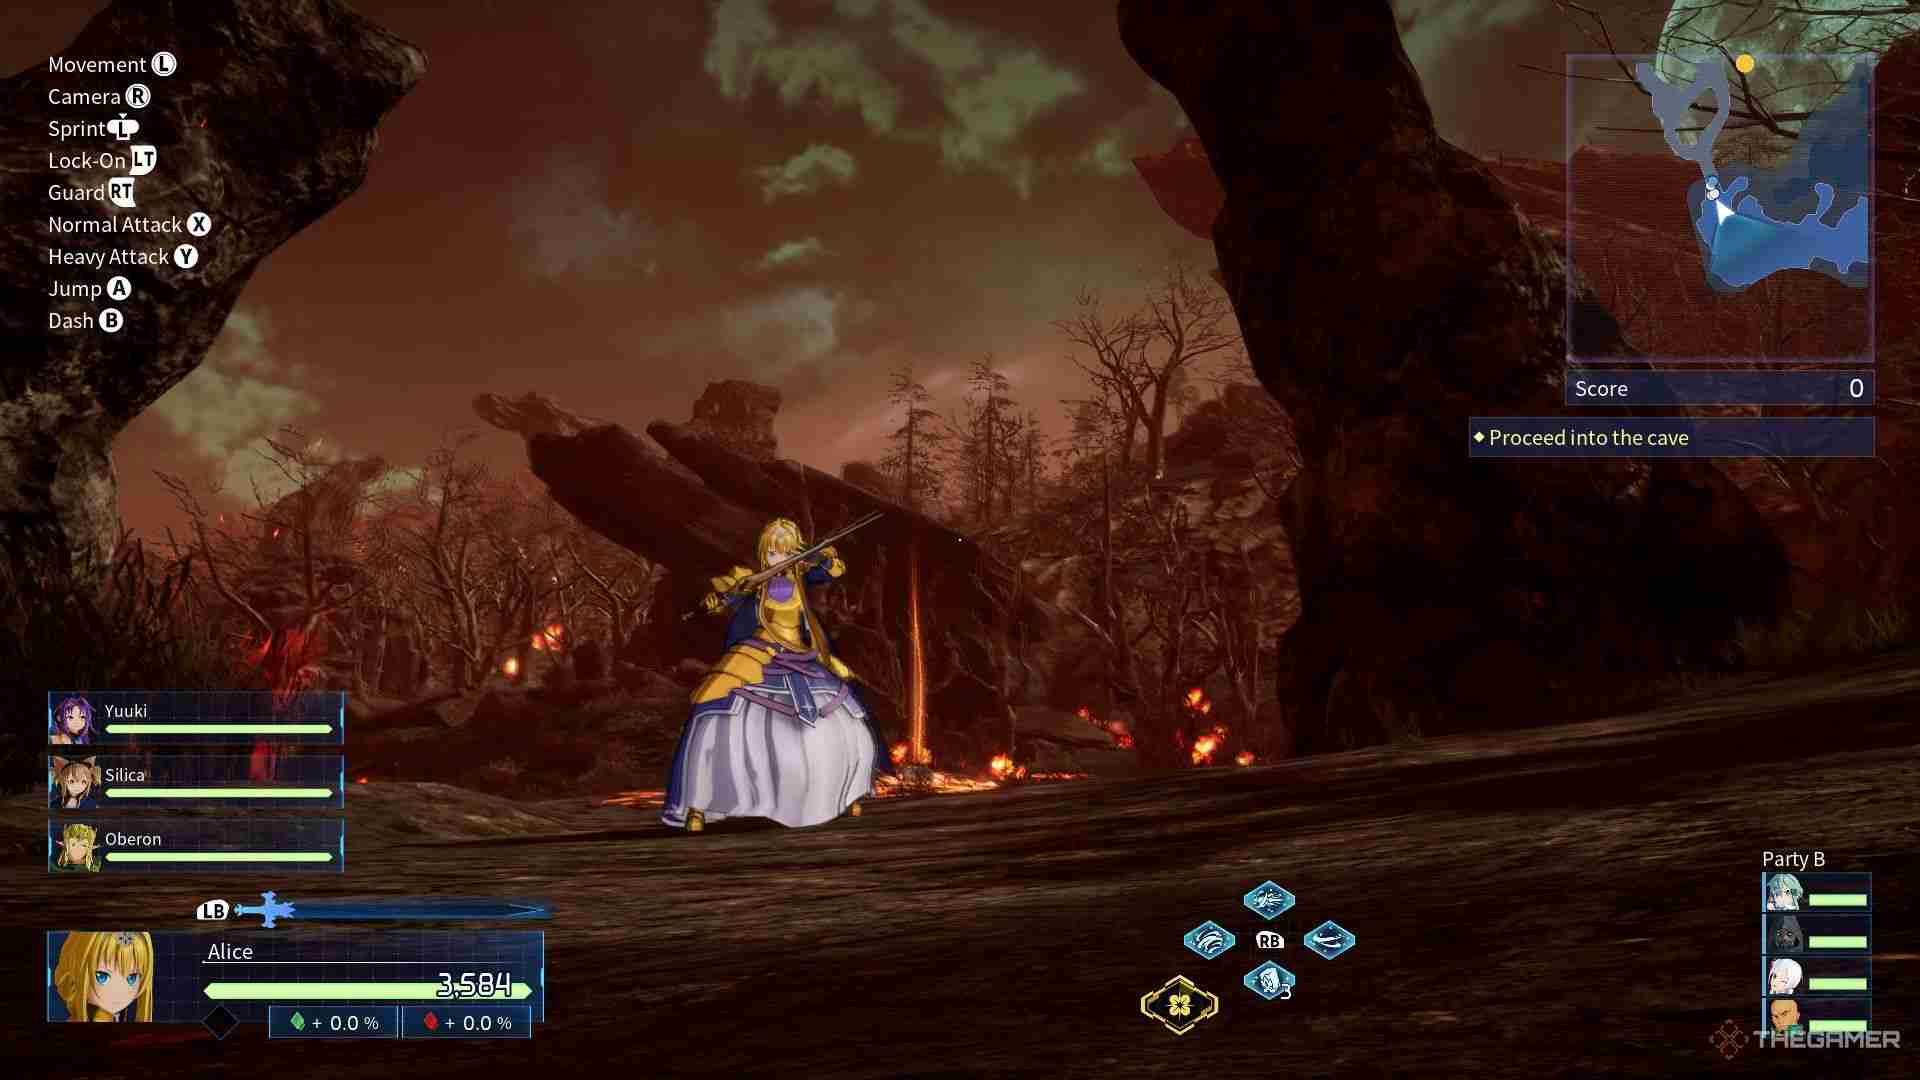
In Story Mode, it’s crucial to refine your Guard and Dodge skills. The stronger the bosses you face, the deadlier their attacks and the larger their area of effect. Guarding reduces the damage you take and is easier to execute.
However, dodging and positioning your character wisely is equally important, especially when controlling fragile characters who should keep their distance from the boss. Dodging can be especially rewarding if you practice it, as successful dodges provide a small amount of healing. Mastering this technique can be a game-changer.
Another way to regain health is by reviving downed allies. Normally, fallen characters stay down for a period before respawning, but if you revive them, a health sphere will appear. This action not only saves your teammate but also restores your own health.
Heal Strategically By Opening Chests
Chests are divided into three tiers: bronze, silver, and gold, which can be distinguished by their appearance. While the rewards vary depending on the chest tier, all chests drop healing spheres. If you're out of Healing Crystals, targeting chests is a smart alternative to restore your health.
Additionally, to easily locate chests, adjust the Mini-Map Display Area setting to ‘Far.’ This setting also helps you find Remnants, Data Cubes, and Consoles with ease.
If your HP is full, avoid collecting healing spheres from chests. Instead, switch to a party member with lower HP to claim the sphere. Make sure not to miss silver and gold chests, as they provide higher-quality mods and useful items. This approach ensures efficient healing and maximizes the rewards you gain from the chests.
Elemental Advantage And Weaknesses In Combat
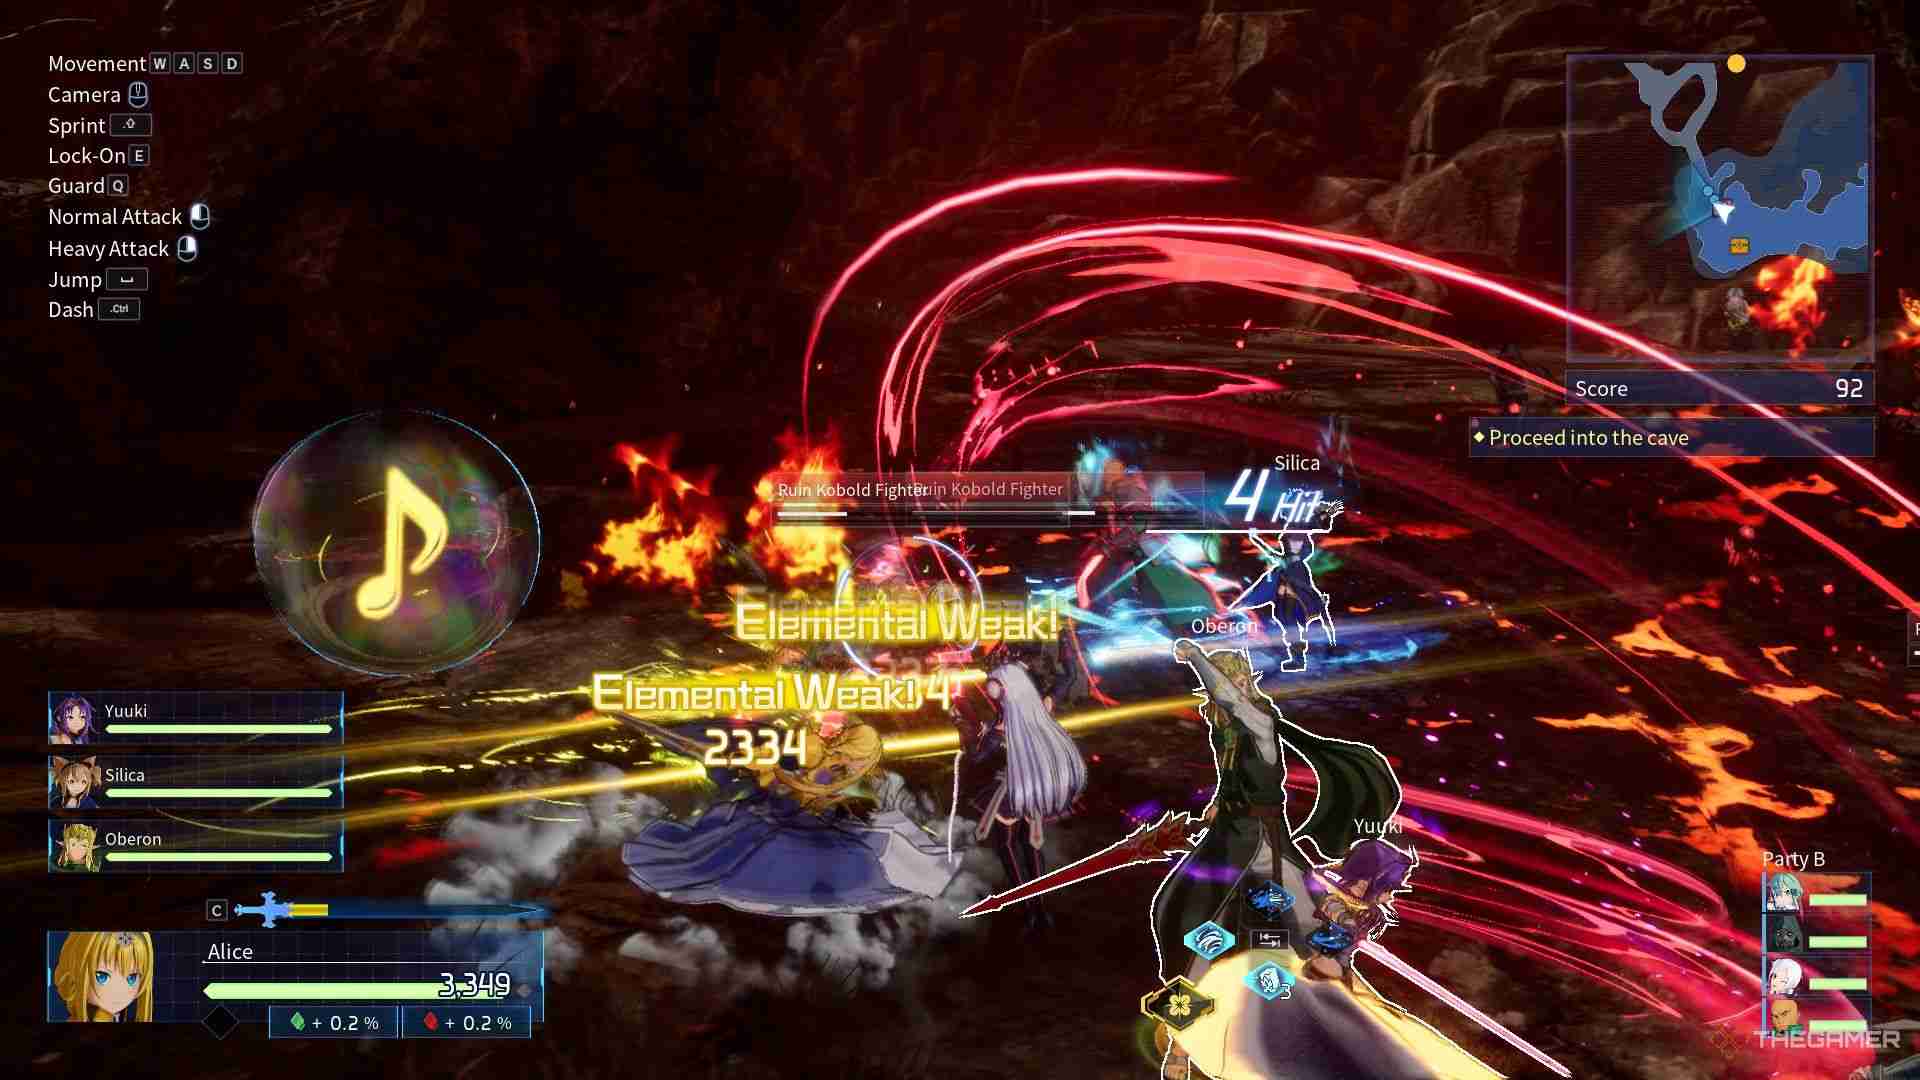
In the game, another important aspect to consider is elements. To maximize damage against enemies, especially bosses, using elemental advantage is crucial. Your normal attacks and advanced skills may deal elemental damage, but not all of them will be aligned with an element.
The damage dealt by your normal attacks is determined by your weapon. To check the elemental damage of your advanced skills, refer to the ‘Display Character Info’ section.
Furthermore, certain enemy types are weak to specific elements:
|
Element |
Monster |
|---|---|
| Wind | Flying enemies like Evil Glancers and Minions |
| Fire | Beast and plant enemies like Blood Wolves and Acid Fungi |
| Water | Reptilian enemies like Lizardmen |
| Electric | Mechanical enemies like Automatons and Shooting Phages |
| Light | Demonic enemies like Delinquents and Demonic Witches |
| Dark | Angelic enemies like Guardians |
Of course, not all monsters and bosses will adhere to these weaknesses. Additionally, in Co-Op quests, it’s beneficial to check the bosses' weaknesses and resistances before choosing your character.
To further maximize your damage, focus on hitting enemy weak spots. When you find a weak spot, the word 'Weak' will appear on the screen, so don’t stop attacking until you’ve fully exploited it.
Unlock The Potential Of Gauge Bars
Remember that some characters have a gauge bar that can greatly enhance their effectiveness in battles when used wisely. Once the bar is full, activating it boosts the character's utility. For example, Kirito recovers HP over time and reduces advanced skill cooldowns.
Each character’s gauge works differently: Heathcliff grants damage reduction and reflects physical damage for himself and allies when his gauge is activated. On the other hand, Administrator lacks a gauge bar but instead accumulates a ‘Life’ counter by dealing damage, which she can use to unleash a powerful beam of light.
In addition to advanced skills, mastering the gauge bar system is key to maximizing each character’s potential.
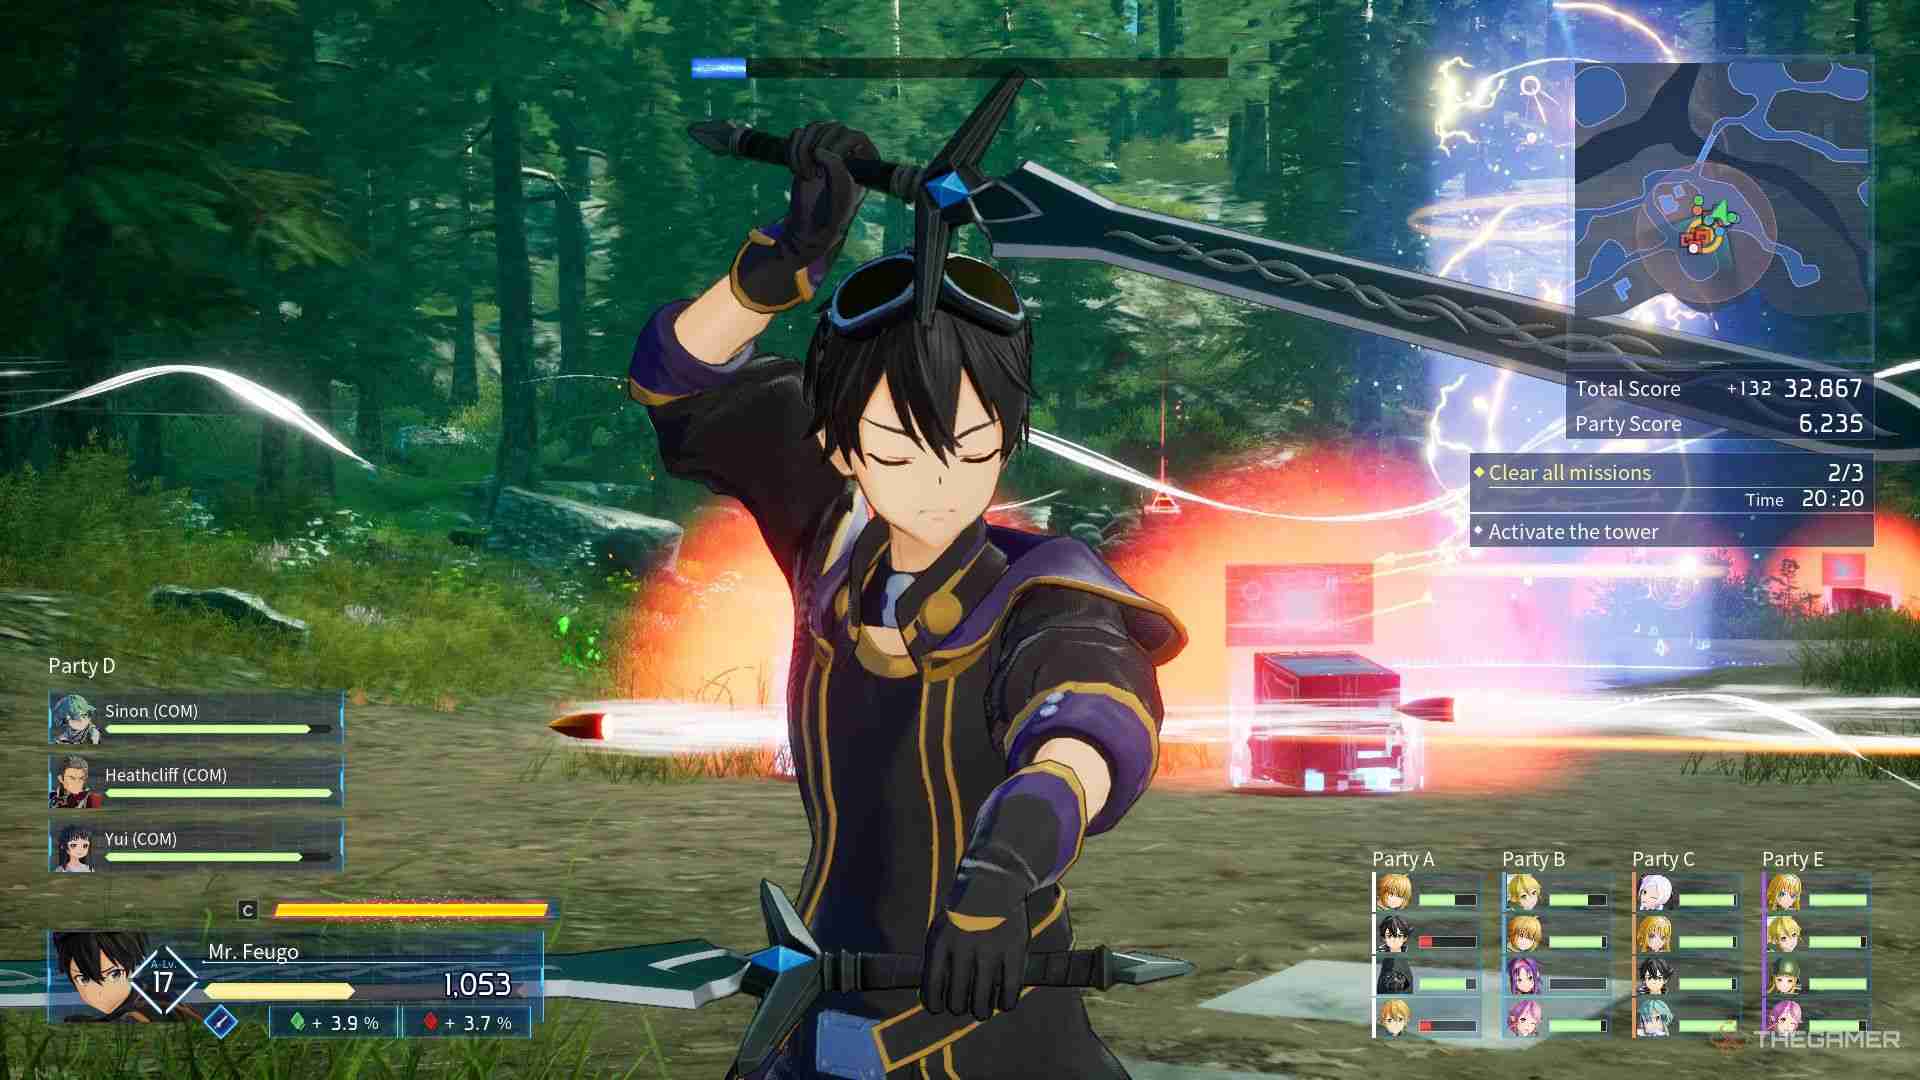
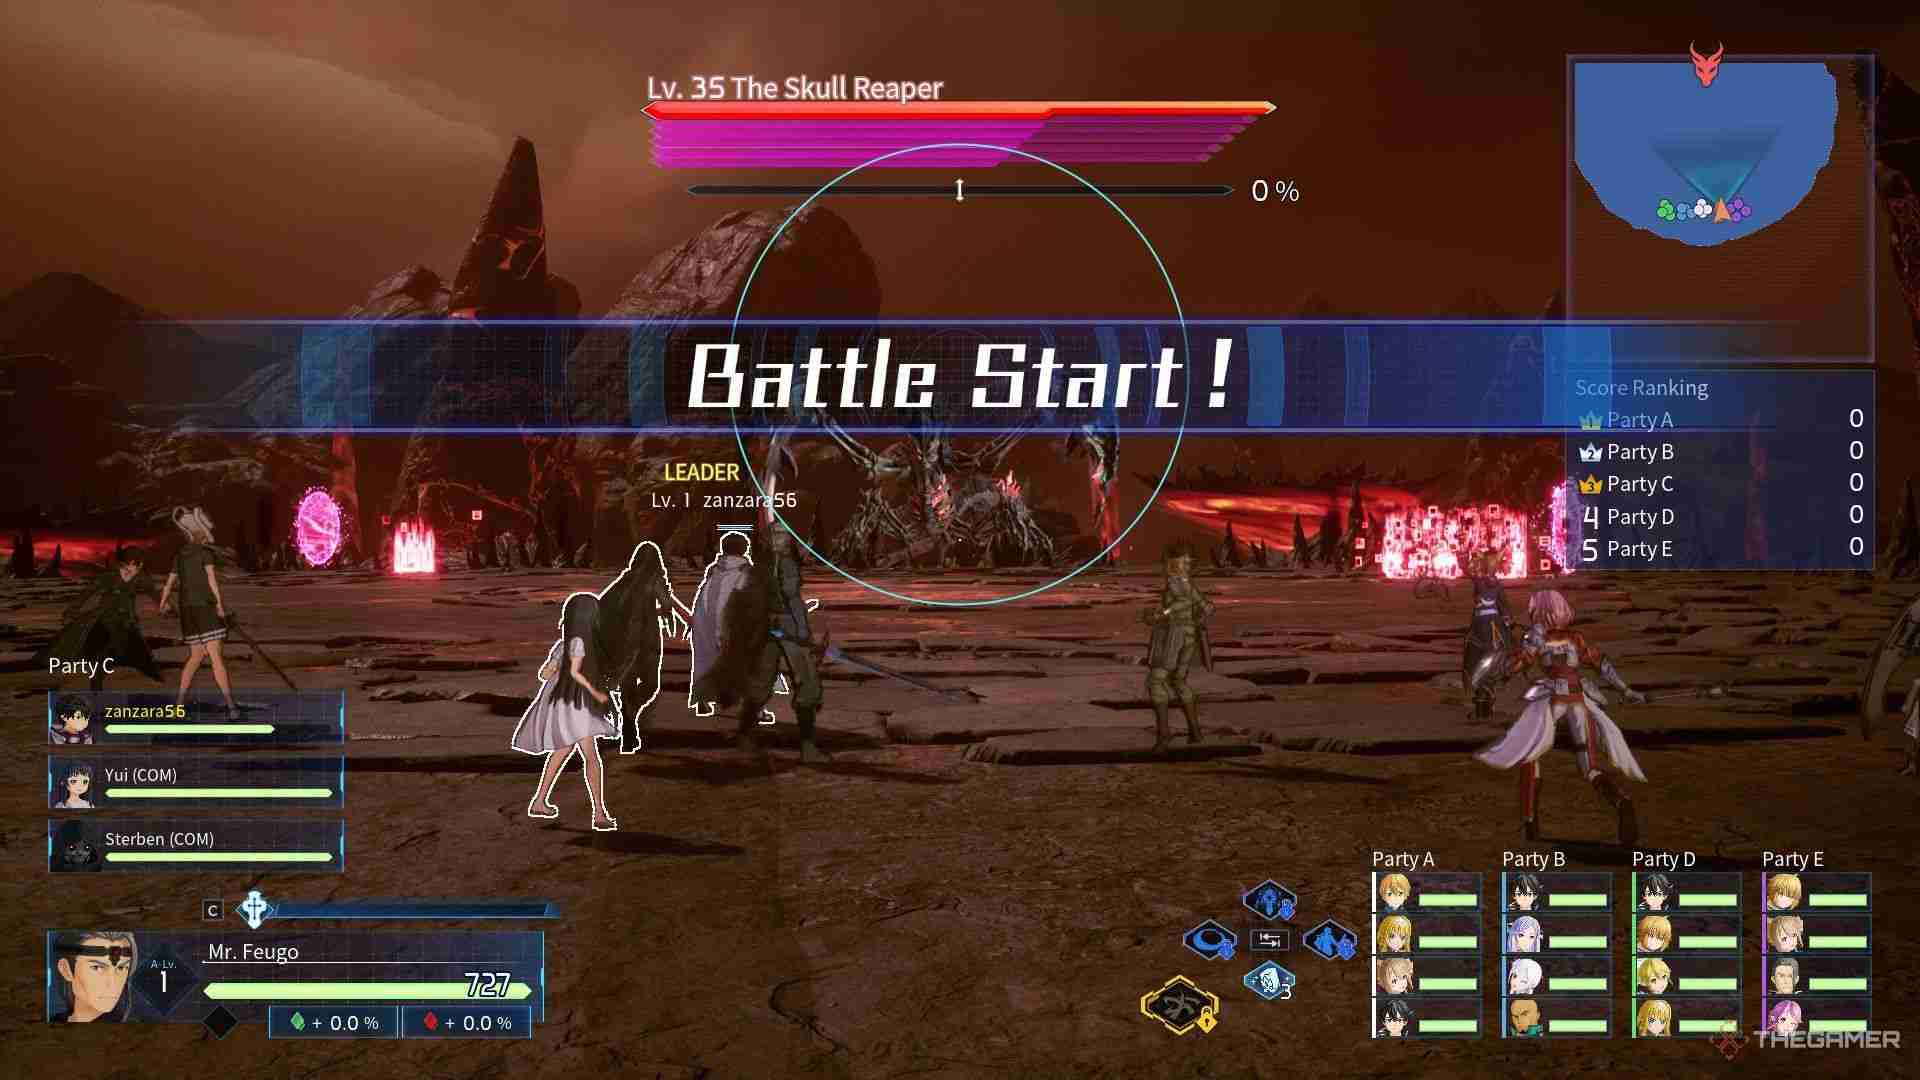
Maximize Break Gauge And Counter Opportunities
Another important mechanic to know about is the Break Gauge. This is represented by the blue bar you see under the boss's health. When this bar reaches 100 percent, the boss will be knocked down, giving you an opportunity to attack. In these situations, you should prefer quick attacks and advanced skills instead of slower ones.
The faster you hit the enemy, the harder it will be to deplete this bar, while slower skills may allow the enemy to recover faster.
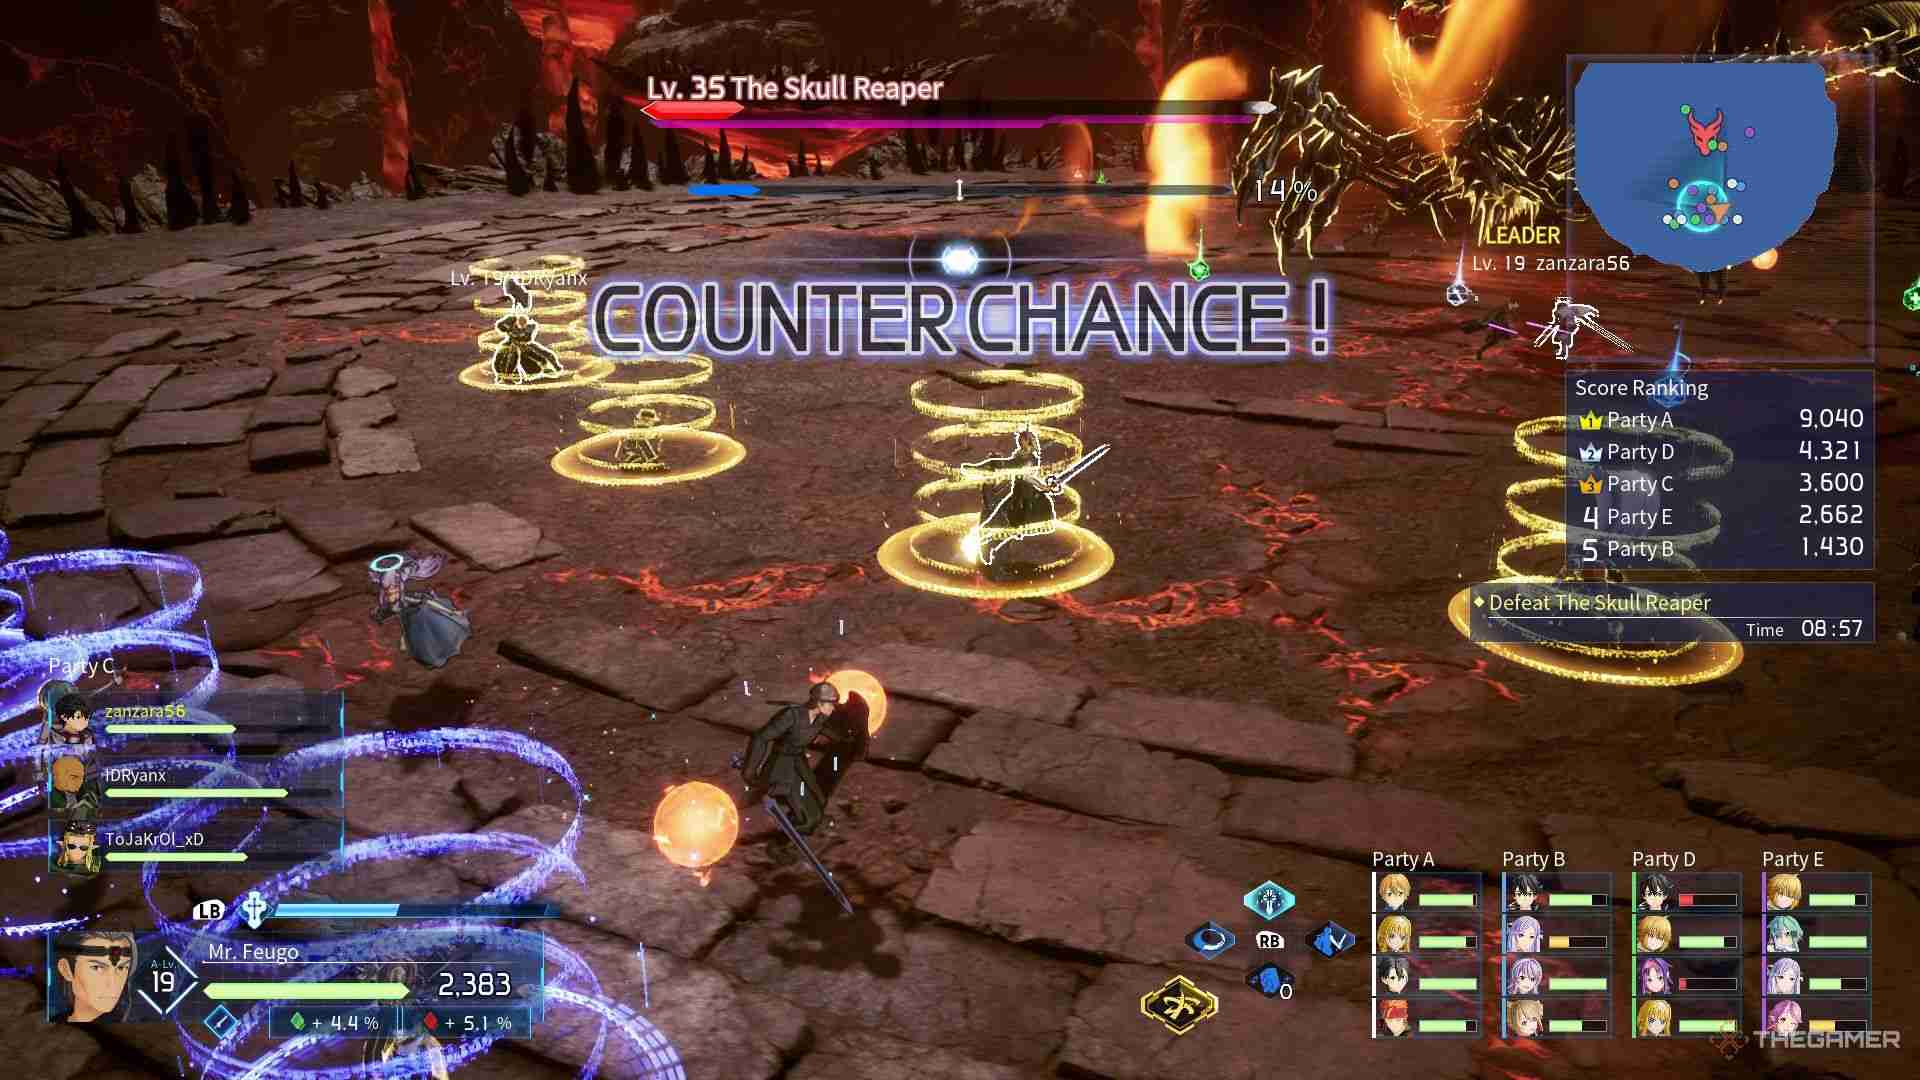
Additionally, when certain bosses perform dangerous attacks, you’ll see 'Counter Chance' on the screen. In this case, move away from the boss and enter the yellow and white circles. If you don’t miss this opportunity, you will interrupt the boss's attack, deal damage, and fill up the Break Gauge a bit.
It is especially important to fill all the circles in multiplayer quests to deal significant damage to the boss.
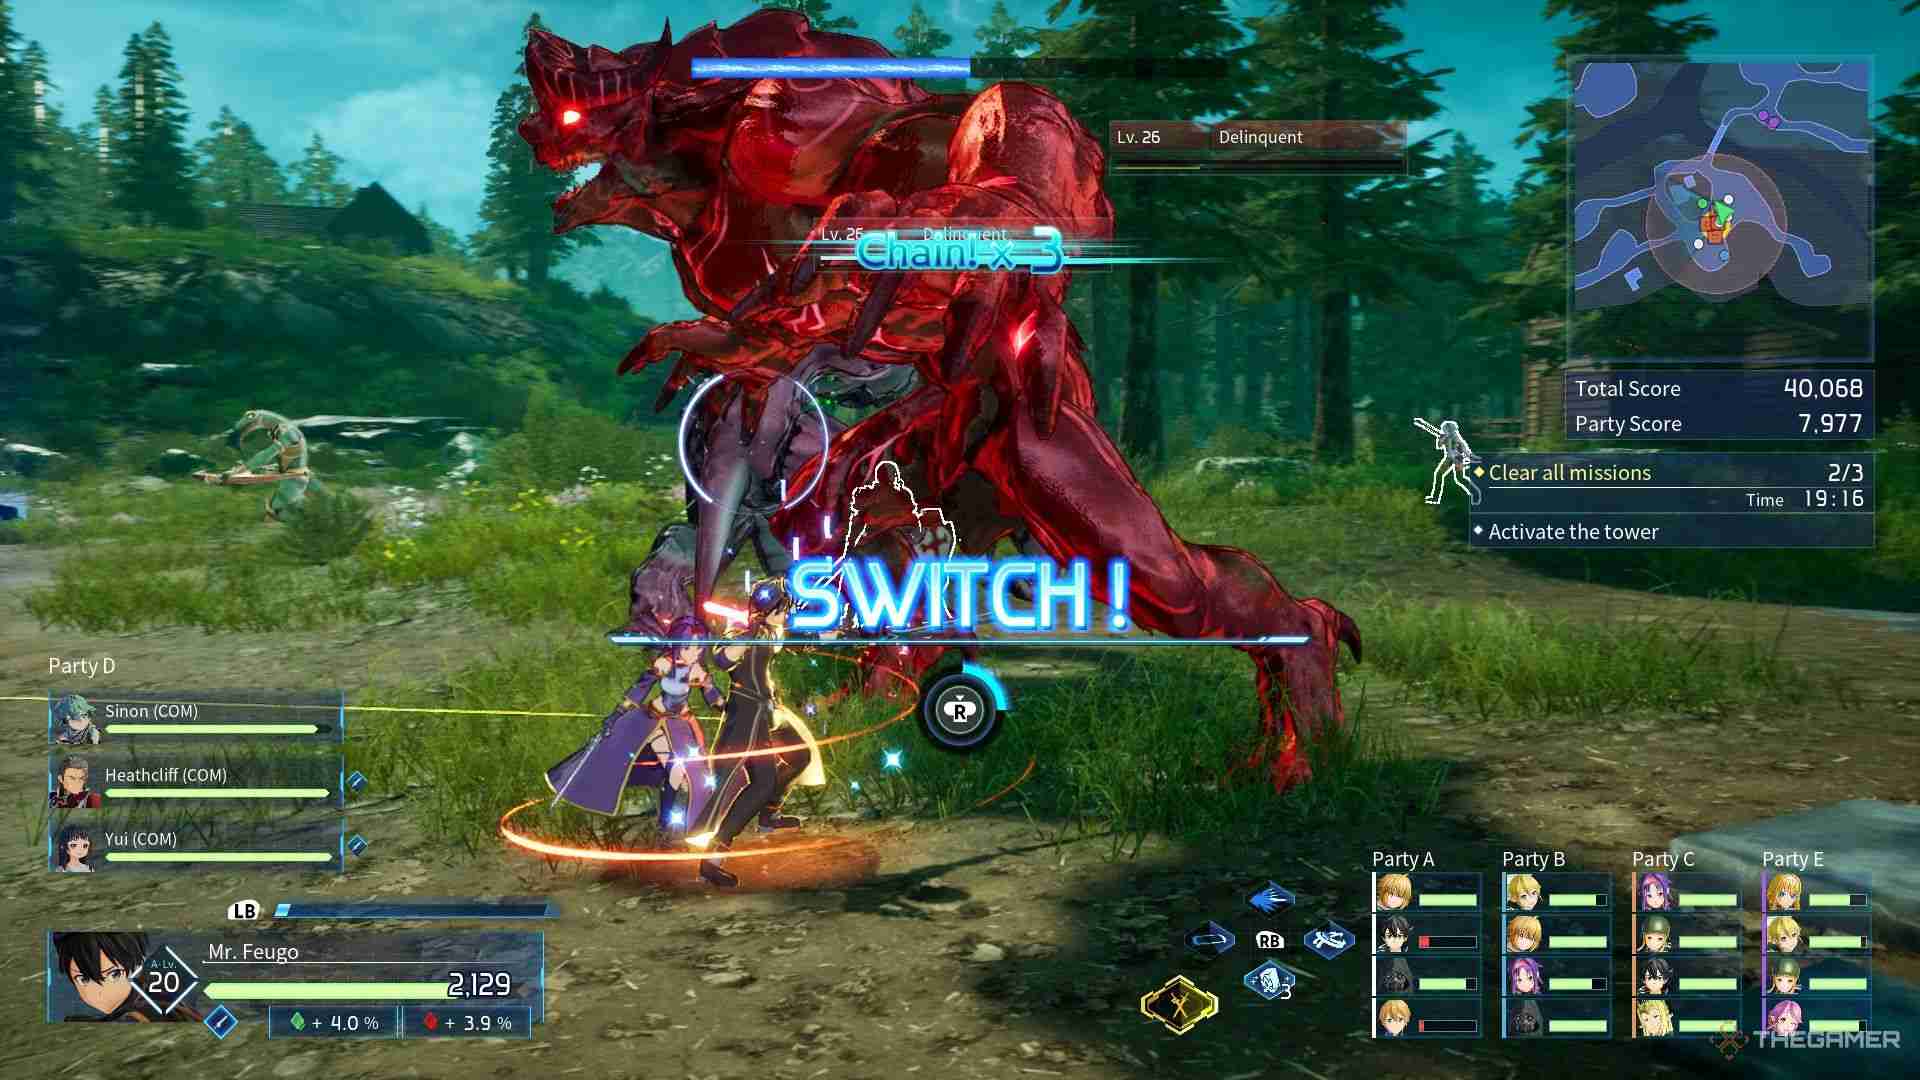
Moreover, you may sometimes see 'Switch Chains' on the screen. In such cases, approach the enemy quickly before the timer runs out and take the opportunity to deal damage. If you participate in a Switch Chain, you’ll have the chance to perform a Chain Finish.
So after joining the Switch Chain, make sure not to keep too much distance from the enemy in order to take advantage of the Chain Finish opportunity.
Master Item Mechanics For Efficient Gameplay
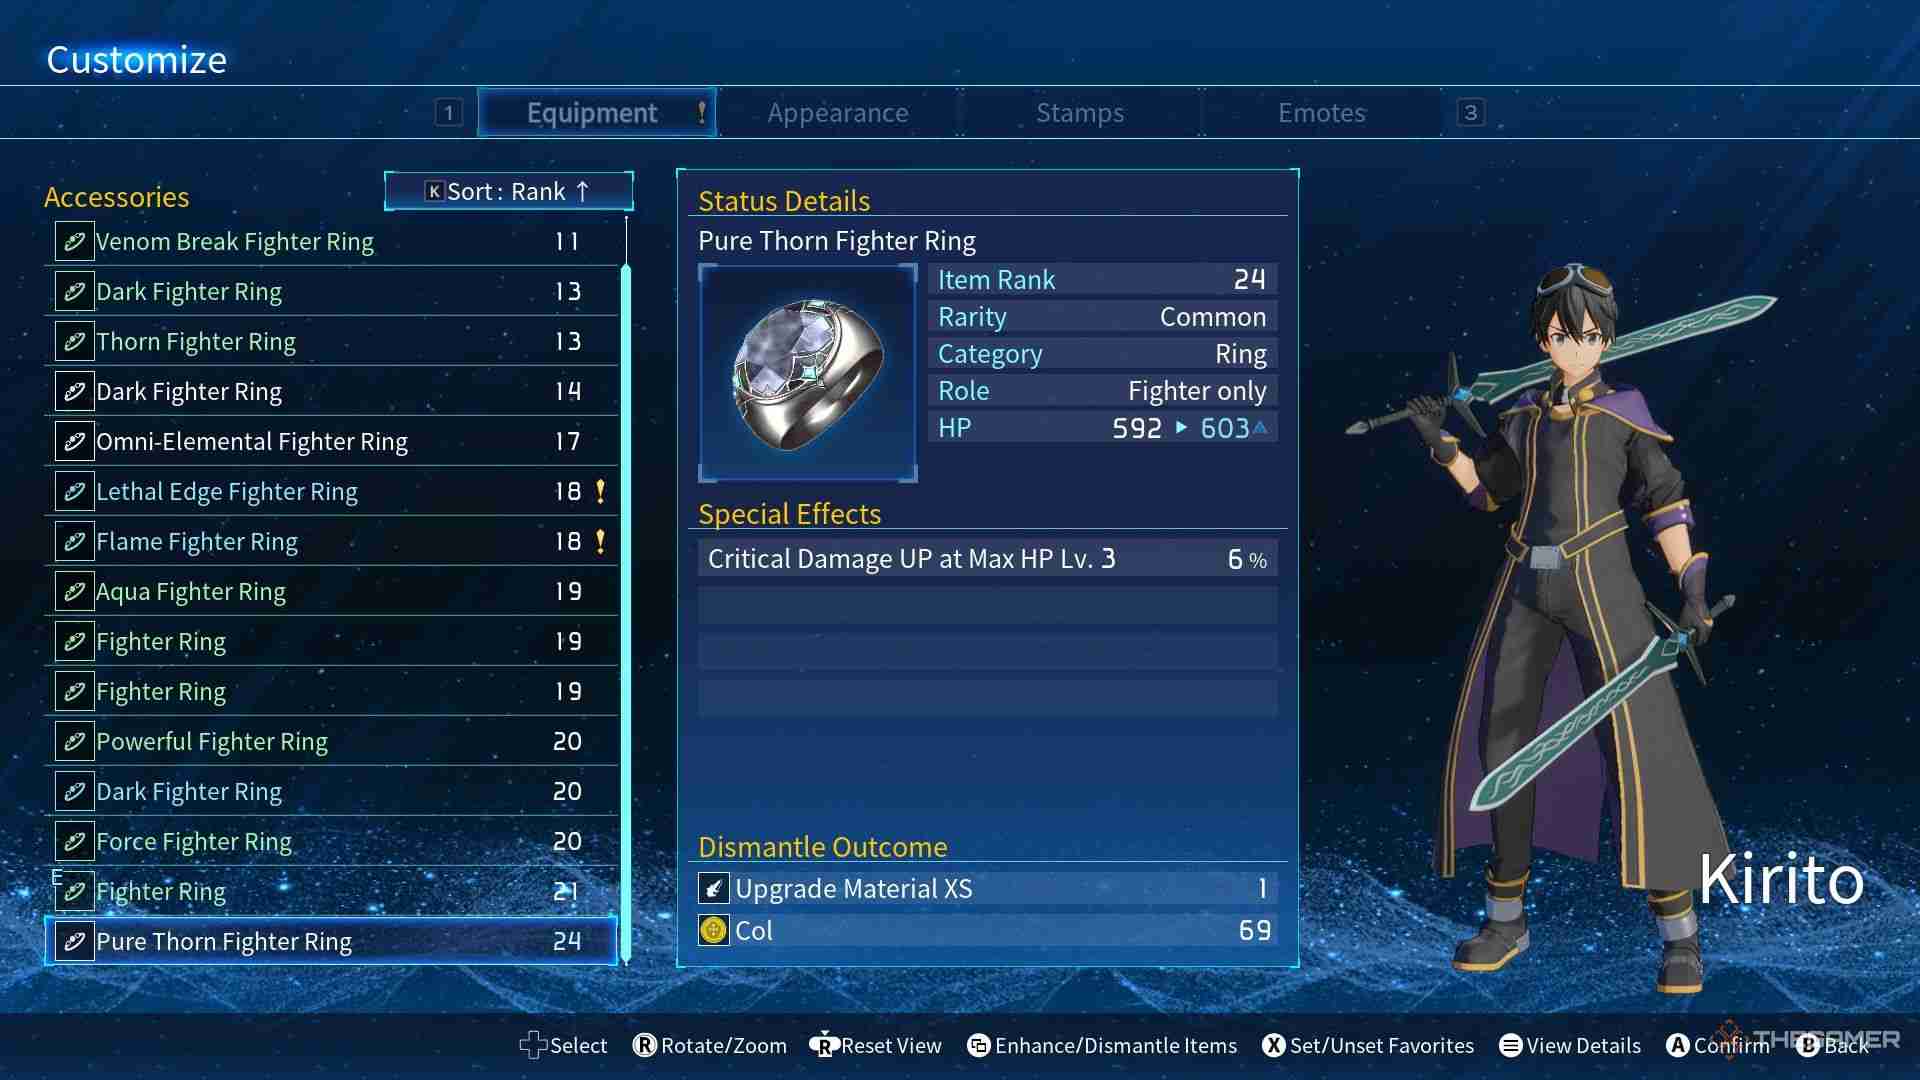
The item mechanics in the game may seem complex at first. To avoid getting overwhelmed with the items you collect in Story Mode, make sure to use the ‘Optimize Equipment’ option. This ensures that your character equips the highest-ranked items available.
Unnecessary items can be dismantled for Upgrade Materials and Col. However, be cautious not to dismantle items with good passive stats, especially for the Co-Op section of the game. You can use Effect Spheres to transfer the effects of unwanted items to ones you plan to use.
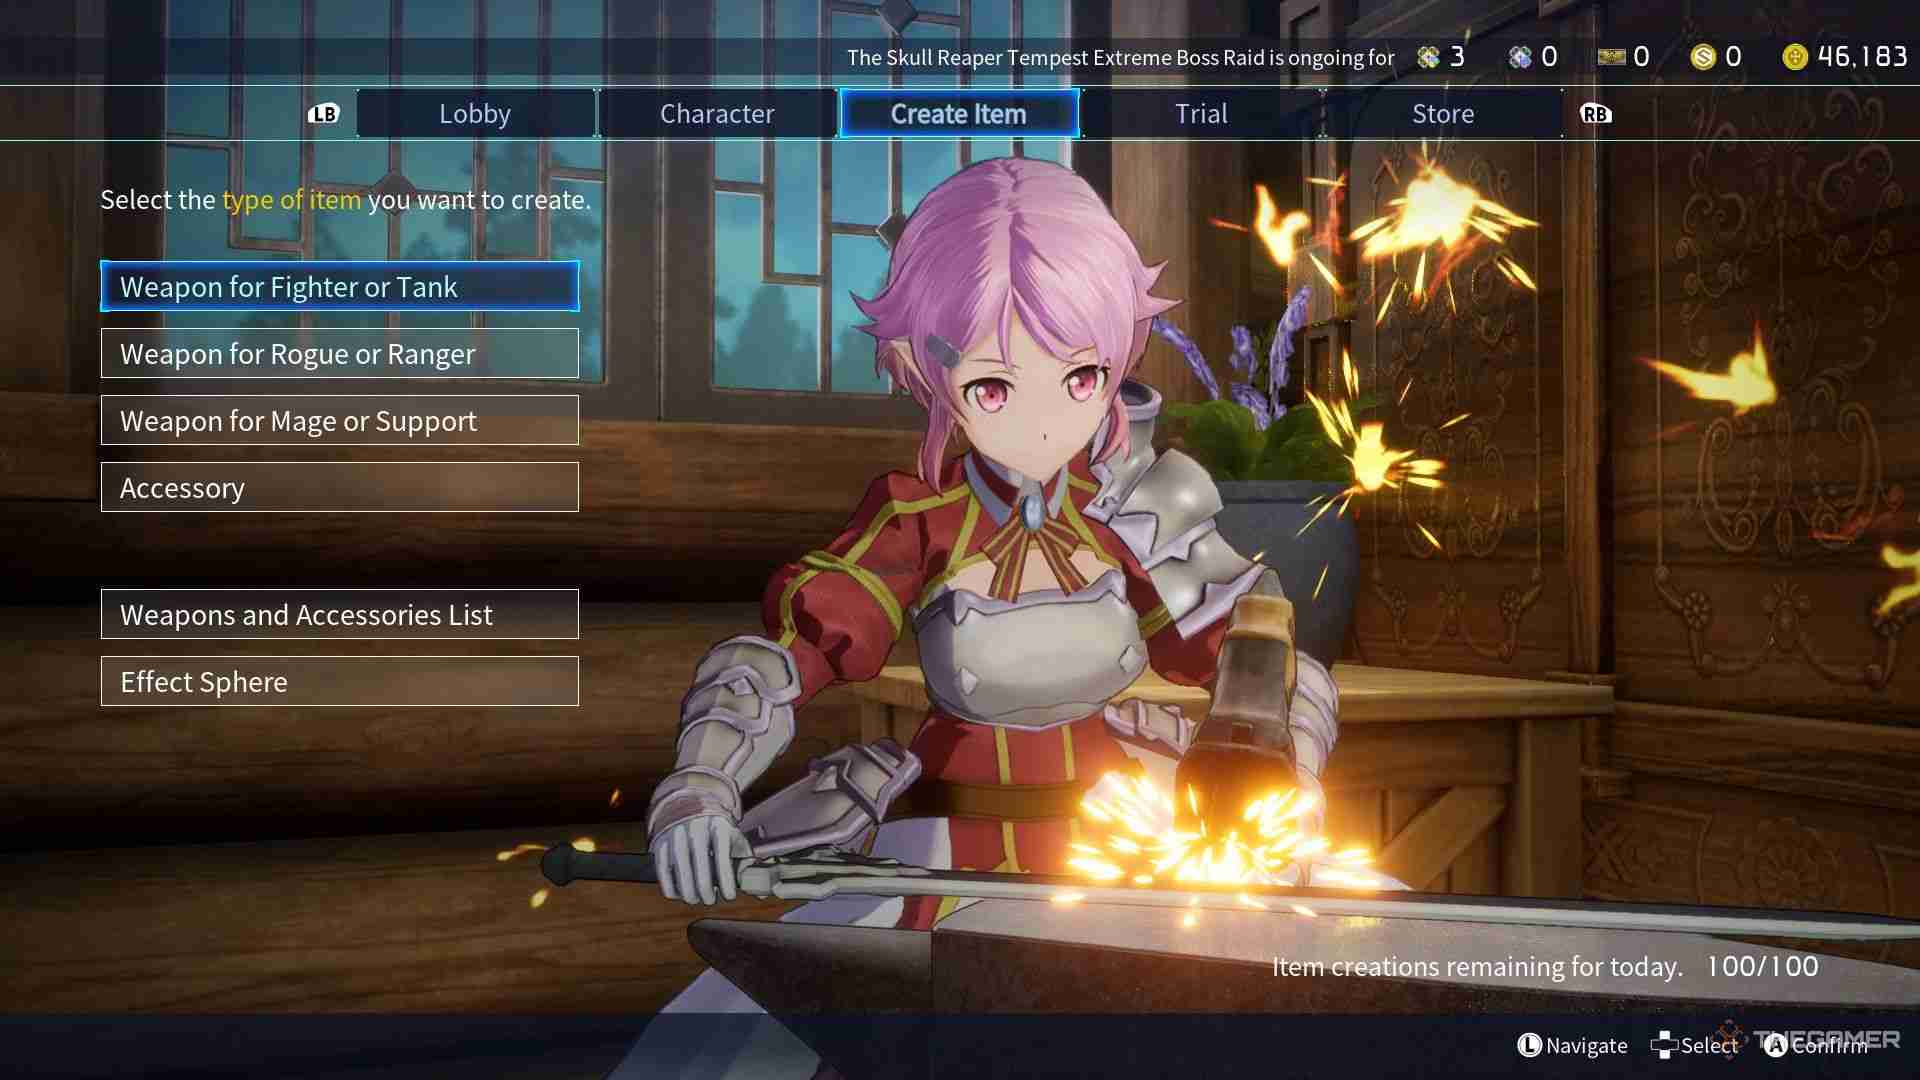
With Col, the in-game currency, you can craft items, but keep in mind that crafted items will match your Player Rank level, so don’t expect them to be overly powerful if your player level is low.
In later, more challenging Co-op stages, crafting items using Col can be beneficial. In Story Mode, completing quests with high ranks will usually provide enough items. Lastly, ensure your items are close to your Player Rank; characters with low-level equipment will struggle as the game progresses.
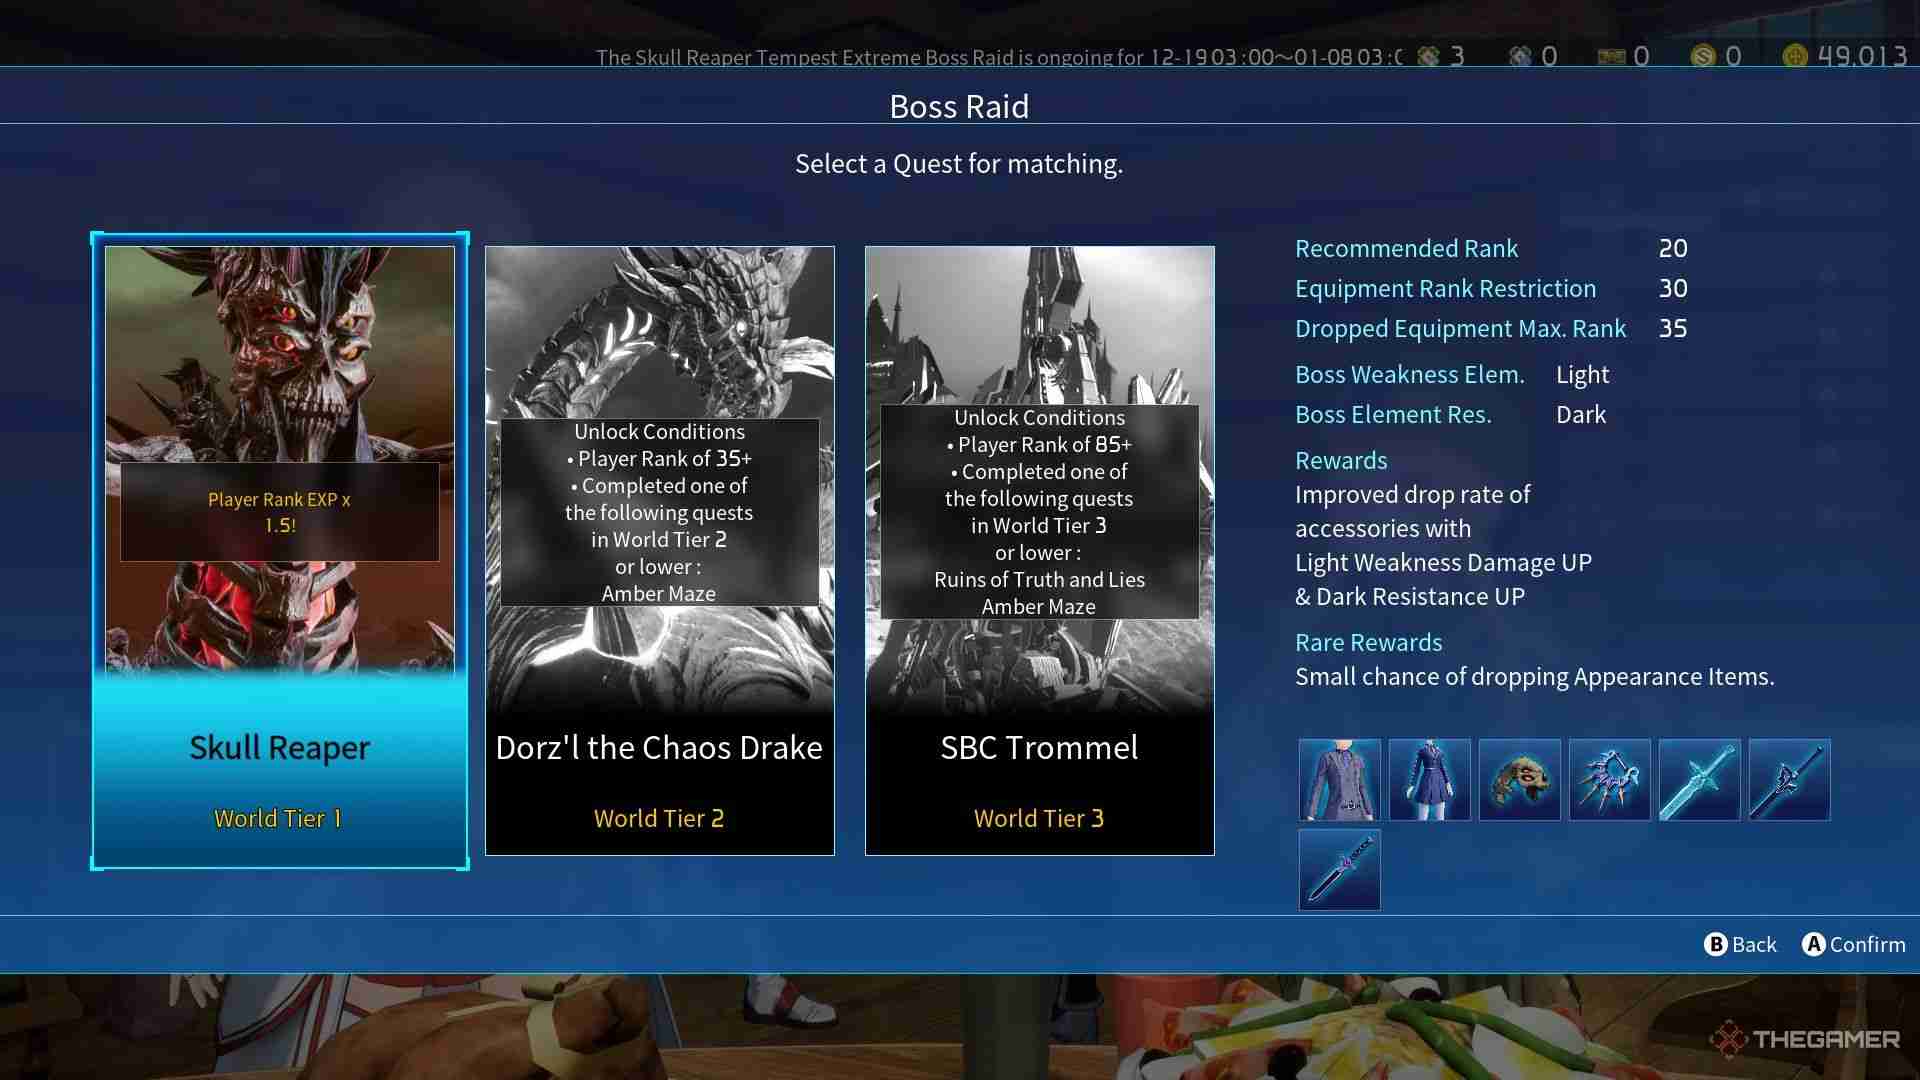
From Story Mode To Co-Op Challenges
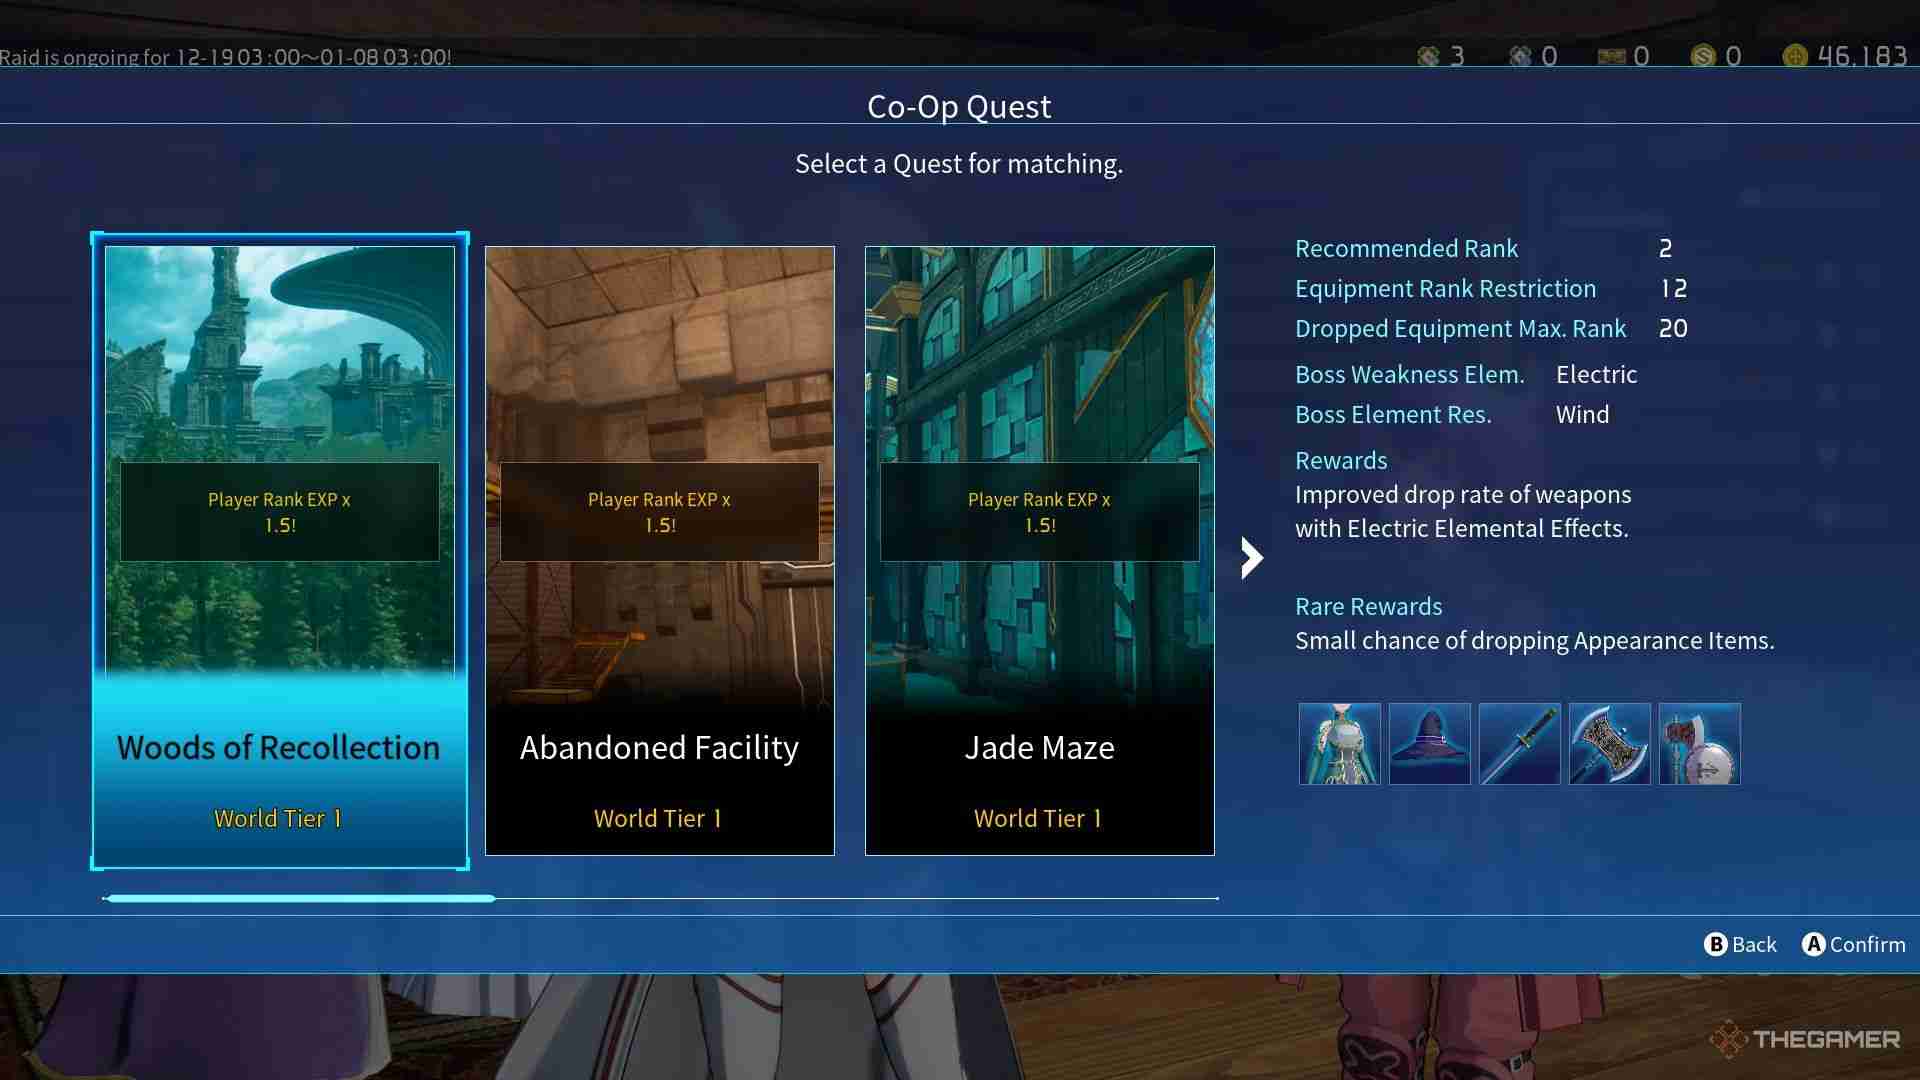
The items you obtain in Story Mode will suffice as long as you Achieve good scores, and the mode itself isn’t overly difficult. Story Mode serves as a stepping stone to Co-op, where the real challenges, like Extreme Boss Raids, take place. By the end of Story Mode, your player level will reach 20, preparing you for Co-op quests.
In the Lobby, make sure to join any Aid Requests you encounter. These provide opportunities to gain items and increase your Player Rank. In Co-op quests, the Awakening Level System starts you at level one, so ensure you level up by defeating enemies before engaging bosses.
While Col and regular items are shared among players, cosmetic items can only be picked up by one person, so be careful not to miss them.
Once you complete Tier One Co-op quests, you’ll unlock the first Co-op boss fight. This boss provides the best EXP farming method until Tier Three quests, as it can be defeated quickly, making it an efficient way to level up your character and Player Rank.

The above is the detailed content of Sword Art Online Fractured Daydream: 8 Beginner Tips. For more information, please follow other related articles on the PHP Chinese website!

Hot AI Tools

Undresser.AI Undress
AI-powered app for creating realistic nude photos

AI Clothes Remover
Online AI tool for removing clothes from photos.

Undress AI Tool
Undress images for free

Clothoff.io
AI clothes remover

Video Face Swap
Swap faces in any video effortlessly with our completely free AI face swap tool!

Hot Article
Hot Tools

Notepad++7.3.1
Easy-to-use and free code editor

SublimeText3 Chinese version
Chinese version, very easy to use

Zend Studio 13.0.1
Powerful PHP integrated development environment

Dreamweaver CS6
Visual web development tools

SublimeText3 Mac version
God-level code editing software (SublimeText3)
Hot Topics


 Assassin's Creed Shadows: Seashell Riddle Solution
Mar 28, 2025 am 01:58 AM
Assassin's Creed Shadows: Seashell Riddle Solution
Mar 28, 2025 am 01:58 AM
Assassin's Creed: Shadows boasts a vast world brimming with activities beyond the main storyline. Side missions and various encounters significantly enrich the immersive experience of in-game Japan. One particularly memorable encounter is the Seashe
 Where to find the Crane Control Keycard in Atomfall
Mar 28, 2025 am 02:17 AM
Where to find the Crane Control Keycard in Atomfall
Mar 28, 2025 am 02:17 AM
In Atomfall, discover hidden keys and passages, including multiple ways to access key locations. This guide focuses on using the Crane Control Keycard for easy, unguarded Entry to Skethermoor Prison, bypassing the need to cooperate with Captain Sims
 InZoi: How To Apply To School And University
Apr 02, 2025 am 12:08 AM
InZoi: How To Apply To School And University
Apr 02, 2025 am 12:08 AM
In the vibrant world of InZoi, you're free to shape your character's life, from exploring its diverse environments to mastering various skills. Whether it's culinary adventures, household chores, or relaxing on the beach, the choices are yours. But
 How to activate all Radio Towers for Joyce Tanner in Atomfall
Mar 28, 2025 am 12:04 AM
How to activate all Radio Towers for Joyce Tanner in Atomfall
Mar 28, 2025 am 12:04 AM
At this point in Atomfall, you’ve no doubt wandered into the Interchange, restored power to your first Data Store, and met the enigmatic Joyce Tanner inside. Tanner is more than happy to see someone who hasn’t immediately tried to kill her, an
 Roblox: Dead Rails – How To Summon And Defeat Nikola Tesla
Mar 31, 2025 am 11:08 AM
Roblox: Dead Rails – How To Summon And Defeat Nikola Tesla
Mar 31, 2025 am 11:08 AM
Dead Rails is currently one of the most popular games on Roblox. Where players take on the role of a survivor in a post-apocalyptic scenario, trying to escape from a variety of special enemies. It’s a game widely appreciated by the community, with fr
 Blue Prince: How To Get To The Basement
Apr 11, 2025 am 04:04 AM
Blue Prince: How To Get To The Basement
Apr 11, 2025 am 04:04 AM
Unlocking the Basement in Blue Prince: A Comprehensive Guide Finding the basement in Blue Prince is crucial for progressing to Room 46, but its location and access method aren't immediately obvious. This guide will walk you through accessing the base
 InZoi: How To Surf
Apr 03, 2025 am 03:43 AM
InZoi: How To Surf
Apr 03, 2025 am 03:43 AM
In InZoi, your Zois can enjoy a variety of activities, fulfilling their ever-changing Urges to keep them happy. Surfing is a popular choice, particularly for Zois with the "Life of Excitement" Desired Life. This guide explains how and whe
 Where to find the Site Office Key in Atomfall
Apr 02, 2025 pm 06:03 PM
Where to find the Site Office Key in Atomfall
Apr 02, 2025 pm 06:03 PM
In Atomfall's Interchange, the locked Site Office presents an early challenge. The "Strange Noises From Below" note hints at the key's location: the Robotics lab. However, accessing Robotics requires completing several preliminary tasks.
