
镜像下载、域名解析、时间同步请点击 阿里云开源镜像站

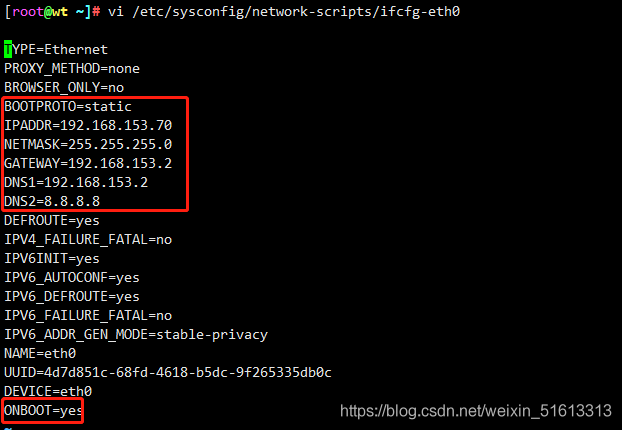
vi /etc/sysconfig/network-scripts/ifcfg-eth0BOOTPROTO=staticIPADDR=192.168.153.70NETMASK=255.255.255.0GATEWAY=192.168.153.2DNS1=192.168.153.2DNS2=8.8.8.8ONBOOT=yes
在/etc/resolv.conf中添加
nameserver 114.114.114.114

重启网卡
systemctl restart network
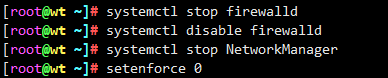
systemctl stop firewalldsystemctl disable firewalldsystemctl stop NetworkManagersetenforce 0
cd /etc/yum.repos.d/mkdir repo.bakmv *.repo repo.bak/curl -o /etc/yum.repos.d/CentOS-Base.repo http://mirrors.aliyun.com/repo/Centos-7.repoyum -y install centos-release-openstack-trainyum clean allyum makecache
同步阿里云时钟服务器(ntp1、ntp2…)、设置周期性任务及设置开机自启
yum install -y ntpdatentpdate ntp.aliyun.com >>/var/log/ntpdate.logcrontab -e*/30 * * * * /usr/sbin/ntpdate ntp.aliyun.com
reboot
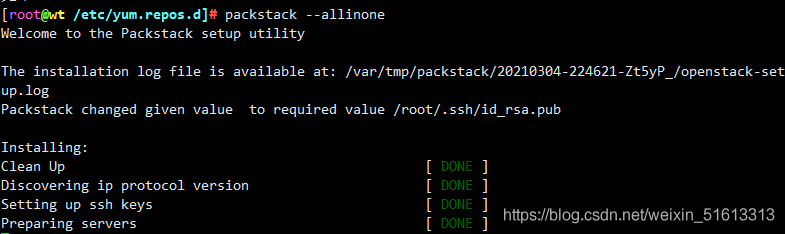
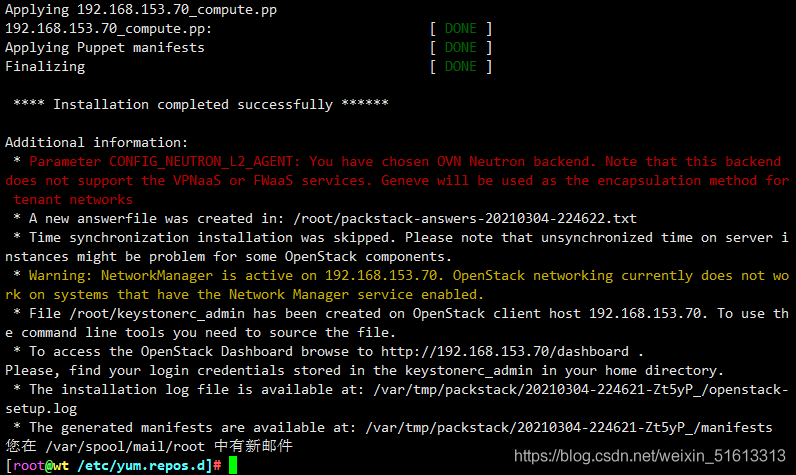
yum -y install openstack-packstackpackstack --allinone
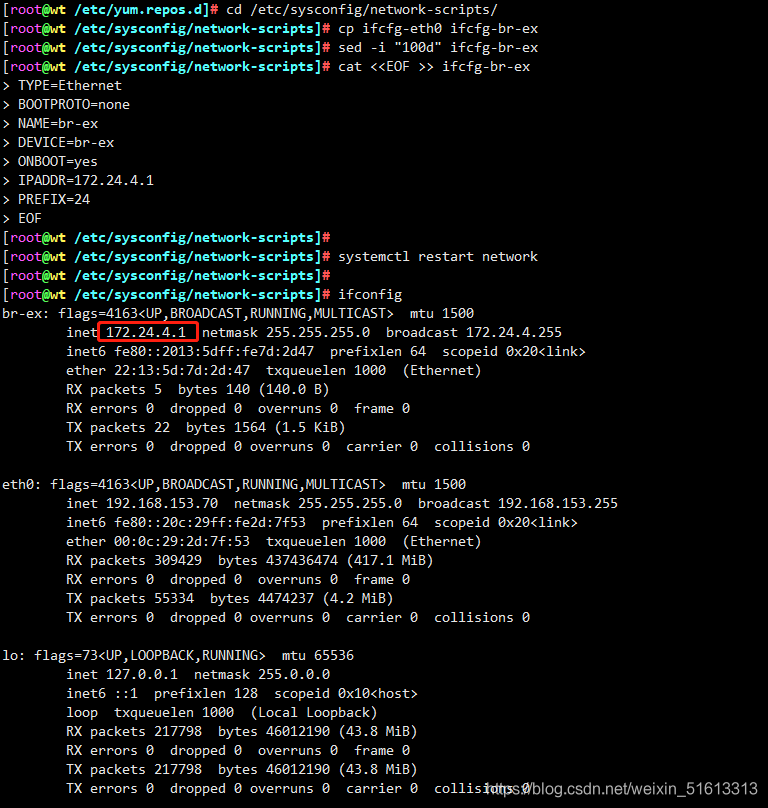
cd /etc/sysconfig/network-scripts/cp ifcfg-eth0 ifcfg-br-exsed -i "100d" ifcfg-br-excat <<EOF >> ifcfg-br-exTYPE=EthernetBOOTPROTO=noneNAME=br-exDEVICE=br-exONBOOT=yesIPADDR=172.24.4.1PREFIX=24EOFsystemctl restart networkifconfig
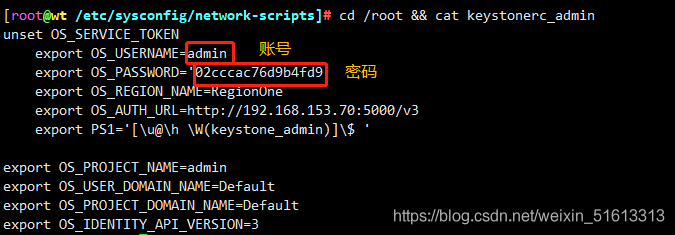
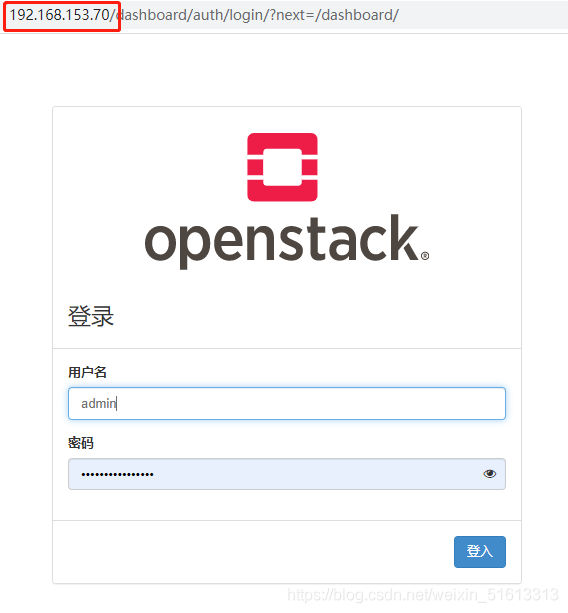
cd /root && cat keystonerc_admin
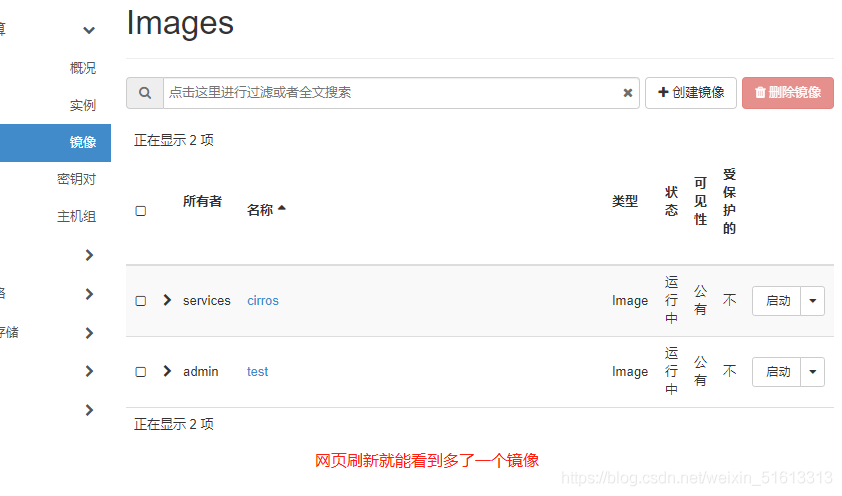
在原本的openstack中只有一个镜像
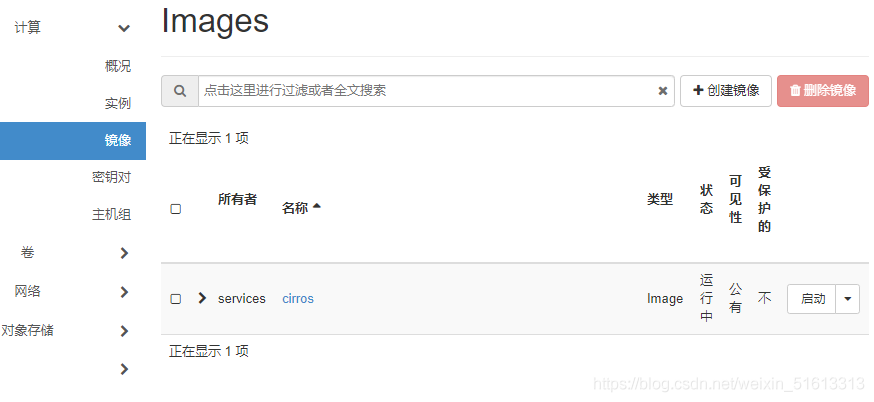
使用xshell的文件传输将镜像文件传进去


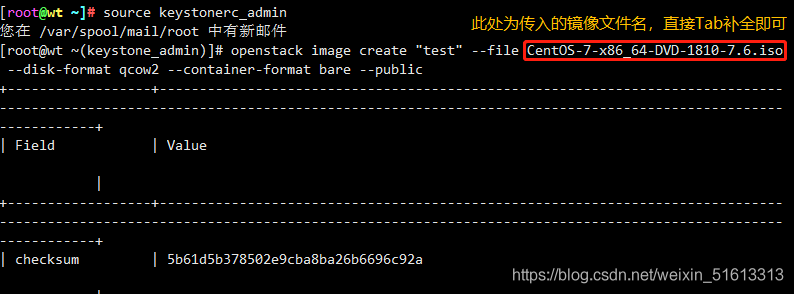
传入完成后在命令行输入:
source keystonerc_adminopenstack image create "test" --file CentOS-7-x86_64-DVD-1810-7.6.iso --disk-format qcow2 --container-format bare --public
本文转自:https://blog.csdn.net/weixin_51613313/article/details/114379449

Copyright 2014-2025 https://www.php.cn/ All Rights Reserved | php.cn | 湘ICP备2023035733号