Blogger Information
Blog 87
fans 1
comment 0
visits 57745
Popular Tutorials
More>
Latest Downloads
More>
Web Effects
Website Source Code
Website Materials
Front End Template
vue_1
阿杰
Original
556 people have browsed it

路由导航守卫(也叫路由拦截)

  1. // 挂载路由导航守卫
  2. router.beforeEach((to,from,next) => {
  3. // to 将访问哪一个路径
  4. // from 代表从哪个路径跳转而来
  5. // next 是一个函数,表示放行
  6. // next() 放行 next('/login') 强制跳转
  7. if(to.path === '/login') return next()
  8. // 获取token
  9. const token = window.sessionStorage.getItem('token')
  10. if(!token) return next('/login')
  11. next()
  12. })

axios拦截器

  1. import axios from 'axios'
  2. // 配置请求的根路径
  3. axios.defaults.baseURL = 'http://127.0.0.1:8888/api/private/v1/'
  4. // 拦截器
  5. axios.interceptors.request.use(config => {
  6. // 登录授权 请求验证是否有token 需要授权API,必须在请求头中使用'Authorization' 字段提供'token'令牌
  7. config.headers.Authorization = window.sessionStorage.getItem('token');
  8. return config;
  9. })
  10. // 挂载vue原型上
  11. Vue.prototype.$http = axios

子路由

  1. import Home from '../components/Home.vue'
  2. import Welcome from '../components/Welcome.vue'
  3. Vue.use(VueRouter)
  4. const routes = [
  5. {
  6. path: '/home',
  7. component: Home ,
  8. children:[{ path: '/welcom', component: Welcome }]
  9. }
  10. ]

table里的作用域插槽

  1. <el-table-column label="角色" prop="role_name"></el-table-column>
  2. <el-table-column label="状态">
  3. <template slot-scope="scope">
  4. <!-- {{scope.row.mg_state}} -->
  5. <el-switch v-model="scope.row.mg_state">
  6. </el-switch>
  7. </template>
  8. </el-table-column>

查看支路 - git branch

新增分支 - git checkout -b xxx

切换当前分支 - git checkout xxx

删除某个分支 - git branch -d xxx

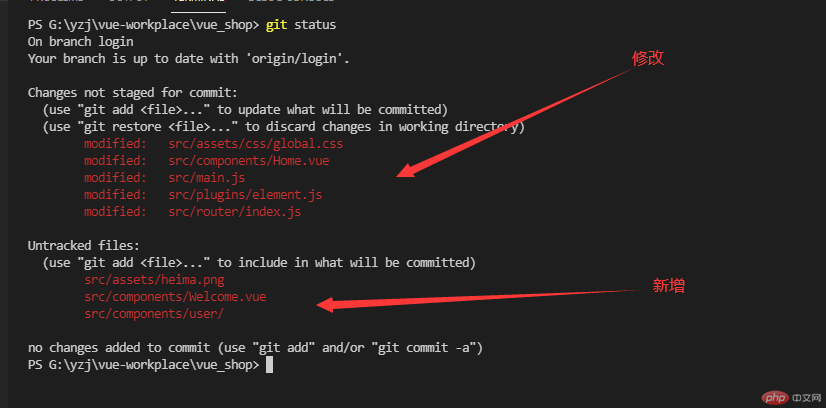
查看源代码的状况 - git status

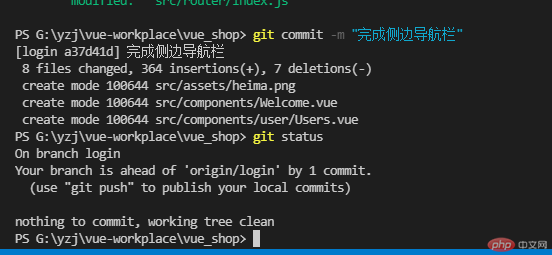
把代码添加到暂存区 - git add .

把暂存区中代码提交到本地仓库中 - git commit -m “xxx”

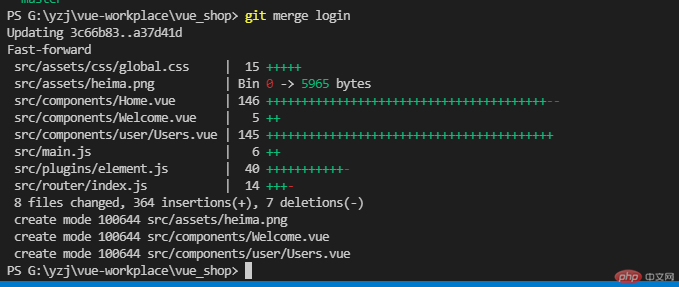
更新分支代码到主分支上

1.先切换到主分支

2.再合并分支代码 - git merge xxx

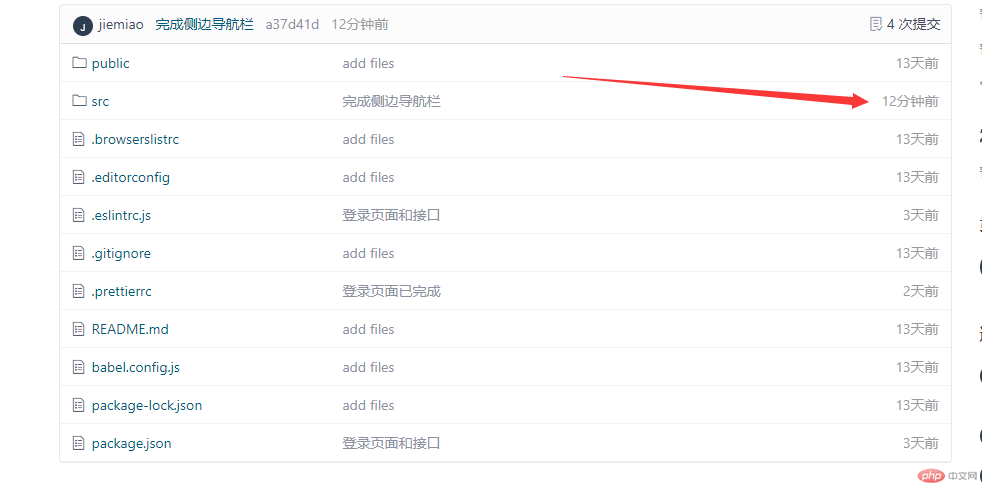
本地代码推送到远程仓库主分支(码云)- git push

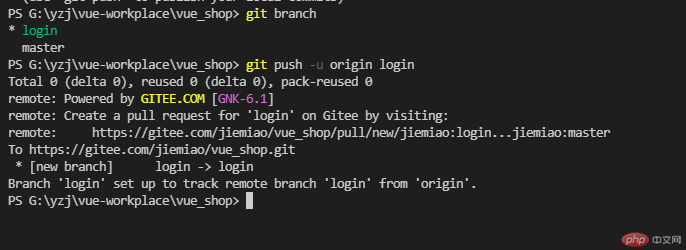
本地分支也推送到远程仓库分支中

1.再远程仓库没有分支情况下,直接用 - git push 是不会成功的

2.首次将本地分支推送到远程仓库 - git push -u orgin xxx(远程仓库分支名称)

连接远程github/git项目

git更换远程仓库地址

1.直接修改远程仓库地址
查看远程仓库地址

  1. git remote -v

修改远程仓库地址

  1. git remote set-url origin [url]

2.先删除再修改地址

  1. git remote rm origin
  1. git remote add origin [url]
Statement of this Website
The copyright of this blog article belongs to the blogger. Please specify the address when reprinting! If there is any infringement or violation of the law, please contact admin@php.cn Report processing!
All comments Speak rationally on civilized internet, please comply with News Comment Service Agreement
0 comments
Author's latest blog post
About us Disclaimer Sitemap
php.cn:Public welfare online PHP training,Help PHP learners grow quickly!