


 天蓬老师
天蓬老师批改状态:合格
老师批语:这些都是前端是非常常用的操作
背景控制
1.图片渐变效果并可以设置角度

2.渐变颜色可以增加3种4种等,还可以用rgb选择透明度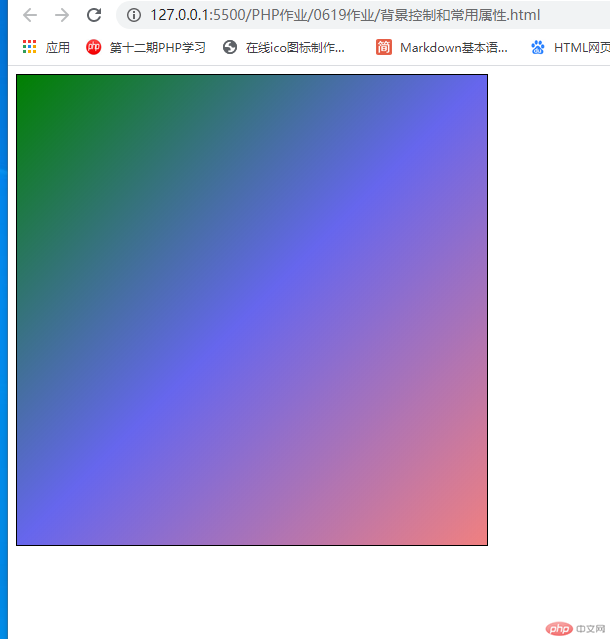
3.背景插入图片会默认从水平方向和垂直方向重复排列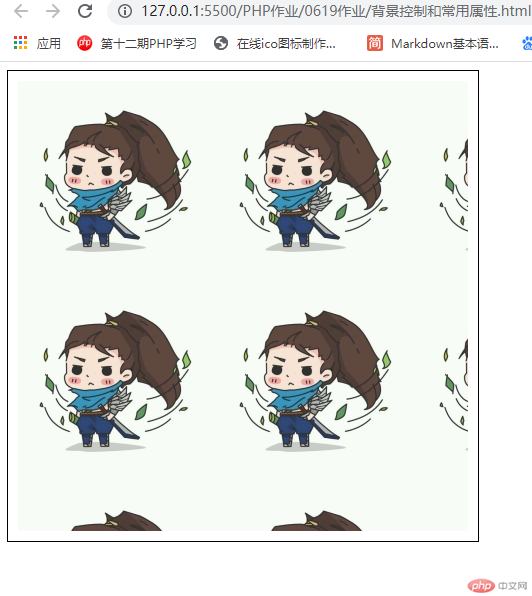
4.可以设置成不重复,或者只允许x轴或者y轴方向重复
5.可以设置图片固定不受滚动条影响
6.可以设置等比放大,或者不考虑图片变形使其铺满视口
7.可以设置阴影,圆角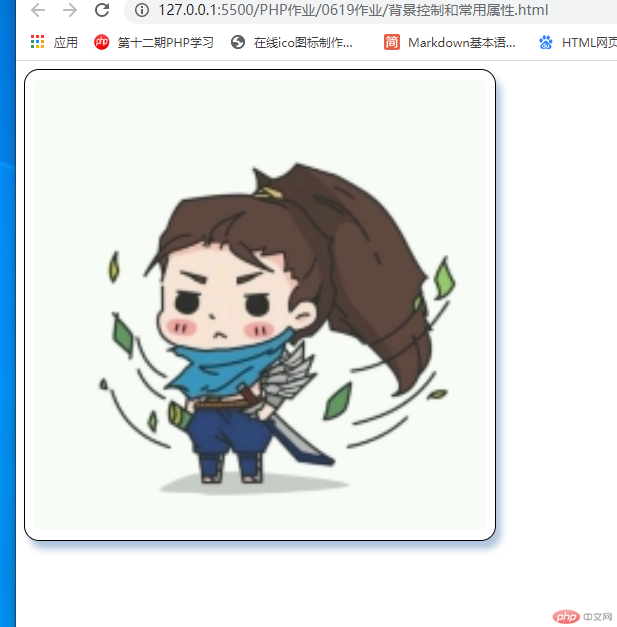
<!DOCTYPE html><html lang="en"><head><meta charset="UTF-8" /><meta name="viewport" content="width=device-width, initial-scale=1.0" /><title>背景控制</title><style>.box {/* 设置宽高,边框线,背景色,内边距 */width: 450px;height: 450px;border: 1px solid #000;background-color: lightcoral;padding: 10px;/* 设置圆角 */border-radius: 15px;/* 设置背景色的渐变效果,和渐变角度 */background: linear-gradient(315deg,lightcoral,rgb(0, 0, 225, 0.5),green);/* 裁切,使背景不会覆盖内边距 */background-clip: content-box;/* 背景换成图片 */background-image: url("hasaki.jpg");/* 背景放入图片会默认水平,垂直循环排列所以设置不循环 */background-repeat: no-repeat;/* 设置图片只向x轴或者y轴循环排列 */background-repeat: repeat-y;/* 设置图片位置固定不会受滚动条影响 */background-attachment: fixed;/* 设置图片的x轴和y轴的偏移量 */background-position: 30px 50px;/* 按图片宽高等比扩大尽量覆盖内容区 */background-size: contain;/* 按内容区大小等比扩大图片,可能会使图片变形 */background-size: cover;/* 图片和背景色是互斥的不能同时存在 *//* 设置盒子的水平和垂直方向的偏移量,阴影的大小和颜色 */box-shadow: 5px 8px 7px lightsteelblue;}</style></head><body><div class="box"></div></body></html>
精灵图(使用图片的定位获取图片中的某个图标)
1.完整的图片
2.获取图标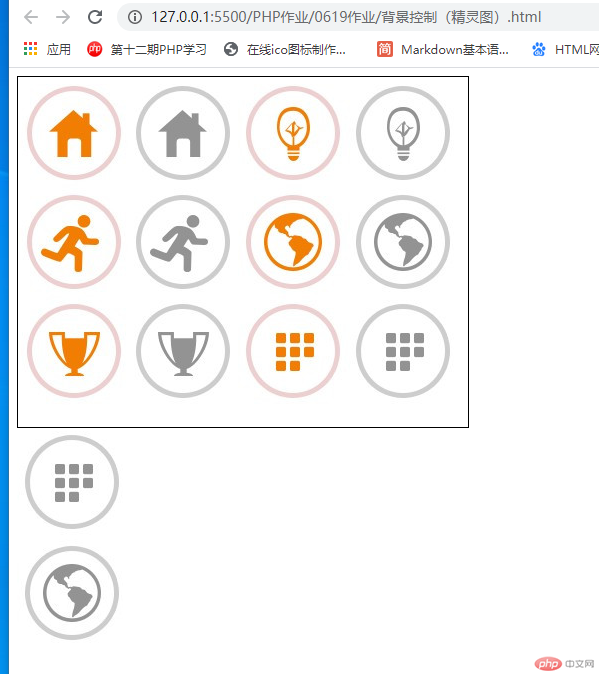
<!DOCTYPE html><html lang="en"><head><meta charset="UTF-8" /><meta name="viewport" content="width=device-width, initial-scale=1.0" /><title>精灵图</title><style>/* 设置盒子的宽高,边框,插入图片,不重复排列 */.box1 {width: 450px;height: 350px;border: 1px solid black;background-image: url(图标.png);background-repeat: no-repeat;}/* 设置盒子宽高,插入图片,不重复排列,移动图片后获取某个图标 */.box2 {width: 110px;height: 110px;background-image: url("图标.png");background-repeat: no-repeat;background-position: -330px -220px;}/* 设置盒子宽高,插入图片,不重复排列,移动图片后获取某个图标 */.box3 {width: 110px;height: 110px;background-image: url("图标.png");background-repeat: no-repeat;background-position: -330px -110px;}</style></head><body><div class="box1"></div><div class="box2"></div><div class="box3"></div></body></html>
一定要先测量好图标大小再进行设置盒子的宽高和偏移量
1.先打开阿里图标的官网进行登录http://https://www.iconfont.cn/
2.选择需要的图标添加入库后再添加到项目(没有项目可创建新项目)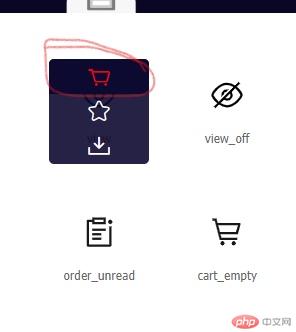

3.下载项目内的图标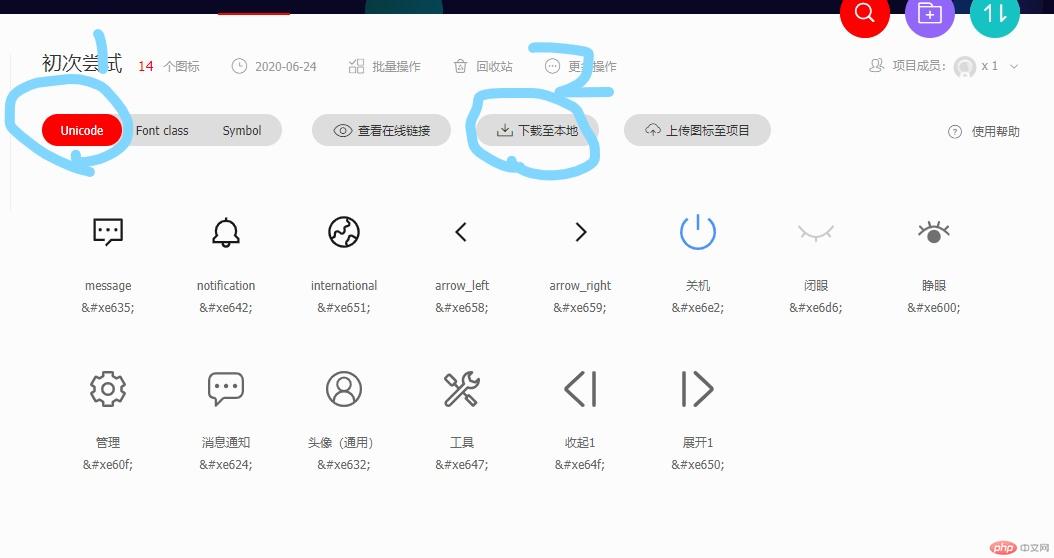
4.解压后将此文件并移动到vscode的项目中
5.用浏览器打开文件内的一个html文件
1.打开网站后选择如下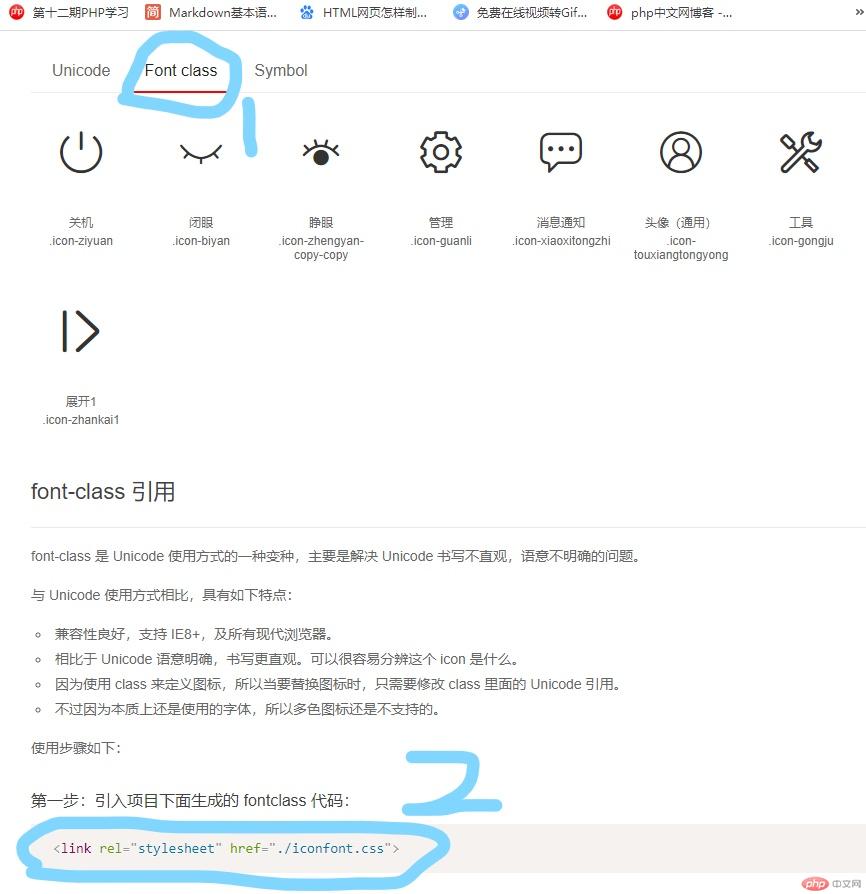
2.在网站中复制这段代码到需要图标的html文件
<link rel="stylesheet" href="./iconfont.css">
3.就可以用下面一段代码获取相应的图标了
<span class="iconfont icon-xxx"></span>
如下所示
<!DOCTYPE html><html lang="en"><head><meta charset="UTF-8" /><meta name="viewport" content="width=device-width, initial-scale=1.0" /><title>阿里图标</title><link rel="stylesheet" href="font/iconfont.css" /><style>/* 设置大小和颜色 */.she {font-size: 1.5rem;color: brown;}.tou {font-size: 2rem;}</style></head><body><div><span class="iconfont icon-guanli she"></span><span class="iconfont icon-touxiangtongyong tou"></span></div></body></html>
1.打开网站后选择如下
2.在vscode编辑器中创建一个css文件,里面下入如下代码
@font-face {font-family: 'iconfont';src: url('iconfont.eot');src: url('iconfont.eot?#iefix') format('embedded-opentype'),url('iconfont.woff2') format('woff2'),url('iconfont.woff') format('woff'),url('iconfont.ttf') format('truetype'),url('iconfont.svg#iconfont') format('svg');}.iconfont {font-family: "iconfont" !important;font-size: 16px;font-style: normal;-webkit-font-smoothing: antialiased;-moz-osx-font-smoothing: grayscale;}
上面一段url后面的路径需更改成文件所在路径
3.在html文件中引入刚创建的CSS再通过网站中的编码获取相应的图标
<!DOCTYPE html><html lang="en"><head><meta charset="UTF-8" /><meta name="viewport" content="width=device-width, initial-scale=1.0" /><title>阿里图标(编码)</title><link rel="stylesheet" href="font-icon.css" /><style>.eye {font-size: 1.3rem;color: chartreuse;}.gong {font-size: 1.5rem;color: cornflowerblue;}</style></head><body><div><span class="iconfont eye"></span></div><div><span class="iconfont gong"></span></div></body></html>
图标的编码和类属性名都在下载的文件夹中的html文件内,用浏览器打开就可以获得
总结
1.了解了背景控制的基本属性(圆角阴影的设置,图片偏移,颜色渐变)
2.了解了精灵图的使用方式和阿里图标应该如何去获取,使用和设置

Copyright 2014-2025 https://www.php.cn/ All Rights Reserved | php.cn | 湘ICP备2023035733号


