1.实例演示如何消除子元素浮动造成父元素高度折叠的影响
2.实例演示三列布局的实现原理( 绝对定位实现, 浮动定位实现)
(一)实例演示如何消除子元素浮动造成父元素高度折叠的影响
在开发过程中,如果子级元素给了浮动属性,那么该元素就脱离文档流,但是由于父元素还是在文档流中,所以变成了父元素没有内容,所以撑不开,高度就会塌陷。如以下代码所示:
<!DOCTYPE html>
<html lang="en">

<head>
    <meta charset="UTF-8">
    <meta name="viewport" content="width=device-width, initial-scale=1.0">
    <meta http-equiv="X-UA-Compatible" content="ie=edge">
    <title>Document</title>
    <style>
        .box1 {
            width: 300px;
            border: 5px dashed red;
        }

        .box2 {
            width: inherit;
            height: 300px;
            background-color: lightcoral;
            float: left;
        }
    </style>
</head>

<body>
    <div class="box1">
        <div class="box2">子元素</div>
    </div>
</body>

</html>点击 "运行实例" 按钮查看在线实例
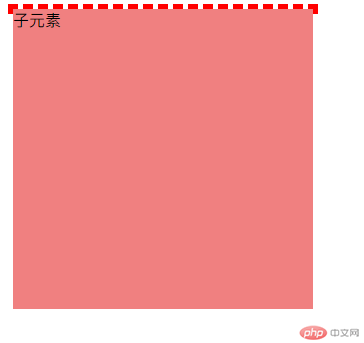
那么在实际开发过程中,有几种方式可以解决这个问题。
1、给父元素设置宽高,让他撑开。
<!DOCTYPE html>
<html lang="en">

<head>
    <meta charset="UTF-8">
    <meta name="viewport" content="width=device-width, initial-scale=1.0">
    <meta http-equiv="X-UA-Compatible" content="ie=edge">
    <title>Document</title>
    <style>
        .box1 {
            width: 300px;
            border: 5px dashed red;
            height: 300px;
        }

        .box2 {
            width: inherit;
            height: 300px;
            background-color: lightcoral;
            float: left;
        }
    </style>
</head>

<body>
    <div class="box1">
        <div class="box2">子元素</div>
    </div>
</body>

</html>点击 "运行实例" 按钮查看在线实例
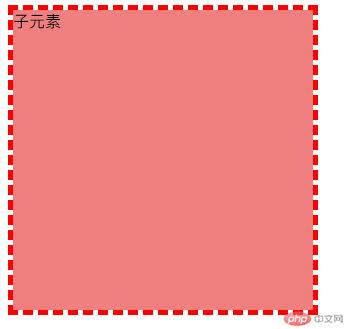
这样的做法不够灵活,如果子元素的宽高改了,那么父元素的宽高也要相应的改才行。
2、让父元素也浮动
<!DOCTYPE html>
<html lang="en">

<head>
    <meta charset="UTF-8">
    <meta name="viewport" content="width=device-width, initial-scale=1.0">
    <meta http-equiv="X-UA-Compatible" content="ie=edge">
    <title>Document</title>
    <style>
        .box1 {
            width: 300px;
            border: 5px dashed red;
            float: left;
        }

        .box2 {
            width: inherit;
            height: 300px;
            background-color: lightcoral;
            float: left;
        }
    </style>
</head>

<body>
    <div class="box1">
        <div class="box2">子元素</div>
    </div>
</body>

</html>点击 "运行实例" 按钮查看在线实例
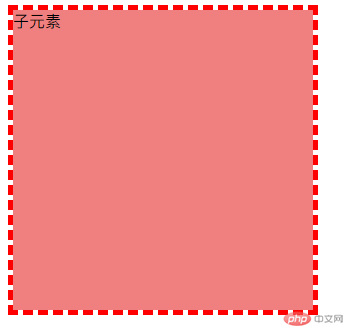
这种方式如果有多级父元素的话,那么变成了要让很多元素都浮动,非常麻烦。
3、用clear方法清除浮动。
在子元素下面加多一个元素,让子元素的浮动效果消失。
<!DOCTYPE html>
<html lang="en">

<head>
    <meta charset="UTF-8">
    <meta name="viewport" content="width=device-width, initial-scale=1.0">
    <meta http-equiv="X-UA-Compatible" content="ie=edge">
    <title>Document</title>
    <style>
        .box1 {
            width: 300px;
            border: 5px dashed red;
        }

        .box2 {
            width: inherit;
            height: 300px;
            background-color: lightcoral;
            float: left;
        }
    </style>
</head>

<body>
    <div class="box1">
        <div class="box2">子元素</div>
        <div style="clear: both;"></div>
    </div>
</body>

</html>点击 "运行实例" 按钮查看在线实例
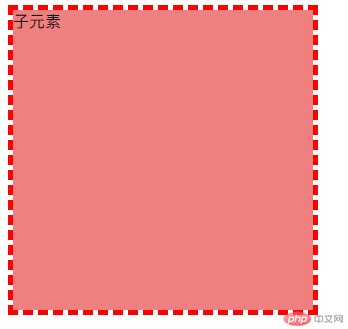
这种方法虽然没有什么问题,但是对于后端的处理和渲染不太友好,不建议使用。
4、用overflow方法
<!DOCTYPE html>
<html lang="en">

<head>
    <meta charset="UTF-8">
    <meta name="viewport" content="width=device-width, initial-scale=1.0">
    <meta http-equiv="X-UA-Compatible" content="ie=edge">
    <title>Document</title>
    <style>
        .box1 {
            width: 300px;
            border: 5px dashed red;
            overflow: hidden;
        }

        .box2 {
            width: inherit;
            height: 300px;
            background-color: lightcoral;
            float: left;
        }
    </style>
</head>

<body>
    <div class="box1">
        <div class="box2">子元素</div>
    </div>
</body>

</html>点击 "运行实例" 按钮查看在线实例
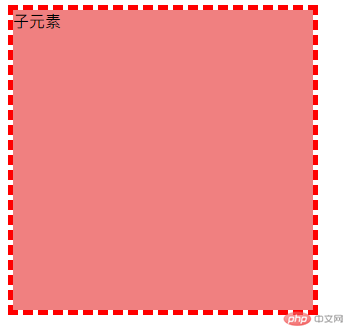
这种方法是最简单实用的,基于bfc块,建议使用这个方法来解决问题。
(二)实例演示三列布局的实现原理( 绝对定位实现, 浮动定位实现)
定位有几种,为静态定位,相对定位,绝对定位和固定定位。
静态定位:static就是基于文档流的布局。
相对定位:relative是相对原来的位置发生偏移,也还在文档流中。
绝对定位:absolute,元素脱离了文档流,响度与离他最近的具有定位属性的父级元素进行定位。
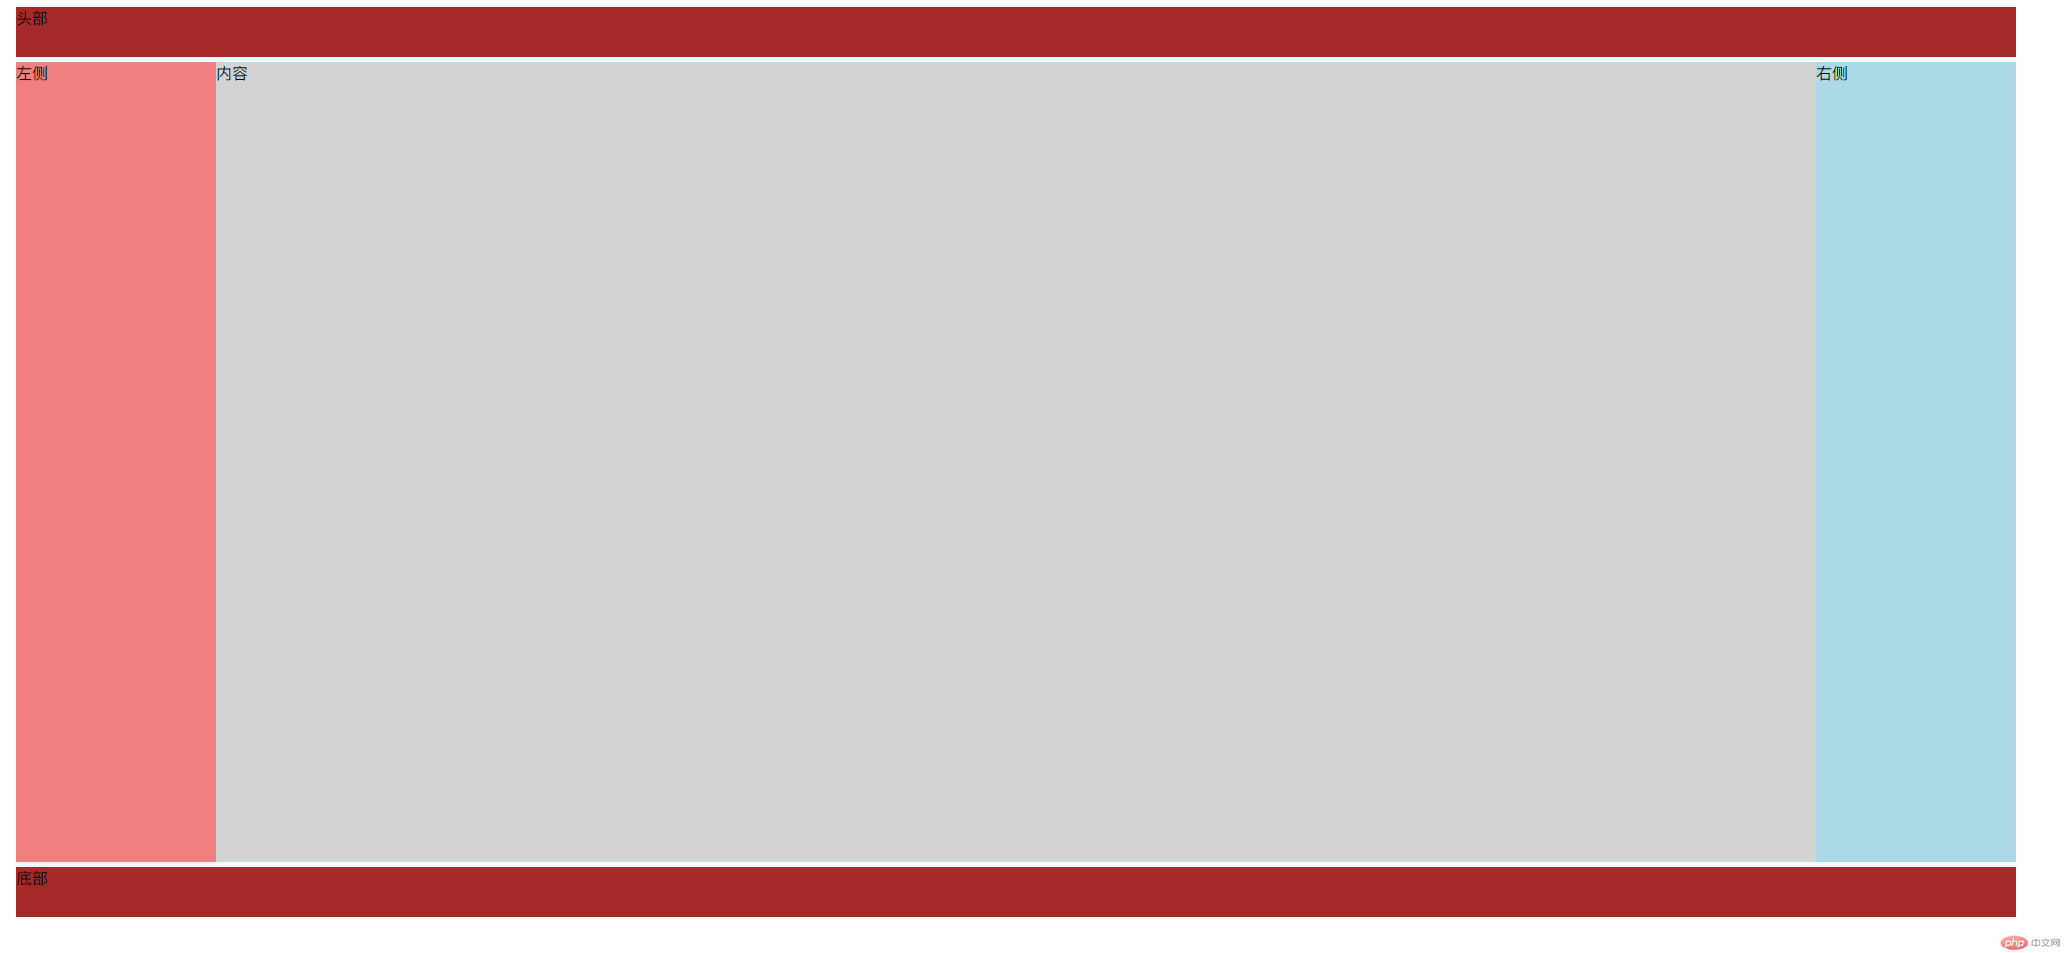
知道了这几个定位属性,我们在网页开发的过程中,就可以通过这些定位来很快速的布局。下面用绝对定位来实行三列布局的实现。
<!DOCTYPE html>
<html lang="en">

<head>
    <meta charset="UTF-8">
    <meta name="viewport" content="width=device-width, initial-scale=1.0">
    <meta http-equiv="X-UA-Compatible" content="ie=edge">
    <title>三列布局绝对定位</title>
    <style>
        .container {
            width: 2000px;
            margin: 0 auto;
            background-color: azure;
        }

        .head,
        .footer {
            height: 50px;
            background-color: brown;
        }

        .main {
            min-height: 800px;
            background-color: pink;
            margin: 5px auto;
            /*给父元素一个定位属性,那么子元素就可以用绝对定位了。*/
            position: relative;
        }

        .left {
            min-height: 800px;
            background-color: lightcoral;
            width: 200px;
            position: absolute;
            top: 0;
            left: 0;
        }

        .content {
            min-height: 800px;
            background-color: lightgray;
            /* 通过挤压放到中间 */
            margin: 0 200px;
        }

        .right {
            min-height: 800px;
            background-color: lightblue;
            width: 200px;
            position: absolute;
            right: 0;
            top: 0;
        }
    </style>
</head>

<body>
    <div class="container">

        <div class="head">头部</div>
        <div class="main">
            <div class="left">左侧</div>
            <div class="content">内容</div>
            <div class="right">右侧</div>
        </div>
        <div class="footer">底部</div>
    </div>
</body>

</html>点击 "运行实例" 按钮查看在线实例
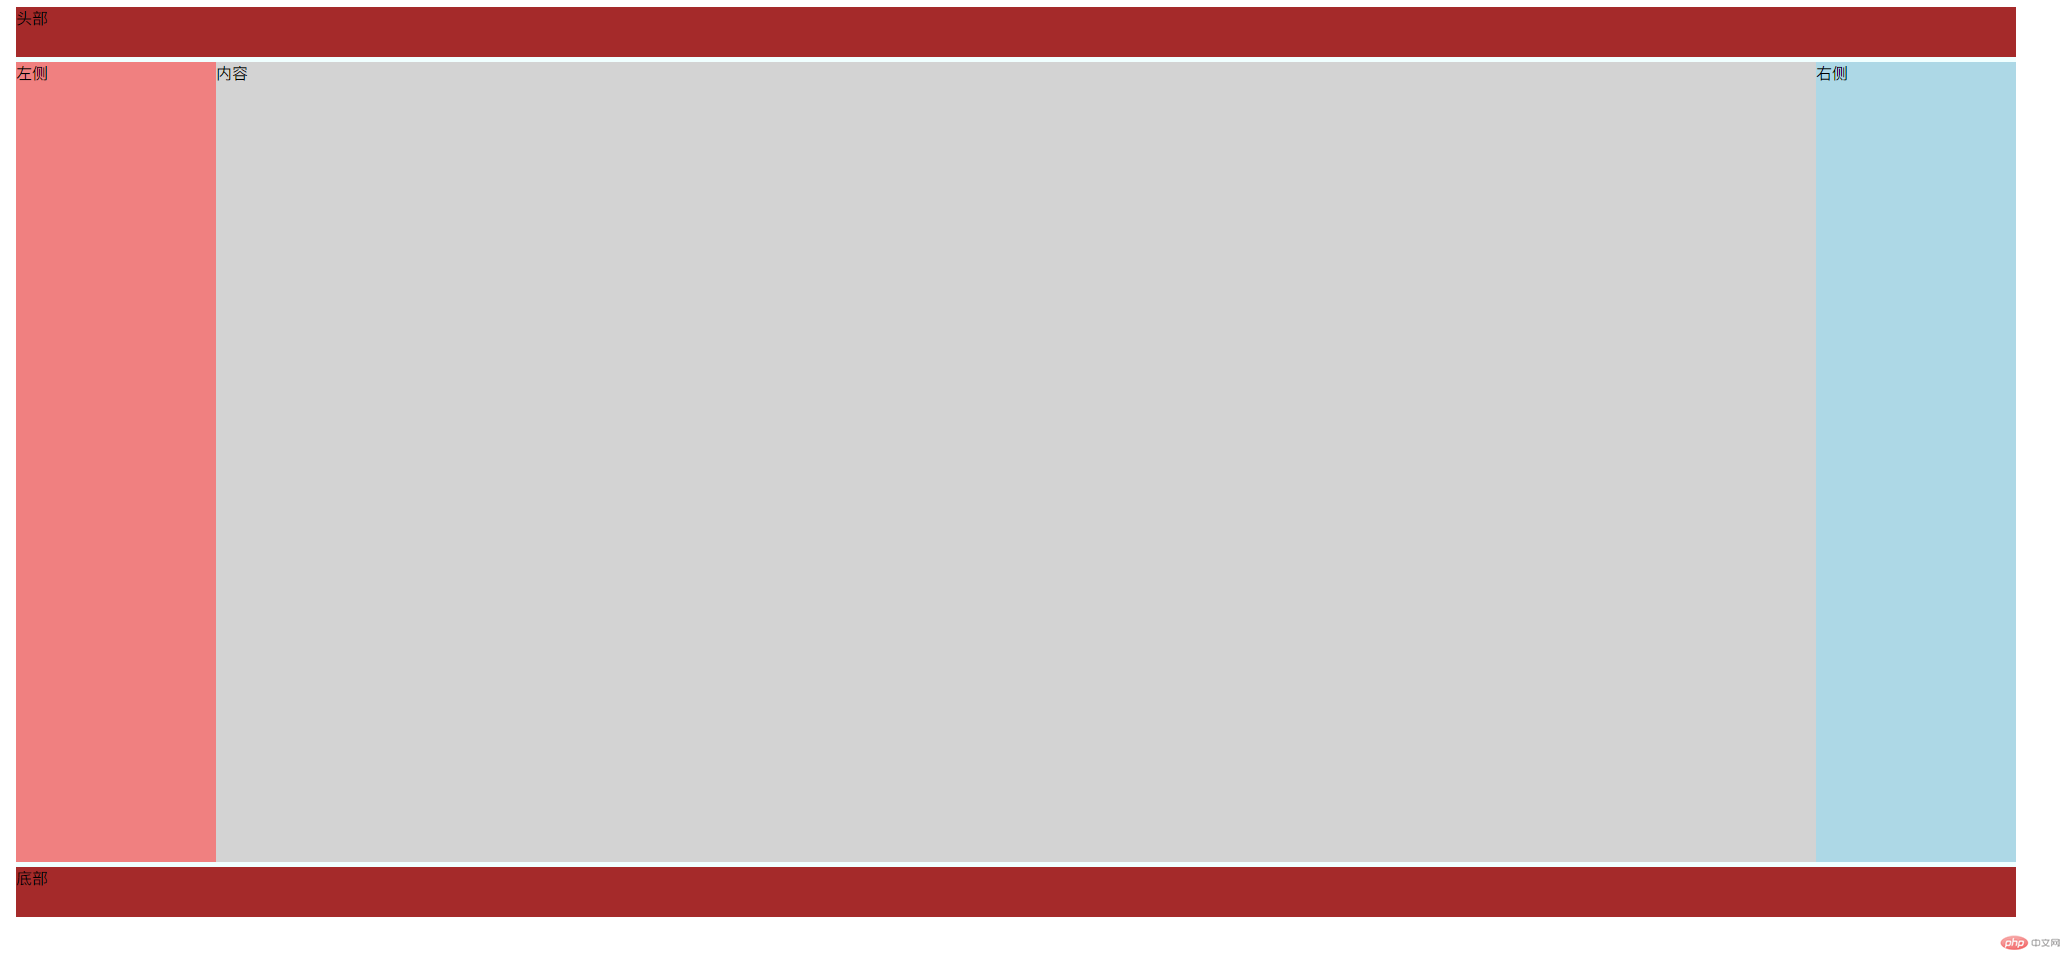
接下来用浮动来实现三列布局。
<!DOCTYPE html>
<html lang="en">

<head>
    <meta charset="UTF-8">
    <meta name="viewport" content="width=device-width, initial-scale=1.0">
    <meta http-equiv="X-UA-Compatible" content="ie=edge">
    <title>三列布局浮动c</title>
    <style>
        .container {
            width: 2000px;
            margin: 0 auto;
            background-color: azure;
        }

        .head,
        .footer {
            height: 50px;
            background-color: brown;
        }

        .main {
            background-color: pink;
            margin: 5px auto;
            overflow: hidden;
        }

        .left {
            min-height: 800px;
            background-color: lightcoral;
            width: 200px;
            float: left;
        }

        .content {
            min-height: 800px;
            background-color: lightgray;
            width: 1600px;
            float: left;
        }

        .right {
            min-height: 800px;
            background-color: lightblue;
            width: 200px;
            float: right;
        }
    </style>
</head>

<body>
    <div class="container">

        <div class="head">头部</div>
        <div class="main">
            <div class="left">左侧</div>
            <div class="content">内容</div>
            <div class="right">右侧</div>
        </div>
        <div class="footer">底部</div>
    </div>
</body>

</html>点击 "运行实例" 按钮查看在线实例

Copyright 2014-2025 https://www.php.cn/ All Rights Reserved | php.cn | 湘ICP备2023035733号