

Detailed explanation of steps to develop react project
This time I will give you a detailed explanation of the steps to develop a react project, and what are the precautions for developing a react project. The following is a practical case, let's take a look.
1. Introduction
When developing a react application, no one should use the traditional method to introduce the react source file (js) and then edit it in html.
Everyone uses webpack es6 combined with react to develop front-end applications.
At this time, we can manually use npm to install various plug-ins to build the environment from beginning to end.
For example:
npm install react react-dom --save
npm install babel babel-loader babel-core babel-preset-es2015 babel-preset-react --save
npm install babel webpack webpack-dev-server -g
Although the process of building it yourself is also a good learning process, sometimes it is inevitable to encounter various problems, especially for beginners, and each time a new application is developed , it would be too cumbersome to build it from scratch.
So, someone developed a scaffolding based on their own experience and best practices to avoid reinventing the wheel and doing useless work during the development process, thus saving development time.
I scanned the internet for scaffolds similar to this that many people use and pay attention to, and found three in total. They are:
react-boilerplate
react-redux-starter-kit
create-react-app
Their attention The volume is very large. As of writing this article, the number of stars on github is as follows:


It can be seen that using these three There are quite a few people working on scaffolding, the most prominent one is create-react-app.
It is coming from behind. Its development time is later than the first two, but it has more attention than them, and it is also officially developed by Facebook.
It is definitely an excellent product.
Let’s introduce its characteristics below.
2. Features
It has many advantages, let’s start with installation and use.
2.1 Simple installation and use
create-react-app is really easy to install. It only requires one command. Unlike other scaffolding, you need to clone it. The source code of the entire scaffolding is modified based on that.
npm install -g create-react-app
After installation, to generate a new project, you can use the following command:
create-react-app my-app
cd my-app/
has created the my-app directory. At this time, use the following command You can start developing applications.
npm start
By default, a server will be started in the development environment, listening on port 3000. It will actively open the browser for you, and you can see the effect of the app immediately.
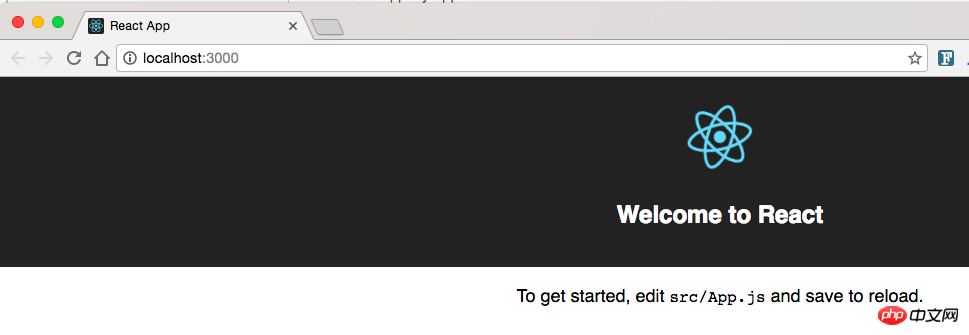
Is not it simple?
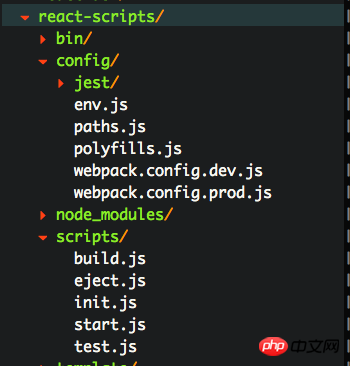
2.2 The source code structure is simple and clear
In the project my-app directory, you will find that the source code is very clear and there are no redundant files.
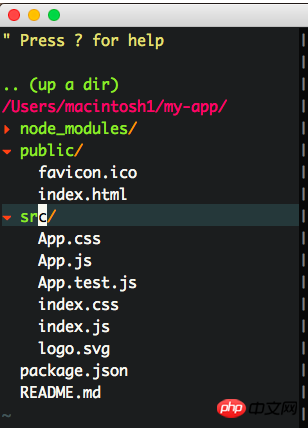
It’s really refreshing. You will put all the source code in the src directory. You don’t need to worry about any configuration files or all kinds of mess. You just Just focus on development, create-react-app will take care of it for you.
The entire source code is simple, small and refreshing! It’s also easy to manage!
If you have used webpack-dev-server or webpack to build a development environment, you will find that create-react-app The development environment also has an automatic refresh function similar to webpack-dev-server's --inline --hot.
What does that mean?
Once the source code file is updated and saved, the browser will automatically refresh, allowing you to view the effect in real time.
You always have to explore what’s going on. Could it be that create-react-app also uses webpack-dev-server?
I looked through the source code and couldn't find the webpack.config.js file. If you use webpack, you should have this file. It's strange.
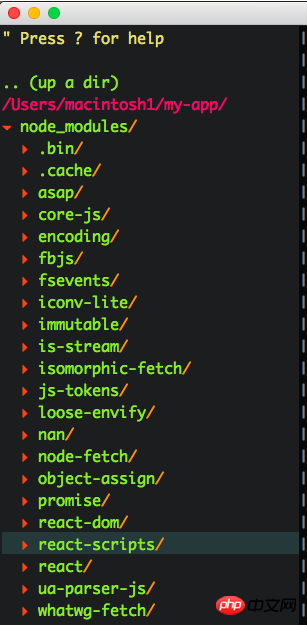
看了一下node_modules目录,也没找到webpack相关的东西。
先源头入手,我是用npm start命令来运行项目的。
就从package.json文件入手,它的内容是这样的:
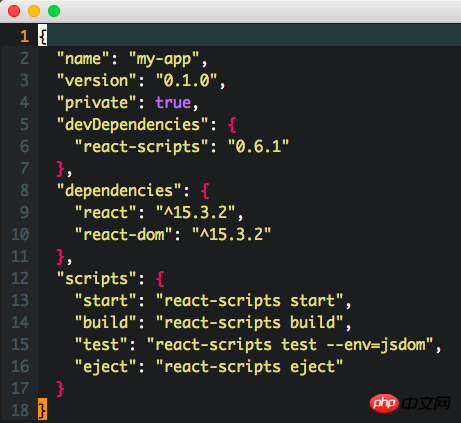
看到了这行:
"start": "react-scripts start"
react-scripts又是什么?
在node_modules目录中能找到它,它果然依赖了好多工具,其中就包括'webpack'。
里面果然也有webpack的配置文件,也有好多脚本文件。
原来它是facebook开发的一个管理create-react-app服务的工具。
原来也是它让整个源码变得很整洁的。
因为它隐藏了没必要的文件,大多数人的配置都是差不多的。
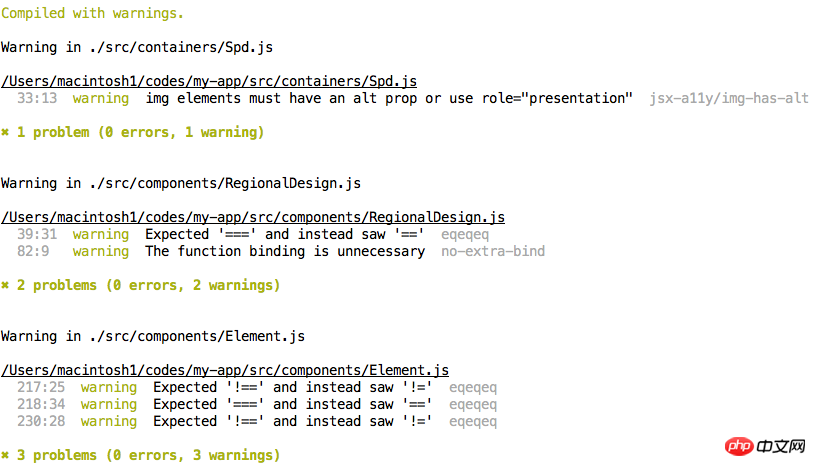
除此之外,它还加入了eslint的功能。让你在开发过程中,更关注于代码,很不错。
2.3线上编译命令
这个是create-react-app的一个大亮点,它能让你的应用骗译出在线上生产环境运行的代码,编译出来的文件很小,且文件名还带hash值,方便我们做cache,而且它还提供一个服务器,让我们在本地也能看到线上生产环境类似的效果,真的超级方便。
只需一行命令:
npm run build
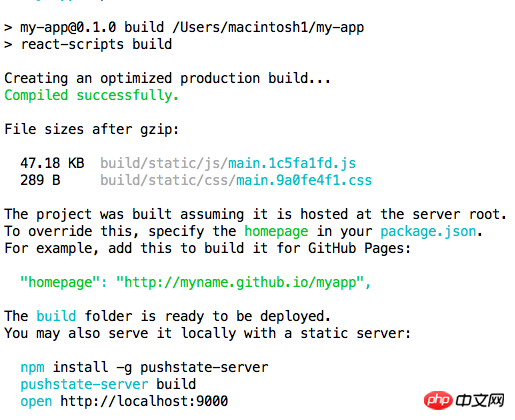
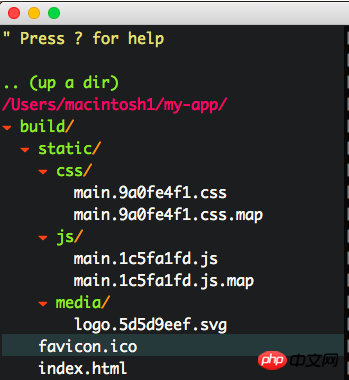
运行下面两条命令,可以查看线上生产环境的运行效果。
npm install -g pushstate-server
pushstate-server build
编译好的文件都会放到build目录中。
2.4 api开发
在开发react应用时,难免与服务器进行数据交互,就是要跟api打交道。
这个时候,有一个问题。
api存在的服务器可能是跟react应用完全分开的,而且,开发环境跟线上环境又不太一样。
比如,开发环境中,你的react应用是跑在3000端口的,可是api服务可能跑在3001端口,这个时候,你跟api服务器交互的时候,可能会使用fetch或各种请求库,比如jquery的ajax。
这个时候可能会遇到CORS问题,毕竟端口不同,而线上环境却没有这个问题,因为你都控制线上环境的react应用和api应用,跑在同一个端口上。
按照以往思路,解决的方法可能是用环境变量,比如:
复制代码 代码如下:
const apiBaseUrl = process.env.NODE_ENV === 'development' ? 'localhost:3001' : '/'
但是这样搞起来,还是有些复杂,然而,create-react-app提供了一个超级简单的方法,只需要在package.json文件中,加一个配置项就可以了。
比如:
"proxy": http://localhost:3001/,
至于你用的是http的何种请求库,都是一样的,不用改任何代码。这个选项,只对开发环境有效,线上环境还是保持react应用和api应用同一个端口。
相信看了本文案例你已经掌握了方法,更多精彩请关注php中文网其它相关文章!
推荐阅读:
The above is the detailed content of Detailed explanation of steps to develop react project. For more information, please follow other related articles on the PHP Chinese website!

Hot AI Tools

Undresser.AI Undress
AI-powered app for creating realistic nude photos

AI Clothes Remover
Online AI tool for removing clothes from photos.

Undress AI Tool
Undress images for free

Clothoff.io
AI clothes remover

Video Face Swap
Swap faces in any video effortlessly with our completely free AI face swap tool!

Hot Article
Hot Tools

Notepad++7.3.1
Easy-to-use and free code editor

SublimeText3 Chinese version
Chinese version, very easy to use

Zend Studio 13.0.1
Powerful PHP integrated development environment

Dreamweaver CS6
Visual web development tools

SublimeText3 Mac version
God-level code editing software (SublimeText3)
Hot Topics


 How to perform real-name authentication on Jingdong Mall APP
Mar 19, 2024 pm 02:31 PM
How to perform real-name authentication on Jingdong Mall APP
Mar 19, 2024 pm 02:31 PM
How to get real-name authentication on Jingdong Mall APP? Jingdong Mall is an online shopping platform that many friends often use. Before shopping, it is best for everyone to conduct real-name authentication so that they can enjoy complete services and get a better shopping experience. The following is the real-name authentication method for JD.com, I hope it will be helpful to netizens. 1. Install and open JD.com, and then log in to your personal account; 2. Then click [My] at the bottom of the page to enter the personal center page; 3. Then click the small [Settings] icon in the upper right corner to go to the setting function interface; 4. Select [Account and Security] to go to the account settings page; 5. Finally, click the [Real-name Authentication] option to fill in the real-name information; 6. The installation system requires you to fill in your real personal information and complete the real-name authentication
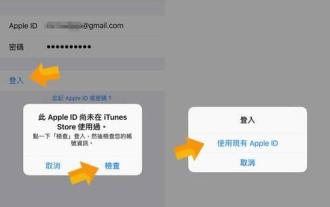 Steps and precautions for registering a Hong Kong Apple ID (enjoy the unique advantages of the Hong Kong Apple Store)
Sep 02, 2024 pm 03:47 PM
Steps and precautions for registering a Hong Kong Apple ID (enjoy the unique advantages of the Hong Kong Apple Store)
Sep 02, 2024 pm 03:47 PM
Apple's products and services have always been loved by users around the world. Registering a Hong Kong Apple ID will bring more convenience and privileges to users. Let’s take a look at the steps to register a Hong Kong Apple ID and what you need to pay attention to. How to register a Hong Kong Apple ID When using Apple devices, many applications and functions require using Apple ID to log in. If you want to download applications from Hong Kong or enjoy the preferential content of the Hong Kong AppStore, it is very necessary to register a Hong Kong Apple ID. This article will detail the steps on how to register a Hong Kong Apple ID and what you need to pay attention to. Steps: Select language and region: Find the "Settings" option on your Apple device and enter
 How to cancel the data package on China Unicom app How to cancel the data package on China Unicom
Mar 18, 2024 pm 10:10 PM
How to cancel the data package on China Unicom app How to cancel the data package on China Unicom
Mar 18, 2024 pm 10:10 PM
The China Unicom app can easily meet everyone's needs. It has various functions to solve your needs. If you want to handle various services, you can easily do it here. If you don't need it, you can unsubscribe in time here. It is effective. To avoid subsequent losses, many people sometimes feel that the data is not enough when using mobile phones, so they buy additional data packages. However, they don’t want it next month and want to unsubscribe immediately. Here, the editor explains We provide a method to unsubscribe, so that friends who need it can come and use it! In the China Unicom app, find the "My" option in the lower right corner and click on it. In the My interface, slide the My Services column and click the "I have ordered" option
 PHP, Vue and React: How to choose the most suitable front-end framework?
Mar 15, 2024 pm 05:48 PM
PHP, Vue and React: How to choose the most suitable front-end framework?
Mar 15, 2024 pm 05:48 PM
PHP, Vue and React: How to choose the most suitable front-end framework? With the continuous development of Internet technology, front-end frameworks play a vital role in Web development. PHP, Vue and React are three representative front-end frameworks, each with its own unique characteristics and advantages. When choosing which front-end framework to use, developers need to make an informed decision based on project needs, team skills, and personal preferences. This article will compare the characteristics and uses of the three front-end frameworks PHP, Vue and React.
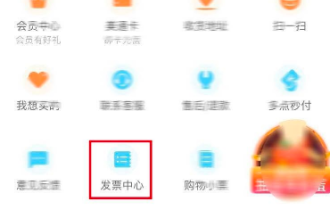 How to issue invoices with multipoint app
Mar 14, 2024 am 10:00 AM
How to issue invoices with multipoint app
Mar 14, 2024 am 10:00 AM
As a shopping voucher, invoices are crucial to our daily lives and work. So when we usually use Duodian app for shopping, how can we easily issue invoices in Duodian app? Below, the editor of this website will bring you a detailed step-by-step guide for opening invoices on multi-point apps. Users who want to know more must not miss it. Come and follow the text to learn more! In the [Invoice Center], click [Multi-Point Supermarket/Free Shopping], select the order that needs to be invoiced on the completed order page, click Next to fill in the [Invoice Information], [Recipient Information], and click Submit after confirming that they are correct. After a few minutes, enter the receiving mailbox, open the email, click on the electronic invoice download address, and finally download and print the electronic invoice.
 Integration of Java framework and front-end React framework
Jun 01, 2024 pm 03:16 PM
Integration of Java framework and front-end React framework
Jun 01, 2024 pm 03:16 PM
Integration of Java framework and React framework: Steps: Set up the back-end Java framework. Create project structure. Configure build tools. Create React applications. Write REST API endpoints. Configure the communication mechanism. Practical case (SpringBoot+React): Java code: Define RESTfulAPI controller. React code: Get and display the data returned by the API.
 Blackmagic\'s pro-level video app lands on Android, but your phone probably can\'t run it
Jun 25, 2024 am 07:06 AM
Blackmagic\'s pro-level video app lands on Android, but your phone probably can\'t run it
Jun 25, 2024 am 07:06 AM
Blackmagic Design has finally brought its well-praised Blackmagic Camera app to Android. The professional video camera app is free to download, and it offers complete manual controls. These controls aim to make it easier for you to take pro-level cin
 How to declare personal income tax app How to declare personal income tax app
Mar 12, 2024 pm 07:40 PM
How to declare personal income tax app How to declare personal income tax app
Mar 12, 2024 pm 07:40 PM
How to declare personal income tax on the app? Personal Income Tax is a very practical mobile software. Users can declare some businesses on this software, and can also make tax refunds on this software. As long as the user downloads this software, he or she does not have to wait in line offline, which is very convenient. Many users still don’t know how to use personal income tax software to file returns. The following editor has compiled the reporting methods of personal income tax software for your reference. Personal income tax app declaration method 1. First, open the software, find and click the "I want to file taxes" button on the homepage; 2. Then, find and click "Annual Comprehensive Income Summary" in the tax declaration here.
