

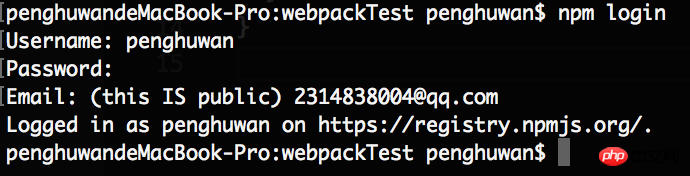
Share using npm to install/delete/publish/update/unpublish packages


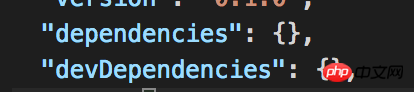

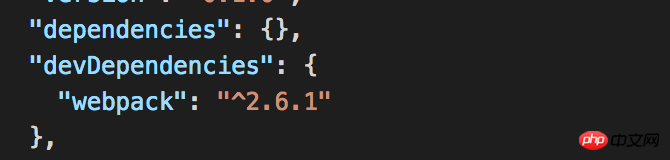


Write it into .gitignore or .npmignore, and the upload will be ignored

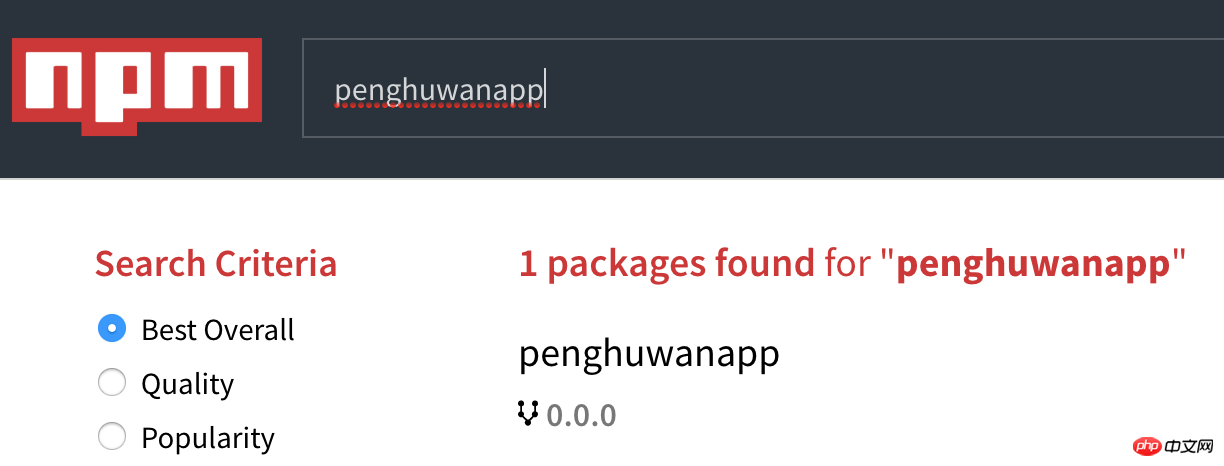
, I couldn’t find it after searching on npm

Even if

 【End】
【End】
The above is the detailed content of Share using npm to install/delete/publish/update/unpublish packages. For more information, please follow other related articles on the PHP Chinese website!

Hot AI Tools

Undresser.AI Undress
AI-powered app for creating realistic nude photos

AI Clothes Remover
Online AI tool for removing clothes from photos.

Undress AI Tool
Undress images for free

Clothoff.io
AI clothes remover

Video Face Swap
Swap faces in any video effortlessly with our completely free AI face swap tool!

Hot Article
Hot Tools

Notepad++7.3.1
Easy-to-use and free code editor

SublimeText3 Chinese version
Chinese version, very easy to use

Zend Studio 13.0.1
Powerful PHP integrated development environment

Dreamweaver CS6
Visual web development tools

SublimeText3 Mac version
God-level code editing software (SublimeText3)
Hot Topics


 Is it true that you can be blocked and deleted on WeChat and permanently unable to be added?
Apr 08, 2024 am 11:41 AM
Is it true that you can be blocked and deleted on WeChat and permanently unable to be added?
Apr 08, 2024 am 11:41 AM
1. First of all, it is false to block and delete someone permanently and not add them permanently. If you want to add the other party after you have blocked them and deleted them, you only need the other party's consent. 2. If a user blocks someone, the other party will not be able to send messages to the user, view the user's circle of friends, or make calls with the user. 3. Blocking does not mean deleting the other party from the user's WeChat contact list. 4. If the user deletes the other party from the user's WeChat contact list after blocking them, there is no way to recover after deletion. 5. If the user wants to add the other party as a friend again, the other party needs to agree and add the user again.
 How to completely delete TikTok chat history
May 07, 2024 am 11:14 AM
How to completely delete TikTok chat history
May 07, 2024 am 11:14 AM
1. Open the Douyin app, click [Message] at the bottom of the interface, and click the chat conversation entry that needs to be deleted. 2. Long press any chat record, click [Multiple Select], and check the chat records you want to delete. 3. Click the [Delete] button in the lower right corner and select [Confirm deletion] in the pop-up window to permanently delete these records.
 PHP Practical Tip: Remove the last semicolon in your code
Mar 27, 2024 pm 02:24 PM
PHP Practical Tip: Remove the last semicolon in your code
Mar 27, 2024 pm 02:24 PM
Practical PHP Tips: Delete the Last Semicolon in the Code When writing PHP code, you often encounter situations where you need to delete the last semicolon in the code. This may be because copy-pasting introduces extra semicolons, or to optimize code style and structure. In this article, we will introduce some methods to remove the last semicolon in PHP code and provide specific code examples. Method 1: Use the substr function The substr function can return a substring of a specified length from a string. we can
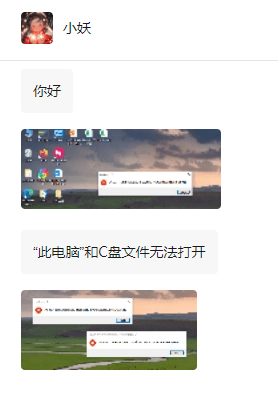 Windows cannot access the specified device, path, or file
Jun 18, 2024 pm 04:49 PM
Windows cannot access the specified device, path, or file
Jun 18, 2024 pm 04:49 PM
A friend's computer has such a fault. When opening "This PC" and the C drive file, it will prompt "Explorer.EXE Windows cannot access the specified device, path or file. You may not have the appropriate permissions to access the project." Including folders, files, This computer, Recycle Bin, etc., double-clicking will pop up such a window, and right-clicking to open it is normal. This is caused by a system update. If you also encounter this situation, the editor below will teach you how to solve it. 1. Open the registry editor Win+R and enter regedit, or right-click the start menu to run and enter regedit; 2. Locate the registry "Computer\HKEY_CLASSES_ROOT\PackagedCom\ClassInd"
 Detailed steps to install Go language on Win7 computer
Mar 27, 2024 pm 02:00 PM
Detailed steps to install Go language on Win7 computer
Mar 27, 2024 pm 02:00 PM
Detailed steps to install Go language on Win7 computer Go (also known as Golang) is an open source programming language developed by Google. It is simple, efficient and has excellent concurrency performance. It is suitable for the development of cloud services, network applications and back-end systems. . Installing the Go language on a Win7 computer allows you to quickly get started with the language and start writing Go programs. The following will introduce in detail the steps to install the Go language on a Win7 computer, and attach specific code examples. Step 1: Download the Go language installation package and visit the Go official website
 How to delete WeChat Moments
Apr 08, 2024 pm 03:25 PM
How to delete WeChat Moments
Apr 08, 2024 pm 03:25 PM
1. Open the WeChat app, click [Me] in the lower right corner, find and click the [Moments] option. 2. Click [My Moments] in the upper right corner and find the content in the Moments you want to delete on the My Moments interface. 3. Click to enter the details page of this circle of friends, and click the [small trash can] icon to the right of the content release time. 4. Select [OK] in the pop-up window, thus completing the operation of deleting the content in the circle of friends.
 How to install Go language under Win7 system?
Mar 27, 2024 pm 01:42 PM
How to install Go language under Win7 system?
Mar 27, 2024 pm 01:42 PM
Installing Go language under Win7 system is a relatively simple operation. Just follow the following steps to successfully install it. The following will introduce in detail how to install Go language under Win7 system. Step 1: Download the Go language installation package. First, open the Go language official website (https://golang.org/) and enter the download page. On the download page, select the installation package version compatible with Win7 system to download. Click the Download button and wait for the installation package to download. Step 2: Install Go language
 Windows permanently pauses updates, Windows turns off automatic updates
Jun 18, 2024 pm 07:04 PM
Windows permanently pauses updates, Windows turns off automatic updates
Jun 18, 2024 pm 07:04 PM
Windows updates may cause some of the following problems: 1. Compatibility issues: Some applications, drivers, or hardware devices may be incompatible with new Windows updates, causing them to not work properly or crash. 2. Performance issues: Sometimes, Windows updates may cause the system to become slower or experience performance degradation. This may be due to new features or improvements requiring more resources to run. 3. System stability issues: Some users reported that after installing Windows updates, the system may experience unexpected crashes or blue screen errors. 4. Data loss: In rare cases, Windows updates may cause data loss or file corruption. This is why before making any important updates, back up your
