For work needs, I have to develop a WeChat applet recently. This is a challenge for me. Because it is my first contact, I am very excited and want to try the development of the currently popular applet. In order to live up to the trust of the WeChat team, I decided to fight! But after all, I am an Android engineer! So let’s start from scratch!
Start a small program from scratch
So this article is very suitable for non-front-end engineers to learn! Ha ha! It is said that front-end mini programs will steal jobs on the mobile side, but as far as I know, many people who are studying now are mobile development engineers, and it is not certain who will grab whom!
PS: I asked how I got the qualification for internal testing of the mini program. There is something called internal resources!
Preparation work
IDE building
Knowledge preparation
Start from scratch
app.js
app.json
app.wxml
app.wxss
Hello World
Create program instance
Beautify the ActionBar
Beautify the page
Configure the homepage
-
Super Hello World
Event binding function
-
Update interface data
Preparation work
IDE construction
I won’t go into details. If you don’t have the beta code, just download a cracked version. I used it and it was enough for learning. ! IDE cracked version installation tutorial
Knowledge preparation
JavaScript still needs to be read, recommended tutorial Liao Xuefeng’s blog
HTML CSS Approximately Just know what it does
Start from scratch
There are four types of files in the WeChat applet
- ##js ---------- JavaScript file
- #json -------- Project configuration file, responsible for Window color, etc.
- wxml ------- Similar to HTML file
- wxss ------- Similar to CSS files
These four are named with app in the root directory The file of medium type is the program entry file.
app.json
This file must be present. If there is no such file, the IDE will report an error because the WeChat framework uses this as the configuration file entry.
You only need to create this file. Just write curly brackets inside
We will configure the global configuration of the entire applet here in the future. The page composition is recorded, the window background color of the mini program is configured, the navigation bar style is configured, and the default title is configured.
app.js
This file must be present, otherwise an error will be reported! But just create this file. You don’t need to write anything.
In the future, we can monitor and process the life cycle functions of the mini program and declare global variables in this file.
app.wxss
This file is not required. Because it is just a global CSS style file
app.wxml
This is not necessary, and this does not refer to the main interface~because the main page of the mini program is based on the JSON file It depends on the configuration
With these two files, when you run the program, the IDE will not report an error, which also means that this is the simplest WeChat applet
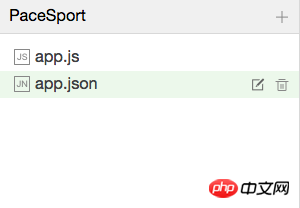
Paste_Image.png
Hello World
Create a program instance
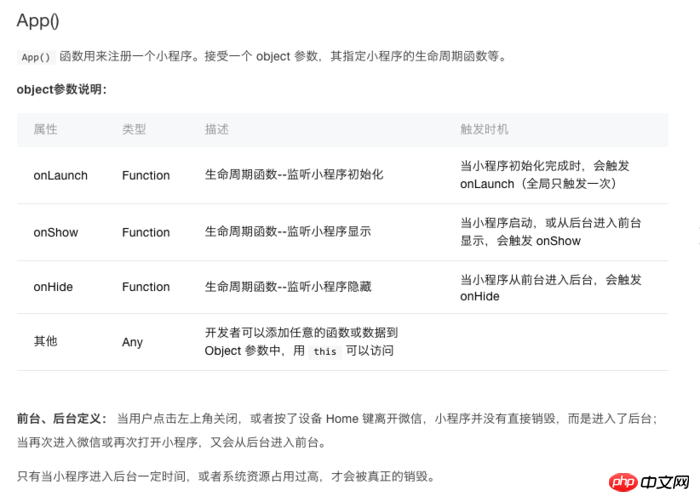
The app.js file manages the life cycle of the entire program, so Add the following code inside: (there will be a prompt when entering App IDE)
App({
  onLaunch: function () {
    console.log('App Launch')
  },
  onShow: function () {
    console.log('App Show')
  },
  onHide: function () {
    console.log('App Hide')
  }
})
Copy after login
The specific API is explained as follows
Beautify ActionBar
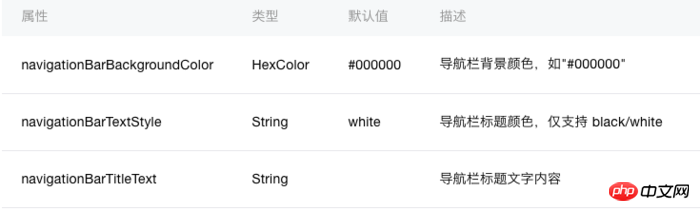
The json file is responsible for configuring the ActionBar color. We only need to add the following code in it. The parameters are explained in the figure below!

{
    "window":{
        "navigationBarBackgroundColor": "#BBDEF8",
        "navigationBarTitleText": "Demo",
        "navigationBarTextStyle":"white"
    }
}
Copy after login
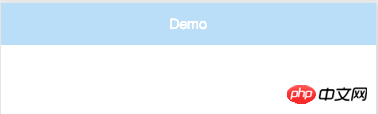
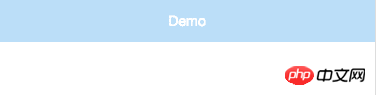
Now let’s see if the ActionBar looks like that! Okay, let’s continue writing our first interface
Beautify the page
We use wxml and wxss files to beautify the page
In order to keep the program code structure simple
We need Create a new folder in the following directory with a random name. Let’s call it pages
. Then create a new folder in the pages folder with a random name. Here we’ll call it index
. Then we create the index.wxml file and write in it. Enter the following code
Then create the index.wxss file and write the following code in it
.window{
  color=#4995fa;
}
Copy after login
Then we create the index.js file
Enter the following code in the file (enter Page IDE There will be a prompt)
Page({
  data:{
    // text:"这是一个页面"
  },
  onLoad:function(options){
    // 页面初始化 options为页面跳转所带来的参数
  },
  onReady:function(){
    // 页面渲染完成
  },
  onShow:function(){
    // 页面显示
  },
  onHide:function(){
    // 页面隐藏
  },
  onUnload:function(){
    // 页面关闭
  }
})
Copy after login
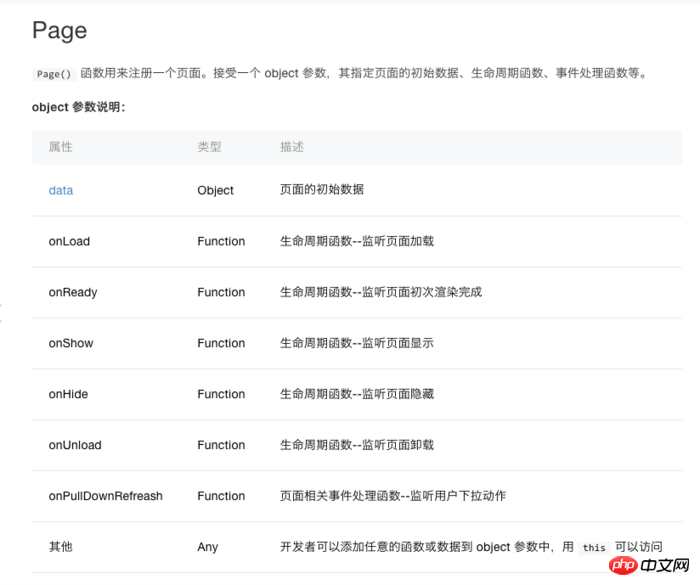
The function is explained as follows:
配置首页
Json文件负责配置页面路径
所以我们在里面加入如下代码
其中index的含义 其实就是指index.js文件
这里需要说明一点 pages 里面的路径其实是指向js文件的
如果一个目录下没有该名称的js文件是会报错的!
"pages":[
  "pages/index/index"
],
Copy after login
完成了!我们来运行程序!
超级Hello World
为了学习事件绑定,以及如何将数据在页面上更新
我们来做个超级Hello World,就是我点击文字,能让
它变色!
绑定事件
我们打开index.wxml 将里面代码改成这样
其实也就是加了
这两个属性是什么意思呢 别着急 我会一一解释
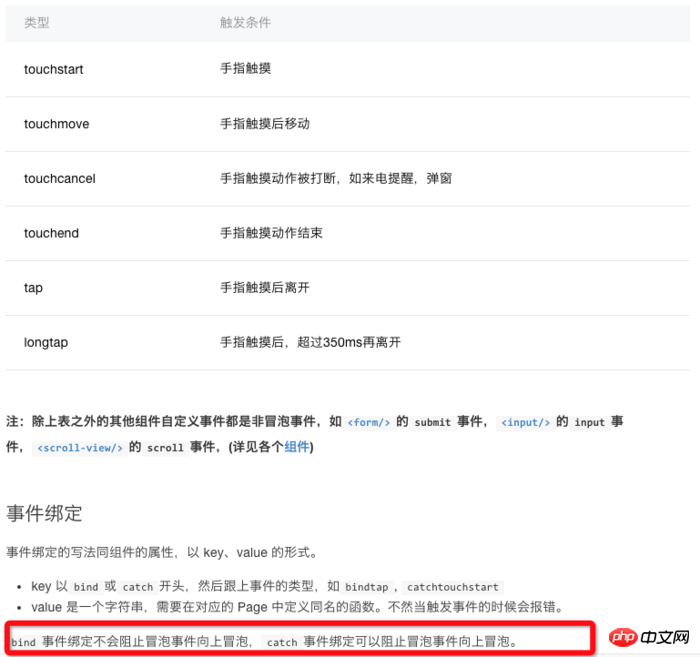
上图展示了事件的一些的属性名称,这里需要注意红框标注起来的内容,区分出冒泡事件和非冒泡事件,其实冒泡事件就是需要往上面一层容器传递这个事件。
看了这图 我们再来看 catchtap="click" 的含义
catch 代表非冒泡事件
tap 代表点击事件
所以连在一起就是非冒泡点击事件
那后面那个click是啥
click 其实只是个变量名字
我们在index.js需要用这个名字绑定接收事件的函数
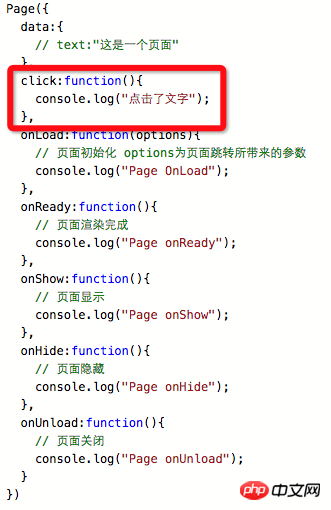
我们打开index.js
然后添加如下函数
  click:function(){
    console.log("点击了文字");
  },
Copy after login
添加完后代码长这样 红框中就是 添加的这个代码
所以其实点击事件的回调函数 就是 catchtap="click"
中的 click 后面加上 :function() 构成的
现在我们来运行程序试试 然后点击文字
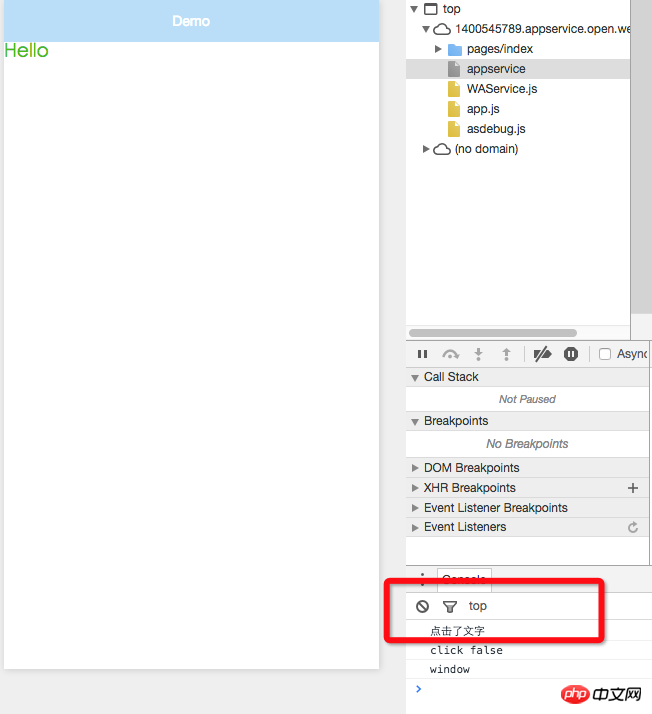
看是不是调用了 click:function 函数 并且打出了log
好接下来我们写点击一下变色的逻辑
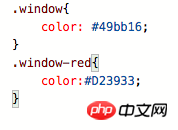
那如何让一个文字变色呢,当然是css
所以我们需要再index.wxss 中添加一个样式
.window-red{
    color:#D23933;
}
Copy after login
然后我们进入index.js文件
你会发现代码里面有个 data:{} 它不是page生命周期函数
其实他是个变量的数组,这个里面申请的变量都可以在 wxml中使用
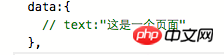
我们在这里申请一个color
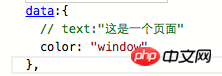
color的值就是index.wxss中的样式名称
然后进入index.wxml中,将class中的值改成 {{color}}

其实意思就是 将js文件中变量 color的值在这里使用
也就是值等于 window
然后我们再回到index.js文件
在最上面申请一个变量控制点击
然后在click:function() 函数中添加如下代码
 click:function(){
    console.log("点击了文字");
      if(flag){
        color = "window-red";
        flag = false;
      }else{
        color = "window";
        flag = true;
      }
      this.setData({
        color
      });
  },
Copy after login
修改完后的代码如图
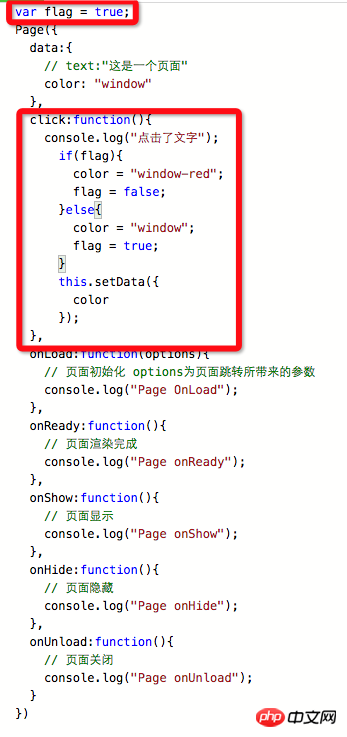
其实就是在点击是后 更换color变量的值 而更换的这个值其实就是样式的名称
更新界面数据
这里有个问题 我们更换完值 但是在wxml中不会立即生效
所以我们需要调用
this.setData()方法将值同步给wxml 让它立即生效
好了我们运行程序 点击Hello 看看是不是点一下 变一下颜色!

最后再补充一点 index目录下也是可以配置 json文件的
也就是每个页面都可以配置自己独特的actionbar颜色等等
这里的配置会覆盖 app.json文件的配置
最后由于着急睡觉 ,所以错别字比较多,后面整理望大家见谅
喜欢的话我会继续写下去的
相关推荐:
从零开始开发微信小程序(一)
微信小程序开发基础篇之app.js(3)
Online video tutorial: WeChat mini program practical development video tutorial-free
The above is the detailed content of Simple and easy to understand--suitable for zero-based WeChat experience mini program development tutorial. For more information, please follow other related articles on the PHP Chinese website!


![[Web front-end] Node.js quick start](https://img.php.cn/upload/course/000/000/067/662b5d34ba7c0227.png)


