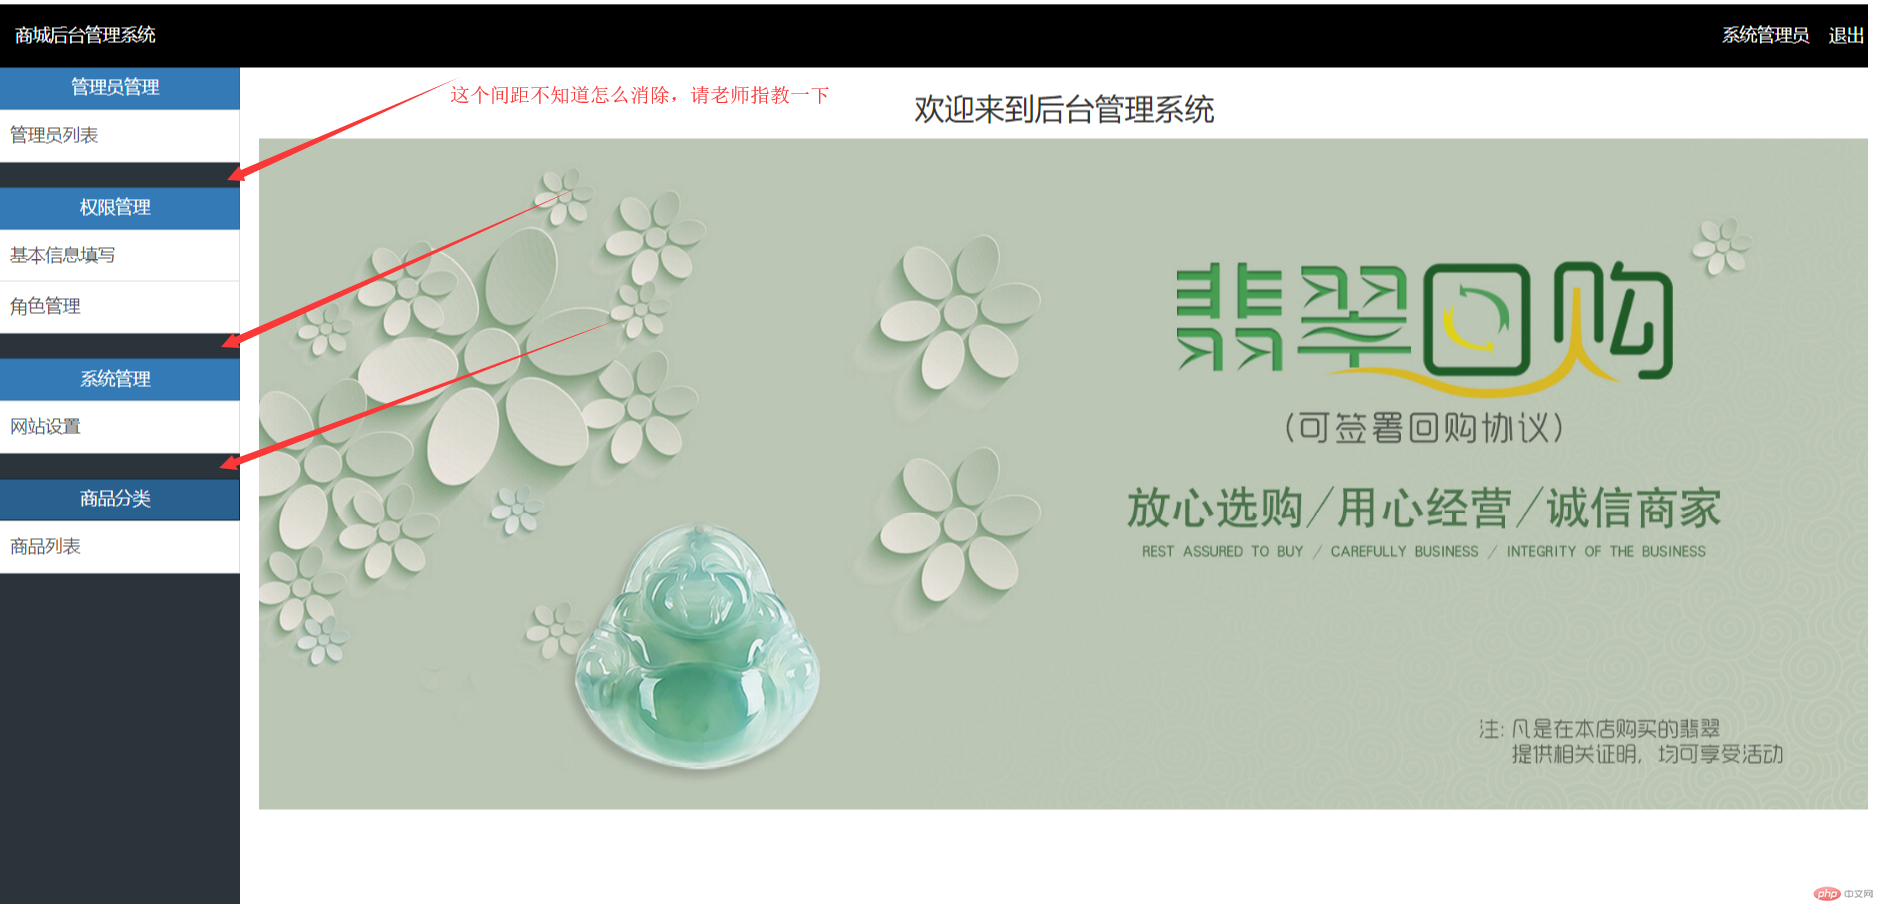
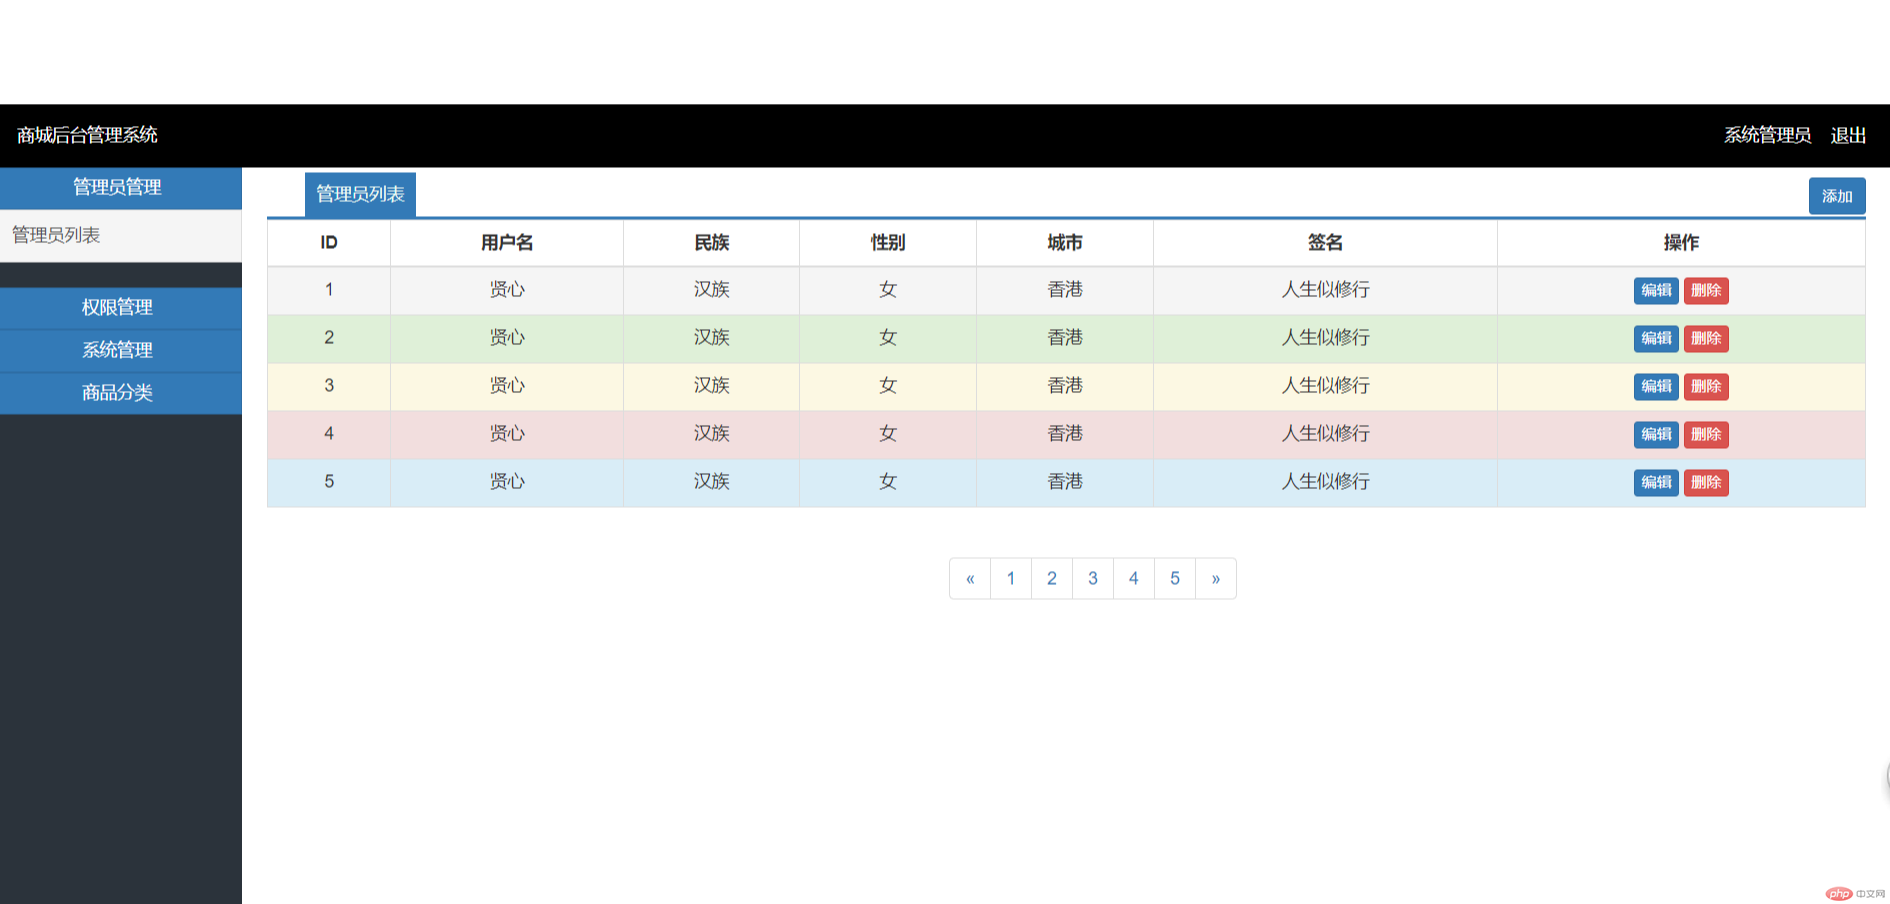
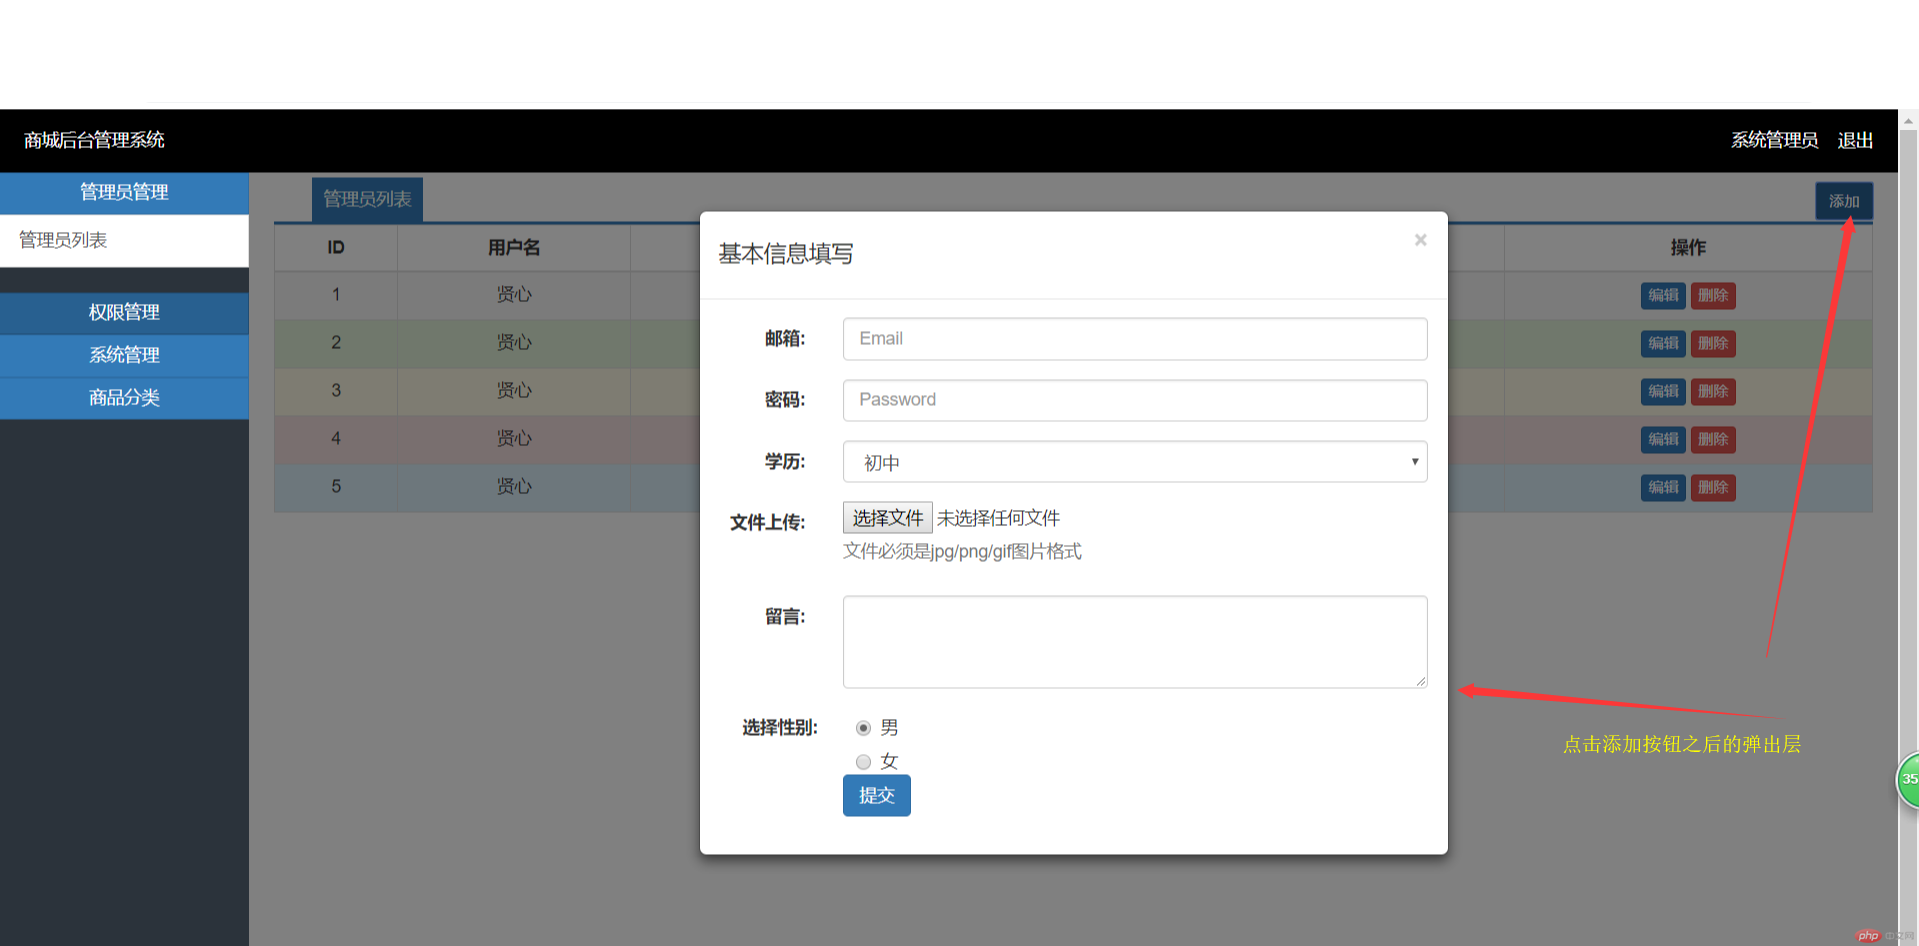
摘要:<!doctype html> <html lang="en"> <head> <meta charset="UTF-8"> <meta name="viewp
<!doctype html>
<html lang="en">
<head>
<meta charset="UTF-8">
<meta name="viewport"
content="width=device-width, user-scalable=no, initial-scale=1.0, maximum-scale=1.0, minimum-scale=1.0">
<meta http-equiv="X-UA-Compatible" content="ie=edge">
<link rel="stylesheet" href="../lib/dist/css/bootstrap.css">
<title>后台首页</title>
<style type="text/css">
*{margin:0px;padding:0px;}
.header{height:50px;line-height: 50px;background: #000000;color:#fff;}
.title{margin-left:20px;}
.user{float:right;margin-right: 20px;}
.user a{color:#fff;}
.menu{width:200px;background: #2B333B;position: absolute;}
.menu #declare1 *,#declare2 *,#declare3 *,#declare4 *,a[href="#declare1"],
a[href="#declare2"],a[href="#declare3"],a[href="#declare4"]{border-radius: 0;}
.content{position:absolute;left:200px;right: 0px;}
</style>
</head>
<body>
<div class="header">
<span class="title">商城后台管理系统</span>
<span class="user">系统管理员 <span><a href="">退出</a></span></span>
</div>
<div class="menu">
<!--折叠菜单-->
<a href="#declare1" class="btn btn-primary btn-block" data-toggle="collapse">管理员管理</a>
<div class="collapse" id="declare1">
<div class="list-group">
<a href="#" class="list-group-item" onclick="menuFire(this)" src="admin.html">管理员列表</a>
</div>
</div>
<a href="#declare2" class="btn btn-primary btn-block" data-toggle="collapse">权限管理</a>
<div class="collapse" id="declare2" >
<div class="list-group">
<a href="#" class="list-group-item" onclick="menuFire(this)" src="form.html">基本信息填写</a>
<a href="#" class="list-group-item">角色管理</a>
</div>
</div>
<a href="#declare3" class="btn btn-primary btn-block" data-toggle="collapse">系统管理</a>
<div class="collapse" id="declare3">
<div class="list-group">
<a href="#" class="list-group-item" >网站设置</a>
</div>
</div>
<a href="#declare4" class="btn btn-primary btn-block" data-toggle="collapse">商品分类</a>
<div class="collapse" id="declare4">
<div class="list-group">
<a href="#" class="list-group-item">商品列表</a>
</div>
</div>
</div>
<div class="content">
<iframe src="index.html" onload="resetShowHeight(this)" style="width:100%;height:100%;" frameborder="0" scrolling="0"></iframe>
</div>
<script type="text/javascript" src="../lib/jquery.js"></script>
<script type="text/javascript" src="../lib/dist/js/bootstrap.js"></script>
<script>
$(document).ready(function(){
resetMenuHeight();
})
//重新设置菜单容器高度
function resetMenuHeight() {
var height=document.documentElement.clientHeight-50;
$('.menu').height(height)
}
//点击菜单
function menuFire(obj){
//获取url
var src=$(obj).attr('src')
$('iframe').attr('src',src)
}
//调整主操作页面的高度
function resetShowHeight(obj){
var height=parent.document.documentElement.clientHeight-50;
$(obj).parent('div').height(height)
}
</script>
</body>
</html>总结:通过这一段时间对于bootstrap的学习,基本掌握了框架的使用,对于这个后台的制作,更加巩固了bootstrap框架的知识。现在,我已经学会了layui和bootstrap框架了,但是,还需要多加的练习。


批改老师:天蓬老师批改时间:2018-11-30 11:47:26
老师总结:上面和下面的边距, 可以通过设置padding/ margin的负值来解决,试试看


