
 Software Tutorial
Computer Software
How to create a region in AutoCAD 2014_How to create a region in AutoCAD 2014
Software Tutorial
Computer Software
How to create a region in AutoCAD 2014_How to create a region in AutoCAD 2014
How to create a region in AutoCAD 2014_How to create a region in AutoCAD 2014

Have you encountered any difficulties in creating regions while learning AutoCAD 2014? Don’t worry, PHP editor Yuzai has specially compiled this article to provide you with a detailed guide to creating areas in AutoCAD 2014. Through the following content, you will learn how to easily create regions and solve your confusion. Read on for step-by-step instructions and examples.
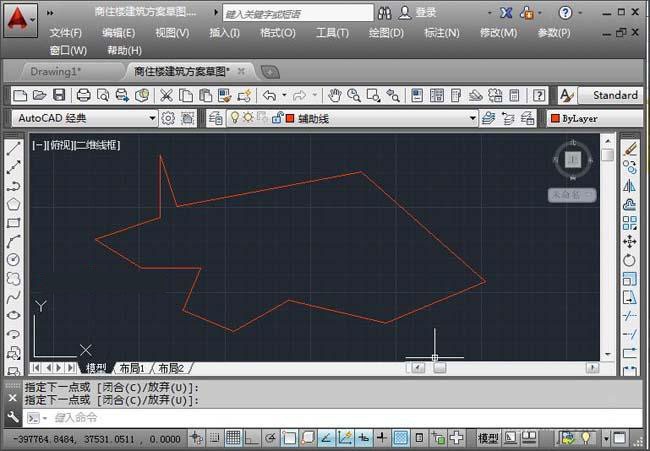
Step 1: Open the AutoCAD 2014 software, use the straight line tool, and draw a random graphic, as shown in the figure below.
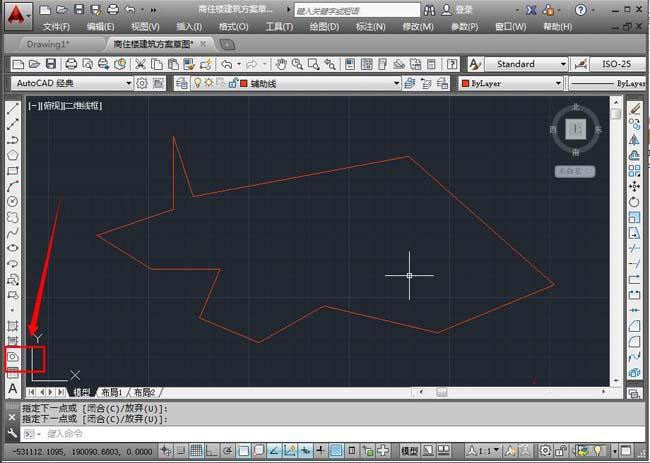
Step 2: After drawing the graphic, then click the area tool, as shown in the figure below.
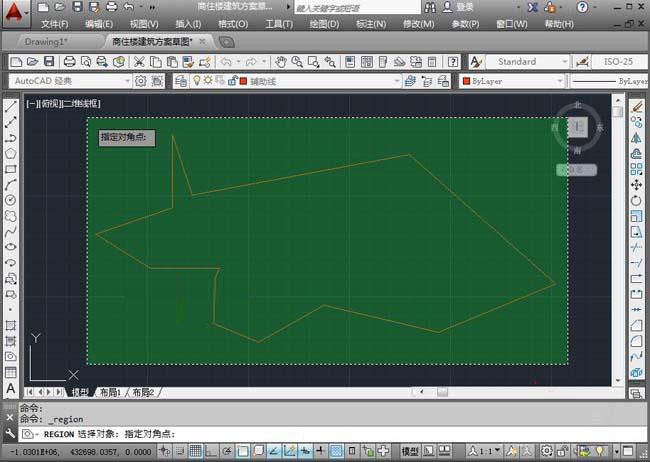
Step 3: Then click on the area object and click on the space, as shown in the figure below.
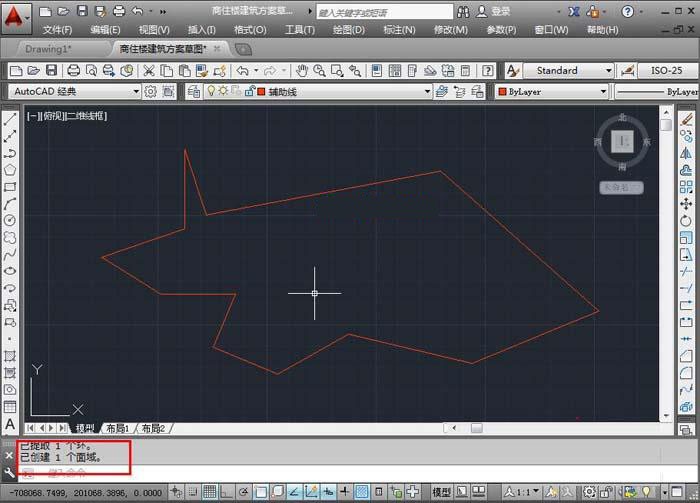
Step 4: The last simple area object is created, as shown in the figure below.
The above is the detailed content of How to create a region in AutoCAD 2014_How to create a region in AutoCAD 2014. For more information, please follow other related articles on the PHP Chinese website!

Hot AI Tools

Undresser.AI Undress
AI-powered app for creating realistic nude photos

AI Clothes Remover
Online AI tool for removing clothes from photos.

Undress AI Tool
Undress images for free

Clothoff.io
AI clothes remover

Video Face Swap
Swap faces in any video effortlessly with our completely free AI face swap tool!

Hot Article
Hot Tools

Notepad++7.3.1
Easy-to-use and free code editor

SublimeText3 Chinese version
Chinese version, very easy to use

Zend Studio 13.0.1
Powerful PHP integrated development environment

Dreamweaver CS6
Visual web development tools

SublimeText3 Mac version
God-level code editing software (SublimeText3)
Hot Topics
 1664
1664
 14
1423
52
1317
25
1268
29
1246
24
14
1423
52
1317
25
1268
29
1246
24