

PS利用滤镜及渐变制作精致的黑胶唱片

唱片的制作重点是表面的纹理及高光的刻画。尤其是高光部分,我们通常用角度渐变来制作,不过作者的方法更好,直接用透明渐变拉上高光,再变形得到更加逼真的高光
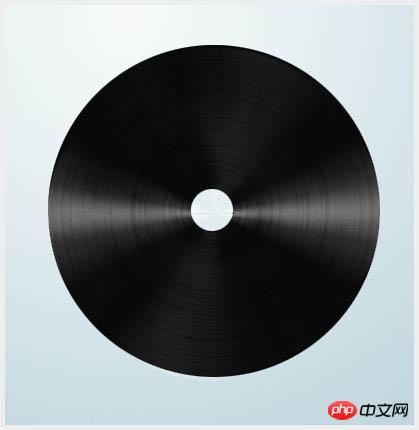
最终效果
1、新建800*600的画布,然后新建图层,用蔚蓝色#b2cdd6到淡白#f5f9fa色径向渐变在拉出渐变背景,效果如下。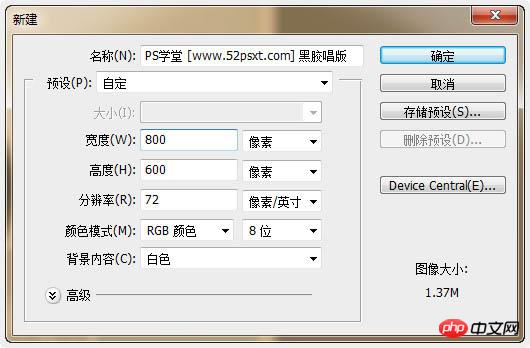


2、新建图层命名为‘唱片’,用很接近黑色的#1e1e1e颜色填充图层。
3、执行‘滤镜-杂色-添加杂色’数值和效果如下。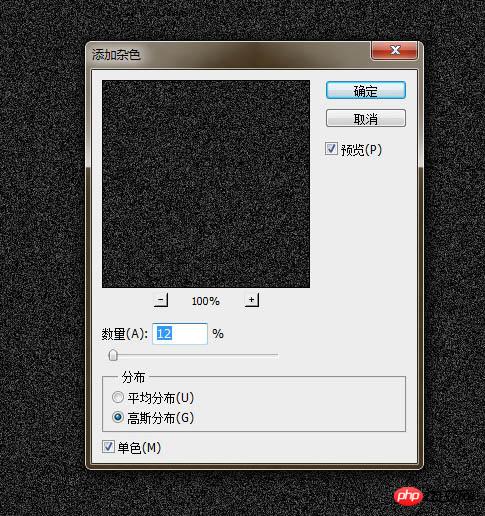
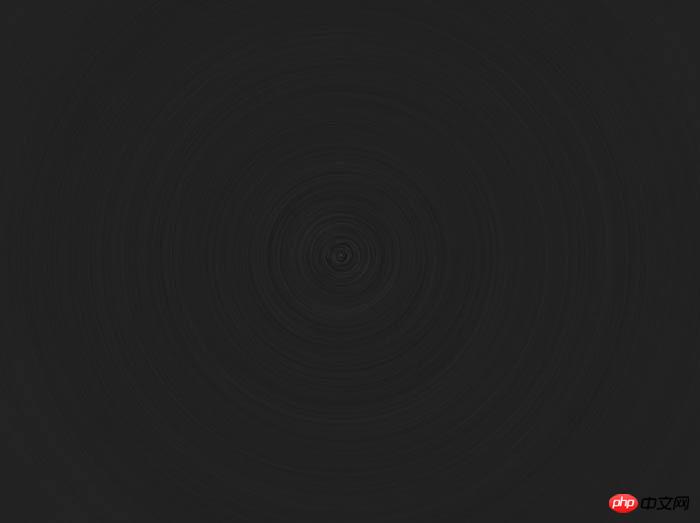
4、执行‘滤镜-模糊-径向模糊’数值效果如下。
5、复制‘唱片’图层,将复制得到的图层混合模式设为‘叠加’,并执行‘图像-调整-亮度/对比度’数值效果如下。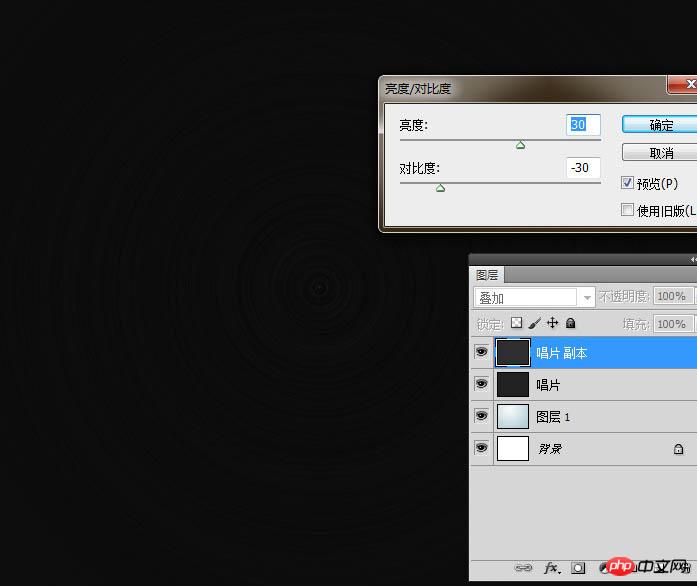
6、合并唱片与被复制的唱片图层,选择‘椭圆选框工具’,此时鼠标会变成一个‘十’字架形,将十字架图标对准唱片的正中心点,按住Shift+Alt键,往外拉出正比例的正圆选区。
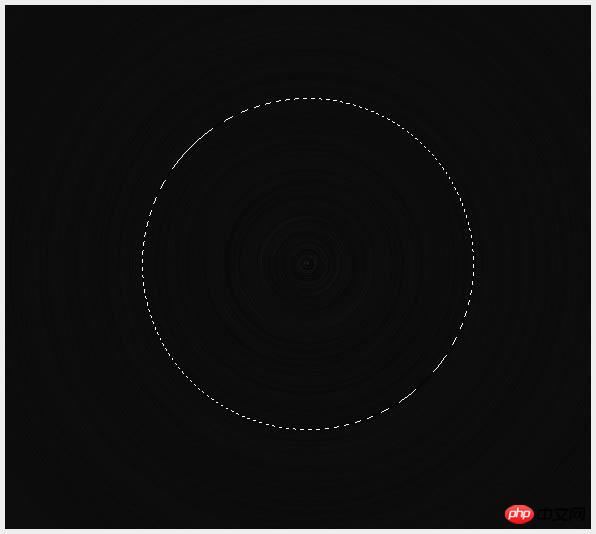
7、执行‘选择-反向’,按Del删除键删除,效果如下。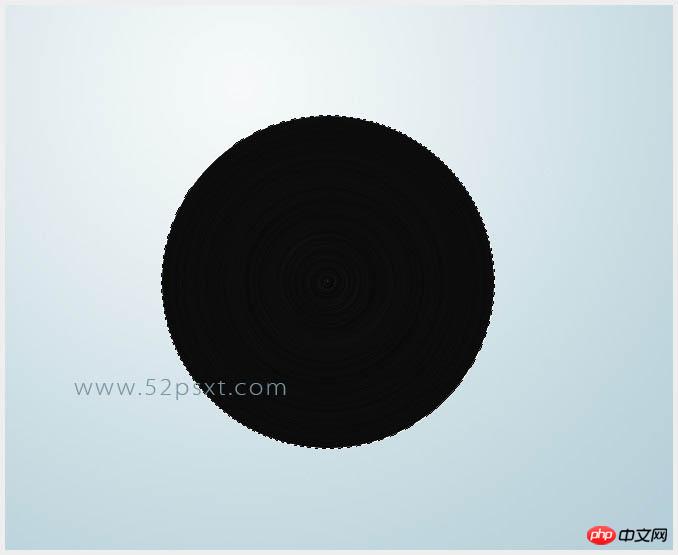
8、最后再用此方法,将中间的圆心删除,做成唱片模型了。
9、现在要在唱片上做光感效果,光感分弱光和高光两部分,现在讲弱光的制作方法,新建图层,按‘D’键恢复前景和背景色,按Ctrl键单击唱片图层载入选区,执行‘滤镜-渲染-云层’。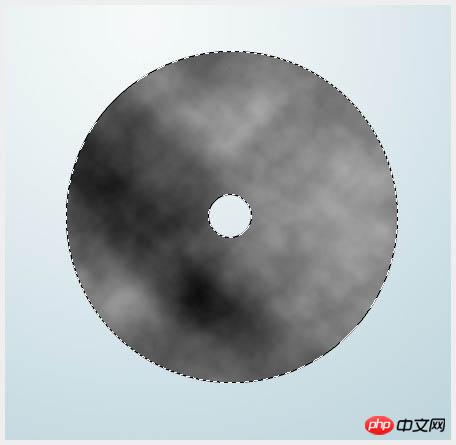
10、接着‘滤镜-渲染-分层云彩’,可以按ctrl+f多次直到获得满意的效果。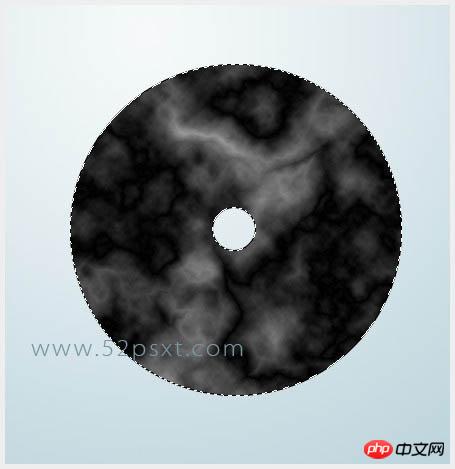
11、接着继续执行“滤镜-模糊-径向模糊”,参数设置如下。
12、将第6步的图层模式设为:柔光,再调整‘亮度/对比度’。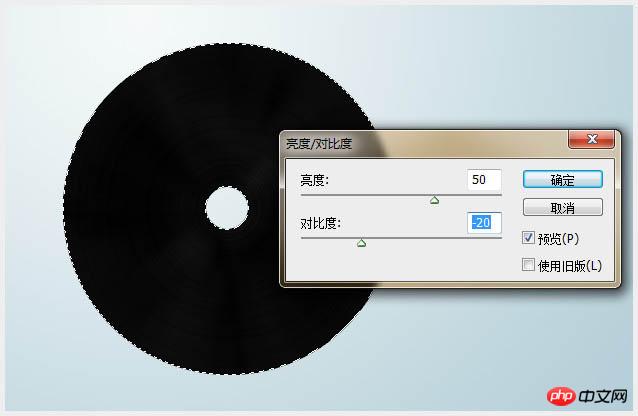
13、接着添加图层蒙版,用不透明度50%的黑色柔角笔刷将黑色部分擦试一下,再将图层填充设为75%。这个看个人的感觉来设置吧。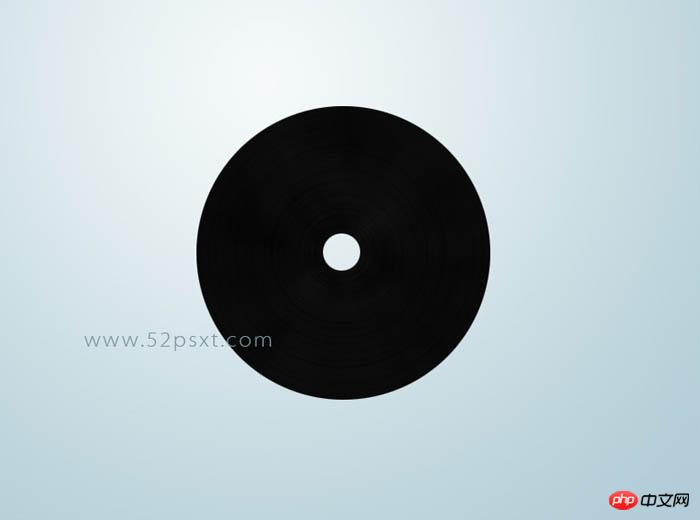
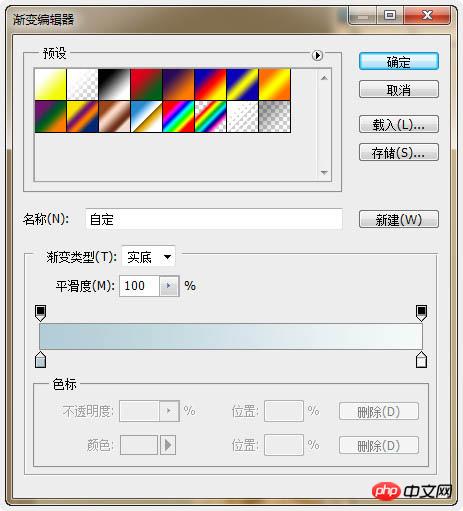
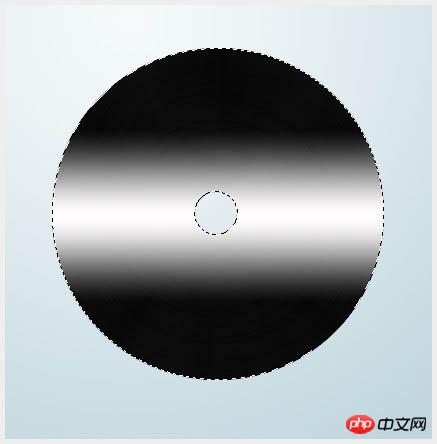
14、将唱片图载入选区,新建图层,用两边半透明中间白色的渐变,在新建的图层上拉出如下渐变。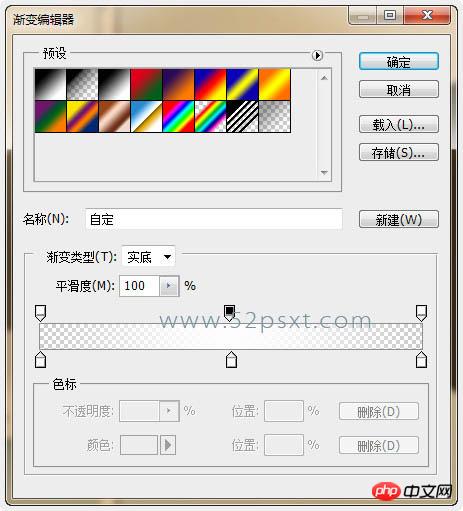
15、按Ctrl+D取消选区,执行‘编辑-变换-透视’按住Shift键不放,拖往左上角的框移到左下角位置,这将会看到交叉的高光。按Enter键确定。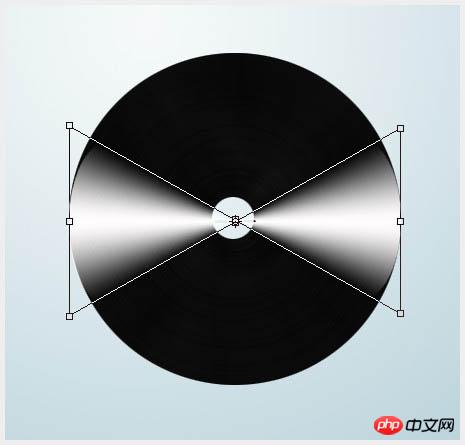
16、将图层设为‘柔光’模式,复制两层,将最上的那一图层层旋转105度,然后将复制的第一图层填充50%,第二图层填充60%,效果如下。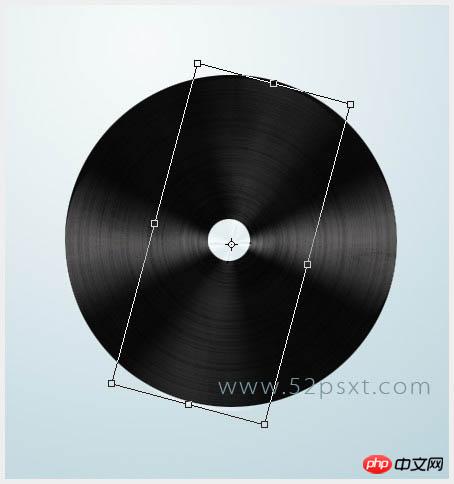

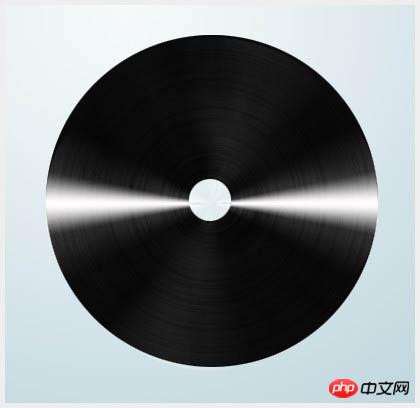
17、再用此制作高光的方法做出小的高光,图层填充80%,达到层次分层的效果。
18、光感做好后,开始制作中轴部分。新建图层,用第5步的方法在中间拉出小圆形选区,并拉出渐变,取消选区,将唱片图层载入选区,执行反向,单击刚才拉出的渐变图层,按Del键删除效果如下。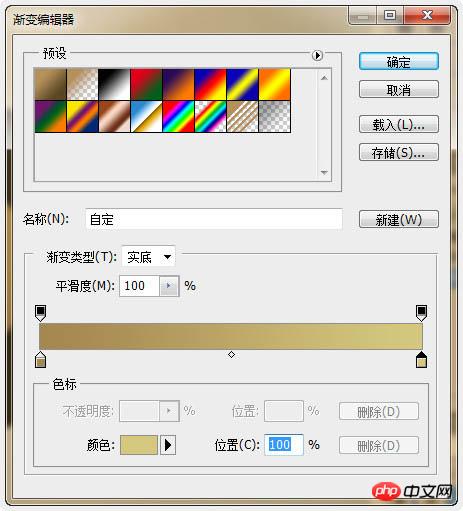
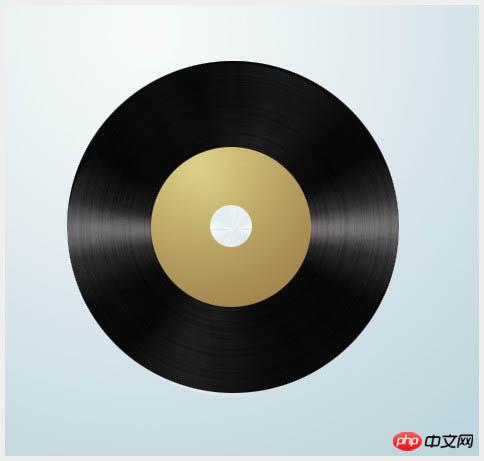
19、给图层增加投影,数值效果如下。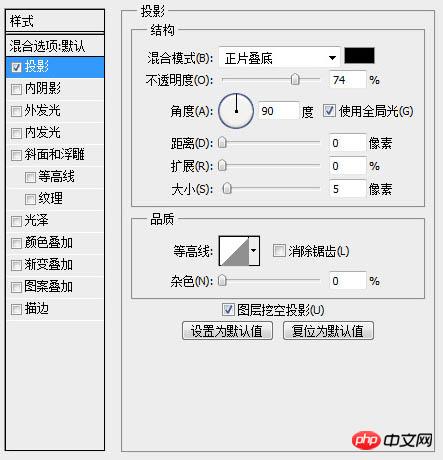

20、新建图层,再在中间拉出比第9步中更更小一点的圆形选区,渐变填充,将唱片图层载入选区后反向,单击刚才建的图层按Del键删除,效果如下。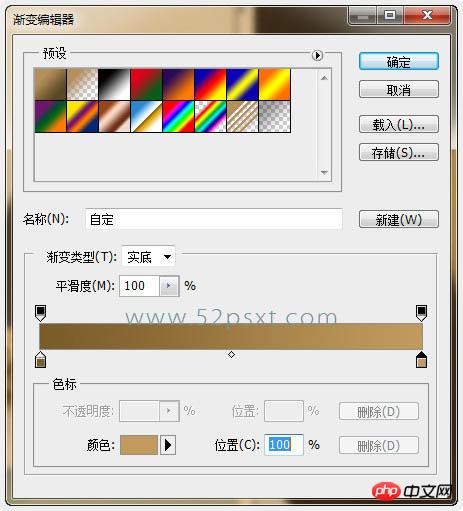

21、执行‘滤镜-杂色-添加杂色’数值如下。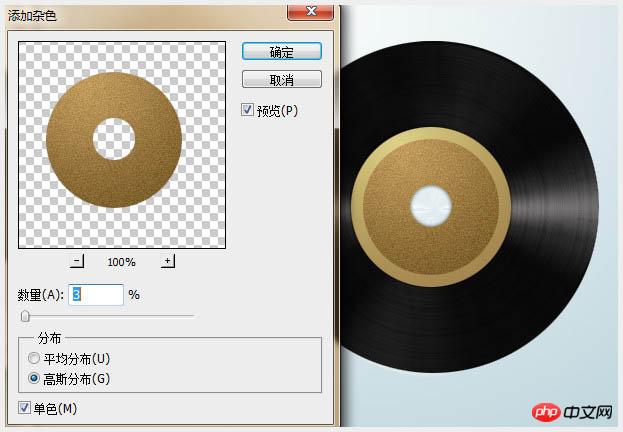
22、执行‘滤镜-画笔描边-阴影线’数值如下。
最后再用减淡工具修理一下高光,细节处理一下,完成最终效果。

Hot AI Tools

Undresser.AI Undress
AI-powered app for creating realistic nude photos

AI Clothes Remover
Online AI tool for removing clothes from photos.

Undress AI Tool
Undress images for free

Clothoff.io
AI clothes remover

Video Face Swap
Swap faces in any video effortlessly with our completely free AI face swap tool!

Hot Article
Hot Tools

Notepad++7.3.1
Easy-to-use and free code editor

SublimeText3 Chinese version
Chinese version, very easy to use

Zend Studio 13.0.1
Powerful PHP integrated development environment

Dreamweaver CS6
Visual web development tools

SublimeText3 Mac version
God-level code editing software (SublimeText3)
Hot Topics
 1665
1665
 14
1423
52
1321
25
1269
29
1249
24
14
1423
52
1321
25
1269
29
1249
24

 C++ Image Processing Practice Guide: Implementing Image Special Effects and Filters
Nov 27, 2023 am 11:40 AM
C++ Image Processing Practice Guide: Implementing Image Special Effects and Filters
Nov 27, 2023 am 11:40 AM
In the fields of computer science and image processing, C++ has always been one of the most commonly used programming languages. Image processing is one of the important subfields of computer vision, including image analysis, processing and recognition. This article will introduce some basic concepts and techniques in C++ image processing, and provide some sample codes for implementing image special effects and filters to help readers better understand and practice C++ image processing. 1. Basics of C++ image processing 1.1 Commonly used image file formats In image processing, we usually need to use various image file formats, including
 The status bar at the bottom of Win11 has been changed to black style
Dec 31, 2023 pm 08:11 PM
The status bar at the bottom of Win11 has been changed to black style
Dec 31, 2023 pm 08:11 PM
The default bottom taskbar of win11 is light blue, which is more beautiful. However, some friends found that the bottom status bar of win11 suddenly turned black. This may be because the theme or background color has been changed. Just change it back. The status bar at the bottom of win11 turns black: 1. First, click on the bottom start menu and open "Settings" 2. Then enter the "Personalization" settings in the left column. 3. Then open the "Color" settings. 4. After entering, turn off the "transparency effect" (if it is turned on, our desktop is black and the status bar will be black) 5. If the wallpaper is not black, then change the selection mode to "light color". Can. 6. If you like other colors, you can freely choose among the theme colors.
 Detailed example of how to solve the problem of CSS gradient aliasing!
Nov 25, 2022 pm 04:43 PM
Detailed example of how to solve the problem of CSS gradient aliasing!
Nov 25, 2022 pm 04:43 PM
This article will introduce to you how to solve the aliasing problem caused by using gradient graphics. The so-called CSS gradient aliasing disappearing technique can be done once you know it. Let's take a look at how to achieve it~ I hope it will be helpful to everyone. !
 Find another way! See how to use CSS filters to create rounded corners and wavy effects
Oct 18, 2022 pm 08:21 PM
Find another way! See how to use CSS filters to create rounded corners and wavy effects
Oct 18, 2022 pm 08:21 PM
This article will take you through a different approach and talk about how to use CSS filters to create rounded corners, and how to use rounded corners to achieve a wave effect. I hope it will be helpful to you!
 Let's talk about how to use CSS filters to achieve rounded corners and wave effects.
Jul 28, 2022 pm 07:42 PM
Let's talk about how to use CSS filters to achieve rounded corners and wave effects.
Jul 28, 2022 pm 07:42 PM
How to use CSS to achieve rounded corners and wave effects? The following article will show you how to skillfully use CSS filters to create rounded corners and wave effects. I hope it will be helpful to you!
 How to achieve transparency gradient effect using CSS properties
Nov 18, 2023 pm 05:28 PM
How to achieve transparency gradient effect using CSS properties
Nov 18, 2023 pm 05:28 PM
The method of implementing the transparency gradient effect using CSS properties requires specific code examples. In web design, the transparency gradient effect can add a soft and beautiful transition effect to the page. Through the setting of CSS properties, we can easily achieve the transition effect on transparency of different elements. Today we will introduce some common methods and specific code examples. Use the opacity attribute. The Opacity attribute can set the transparency of an element. The value ranges from 0 to 1. 0 means completely transparent and 1 means completely opaque. we can pass
 How to use the PS Gradient Tool - How to use the PS Gradient Tool
Mar 05, 2024 pm 06:28 PM
How to use the PS Gradient Tool - How to use the PS Gradient Tool
Mar 05, 2024 pm 06:28 PM
PS software is a software that many people use in their office work, so do you know how to use the PS gradient tool? The following is the method of using the PS gradient tool brought to you by the editor. Interested users can come and take a look below. 1. Open or create a new document: First, open Photoshop software and create a new document, or open an existing image file. Select the Gradient Tool: On the left side of the toolbar, locate the Gradient Tool (between the Rectangular Marquee Tool and the Paint Bucket Tool), and click to select it. 3. Set the gradient type: In the tool options bar, you can choose different gradient types. There are linear gradient, radial gradient, angular gradient and other options to choose from. Click the Gradient Type drop-down menu and select the gradient type you want. 4
 Cleverly use CSS3 filters to create text flash switching animation effects!
Jul 20, 2022 am 10:55 AM
Cleverly use CSS3 filters to create text flash switching animation effects!
Jul 20, 2022 am 10:55 AM
This article will show you how to use CSS3 filters to achieve a high-end text flash switching animation effect. I hope it will be helpful to you!
