

如何使用PS快速给证件照更换背景色

今天小编教大家如何使用PS的替换颜色快速给证件照更换背景色,教程很简单,适合初学者学习,感兴趣的朋友可以一起来看看
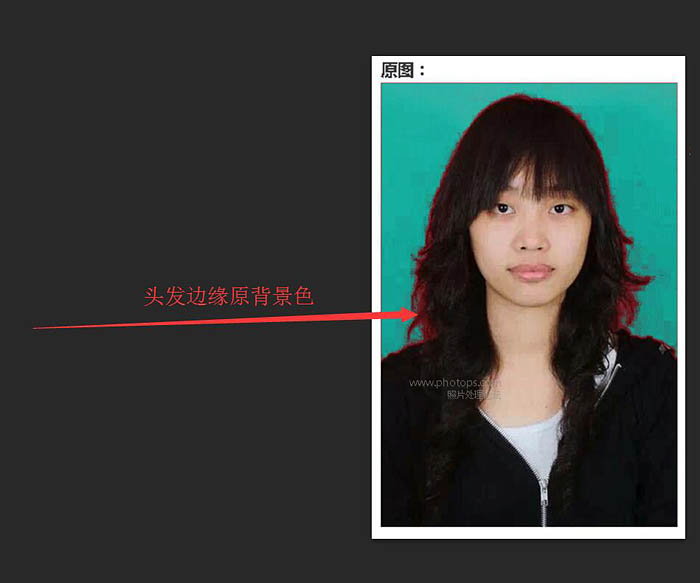
背景色较为单一的人像图片,用替换颜色工具更换背景色是非常快和准的;不过操作的时候有一些小技巧:打开替换颜色面板后,容差的设置非常重要,根据背景色的复杂程度设置合适数值;然后直接用吸管吸取背景主色,改变色相即可更换成想要的颜色;同时还可以用吸管旁边的加,减吸管减少头发边缘的背景色;最后人物脸部及衣服等有接近背景色的地方也会变色,需要用蒙版或历史记录画笔来还原。
原图
最终效果
1、打开素材图片,复制背景图层。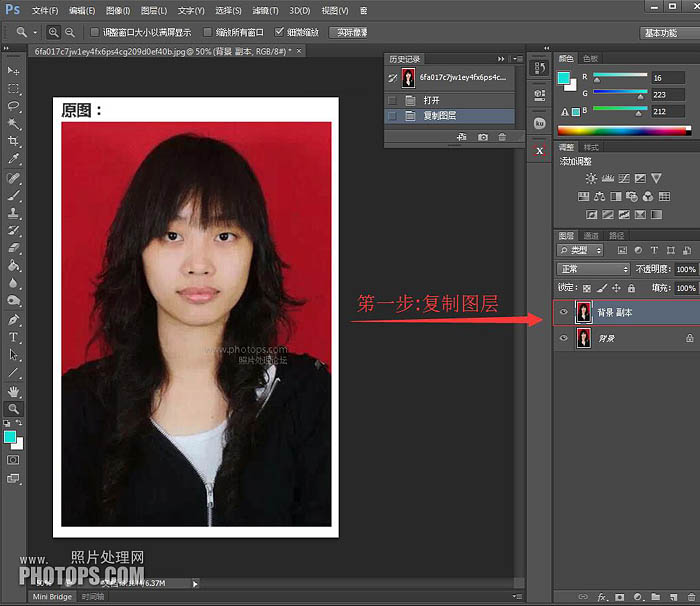
2、图像--调整--替换颜色。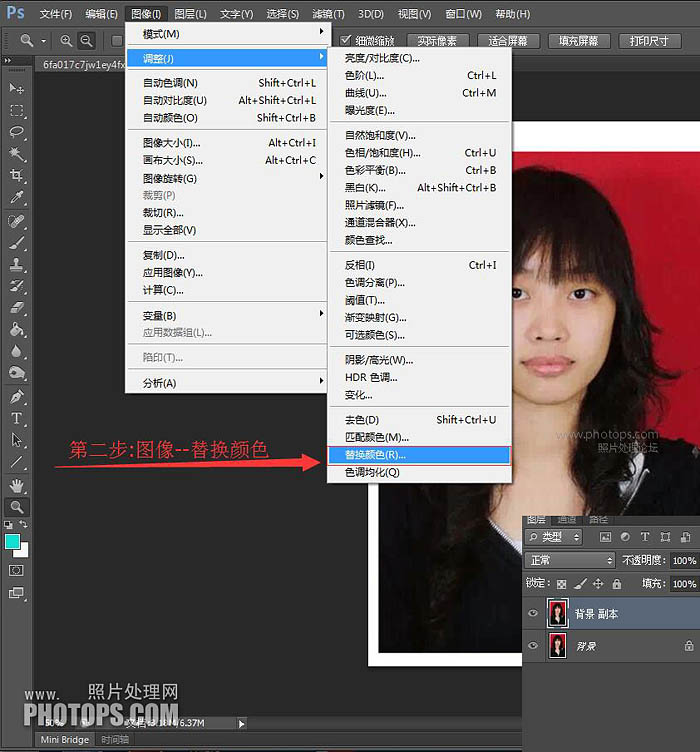
3、调出替换颜色面板,用吸管工具吸取要替换的红色背景颜色。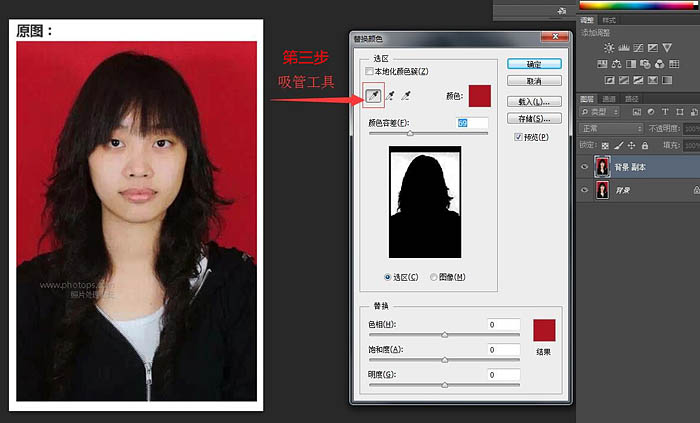
4、调动色相滑块,调至你想要替换成的背景颜色。若图像头发边缘处带有原图红色彩,用(红框内)+或-吸取头发边缘色彩,即可消失红色。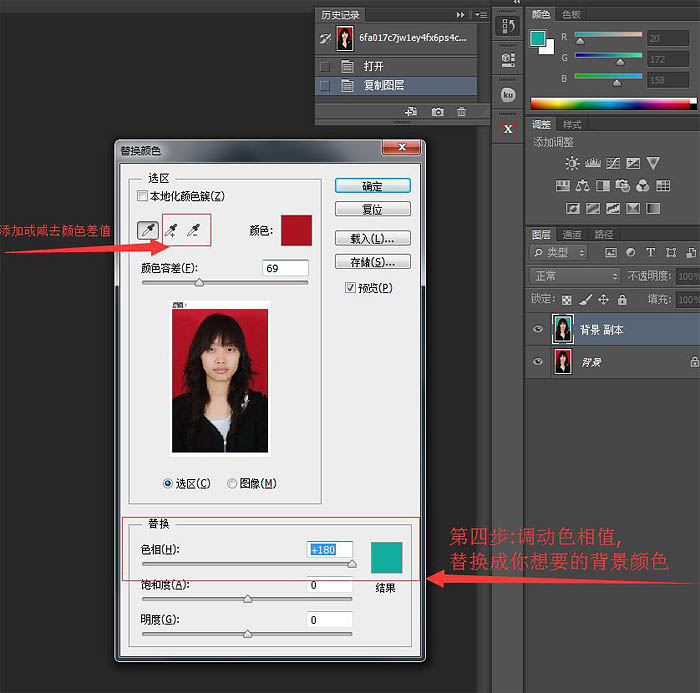
5、如果人像脸部颜色也变了,沒关糸,直接点“确定”!在ps中再用历史记录画笔将脸部颜色还原即可。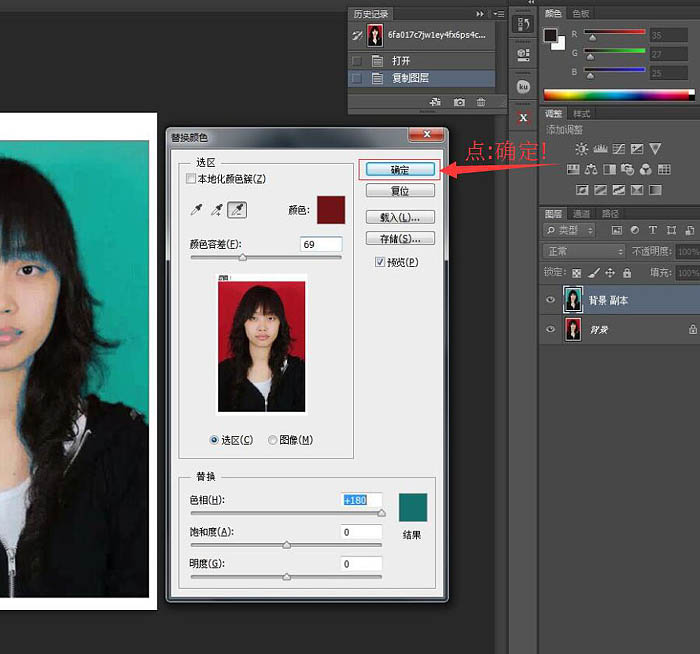
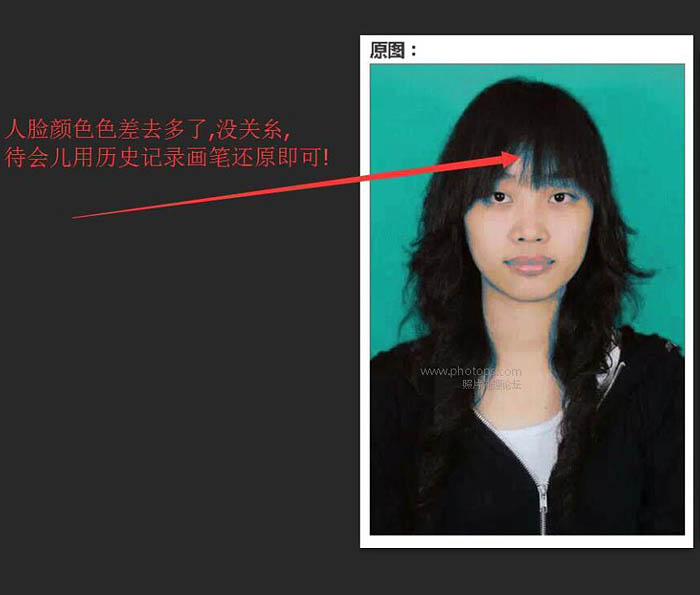
6、用历史记录画笔将脸部颜色还原即可!最后保存图像。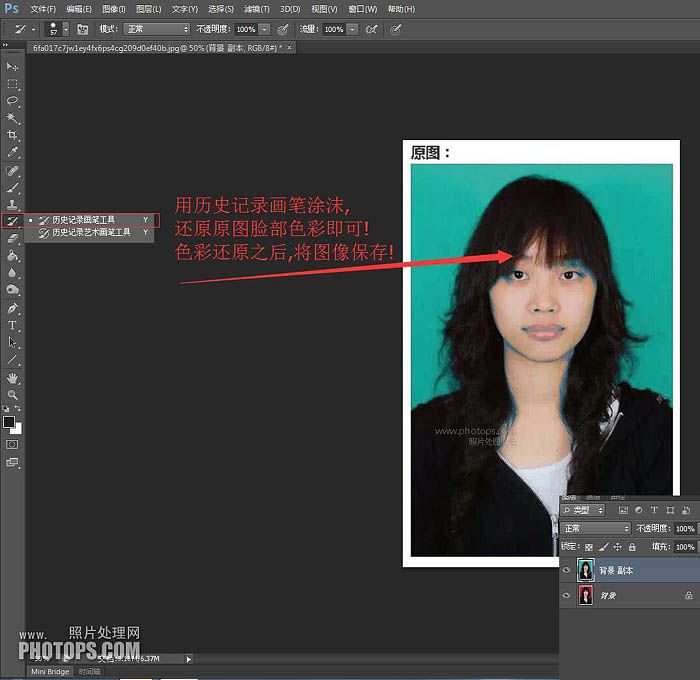
最终效果:

Hot AI Tools

Undresser.AI Undress
AI-powered app for creating realistic nude photos

AI Clothes Remover
Online AI tool for removing clothes from photos.

Undress AI Tool
Undress images for free

Clothoff.io
AI clothes remover

Video Face Swap
Swap faces in any video effortlessly with our completely free AI face swap tool!

Hot Article
Hot Tools

Notepad++7.3.1
Easy-to-use and free code editor

SublimeText3 Chinese version
Chinese version, very easy to use

Zend Studio 13.0.1
Powerful PHP integrated development environment

Dreamweaver CS6
Visual web development tools

SublimeText3 Mac version
God-level code editing software (SublimeText3)
Hot Topics
 1664
1664
 14
1423
52
1318
25
1269
29
1248
24
14
1423
52
1318
25
1269
29
1248
24

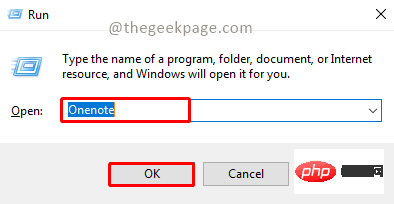 How to set a picture as the background in OneNote
May 14, 2023 am 11:16 AM
How to set a picture as the background in OneNote
May 14, 2023 am 11:16 AM
Onenote is one of the best note-taking tools offered by Microsoft. Combined with Outlook and MSTeams, Onenote can be a powerful combination for increasing productivity at work and in personal creative productivity. We have to take notes in a different format, which may be more than just writing things down. Sometimes we need to copy images from different sources and do some editing in our daily work. Images pasted on Onenote can go a long way if you know how to apply the changes. Have you ever encountered a problem when using Onenote that images pasted on Onenote cannot allow you to work easily? This article will look at using images effectively on Onenote. we can
 Win11 new version of drawing: remove background with one click to realize cutout function
Sep 15, 2023 pm 10:53 PM
Win11 new version of drawing: remove background with one click to realize cutout function
Sep 15, 2023 pm 10:53 PM
Microsoft invites WindowsInsider project members in the Canary and Dev channels to test and experience the new Paint application. The latest version number is 11.2306.30.0. The most noteworthy new feature of this version update is the one-click cutout function. Users only need to click once to automatically eliminate the background and highlight the main body of the picture, making it easier for users to perform subsequent operations. The whole step is very simple. The user imports the picture in the new layout application, and then clicks the "removebackground" button on the toolbar to delete the background in the picture. The user can also use a rectangle to select the area to remove the background.
 How to replace all ppt backgrounds
Mar 25, 2024 pm 04:25 PM
How to replace all ppt backgrounds
Mar 25, 2024 pm 04:25 PM
PPT background replacement is an important operation that can quickly unify the visual style of the presentation. You can quickly replace the background of your entire presentation by modifying the slide master or using the Format Background feature. In addition, some PPT versions also provide a batch replacement function, which can easily replace the background of all slides. When replacing the background, you should pay attention to choosing a background that matches the theme of the presentation, and ensure that the background clarity and resolution meet the requirements.
 Ten lines of Python code to replace the background color of ID photos
May 03, 2023 pm 02:01 PM
Ten lines of Python code to replace the background color of ID photos
May 03, 2023 pm 02:01 PM
This article teaches you how to change the background color of your ID photo through a Python program, so that you won’t have to worry about changing the background of your ID photo in the future. Idea: First remove the background color of the original photo and then add a new background color. The steps are very simple, the idea is clear, and the operation is also very simple. It can be done in ten lines of code. I guarantee you will know it after reading it! 1. Remove the background color of the original image importos#Remove the background color os.system('backgroundremover-i"'+str(in_path)+'"-o"cg_output.jpg"') in_path is the path of the original photo, cg_output.jpg is After removing the background
 How to change the background color of photos on Meitu Xiuxiu
Apr 08, 2024 pm 03:56 PM
How to change the background color of photos on Meitu Xiuxiu
Apr 08, 2024 pm 03:56 PM
1. Open the Meitu Xiu Xiu software, select [Picture Beautification], and import photos from the album. 2. Click [Cutting] on the bottom toolbar and select the [Background Replacement] function. 3. In the [Background] option, select the desired background color from the solid color box, or upload a custom image. 4. After confirming the selection, click [Save] to complete the background color change.
 The birth background and original intention of Go language
Apr 04, 2024 am 08:48 AM
The birth background and original intention of Go language
Apr 04, 2024 am 08:48 AM
The Go language was born at Google to solve the problems of complexity and insufficient concurrency support of C++. Its original intention is to create a simple, easy-to-learn, efficient concurrency, memory-safe, cross-platform language to improve programmer productivity, build reliable and scalable systems, and promote code porting and sharing.
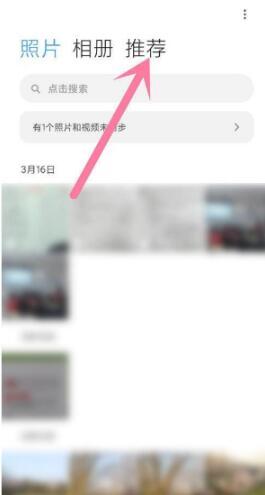 How to take ID photos with Xiaomi 11Pro_How to take ID photos with Xiaomi 11Pro
Mar 25, 2024 pm 02:11 PM
How to take ID photos with Xiaomi 11Pro_How to take ID photos with Xiaomi 11Pro
Mar 25, 2024 pm 02:11 PM
1. The ID photo function of Xiaomi 11Pro is not in the camera. Instead, users need to open the phone album and click the [Recommended] function on the right. 2. In the recommendation, users can see various beautification functions such as cutout, editing, and collage, and click on the [ID Photo] option. 3. Then select [Photography] in the pop-up window. 4. At this time, the shooting page will pop up. Users only need to follow the graphic prompts to release the face to the designated position, and they can take a standard ID photo at any time.
 How to change the default picture background when logging in to win7 system
Jun 30, 2023 pm 04:03 PM
How to change the default picture background when logging in to win7 system
Jun 30, 2023 pm 04:03 PM
How to change the default picture background when logging in to win7 system? Tutorial sharing on how to change the default picture background when logging in to win7 system. After setting a login password for our computer, when we turn on the computer and go to the login interface, there will be a picture background. Some users want to modify the background, so how can they modify the background? Many friends don’t know how to operate in detail. The editor below has compiled the steps to change the default picture background when logging in to the win7 system. If you are interested, follow the editor and take a look below! Steps to change the default picture background when logging in to the win7 system 1. First, go to the illustrated path C:WindowsSystem32oobeinfoackgrounds
