Share screenshot tips for Fedora workstations
| Introduction | Fedora Workstation comes with a simple but sufficient tool for taking screenshots. Allows users to quickly take screenshots of the desktop, a specific window, or any part of the screen. Screenshot Tool (gnome-screenshot) This application is specifically designed to quickly capture and save screenshots on desktop systems. |
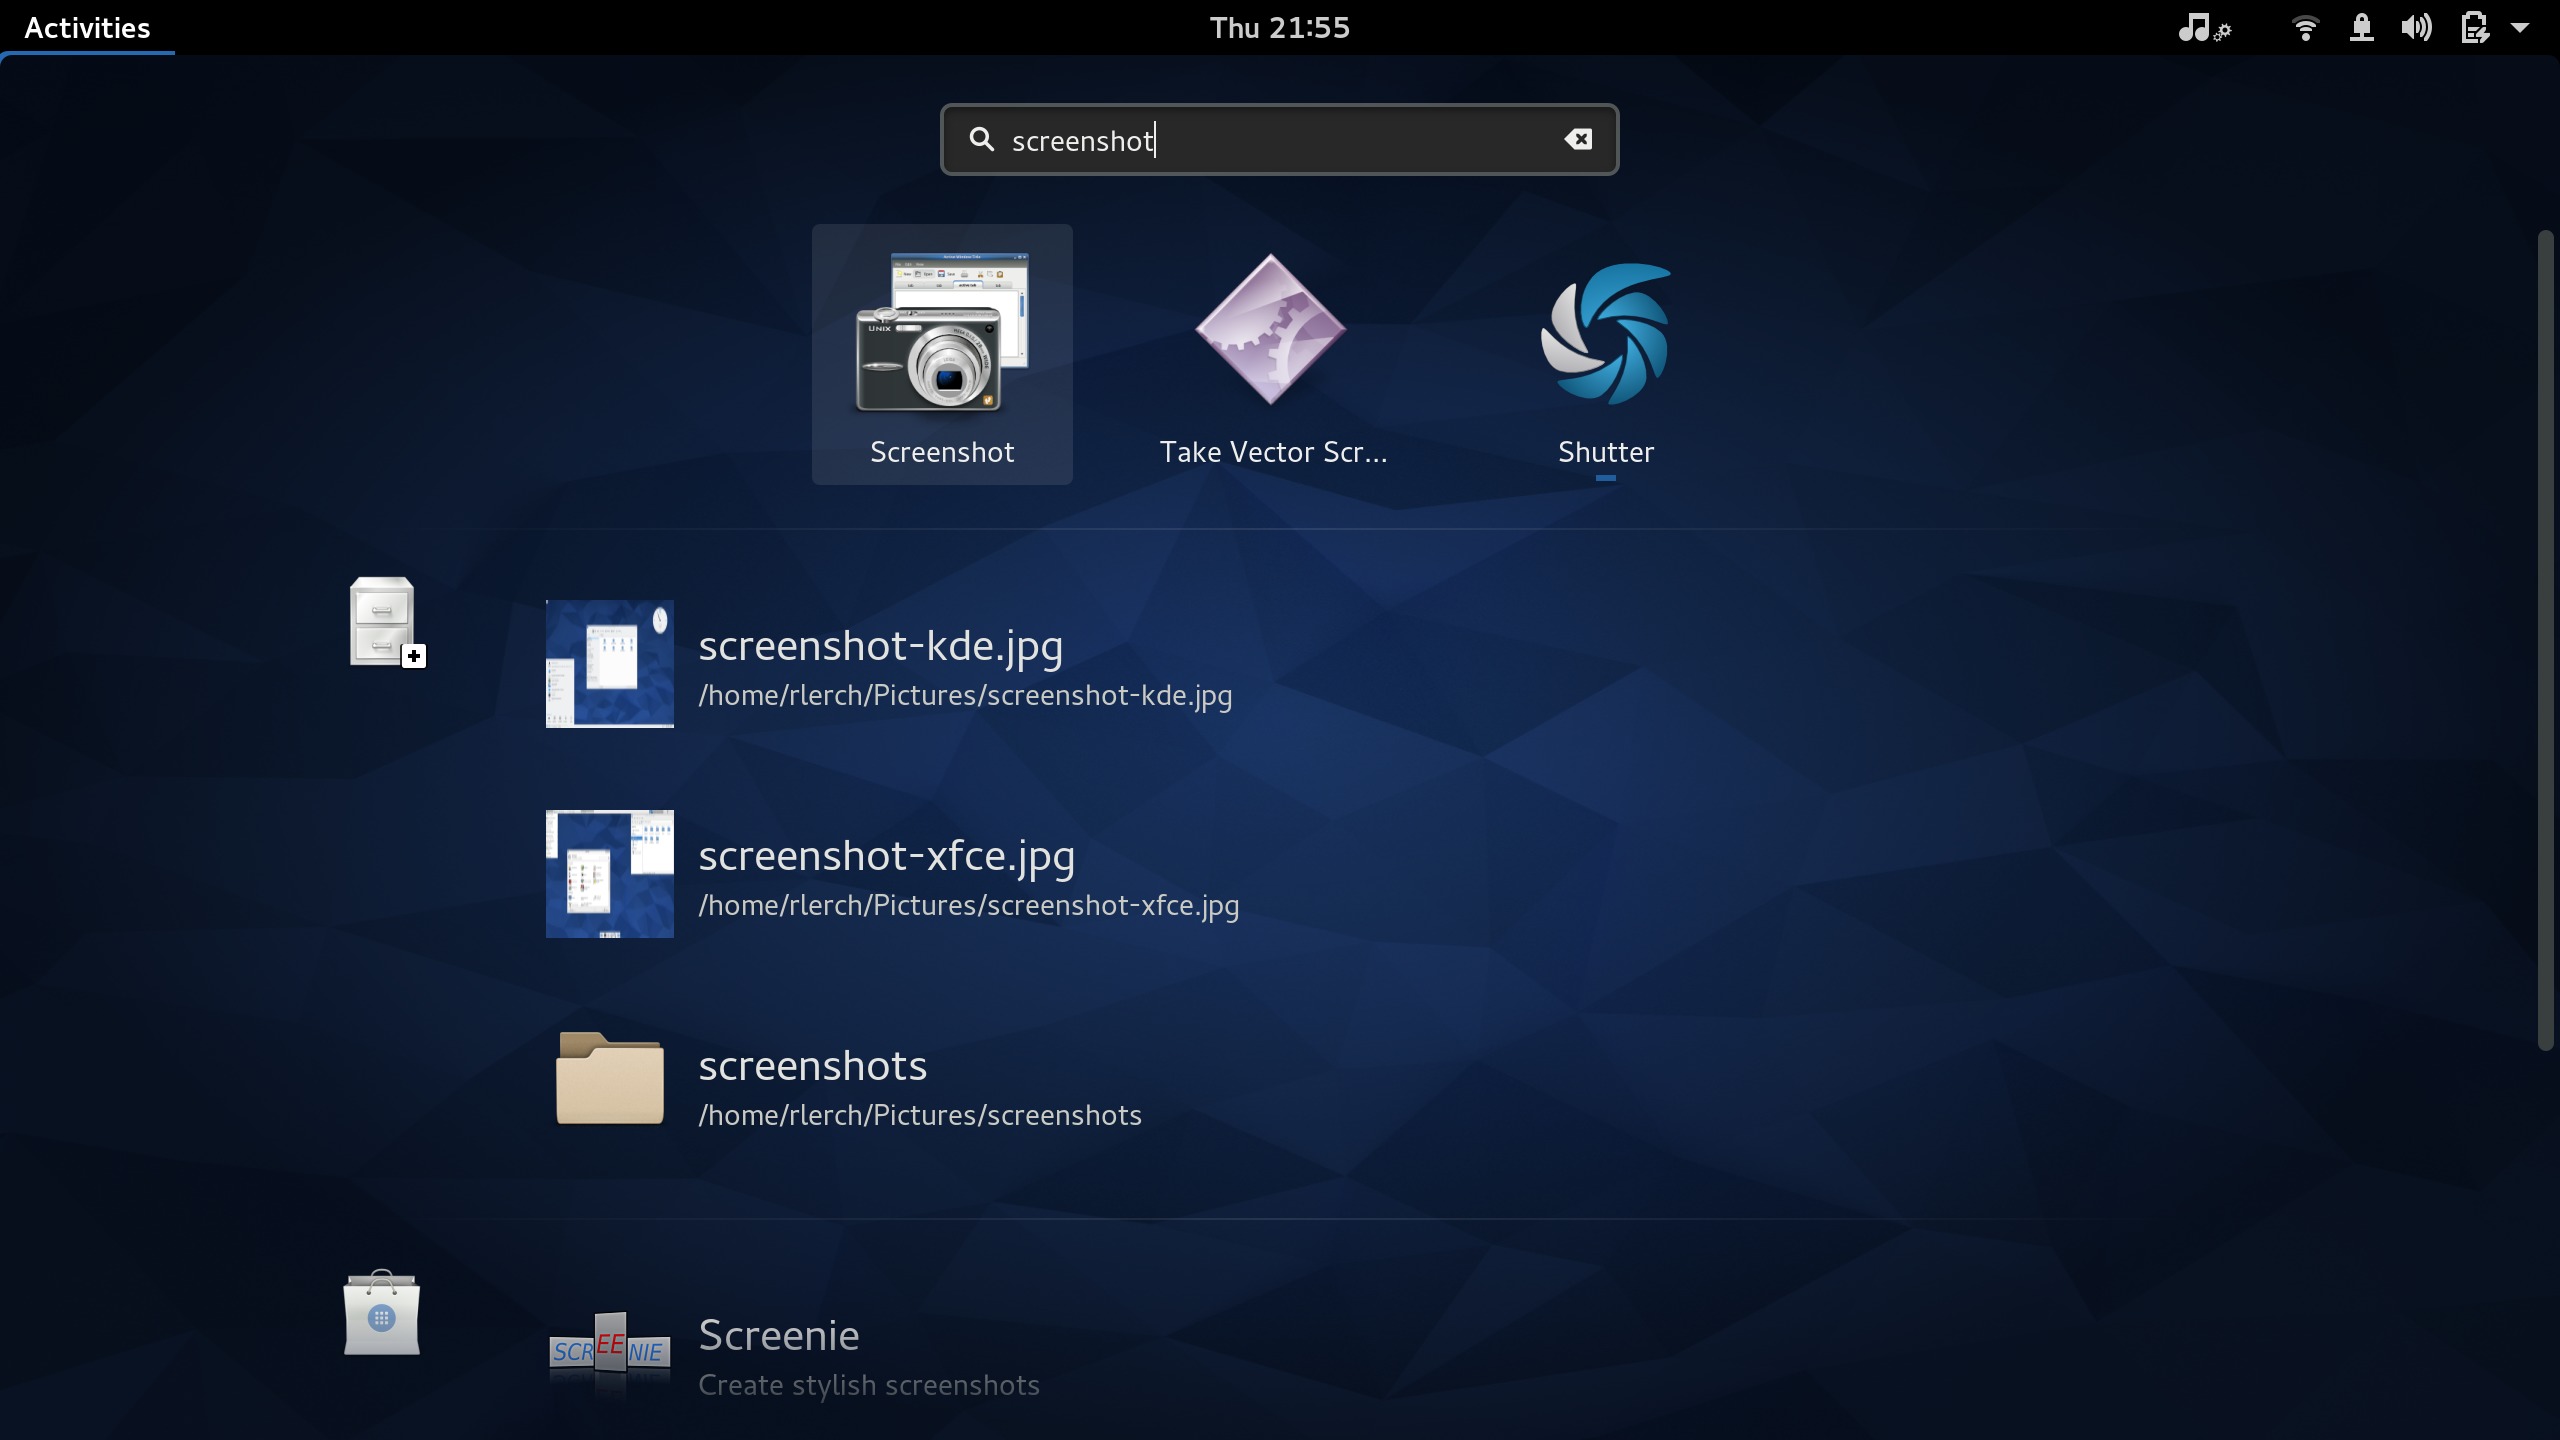
In Fedora workstation, launch Screenshot by searching for screenshot in the activities overview. It can also be found in the applications view (in the Utilities folder).

Screenshot has three main screenshot modes:
•Capture entire screen
•Capture current window
•Intercept selected area

Note that if you have multiple monitors, grabbing the entire screen will take a screenshot of the entire screen, not just the current monitor.
These operating modes also have some additional options.
•Delayed screenshot: Allows you to specify how many seconds to wait before taking a screenshot. It is used to capture content for later display. Delayed capture can only be used in two modes: "Capture the entire screen" and "Capture the current window".
• Capture current window mode with the most additional options. It allows you to automatically add effects such as shadows after taking a screenshot. When capturing a window, you can also specify whether the window borders and mouse pointer should be displayed in the screenshot.
After setting the mode and options, press the "Screenshot" button in the upper right corner of the screenshot program window. When you press the screenshot button, the window will be hidden, so it won't show up in your screenshot.
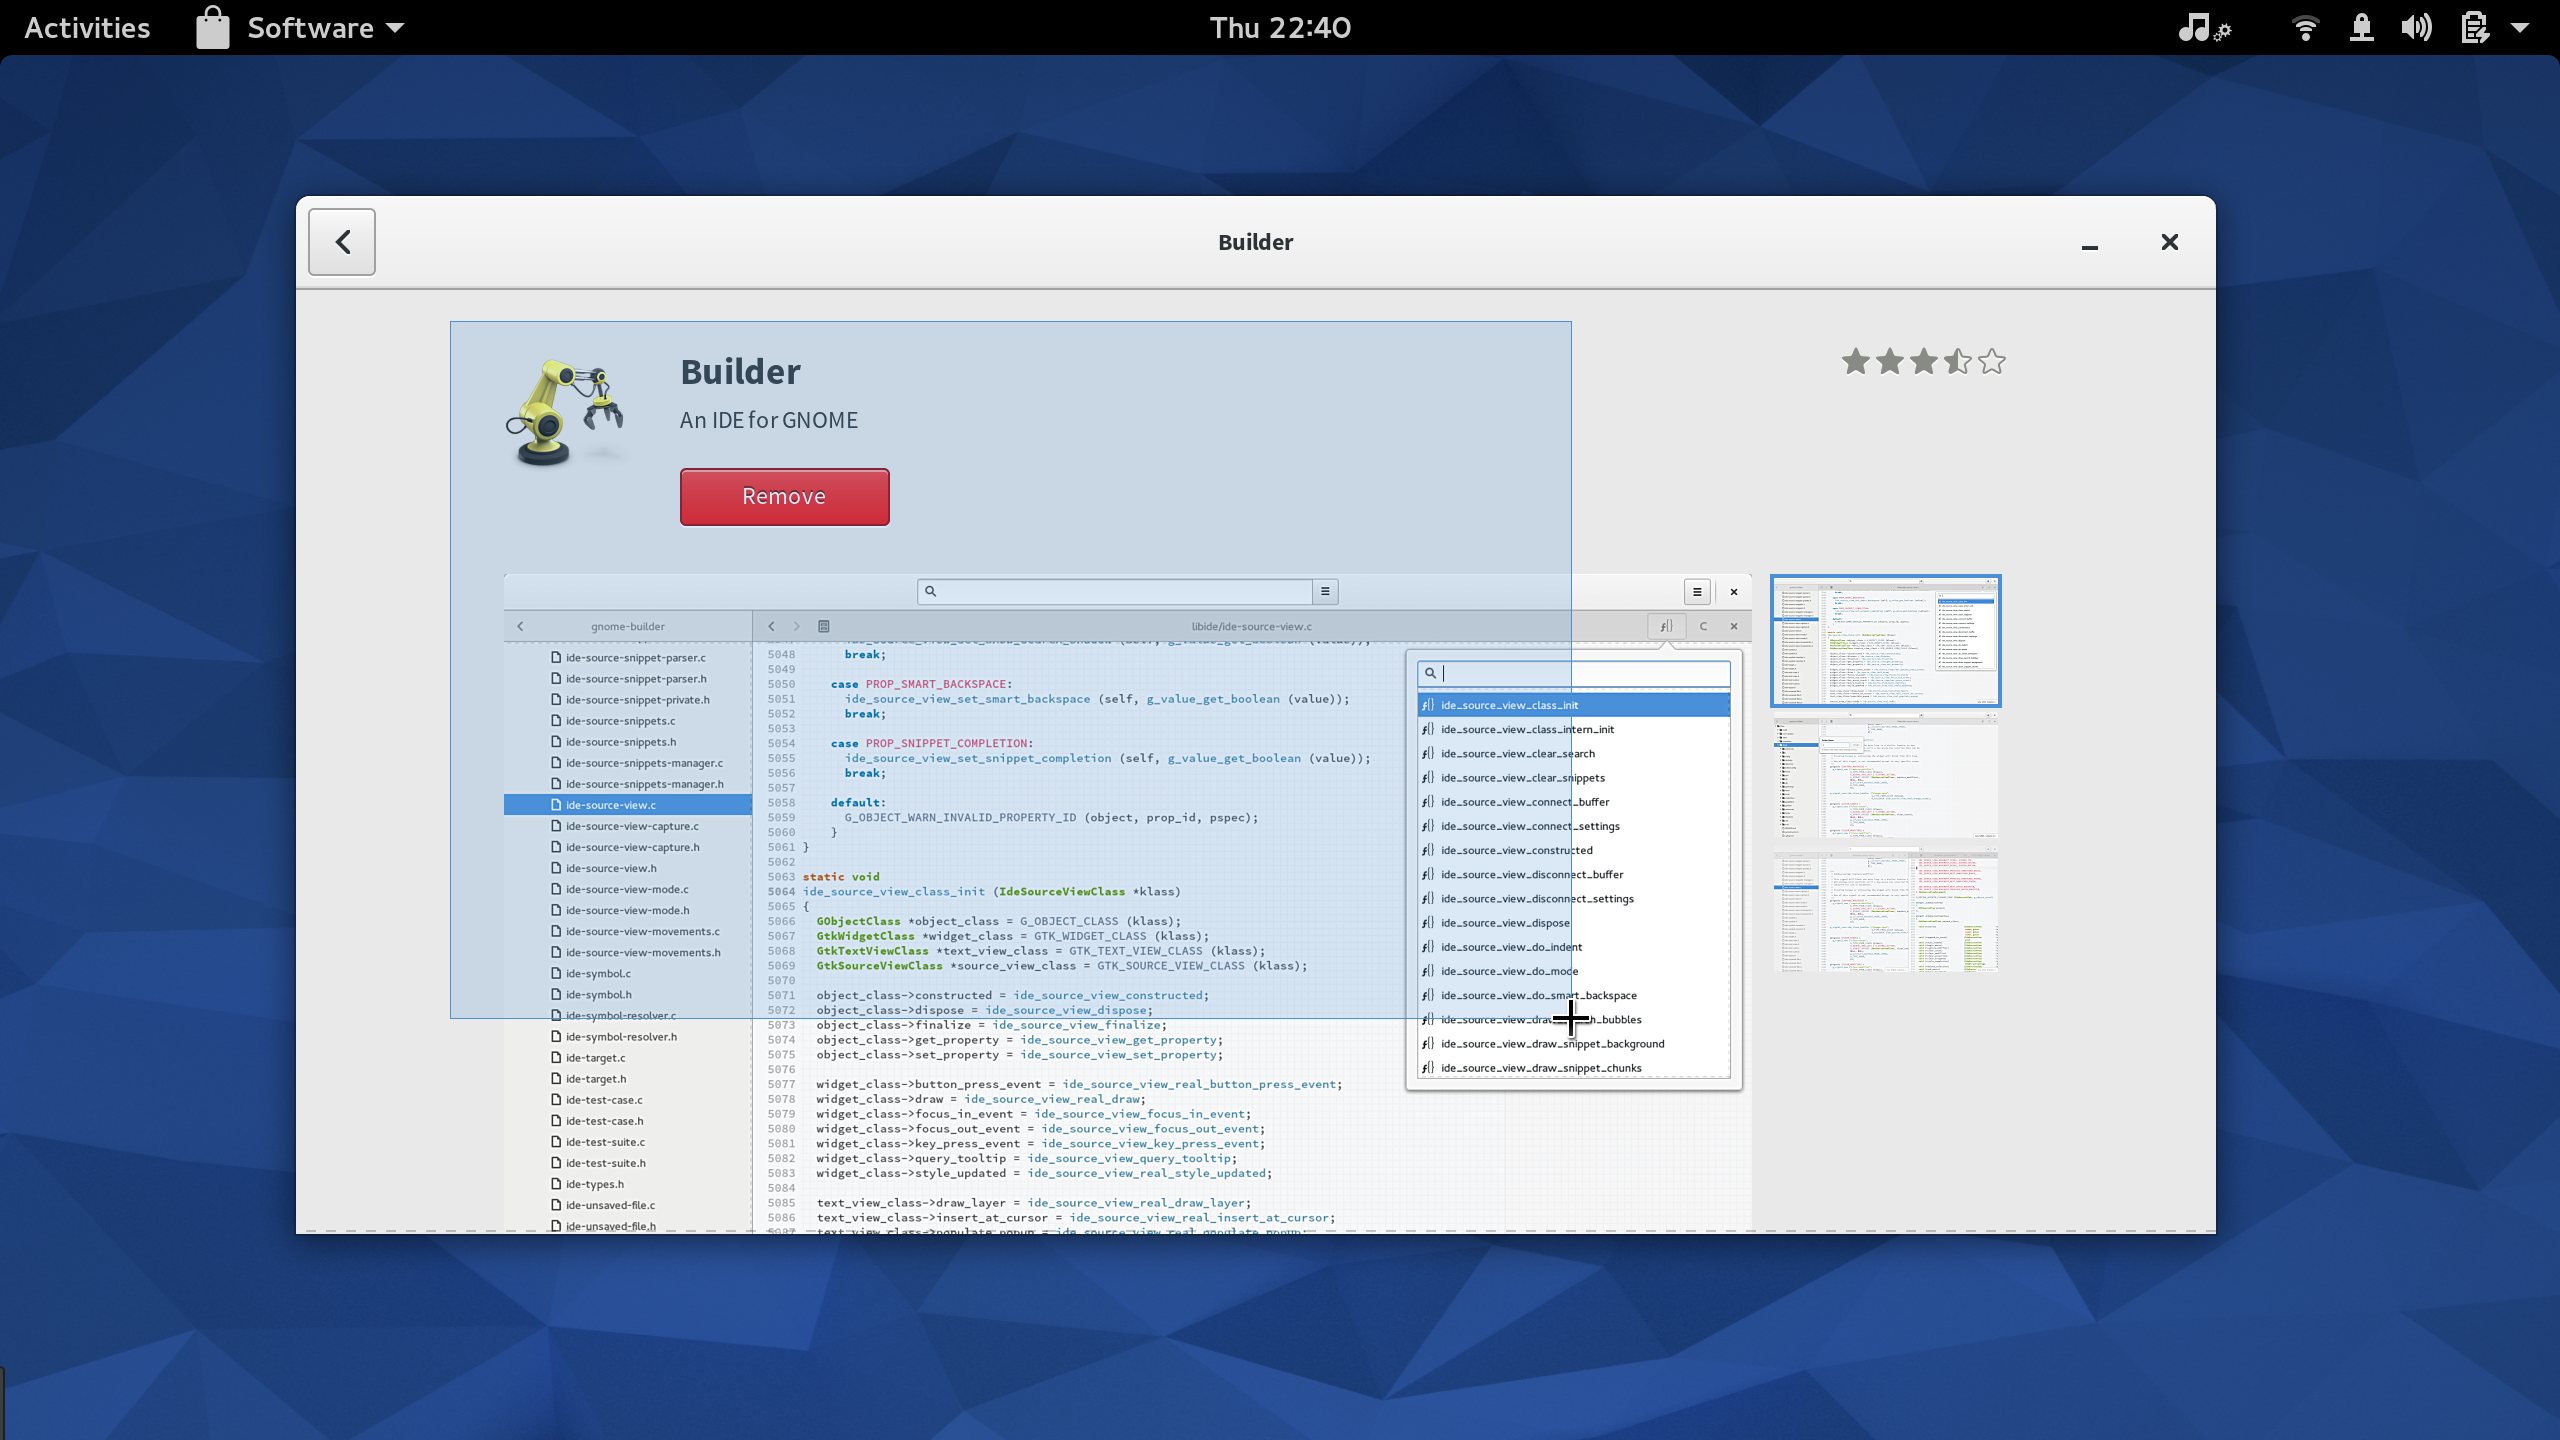
If you use the "Capture selected area" mode, after pressing the "Screenshot" button, your mouse pointer will become a cross cursor pointer. Just click and drag to select the screenshot area.

After intercepting, the screenshot program will display a save dialog box. It generates a time-based filename. Simply change the filename to your needs and click Save. Screenshot also provides a button next to it to copy the screenshot to the clipboard. This is convenient if you want to quickly paste into another application like GIMP or Inkscape for further editing.

If you just want to intercept without setting up, Fedora workstation also provides several different interception shortcut keys:
•Printscreen – Take a screenshot of your entire desktop and save it to your photos folder
•Alt Printscreen – Take a screenshot of the currently focused window and save it to your photo folder
•Shift Printscreen – Capture a selected area and save it to your photos folder
•Ctrl Printscreen – Take a screenshot of the entire desktop and copy it to the clipboard
•Ctrl Alt Printscreen – Take a screenshot of the currently focused window and copy it to the clipboard
•Ctrl Shift Printscreen – Capture selected area and copy it to clipboard
If your keyboard does not have a Printscreen key, you can change these shortcut keys in the Keyboard Preferences in the Fedora Workstation application settings.
The above is the detailed content of Share screenshot tips for Fedora workstations. For more information, please follow other related articles on the PHP Chinese website!

Hot AI Tools

Undresser.AI Undress
AI-powered app for creating realistic nude photos

AI Clothes Remover
Online AI tool for removing clothes from photos.

Undress AI Tool
Undress images for free

Clothoff.io
AI clothes remover

Video Face Swap
Swap faces in any video effortlessly with our completely free AI face swap tool!

Hot Article

Hot Tools

Notepad++7.3.1
Easy-to-use and free code editor

SublimeText3 Chinese version
Chinese version, very easy to use

Zend Studio 13.0.1
Powerful PHP integrated development environment

Dreamweaver CS6
Visual web development tools

SublimeText3 Mac version
God-level code editing software (SublimeText3)

Hot Topics
 1655
1655
 14
14
 1414
1414
 52
52
 1307
1307
 25
25
 1254
1254
 29
29
 1228
1228
 24
24
 Linux Architecture: Unveiling the 5 Basic Components
Apr 20, 2025 am 12:04 AM
The five basic components of the Linux system are: 1. Kernel, 2. System library, 3. System utilities, 4. Graphical user interface, 5. Applications. The kernel manages hardware resources, the system library provides precompiled functions, system utilities are used for system management, the GUI provides visual interaction, and applications use these components to implement functions.
 vscode terminal usage tutorial
Apr 15, 2025 pm 10:09 PM
vscode built-in terminal is a development tool that allows running commands and scripts within the editor to simplify the development process. How to use vscode terminal: Open the terminal with the shortcut key (Ctrl/Cmd). Enter a command or run the script. Use hotkeys (such as Ctrl L to clear the terminal). Change the working directory (such as the cd command). Advanced features include debug mode, automatic code snippet completion, and interactive command history.
 How to check the warehouse address of git
Apr 17, 2025 pm 01:54 PM
To view the Git repository address, perform the following steps: 1. Open the command line and navigate to the repository directory; 2. Run the "git remote -v" command; 3. View the repository name in the output and its corresponding address.
 How to run java code in notepad
Apr 16, 2025 pm 07:39 PM
Although Notepad cannot run Java code directly, it can be achieved by using other tools: using the command line compiler (javac) to generate a bytecode file (filename.class). Use the Java interpreter (java) to interpret bytecode, execute the code, and output the result.
 What is the main purpose of Linux?
Apr 16, 2025 am 12:19 AM
The main uses of Linux include: 1. Server operating system, 2. Embedded system, 3. Desktop operating system, 4. Development and testing environment. Linux excels in these areas, providing stability, security and efficient development tools.
 vscode Previous Next Shortcut Key
Apr 15, 2025 pm 10:51 PM
VS Code One-step/Next step shortcut key usage: One-step (backward): Windows/Linux: Ctrl ←; macOS: Cmd ←Next step (forward): Windows/Linux: Ctrl →; macOS: Cmd →
 How to run sublime after writing the code
Apr 16, 2025 am 08:51 AM
There are six ways to run code in Sublime: through hotkeys, menus, build systems, command lines, set default build systems, and custom build commands, and run individual files/projects by right-clicking on projects/files. The build system availability depends on the installation of Sublime Text.
 laravel installation code
Apr 18, 2025 pm 12:30 PM
To install Laravel, follow these steps in sequence: Install Composer (for macOS/Linux and Windows) Install Laravel Installer Create a new project Start Service Access Application (URL: http://127.0.0.1:8000) Set up the database connection (if required)


