

Set up mongodb on Linux operating system

| Introduction | MongoDB is a product between a relational database and a non-relational database. It is the most feature-rich among non-relational databases and is most like a relational database. The data structure it supports is very loose and is a bson format similar to json, so it can store more complex data types. The biggest feature of Mongo is that the query language it supports is very powerful. Its syntax is somewhat similar to an object-oriented query language. It can almost implement most functions similar to single-table queries in relational databases, and it also supports indexing of data. |
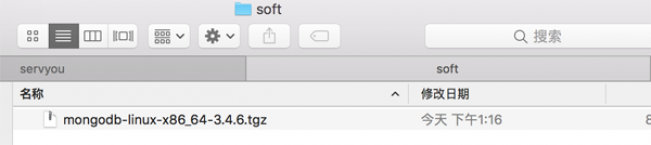
As shown below, place it in a certain corner of the local area. Remember the location~
ssh root@你的IP //回车输入密码
Open another ssh window (command n). If it is windows, open a new cmd window. Because we want to operate local files, we have already logged in to the server in the previous window. There are many ways to pass, I will only demonstrate one of them.
cd "The folder where the installation package is located" //Go to the location where you just placed the installation package<br>
scp "local file" root@yourIP // Enter and enter the password to start transmission
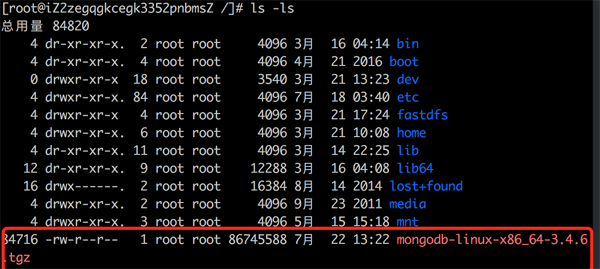
As shown below, I transferred it to the root directory of the server. In fact, it is not recommended. You can put it in an inherent directory, such as /usr/local

ls -l //Expand in list form, we can see that the download has been successful.
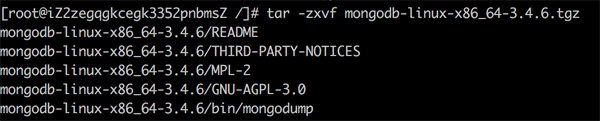
tar -zxvf mongodb-linux-x86_64-3.4.6.tgz //Decompression Different files have different decompression commands, you can use Baidu yourself
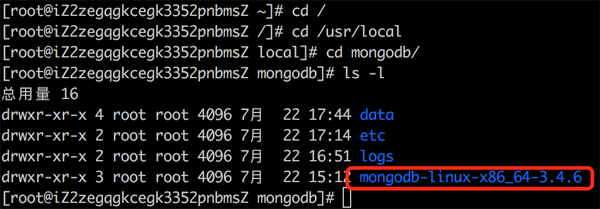
I just said that you can put the stuff you install each time into a fixed folder, so I moved the unzipped files to the /usr/local/mongodb directory. If you have already put it in the location you like, you can Skip this step. If you don’t know how to move, you can take a look.
cd /user/local //Enter local<br>
mkdir mongodb //Create mongodb folder<br>
cd / //Enter the root directory<br>
mv mongodb-linux-x86_64-3.4.6 /usr/local/mongodb /*Move the decompressed package just now into /usr/local/mongodb*/
mkdir data //创建data文件夹,存放数据库db文件
mkdir logs //创建logs文件夹,存放日志文件
cd logs //进入logs
touch mongo.log //创建log文件
cd .. //返回上一级
mkdir etc //创建配置文件夹
cd etc // 进入etc
vim mongo.conf //编辑同时创建mongo.conf 文件
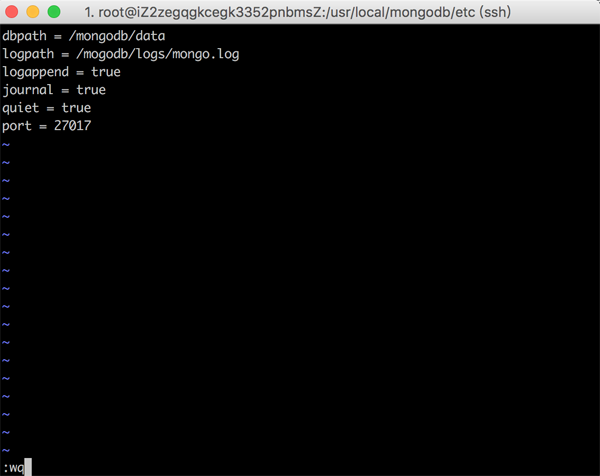
The following is the code in the mongo.conf file. Be careful not to make mistakes. After entering the file, you must press i on the keyboard to start writing code.
dbpath = /usr/local/mongodb/data //路径一定要输入绝对的
logpath = /usr/local/mongodb/logs/mongo.log //路径一定要输入绝对的
logappend = true
journal = true
quiet = true
port = 27017 //端口
After writing, press the esc key to exit, then press shift: it will appear at the bottom: Then enter wq, save and exit.
At this point it's almost the end.
cd mongodb/mongodb-linux-x86_64-3.4.6/bin //进入安装包的bin目录下
mongod -f /usr/local/mongodb/etc/mongo.conf  //启动1方法  或 ./mongod -f /usr/local/mongodb/etc/mongo.conf  //启动2方法
If you enter this command, the following picture will appear. There is no change, only the cursor flashes.

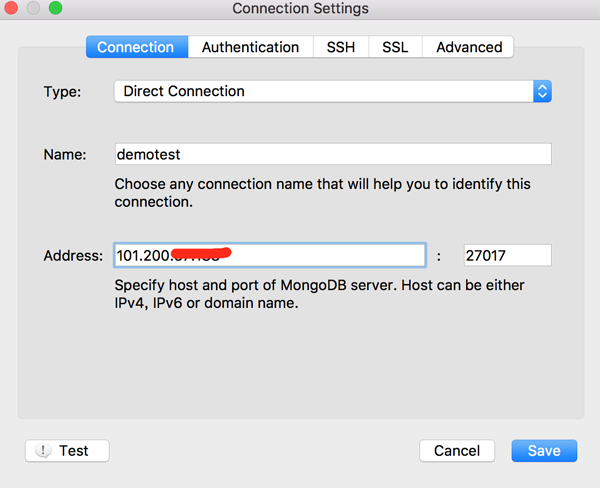
The visualization tool I use is Robo 3t. Create a new link, enter the server address as address, and fill in the port configured in your mongo.conf, which is basically 27027.
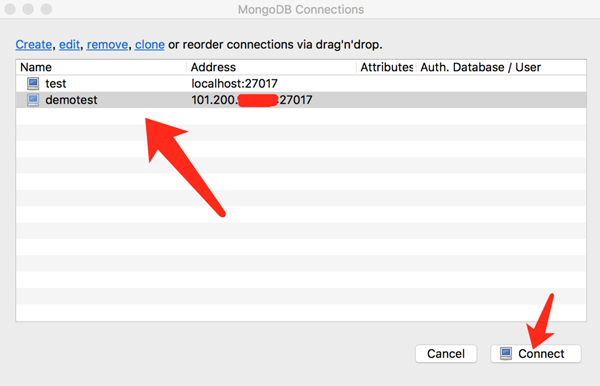
Click Save and proceed as shown below to connect.
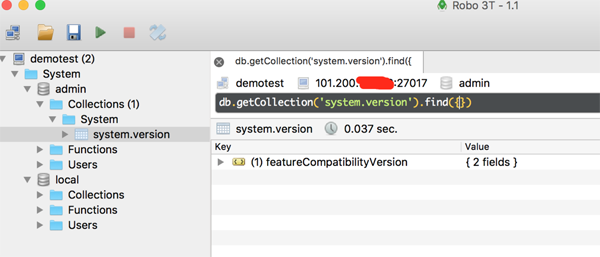
If you get to this step, it's basically a success.
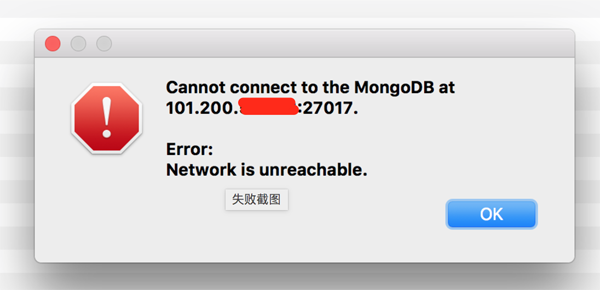
I previously wrote the path in mongo.conf relative, and the following problem occurred.

Then it looks like this.
There are many methods, I wrote only one of them, and it is my first time to install it. There are some pitfalls in it. Don’t admit defeat when you encounter problems, they will always be solved. If I write something wrong or bad, I hope you will give me some advice~
The above is the detailed content of Set up mongodb on Linux operating system. For more information, please follow other related articles on the PHP Chinese website!

Hot AI Tools

Undresser.AI Undress
AI-powered app for creating realistic nude photos

AI Clothes Remover
Online AI tool for removing clothes from photos.

Undress AI Tool
Undress images for free

Clothoff.io
AI clothes remover

Video Face Swap
Swap faces in any video effortlessly with our completely free AI face swap tool!

Hot Article
Hot Tools

Notepad++7.3.1
Easy-to-use and free code editor

SublimeText3 Chinese version
Chinese version, very easy to use

Zend Studio 13.0.1
Powerful PHP integrated development environment

Dreamweaver CS6
Visual web development tools

SublimeText3 Mac version
God-level code editing software (SublimeText3)
Hot Topics
 1654
1654
 14
1413
52
1306
25
1252
29
1225
24
14
1413
52
1306
25
1252
29
1225
24

 Linux Architecture: Unveiling the 5 Basic Components
Apr 20, 2025 am 12:04 AM
Linux Architecture: Unveiling the 5 Basic Components
Apr 20, 2025 am 12:04 AM
The five basic components of the Linux system are: 1. Kernel, 2. System library, 3. System utilities, 4. Graphical user interface, 5. Applications. The kernel manages hardware resources, the system library provides precompiled functions, system utilities are used for system management, the GUI provides visual interaction, and applications use these components to implement functions.
 vscode terminal usage tutorial
Apr 15, 2025 pm 10:09 PM
vscode terminal usage tutorial
Apr 15, 2025 pm 10:09 PM
vscode built-in terminal is a development tool that allows running commands and scripts within the editor to simplify the development process. How to use vscode terminal: Open the terminal with the shortcut key (Ctrl/Cmd). Enter a command or run the script. Use hotkeys (such as Ctrl L to clear the terminal). Change the working directory (such as the cd command). Advanced features include debug mode, automatic code snippet completion, and interactive command history.
 How to check the warehouse address of git
Apr 17, 2025 pm 01:54 PM
How to check the warehouse address of git
Apr 17, 2025 pm 01:54 PM
To view the Git repository address, perform the following steps: 1. Open the command line and navigate to the repository directory; 2. Run the "git remote -v" command; 3. View the repository name in the output and its corresponding address.
 How to run java code in notepad
Apr 16, 2025 pm 07:39 PM
How to run java code in notepad
Apr 16, 2025 pm 07:39 PM
Although Notepad cannot run Java code directly, it can be achieved by using other tools: using the command line compiler (javac) to generate a bytecode file (filename.class). Use the Java interpreter (java) to interpret bytecode, execute the code, and output the result.
 What is the main purpose of Linux?
Apr 16, 2025 am 12:19 AM
What is the main purpose of Linux?
Apr 16, 2025 am 12:19 AM
The main uses of Linux include: 1. Server operating system, 2. Embedded system, 3. Desktop operating system, 4. Development and testing environment. Linux excels in these areas, providing stability, security and efficient development tools.
 vscode terminal command cannot be used
Apr 15, 2025 pm 10:03 PM
vscode terminal command cannot be used
Apr 15, 2025 pm 10:03 PM
Causes and solutions for the VS Code terminal commands not available: The necessary tools are not installed (Windows: WSL; macOS: Xcode command line tools) Path configuration is wrong (add executable files to PATH environment variables) Permission issues (run VS Code as administrator) Firewall or proxy restrictions (check settings, unrestrictions) Terminal settings are incorrect (enable use of external terminals) VS Code installation is corrupt (reinstall or update) Terminal configuration is incompatible (try different terminal types or commands) Specific environment variables are missing (set necessary environment variables)
 vscode Previous Next Shortcut Key
Apr 15, 2025 pm 10:51 PM
vscode Previous Next Shortcut Key
Apr 15, 2025 pm 10:51 PM
VS Code One-step/Next step shortcut key usage: One-step (backward): Windows/Linux: Ctrl ←; macOS: Cmd ←Next step (forward): Windows/Linux: Ctrl →; macOS: Cmd →
 How to run sublime after writing the code
Apr 16, 2025 am 08:51 AM
How to run sublime after writing the code
Apr 16, 2025 am 08:51 AM
There are six ways to run code in Sublime: through hotkeys, menus, build systems, command lines, set default build systems, and custom build commands, and run individual files/projects by right-clicking on projects/files. The build system availability depends on the installation of Sublime Text.
