

How to install and deploy Redis in CentOS7 environment

1. Search redis online and find the download link 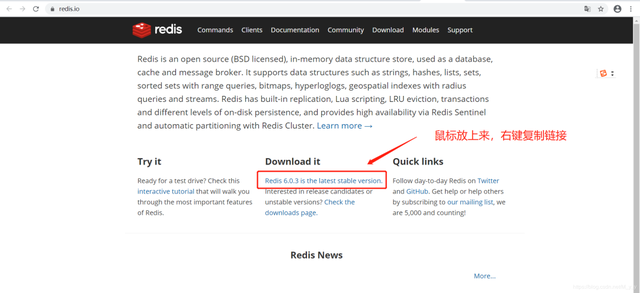
The connection is http://download.redis.io/releases/redis-6.0.3.tar.gz
2. Use wget to download the gz package. The installation is successful as shown in the figure
wget http://download.redis.io/releases/redis-6.0.3.tar.gz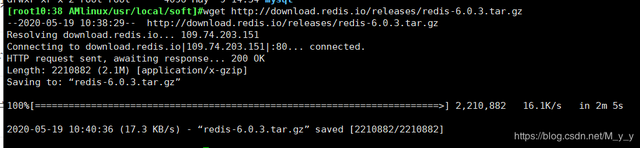
3. After downloading, decompress
tar -zxvf redis-6.0.3.tar.gz

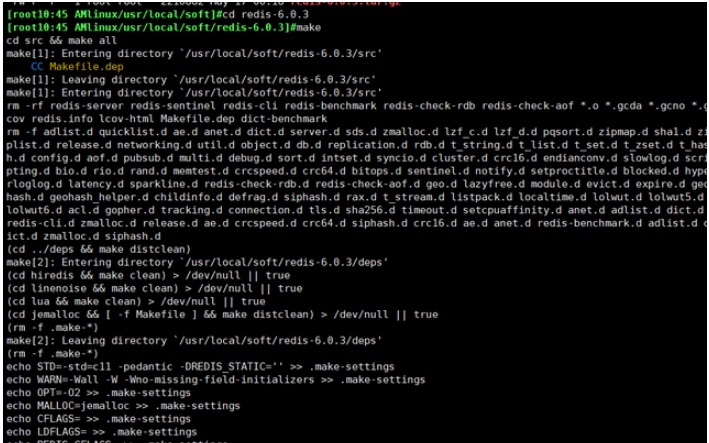
4. After decompression Compile in the redis directory
make
5. If the following prompt appears during compilation, don’t be angry if the error is reported for the first time. There are also errors below
This error only means that gcc is not installed, we can just install it
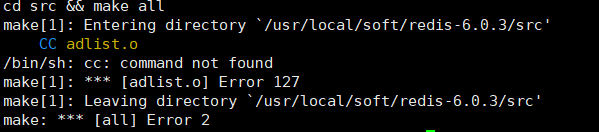
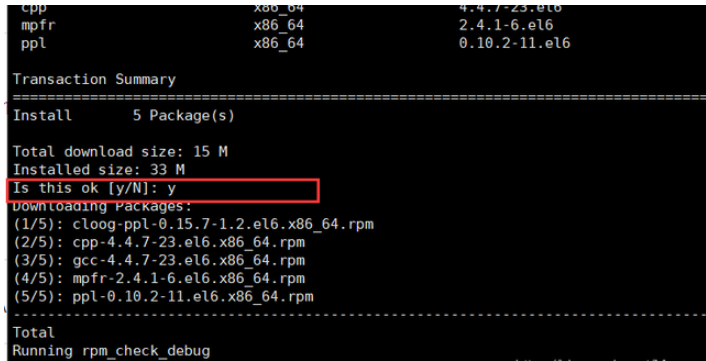
6. Install gcc, then use the command yum install gcc

You will be asked during the installation of gcc if you want to install this. Enter y and press Enter to continue the installation.
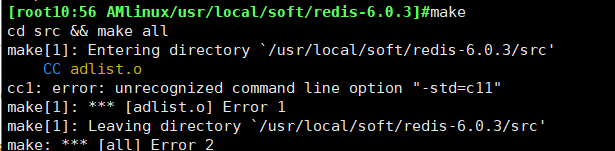
After installing gcc, recompile happily. What the hell, an error occurred again, it’s different from before
Stay steady, don’t panic. After checking the relevant resources, I found that CentOS7 is installed with 4.8.5 by default, and redis6.0 only supports versions 5.3 and above. , it turns out that the version is not supported, upgrade version, upgrade
7, CentOS7 is installed by default 4.8.5, and redis6.0 only supports version 5.3 or above, here will Upgrade gcc to 9
yum -y install centos-release-scl
yum -y install devtoolset-9-gcc devtoolset-9-gcc-c devtoolset-9-binutils


8. Gcc has finally been upgraded. At this time, don’t forget to switch the version. If you upgrade to a new version, you must use the new version.
I still recommend a permanent switch. Don’t reconnect to the server and then drop gcc back after the temporary switch is completed, which will be very troublesome.
Temporary switch: scl enable devtoolset-9 bash
Permanent switch: echo "source /opt/rh/devtoolset-9/enable" >> /etc/profile
After the switch is completed, reconnect to the server to take effect, check the gcc version
gcc -v
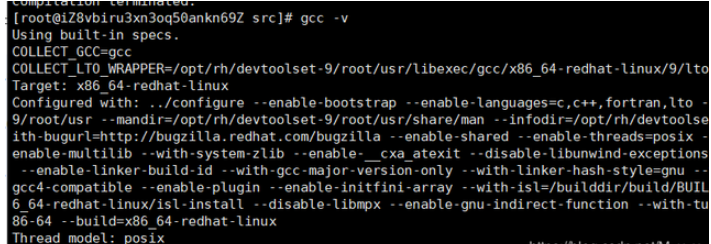
9. After the version switch is successful, enter the redis directory and recompile make install
Hey, no error is reported. Now let’s test whether redis is installed successfully. The following interface appears to indicate successful installation (I like this graphic very much, hahahaha) 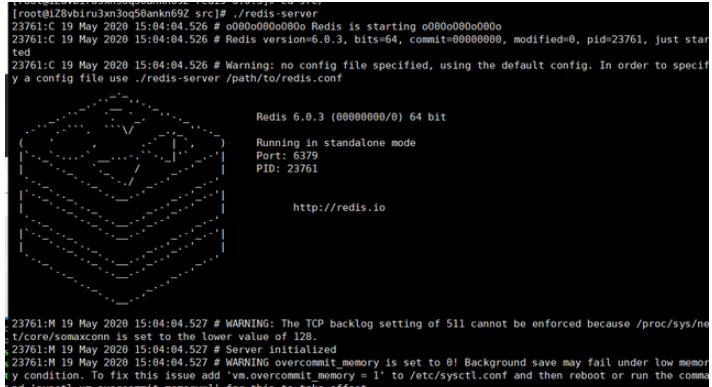
Configuration after installation
After successful installation, here It is recommended that you modify the port. The default port of redis is vulnerable to hacker attacks for mining operations. So, for the security of the server, it is better to modify the port number (don’t ask me why I know, just follow the modification silently. I will not lie to you. )
Download redis.conf locally for modification, it is simple and convenient
1. Change the default port
from port 6379 to your own defined port
2. Start as a background process
Modify daemonize no to daemonize yes
3. Set up redis remote connection
(1), first release the port number you set
(2), comment out bind 127.0.0.1
(3), set the redis connection password: change requirepass foobard to requirepass mzy1314520
mzy1314520 is the set password, Try to make this password as complex as possible
4. Start redis. If your redis has already been started, shut it down first and shut it down as follows (close the default port)
Stop redis (close the default port) ):
./redis-cli shutdown
Find the process number and kill the process:
ps -aux|grep redis kill -9 13985
5. Startup of redis
Specify the configuration file to start, enter the src directory, and enter the command
./redis-server /usr/local/redis-6.0.3/redis.conf
Local connection test
Cracked version of RedisDesktopManager2019.04: https://pan .baidu.com/s/1C2WLnhXqiS3wuJKzPqJdkQ Extraction code: a6s9
(foolish installation)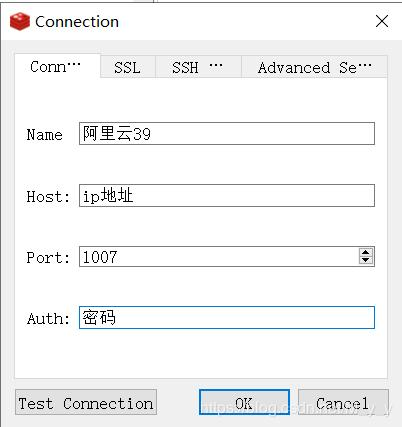
The connection is successful, there are 16 default libraries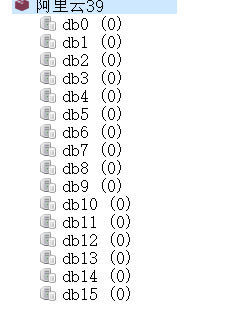
The above is the detailed content of How to install and deploy Redis in CentOS7 environment. For more information, please follow other related articles on the PHP Chinese website!

Hot AI Tools

Undresser.AI Undress
AI-powered app for creating realistic nude photos

AI Clothes Remover
Online AI tool for removing clothes from photos.

Undress AI Tool
Undress images for free

Clothoff.io
AI clothes remover

Video Face Swap
Swap faces in any video effortlessly with our completely free AI face swap tool!

Hot Article
Hot Tools

Notepad++7.3.1
Easy-to-use and free code editor

SublimeText3 Chinese version
Chinese version, very easy to use

Zend Studio 13.0.1
Powerful PHP integrated development environment

Dreamweaver CS6
Visual web development tools

SublimeText3 Mac version
God-level code editing software (SublimeText3)
Hot Topics
 1668
1668
 14
1427
52
1329
25
1273
29
1256
24
14
1427
52
1329
25
1273
29
1256
24

 Centos shutdown command line
Apr 14, 2025 pm 09:12 PM
Centos shutdown command line
Apr 14, 2025 pm 09:12 PM
The CentOS shutdown command is shutdown, and the syntax is shutdown [Options] Time [Information]. Options include: -h Stop the system immediately; -P Turn off the power after shutdown; -r restart; -t Waiting time. Times can be specified as immediate (now), minutes ( minutes), or a specific time (hh:mm). Added information can be displayed in system messages.
 Difference between centos and ubuntu
Apr 14, 2025 pm 09:09 PM
Difference between centos and ubuntu
Apr 14, 2025 pm 09:09 PM
The key differences between CentOS and Ubuntu are: origin (CentOS originates from Red Hat, for enterprises; Ubuntu originates from Debian, for individuals), package management (CentOS uses yum, focusing on stability; Ubuntu uses apt, for high update frequency), support cycle (CentOS provides 10 years of support, Ubuntu provides 5 years of LTS support), community support (CentOS focuses on stability, Ubuntu provides a wide range of tutorials and documents), uses (CentOS is biased towards servers, Ubuntu is suitable for servers and desktops), other differences include installation simplicity (CentOS is thin)
 Centos configuration IP address
Apr 14, 2025 pm 09:06 PM
Centos configuration IP address
Apr 14, 2025 pm 09:06 PM
Steps to configure IP address in CentOS: View the current network configuration: ip addr Edit the network configuration file: sudo vi /etc/sysconfig/network-scripts/ifcfg-eth0 Change IP address: Edit IPADDR= Line changes the subnet mask and gateway (optional): Edit NETMASK= and GATEWAY= Lines Restart the network service: sudo systemctl restart network verification IP address: ip addr
 Centos stops maintenance 2024
Apr 14, 2025 pm 08:39 PM
Centos stops maintenance 2024
Apr 14, 2025 pm 08:39 PM
CentOS will be shut down in 2024 because its upstream distribution, RHEL 8, has been shut down. This shutdown will affect the CentOS 8 system, preventing it from continuing to receive updates. Users should plan for migration, and recommended options include CentOS Stream, AlmaLinux, and Rocky Linux to keep the system safe and stable.
 How to view firewall status in centos
Apr 14, 2025 pm 08:18 PM
How to view firewall status in centos
Apr 14, 2025 pm 08:18 PM
The state of the CentOS firewall can be viewed through the sudo firewall-cmd --state command, returning to running or not running. For more detailed information, you can use sudo firewall-cmd --list-all to view, including configured areas, services, ports, etc. If firewall-cmd does not solve the problem, you can use sudo iptables -L -n to view iptables rules. Be sure to make a backup before modifying the firewall configuration to ensure server security.
 How to install mysql in centos7
Apr 14, 2025 pm 08:30 PM
How to install mysql in centos7
Apr 14, 2025 pm 08:30 PM
The key to installing MySQL elegantly is to add the official MySQL repository. The specific steps are as follows: Download the MySQL official GPG key to prevent phishing attacks. Add MySQL repository file: rpm -Uvh https://dev.mysql.com/get/mysql80-community-release-el7-3.noarch.rpm Update yum repository cache: yum update installation MySQL: yum install mysql-server startup MySQL service: systemctl start mysqld set up booting
 How to use the Redis cache solution to efficiently realize the requirements of product ranking list?
Apr 19, 2025 pm 11:36 PM
How to use the Redis cache solution to efficiently realize the requirements of product ranking list?
Apr 19, 2025 pm 11:36 PM
How does the Redis caching solution realize the requirements of product ranking list? During the development process, we often need to deal with the requirements of rankings, such as displaying a...
 Laravel8 optimization points
Apr 18, 2025 pm 12:24 PM
Laravel8 optimization points
Apr 18, 2025 pm 12:24 PM
Laravel 8 provides the following options for performance optimization: Cache configuration: Use Redis to cache drivers, cache facades, cache views, and page snippets. Database optimization: establish indexing, use query scope, and use Eloquent relationships. JavaScript and CSS optimization: Use version control, merge and shrink assets, use CDN. Code optimization: Use Composer installation package, use Laravel helper functions, and follow PSR standards. Monitoring and analysis: Use Laravel Scout, use Telescope, monitor application metrics.
