

How to deal with common errors during MySQL installation


1. Unable to start processing, error 1053
Windows cannot start the Mysql service Error 1053: The service did not respond to the startup or control request in a timely manner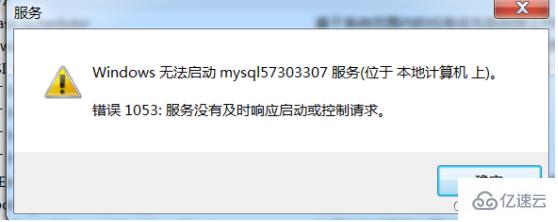
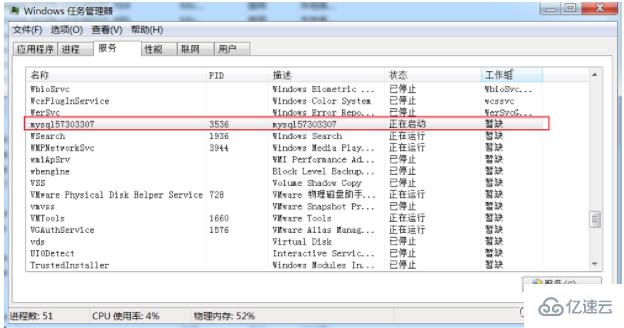
1.1 End the process
Processing method:
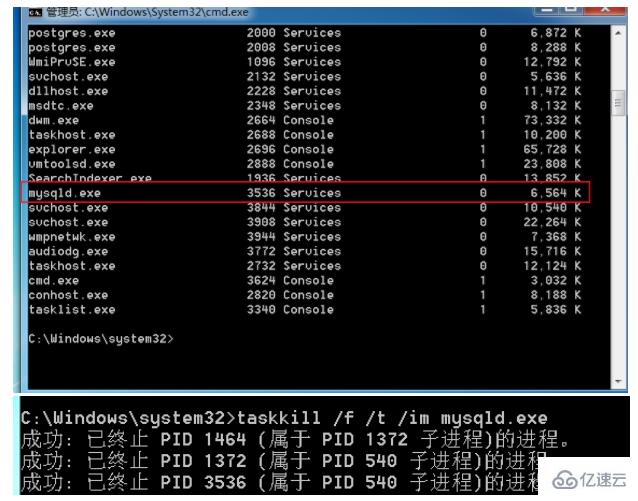
1. Type tasklist on the command line to view the process
2. Kill the process according to the process name
taskkill /f /t /im process name
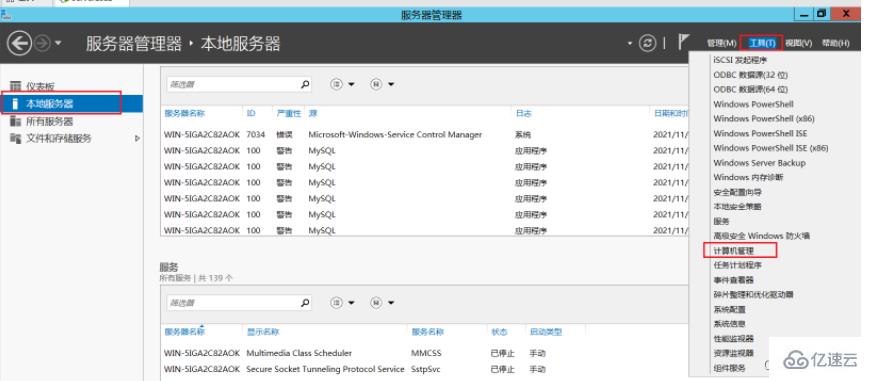
1.2 Change network service
Server2012 location
Other win7 and win10 operating systems
1), Computer->Management->Local Users and Groups->Group, double-click, the effect is as follows:
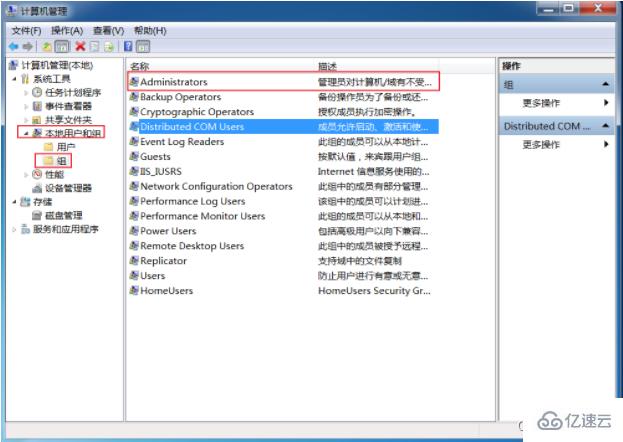
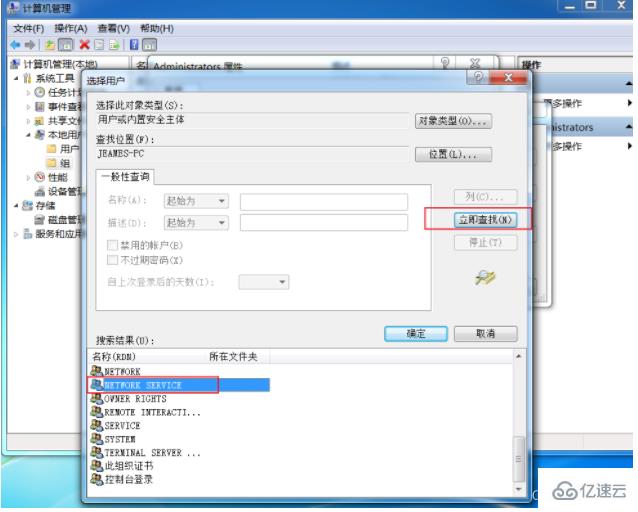
(2) Double-click Administrators, click Add, and then click Advanced
(3) Add NETWORK SERVICE to the Administrators group

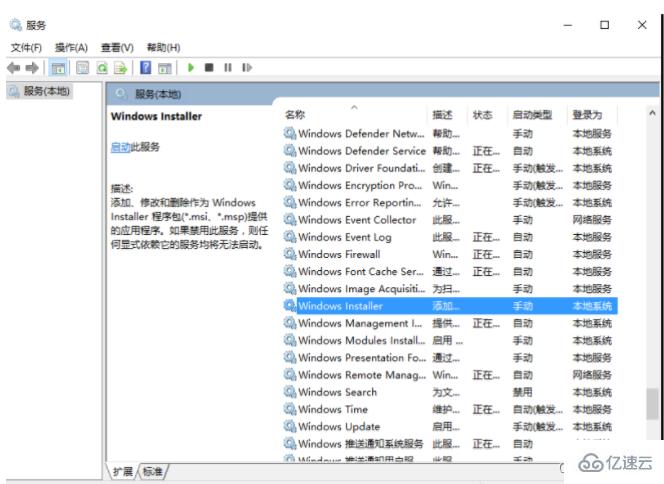
Remember here, just reinstall Mysql, perform the 2-step operation again (delete the original Mysql file, just reinstall them all)Another pitfall is that if it still cannot be started, remember to turn on the service Windows Installer
Windows Installer is a general software distribution method used to install software.
By default, the service is started manually and needs to be opened in service management.
Right-click Start - Run - Enter "services.msc" - Windows Installer - Start
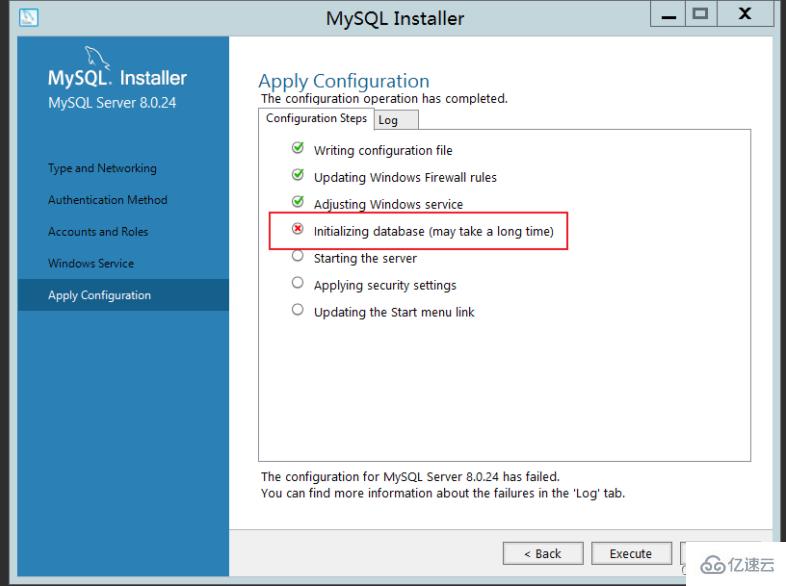
Beginning configuration step: Writing configuration fileSaving my.ini configuration file...
Saved my.ini configuration file.
Ended configuration step: Writing configuration fileBeginning configuration step: Updating Windows Firewall rules

Adding a Windows Firewall rule for MySQL80 on port 3306.
Attempting to add a Windows Firewall rule with command: netsh.exe advfirewall firewall add rule name="Port 3306" protocol=TCP localport=3306 dir=in action=allow
确定。

Successfully added the Windows Firewall rule.
Adding a Windows Firewall rule for MySQL80 on port 33060.
Attempting to add a Windows Firewall rule with command: netsh.exe advfirewall firewall add rule name="Port 33060" protocol=TCP localport=33060 dir=in action=allow
确定。

Successfully added the Windows Firewall rule.
Ended configuration step: Updating Windows Firewall rules

Beginning configuration step: Adjusting Windows serviceAttempting to grant Network Service require filesystem permissions.
Granted permissions.
Adding new serviceNew service added
Ended configuration step: Adjusting Windows serviceBeginning configuration step: Initializing database (may take a long time)Attempting to run MySQL Server with --initialize-insecure option...
Starting process for MySQL Server 8.0.24...
Starting process with command: C:\Program Files\MySQL\MySQL Server 8.0\bin\mysqld.exe --defaults-file="C:\ProgramData\MySQL\MySQL Server 8.0\my.ini" --console --initialize-insecure=on --lower-case-table-names=1...
Process for mysqld, with ID 2572, was run successfully and exited with code -1073741515.
Failed to start process for MySQL Server 8.0.24.
Database initialization failed.
Ended configuration step: Initializing database (may take a long time)
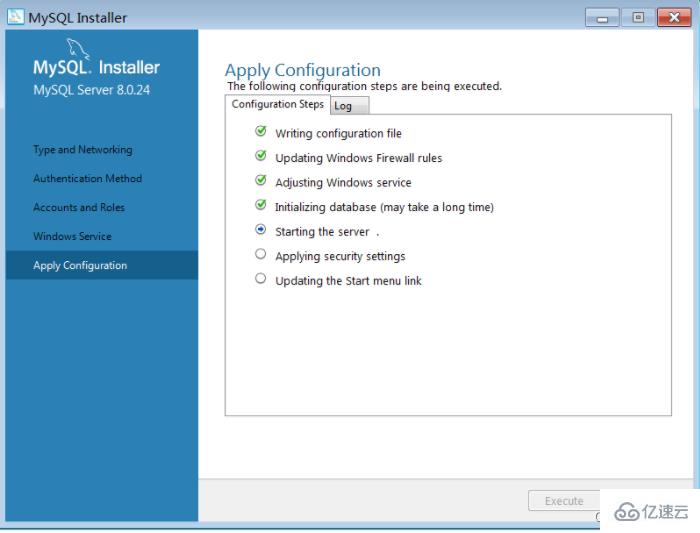
 Install VC_redist.x86 and execute OK
 Enter gpedit. msc, open policy management
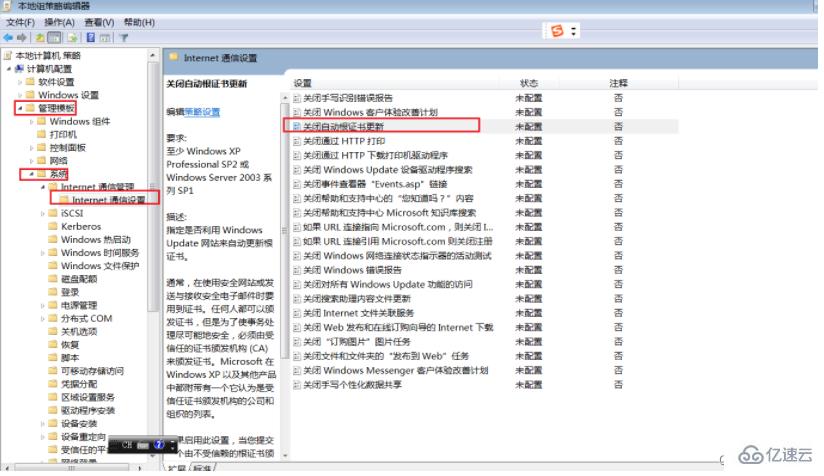 It works normally after enabling certificate update
The openssl version provided by Centos7 by default is 1.0.2. Some php extensions or other software depend on versions 1.1 or above. If you pass If it is low, an error will be reportedlibssl.so.1.1: cannot open shared object file: No such file or directory
There are also errors consistent with the above when executing openssl version. This is because the location of the openssl library is incorrect or not installed. Problems with versions 1.1 and above
If you want to upgrade the openssl version, you need to compile it manually. The error solution is very simple, just install it correctly.
Let’s talk about the specific compilation and installation steps using Centos7 as an example
–openssl version confirmation[root@jeames ~]# openssl version
OpenSSL 1.0.1e-fips 11 Feb 2013
–Compile openssl
tar - xvf openssl-1.1.1g.tar.gz
cd openssl-1.1.1g
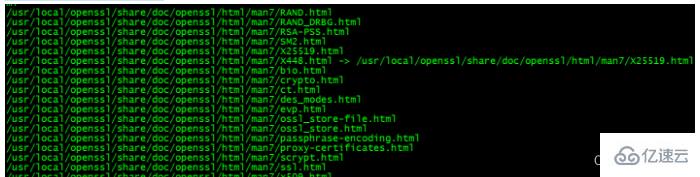
./config shared --openssldir=/usr/local/openssl --prefix=/usr/local/openssl
make && make install
–Configuration
After the compilation is completed, use openssl version to check the current openssl version number.
You will find that it is still 1.0.2, so some additional configuration work needs to be done here.
[root@jeames openssl-1.1.1g]# more /etc/ld.so.conf
include ld.so.conf.d/*.conf
[root@jeames openssl-1.1.1g ]# echo “/usr/local/lib64/” >> /etc/ld.so.conf
[root@jeames openssl-1.1.1g]# ldconfig
Use openssl version again to verify the version ,
If it doesn’t work, you can try the following methods,
Execute them in sequence (first back up the old version, then create a soft connection from the installation location of the new version)
mv /usr/bin/openssl /usr/bin/openssl .old
ln -s /usr/local/openssl/bin/openssl /usr/bin/openssl
ln -s /usr/local/openssl/include/openssl /usr/include/openssl
echo "/usr/local/openssl/lib" >> /etc/ld.so.conf
ldconfig -v
4. Unable to log in after MySQL8 is installed
The first method:
1. Use the command to edit the /etc/my.cnf configuration file, namely: vim /etc/my.cnf or vi /etc/my.cnf
2. In Add skip-grant-tables under [mysqld], then save and exit
3. Restart the mysql service: service mysqld restart
4. Change the root user name
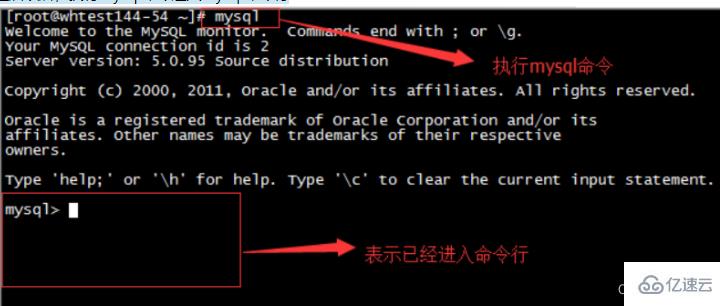
After restarting, execute the mysql command to enter the mysql command line
5. Modify the root user password. Note here that sometimes it will report that modification is not allowed. Just flush privileges first and then execute it.
update mysql.user set authentication_string=password('root') where user='root' ; --5.7 version
flush privileges;
6. Comment out skip-grant-tables in /etc/my.cnf, and then restart mysql, that is: service mysqld restart
Okay, here's the thing You can log in with the new root password!
The second method:
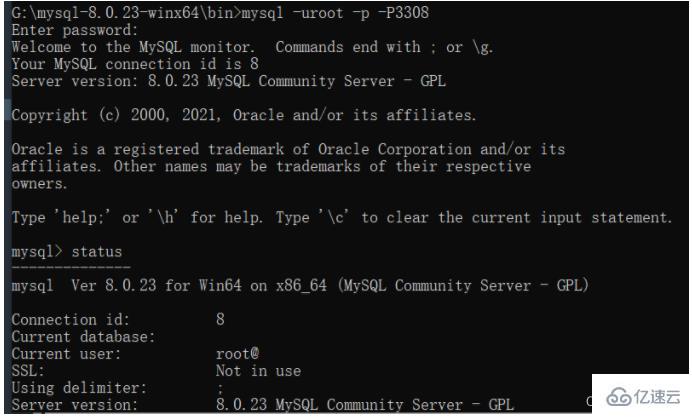
Under the mysql8 system, the following method applies (full path)
G:\mysql-8.0 .23-winx64\bin\mysqld --datadir=G:\mysql-8.0.23-winx64\data80323308 --console --skip-grant-tables --shared-memory

Then open another window and execute the following command
cd G:\mysql-8.0.23-winx64\bin
mysql> select user,host,authentication_string from mysql.user;
mysql> delete from mysql.user where user='root' ;
mysql> flush privileges; --Remember to refresh, If the prompt cannot be created
mysql> create user root@'%' identified with mysql_native_password by 'root';
mysql> grant all on . to root@'%' with grant option;
mysql> flush privileges;
mysql> drop user 'root'@'localhost';
mysql> flush privileges;
mysql> create user root@'localhost' identified with mysql_native_password by 'root';
mysql> grant all on . to root@'localhost' with grant option;
mysql> flush privileges;
The above is the detailed content of How to deal with common errors during MySQL installation. For more information, please follow other related articles on the PHP Chinese website!

Hot AI Tools

Undresser.AI Undress
AI-powered app for creating realistic nude photos

AI Clothes Remover
Online AI tool for removing clothes from photos.

Undress AI Tool
Undress images for free

Clothoff.io
AI clothes remover

Video Face Swap
Swap faces in any video effortlessly with our completely free AI face swap tool!

Hot Article
Hot Tools

Notepad++7.3.1
Easy-to-use and free code editor

SublimeText3 Chinese version
Chinese version, very easy to use

Zend Studio 13.0.1
Powerful PHP integrated development environment

Dreamweaver CS6
Visual web development tools

SublimeText3 Mac version
God-level code editing software (SublimeText3)
Hot Topics
 1664
1664
 14
1423
52
1318
25
1269
29
1248
24
14
1423
52
1318
25
1269
29
1248
24

 MySQL's Role: Databases in Web Applications
Apr 17, 2025 am 12:23 AM
MySQL's Role: Databases in Web Applications
Apr 17, 2025 am 12:23 AM
The main role of MySQL in web applications is to store and manage data. 1.MySQL efficiently processes user information, product catalogs, transaction records and other data. 2. Through SQL query, developers can extract information from the database to generate dynamic content. 3.MySQL works based on the client-server model to ensure acceptable query speed.
 Laravel Introduction Example
Apr 18, 2025 pm 12:45 PM
Laravel Introduction Example
Apr 18, 2025 pm 12:45 PM
Laravel is a PHP framework for easy building of web applications. It provides a range of powerful features including: Installation: Install the Laravel CLI globally with Composer and create applications in the project directory. Routing: Define the relationship between the URL and the handler in routes/web.php. View: Create a view in resources/views to render the application's interface. Database Integration: Provides out-of-the-box integration with databases such as MySQL and uses migration to create and modify tables. Model and Controller: The model represents the database entity and the controller processes HTTP requests.
 MySQL and phpMyAdmin: Core Features and Functions
Apr 22, 2025 am 12:12 AM
MySQL and phpMyAdmin: Core Features and Functions
Apr 22, 2025 am 12:12 AM
MySQL and phpMyAdmin are powerful database management tools. 1) MySQL is used to create databases and tables, and to execute DML and SQL queries. 2) phpMyAdmin provides an intuitive interface for database management, table structure management, data operations and user permission management.
 MySQL vs. Other Programming Languages: A Comparison
Apr 19, 2025 am 12:22 AM
MySQL vs. Other Programming Languages: A Comparison
Apr 19, 2025 am 12:22 AM
Compared with other programming languages, MySQL is mainly used to store and manage data, while other languages such as Python, Java, and C are used for logical processing and application development. MySQL is known for its high performance, scalability and cross-platform support, suitable for data management needs, while other languages have advantages in their respective fields such as data analytics, enterprise applications, and system programming.
 Solve database connection problem: a practical case of using minii/db library
Apr 18, 2025 am 07:09 AM
Solve database connection problem: a practical case of using minii/db library
Apr 18, 2025 am 07:09 AM
I encountered a tricky problem when developing a small application: the need to quickly integrate a lightweight database operation library. After trying multiple libraries, I found that they either have too much functionality or are not very compatible. Eventually, I found minii/db, a simplified version based on Yii2 that solved my problem perfectly.
 Laravel framework installation method
Apr 18, 2025 pm 12:54 PM
Laravel framework installation method
Apr 18, 2025 pm 12:54 PM
Article summary: This article provides detailed step-by-step instructions to guide readers on how to easily install the Laravel framework. Laravel is a powerful PHP framework that speeds up the development process of web applications. This tutorial covers the installation process from system requirements to configuring databases and setting up routing. By following these steps, readers can quickly and efficiently lay a solid foundation for their Laravel project.
 MySQL for Beginners: Getting Started with Database Management
Apr 18, 2025 am 12:10 AM
MySQL for Beginners: Getting Started with Database Management
Apr 18, 2025 am 12:10 AM
The basic operations of MySQL include creating databases, tables, and using SQL to perform CRUD operations on data. 1. Create a database: CREATEDATABASEmy_first_db; 2. Create a table: CREATETABLEbooks(idINTAUTO_INCREMENTPRIMARYKEY, titleVARCHAR(100)NOTNULL, authorVARCHAR(100)NOTNULL, published_yearINT); 3. Insert data: INSERTINTObooks(title, author, published_year)VA
 Solve MySQL mode problem: The experience of using the TheliaMySQLModesChecker module
Apr 18, 2025 am 08:42 AM
Solve MySQL mode problem: The experience of using the TheliaMySQLModesChecker module
Apr 18, 2025 am 08:42 AM
When developing an e-commerce website using Thelia, I encountered a tricky problem: MySQL mode is not set properly, causing some features to not function properly. After some exploration, I found a module called TheliaMySQLModesChecker, which is able to automatically fix the MySQL pattern required by Thelia, completely solving my troubles.
