

How to build a picture and video server with Nginx

1 Preface
First of all, two stories:
1.1 About the video
Several years ago, when I was working in my last company, my work computer was not It is really uncomfortable to connect to the external network and develop the internal network. When checking any information, I can only use my mobile phone. What I can't do is find the code and I can only type it one by one.
One day, we received a customer and wanted to show him a promotional video for our new product, but the video had just been finished and was still on the intranet. They were sitting in the conference room chatting and waiting to watch it. Video, our boss came out to get the video, holding his laptop, dumbfounded, the video was on the intranet, and all USB ports were blocked on the desktop. It's so urgent that I don't know what to do. To get something from the intranet, I need to go through multiple levels of email approval. At this time, I stepped forward and used nginx to forward the video to the external network through the port opened by us and the three-party joint debugging. The customer was very happy after watching it. As a result, I was criticized and told that I did not comply with the company's procedures. In the end, my boss took the responsibility. . . The process was wonderful, but the results were not so great.
1.2 About the picture
Another time, I was working for a company later, which was engaged in car loan business. The user information page displayed the person, car, invoice, and driving license. The mess adds up to displaying more than 50 pictures. The uploads are uploaded by customers, but the operation has to check the photos for approval on the approval page. Today's mobile phones are very good, and the cameras are all 7M or 8M. The image display alone on a page takes 400M, and this is for one user. At that time, the images were stored on Alibaba's OSS, and downloading was extremely slow. At this time, the boss was unhappy. It took the operation staff five minutes to approve one person's information and four and a half minutes to wait for the picture to load. What does technology do? Then the pressure came to the front-end guys to compress the images when uploading them. But when it reaches about 2M3M at most, I can’t go any further. After studying hard for several days, I accidentally heard it. I said, wouldn’t it be beautiful to use nginx? Just build a local static resource server and save the pictures locally. Direct intranet access is not very fast. The boss is also very happy, and it is very comfortable to just do it like this, but the problem is that the server has a 1T disk and a large number of users. It may be full in a few days. But within a few days, the state cracked down on small loan companies, users did not repay, and the company disappeared before the servers were full. The process was wonderful, but the result was even worse, but I don’t blame it this time.
Let me briefly introduce these two deployment steps.
2 Build a picture server
This is simple, just configure it, but please note that gzip compression is useless for resources such as pictures and videos. If it is turned on, it will not reduce the size and occupy the CPU. resource. For demonstration purposes here, the image files are directly placed under html.
2.1 Configuration file
server {
    listen       8081;
    server_name  somename  alias  another.alias;
        location /image {
            root   html;
            autoindex on;
        }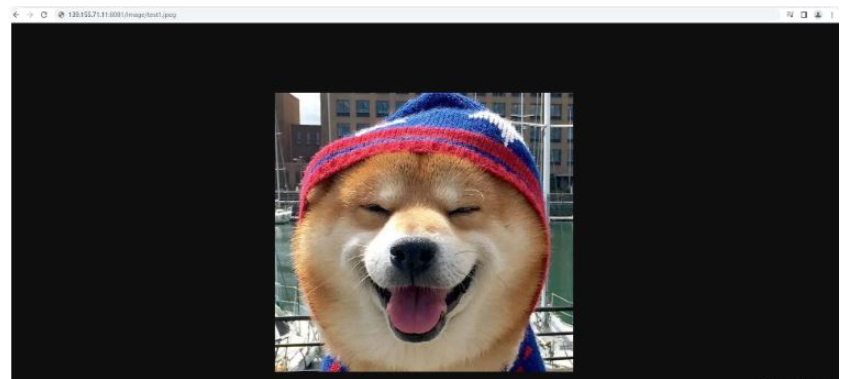
}2.2 Display effect
Direct address plus port plus file name access
139.155.71.11:8081/image/test1.jpeg
3 Build a video server
There are a few things you need to pay attention to
If you want to play it in chrome, the video encoding must be H264 , the others are all black screens with only sound and no images.
Need to add mp4 module
3.1 Add video module
Back up nginx configuration file, Note, be sure to back it up. You will be sad if you lose it during make.
Execute the following command in the decompression directory of nginx. Of course, if there are other modules, you must also add them together and execute them.
./configure --with-http_mp4_module
Then
make
make install
Put the backup configuration file and restart nginx
3.2 Configuration file
server {
    listen       8082;
    server_name  somename  alias  another.alias;

    location /video {
        root   html;
        mp4;
        mp4_buffer_size 1m;#处理mp4初始内存大小
        mp4_max_buffer_size 50m;#处理mp4最大内存大小
        limit_rate 150k; #限速
        limit_rate_after 20m;   #在20m后限速
    }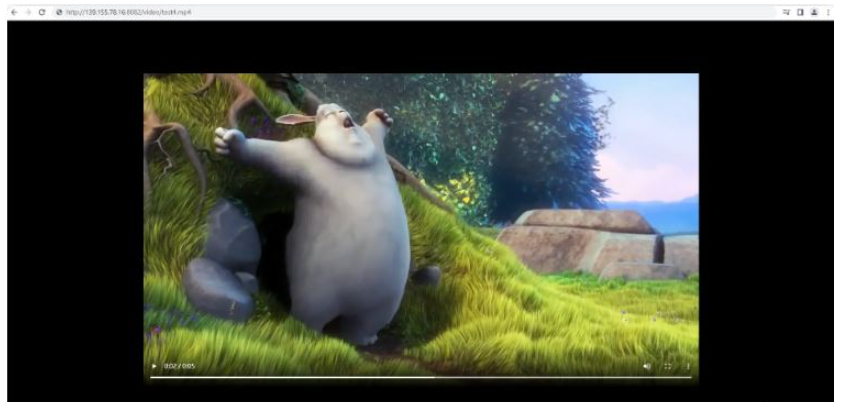
}3.3 Display
You can access the video you want by adding the access address, port and file name.
139.155.71.11:8082/video/test4.mp4
The video effect is as follows:
The above is the detailed content of How to build a picture and video server with Nginx. For more information, please follow other related articles on the PHP Chinese website!

Hot AI Tools

Undresser.AI Undress
AI-powered app for creating realistic nude photos

AI Clothes Remover
Online AI tool for removing clothes from photos.

Undress AI Tool
Undress images for free

Clothoff.io
AI clothes remover

Video Face Swap
Swap faces in any video effortlessly with our completely free AI face swap tool!

Hot Article
Hot Tools

Notepad++7.3.1
Easy-to-use and free code editor

SublimeText3 Chinese version
Chinese version, very easy to use

Zend Studio 13.0.1
Powerful PHP integrated development environment

Dreamweaver CS6
Visual web development tools

SublimeText3 Mac version
God-level code editing software (SublimeText3)
Hot Topics


 How to check the name of the docker container
Apr 15, 2025 pm 12:21 PM
How to check the name of the docker container
Apr 15, 2025 pm 12:21 PM
You can query the Docker container name by following the steps: List all containers (docker ps). Filter the container list (using the grep command). Gets the container name (located in the "NAMES" column).
 How to configure nginx in Windows
Apr 14, 2025 pm 12:57 PM
How to configure nginx in Windows
Apr 14, 2025 pm 12:57 PM
How to configure Nginx in Windows? Install Nginx and create a virtual host configuration. Modify the main configuration file and include the virtual host configuration. Start or reload Nginx. Test the configuration and view the website. Selectively enable SSL and configure SSL certificates. Selectively set the firewall to allow port 80 and 443 traffic.
 How to check whether nginx is started
Apr 14, 2025 pm 01:03 PM
How to check whether nginx is started
Apr 14, 2025 pm 01:03 PM
How to confirm whether Nginx is started: 1. Use the command line: systemctl status nginx (Linux/Unix), netstat -ano | findstr 80 (Windows); 2. Check whether port 80 is open; 3. Check the Nginx startup message in the system log; 4. Use third-party tools, such as Nagios, Zabbix, and Icinga.
 How to start containers by docker
Apr 15, 2025 pm 12:27 PM
How to start containers by docker
Apr 15, 2025 pm 12:27 PM
Docker container startup steps: Pull the container image: Run "docker pull [mirror name]". Create a container: Use "docker create [options] [mirror name] [commands and parameters]". Start the container: Execute "docker start [Container name or ID]". Check container status: Verify that the container is running with "docker ps".
 How to configure cloud server domain name in nginx
Apr 14, 2025 pm 12:18 PM
How to configure cloud server domain name in nginx
Apr 14, 2025 pm 12:18 PM
How to configure an Nginx domain name on a cloud server: Create an A record pointing to the public IP address of the cloud server. Add virtual host blocks in the Nginx configuration file, specifying the listening port, domain name, and website root directory. Restart Nginx to apply the changes. Access the domain name test configuration. Other notes: Install the SSL certificate to enable HTTPS, ensure that the firewall allows port 80 traffic, and wait for DNS resolution to take effect.
 How to check nginx version
Apr 14, 2025 am 11:57 AM
How to check nginx version
Apr 14, 2025 am 11:57 AM
The methods that can query the Nginx version are: use the nginx -v command; view the version directive in the nginx.conf file; open the Nginx error page and view the page title.
 How to create containers for docker
Apr 15, 2025 pm 12:18 PM
How to create containers for docker
Apr 15, 2025 pm 12:18 PM
Create a container in Docker: 1. Pull the image: docker pull [mirror name] 2. Create a container: docker run [Options] [mirror name] [Command] 3. Start the container: docker start [Container name]
 How to start nginx server
Apr 14, 2025 pm 12:27 PM
How to start nginx server
Apr 14, 2025 pm 12:27 PM
Starting an Nginx server requires different steps according to different operating systems: Linux/Unix system: Install the Nginx package (for example, using apt-get or yum). Use systemctl to start an Nginx service (for example, sudo systemctl start nginx). Windows system: Download and install Windows binary files. Start Nginx using the nginx.exe executable (for example, nginx.exe -c conf\nginx.conf). No matter which operating system you use, you can access the server IP
