

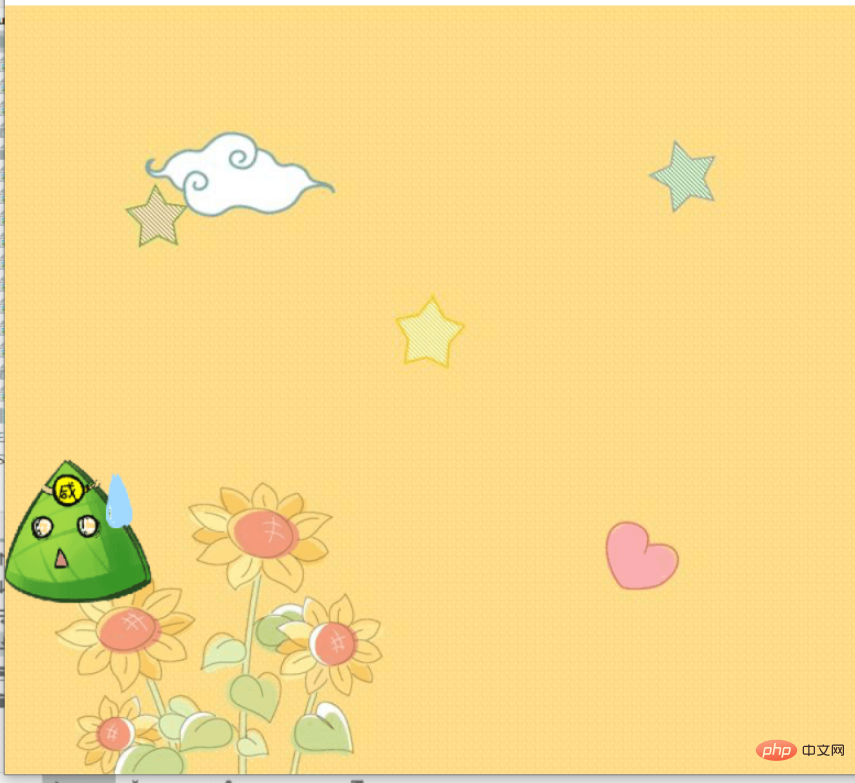
How to implement cute little rice dumplings in Python

Create two elves and build background elements
Zongzi and love
First create a zongzi object, which is an elf, and the class needs to inherit pygame.sprite.Sprite Class, this is an important part of the collision module. updateThe function is to control the direction of the zongzi and prevent the zongzi from running out of the boundary. When the zongzi touches the boundary, it starts the bottom-out function, causing the zongzi to bounce in the other direction of the boundary.
class Player(pygame.sprite.Sprite):
    """
    粽子对象
    """
    def __init__(self):
        pygame.sprite.Sprite.__init__(self)
        self.image = pygame.image.load('min2.png')
        self.image = pygame.transform.scale(self.image, (130, 130))
        print(self.image)
        self.rect = self.image.get_rect()
        self.rect.midbottom = (20, screen_height )
    def update(self):
        screen.blit(self.image, (self.rect.x, self.rect.y))
        screen.blit(self.image, self.rect)
        x_move = 0
        y_move = 0
        # 获取按键,并进行相应的移动
        key = pygame.key.get_pressed()
        #通过控制数字来设置粽子速度
        if key[pygame.K_LEFT]:
            x_move -= 4
        if key[pygame.K_RIGHT]:
            x_move += 4
        if key[pygame.K_UP]:
            y_move -= 4
        if key[pygame.K_DOWN]:
            y_move += 4
        self.rect.x += x_move
        self.rect.y += y_move
        # 控制人物的最低位置
        if self.rect.bottom > screen_height+330 :
            self.rect.bottom = screen_height + 330
        # 绘制粽子
        screen.blit(self.image, self.rect)
        #防止粽子跑出边界
        if  self.rect.right > 1400:
            self.rect.x -= 20
        elif  self.rect.left <=-10:
            self.rect.x += 20
        elif  self.rect.top < 0:
            self.rect.y += 50
        elif self.rect.bottom> 730:
self.rect.y -= 60 Add a ❤ and score points when the salty rice dumpling eats ❤. It must also inherit the pygame.sprite.Sprite class, and use Move_update to make ❤ appear randomly in the game and move within the game boundaries.
class Heart_game(pygame.sprite.Sprite):
    def __init__(self):
        pygame.sprite.Sprite.__init__(self)
        self.Heart_speed = [2,-3]
        # 加载小球图片
        self.image = pygame.image.load('min_love.png').convert_alpha()
        # 获取小球图片的区域开状
        self.rect = self.image.get_rect()
        x,y = random.randint(0,1300),random.randint(0,700)
        self.active = True
        self.rect.midbottom = (x, y )
    def Move_update(self):
        self.rect = self.rect.move(self.Heart_speed)
        #绘制爱心图片
        screen.blit(self.image, self.rect)
        if  self.rect.right > 1400:
            x = random.randint(-5, 0)
            y = random.randint(-5, -2) or random.randint(1, 5)
            self.Heart_speed = [x, y]
        elif  self.rect.left <=-10:
            x = random.randint(0, 5)
            y = random.randint(-5, 5)
            self.Heart_speed = [x, y]
        elif  self.rect.top < -10:
            x = random.randint(-3,3)
            y = random.randint(0,3)
            self.Heart_speed = [x,y]
        elif self.rect.bottom> 695:
            x = random.randint(-3, 3)
            y = random.randint(-3,0)
self.Heart_speed = [x, y]Note: \color{#FF45b0}{Note:} Note: screen.blit(image, rect)In order to draw a picture in the game, it must contain two parameters, one is The picture itself, and the other is the position of the picture in the game, which is rect.
Background construction
Import pictures directly and display them in the loop
bg = pygame.image.load("vack.jpeg").convert()
#下句需在游戏主循环中使用
screen.blit(bg, (0, 0))After the construction is completed, it will be
collision module
I worked hard on the collision part, using the following sentences, especially! ! \color{blue}{Especially! ! } especially! ! I thought there was no collision at first, so I added multiple statements. In fact, it happened, but I didn’t add any statements ->What would happen under this condition, causing this tragedy... Let’s analyze this carefully. Segment condition,
player is a zongzi object, group is a group containing ❤, pygame.sprite.collide_circle_ratio(0.5) can control the image collision volume, so the collision Conditions met! <div class="code" style="position:relative; padding:0px; margin:0px;"><pre class='brush:php;toolbar:false;'>if pygame.sprite.spritecollide(player,group,True,pygame.sprite.collide_circle_ratio(0.5)) :
语句</pre><div class="contentsignin">Copy after login</div></div>Greedy module
Eat the ❤ when the collision is reached, set
l to an empty array, use l.append(aixin)Add the ❤ instance. When the array l exists, enter the collision link. After the collision, use the pop function to delete ❤. Then add judgment. If the array l is empty, add a new ❤ game instance, which is the above ❤ instance
    for each in l:
        each.Move_update()
        screen.blit(each.image, each.rect)
        if pygame.sprite.spritecollide(player,group,True,pygame.sprite.collide_circle_ratio(0.5)) :
                l.pop()
                score += 1
                print(score)
                # del aixin
    if not l:
        l.append(Heart_game())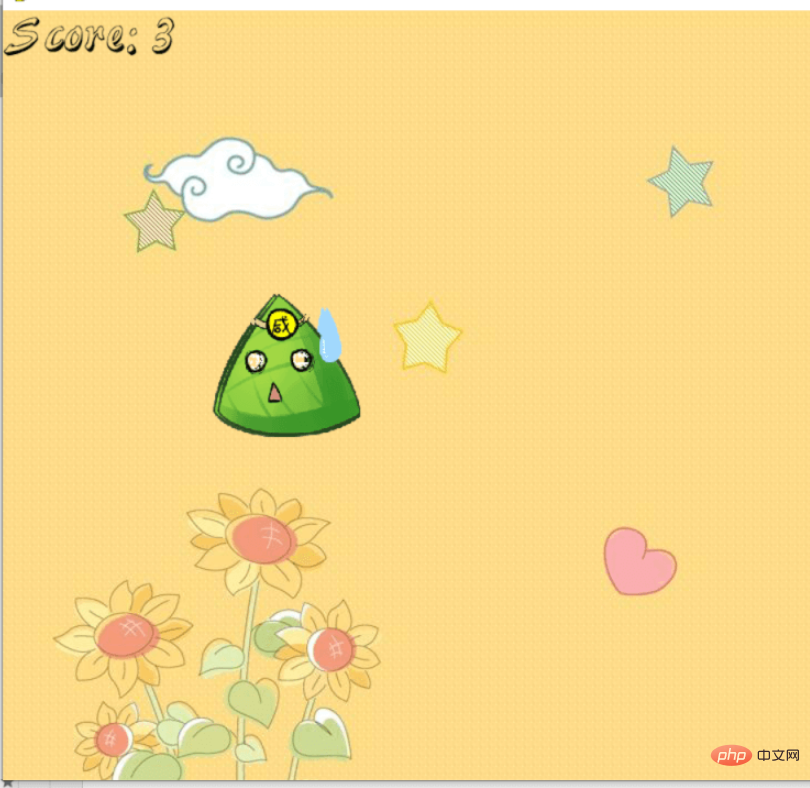
group.add(l[0])Counting mechanism
Use
scoreCalculate, reference a ttf font file <div class="code" style="position:relative; padding:0px; margin:0px;"><pre class='brush:php;toolbar:false;'>score = 0
score_font = pygame.font.Font("font.ttf",50)
score_text = score_font.render("Score: % s" % str(score), True, BLACK)
screen.blit(score_text, (0, 0))</pre><div class="contentsignin">Copy after login</div></div> and finally render it as
## complete code 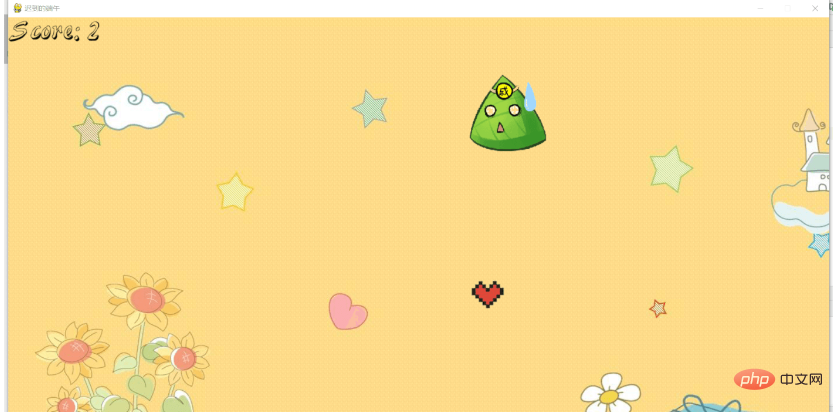
import pygame
from pygame.locals import *
import pygame
import sys
import asyncio
import time
import random
class Player(pygame.sprite.Sprite):
#粽子对象
def __init__(self):
pygame.sprite.Sprite.__init__(self)
self.image = pygame.image.load('min2.png')
self.image = pygame.transform.scale(self.image, (130, 130))
print(self.image)
self.rect = self.image.get_rect()
self.rect.midbottom = (20, screen_height )
def update(self):
screen.blit(self.image, (self.rect.x, self.rect.y))
screen.blit(self.image, self.rect)
x_move = 0
y_move = 0
# 获取按键,并进行相应的移动
key = pygame.key.get_pressed()
if key[pygame.K_LEFT]:
x_move -= 4
if key[pygame.K_RIGHT]:
x_move += 4
if key[pygame.K_UP]:
y_move -= 4
if key[pygame.K_DOWN]:
y_move += 4
self.rect.x += x_move
self.rect.y += y_move
# 控制人物的最低位置
# 绘制人物
screen.blit(self.image, self.rect)
if self.rect.right > 1400:
self.rect.x -= 20
elif self.rect.left <=-10:
self.rect.x += 20
elif self.rect.top < 0:
self.rect.y += 50
elif self.rect.bottom> 730:
self.rect.y -= 60
# def eat(self):
class Heart_game(pygame.sprite.Sprite):
def __init__(self):
pygame.sprite.Sprite.__init__(self)
self.Heart_speed = [2,-3]
# 加载小球图片
self.image = pygame.image.load('min_love.png').convert_alpha()
# 获取小球图片的区域开状
self.rect = self.image.get_rect()
x,y = random.randint(0,1300),random.randint(0,700)
self.active = True
self.rect.midbottom = (x, y )
def Move_update(self):
self.rect = self.rect.move(self.Heart_speed)
screen.blit(self.image, self.rect)
if self.rect.right > 1400:
x = random.randint(-5, 0)
y = random.randint(-5, -2) or random.randint(1, 5)
self.Heart_speed = [x, y]
elif self.rect.left <=-10:
x = random.randint(0, 5)
y = random.randint(-5, 5)
self.Heart_speed = [x, y]
elif self.rect.top < -10:
x = random.randint(-3,3)
y = random.randint(0,3)
self.Heart_speed = [x,y]
elif self.rect.bottom> 695:
x = random.randint(-3, 3)
y = random.randint(-3,0)
self.Heart_speed = [x, y]
# 加载基本的窗口和时钟
pygame.init()
screen_width = 1400
screen_height = 700
screen = pygame.display.set_mode((screen_width, screen_height))
pygame.display.set_caption('迟到的端午')
clock = pygame.time.Clock() # 设置时钟
# 加载背景,粽子,爱心
bg = pygame.image.load("vack.jpeg").convert()
player = Player()
aixin = Heart_game()
group = pygame.sprite.Group(aixin)
count = 0
score = 0
score_font = pygame.font.Font("font.ttf",50)
BLACK= (0,0,0)
l = []
l.append(aixin)
# 游戏主循环
game_run = 1
while game_run:
clock.tick(60)
screen.blit(bg, (0, 0))
# 持续更新
count += 1
for each in l:
each.Move_update()
screen.blit(each.image, each.rect)
if pygame.sprite.spritecollide(player,group,True,pygame.sprite.collide_circle_ratio(0.5)) :
l.pop()
score += 1
print(score)
# del aixin
if not l:
l.append(Heart_game())
group.add(l[0])
player.update()
score_text = score_font.render("Score: % s" % str(score), True, BLACK)
screen.blit(score_text, (0, 0))
for event in pygame.event.get():
if event.type == pygame.QUIT:
game_run = False
# 窗口更新并绘制
pygame.display.update()
pygame.quit()The above is the detailed content of How to implement cute little rice dumplings in Python. For more information, please follow other related articles on the PHP Chinese website!

Hot AI Tools

Undresser.AI Undress
AI-powered app for creating realistic nude photos

AI Clothes Remover
Online AI tool for removing clothes from photos.

Undress AI Tool
Undress images for free

Clothoff.io
AI clothes remover

Video Face Swap
Swap faces in any video effortlessly with our completely free AI face swap tool!

Hot Article
Hot Tools

Notepad++7.3.1
Easy-to-use and free code editor

SublimeText3 Chinese version
Chinese version, very easy to use

Zend Studio 13.0.1
Powerful PHP integrated development environment

Dreamweaver CS6
Visual web development tools

SublimeText3 Mac version
God-level code editing software (SublimeText3)
Hot Topics
 1662
1662
 14
1418
52
1311
25
1261
29
1234
24
14
1418
52
1311
25
1261
29
1234
24

 PHP and Python: Different Paradigms Explained
Apr 18, 2025 am 12:26 AM
PHP and Python: Different Paradigms Explained
Apr 18, 2025 am 12:26 AM
PHP is mainly procedural programming, but also supports object-oriented programming (OOP); Python supports a variety of paradigms, including OOP, functional and procedural programming. PHP is suitable for web development, and Python is suitable for a variety of applications such as data analysis and machine learning.
 Choosing Between PHP and Python: A Guide
Apr 18, 2025 am 12:24 AM
Choosing Between PHP and Python: A Guide
Apr 18, 2025 am 12:24 AM
PHP is suitable for web development and rapid prototyping, and Python is suitable for data science and machine learning. 1.PHP is used for dynamic web development, with simple syntax and suitable for rapid development. 2. Python has concise syntax, is suitable for multiple fields, and has a strong library ecosystem.
 PHP and Python: A Deep Dive into Their History
Apr 18, 2025 am 12:25 AM
PHP and Python: A Deep Dive into Their History
Apr 18, 2025 am 12:25 AM
PHP originated in 1994 and was developed by RasmusLerdorf. It was originally used to track website visitors and gradually evolved into a server-side scripting language and was widely used in web development. Python was developed by Guidovan Rossum in the late 1980s and was first released in 1991. It emphasizes code readability and simplicity, and is suitable for scientific computing, data analysis and other fields.
 Python vs. JavaScript: The Learning Curve and Ease of Use
Apr 16, 2025 am 12:12 AM
Python vs. JavaScript: The Learning Curve and Ease of Use
Apr 16, 2025 am 12:12 AM
Python is more suitable for beginners, with a smooth learning curve and concise syntax; JavaScript is suitable for front-end development, with a steep learning curve and flexible syntax. 1. Python syntax is intuitive and suitable for data science and back-end development. 2. JavaScript is flexible and widely used in front-end and server-side programming.
 How to run sublime code python
Apr 16, 2025 am 08:48 AM
How to run sublime code python
Apr 16, 2025 am 08:48 AM
To run Python code in Sublime Text, you need to install the Python plug-in first, then create a .py file and write the code, and finally press Ctrl B to run the code, and the output will be displayed in the console.
 Where to write code in vscode
Apr 15, 2025 pm 09:54 PM
Where to write code in vscode
Apr 15, 2025 pm 09:54 PM
Writing code in Visual Studio Code (VSCode) is simple and easy to use. Just install VSCode, create a project, select a language, create a file, write code, save and run it. The advantages of VSCode include cross-platform, free and open source, powerful features, rich extensions, and lightweight and fast.
 Can visual studio code be used in python
Apr 15, 2025 pm 08:18 PM
Can visual studio code be used in python
Apr 15, 2025 pm 08:18 PM
VS Code can be used to write Python and provides many features that make it an ideal tool for developing Python applications. It allows users to: install Python extensions to get functions such as code completion, syntax highlighting, and debugging. Use the debugger to track code step by step, find and fix errors. Integrate Git for version control. Use code formatting tools to maintain code consistency. Use the Linting tool to spot potential problems ahead of time.
 How to run python with notepad
Apr 16, 2025 pm 07:33 PM
How to run python with notepad
Apr 16, 2025 pm 07:33 PM
Running Python code in Notepad requires the Python executable and NppExec plug-in to be installed. After installing Python and adding PATH to it, configure the command "python" and the parameter "{CURRENT_DIRECTORY}{FILE_NAME}" in the NppExec plug-in to run Python code in Notepad through the shortcut key "F6".
