

Top 6 Ways to Crop Videos on Windows 11

What is the difference between cropping and trimming?
Crop and trim are two terms that are often misunderstood by beginners. But there is a big difference between the two.
Cropping is a technique that removes portions of video within a frame. Most crop tools these days do much more than that, such as changing the orientation (landscape or portrait) and framing (aspect ratio). But cropping means removing only the parts of the video that you don't want.
Trimming, on the other hand, shortens the video by cutting the length of the clip. This helps to keep only the important parts of the video and remove unnecessary parts.
Essentially, both cropping and trimming can cut videos. But cropping removes anything in the frame, while trimming removes the length of the video.
When do you need to crop a video?
Rarely does this happen, even with professional videographers, and the videos they capture are so perfect. A few touch-ups here and there are almost inevitable. If you need to zoom in on a subject, cut out unnecessary space in your frame, or make sure your video fits perfectly when viewed on social media platforms, you'll need the crop tool.
Suppose you photograph a subject but end up with a lot of space on one side and it's cluttered. Or you're shooting from too far away and need to get a little closer. All these things can be solved with simple video cropping.
But, as mentioned before, aesthetics are not the only reason for video cropping. Sometimes it's a matter of complying with the video requirements of your publishing platform.
Video aspect ratio for social media
Different social media platforms have different video size requirements. Some people prefer portrait videos, some prefer landscape videos, and even in these extreme cases, the exact dimensions may vary from platform to platform.
Here are the aspect ratios for different social media channels:
- Instagram – For square videos – 1:1; for vertical videos – 4:5; for landscape Feed Video – 16:9. For Instagram clips and stories – 9:16.
- Youtube – The standard aspect ratio for horizontal videos is 16:9. For the YouTube clip, it's 9:16.
- TikTok – Vertical aspect ratio is 9:16. Horizontal (16:9) and square (1:1) videos are also accepted.
- Facebook – Horizontal aspect ratio is 16:9. Dynamic portraits are 4:5 and 1:1 (square).
This is important to understand because if your video does not meet the aspect ratio required by the platform, you will run the risk of your video being cropped. This happens if you have a widescreen video (such as a scroll) that you want to publish in portrait mode. Therefore, please ensure that you comply with the framework requirements set by the platform.
How to Crop Video on Windows 11
Now that you know why you want to crop video and the aspect ratio requirements of different platforms, let’s take a look at how to crop video on Windows 11.
Method 1: Use Windows Video Editor (the old Photos app)
Starting with the native Windows selection, Windows Video Editor is a fast and easy-to-use editor that can easily Crop your video. That's it:
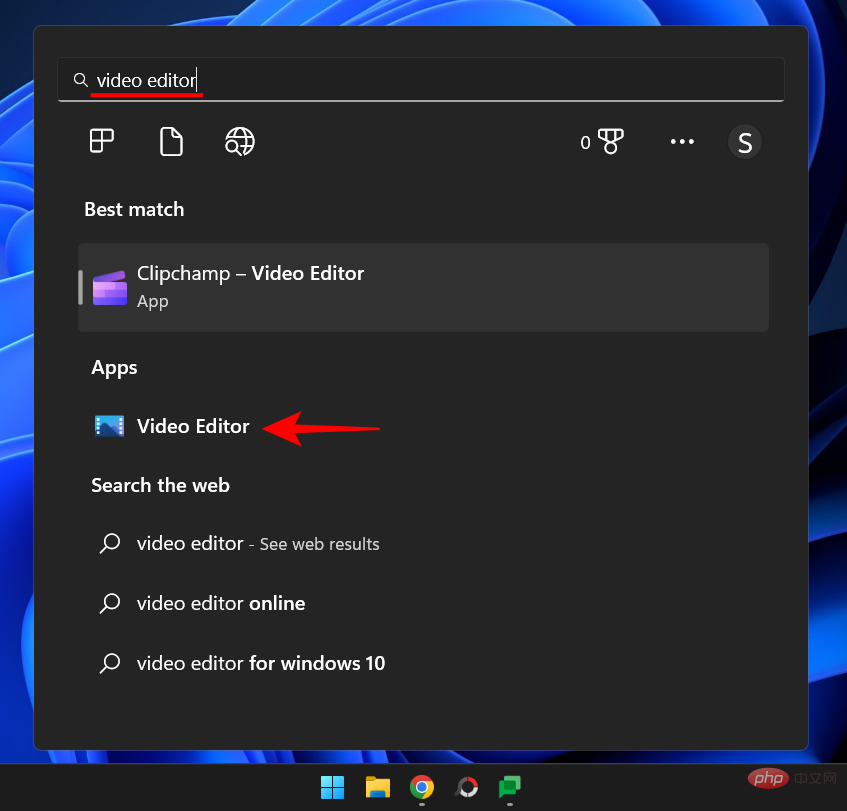
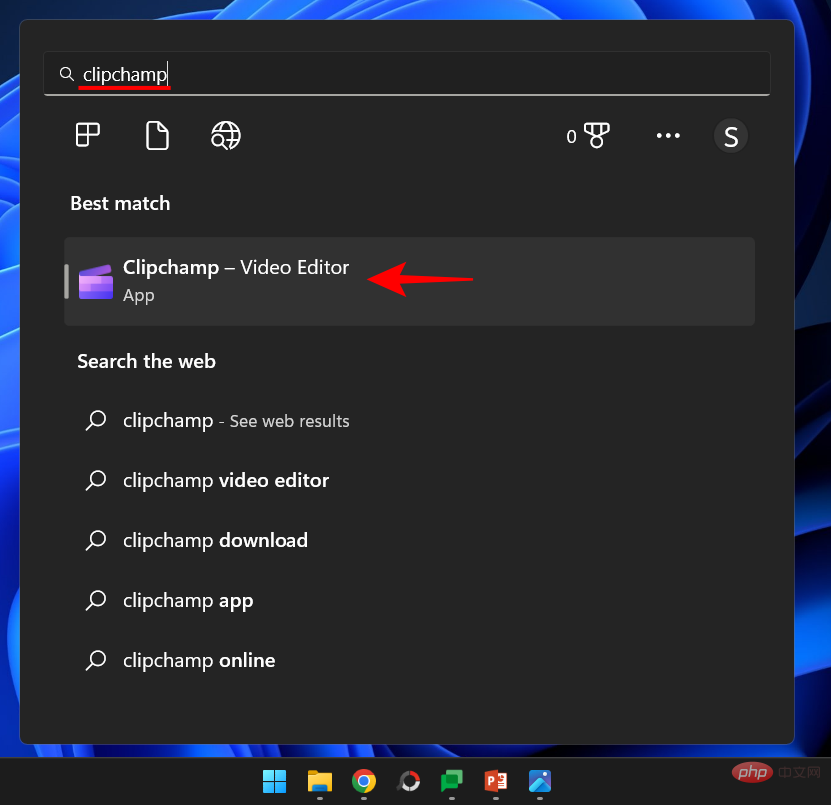
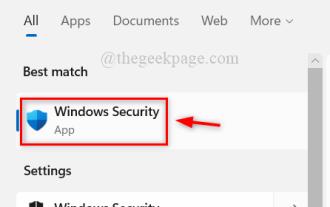
Press Start and type Video Editor. You might consider "Clipchamp" as the best match option. This is because Microsoft is heavily promoting Clpchamp as the default video editing tool on Windows. Although it is very useful, we will cover it later.
Click "Video Editor" to open it.
You will notice that the Photos app opens. That's because video editors used to be a part of it. We say “was” because that’s not the case anymore. You won't find the video editor tool in the Photos app anymore, at least by default.
So, to use Windows Video Editor, we have to download the old version of Photos application. As soon as the Photos app opens, you'll see the option to Get the old version of the Photos app. click it.
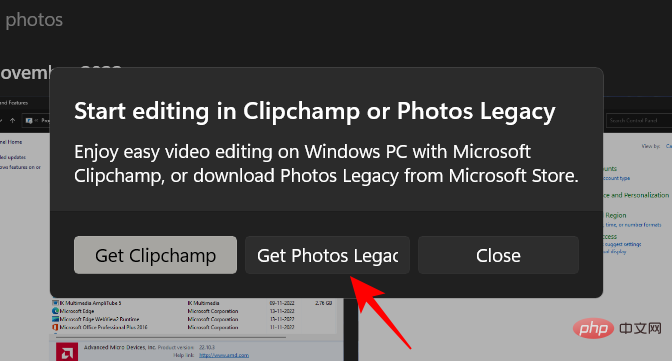
#If you don't see this popup, open the Microsoft Store and search for the "Photos Legacy" app.
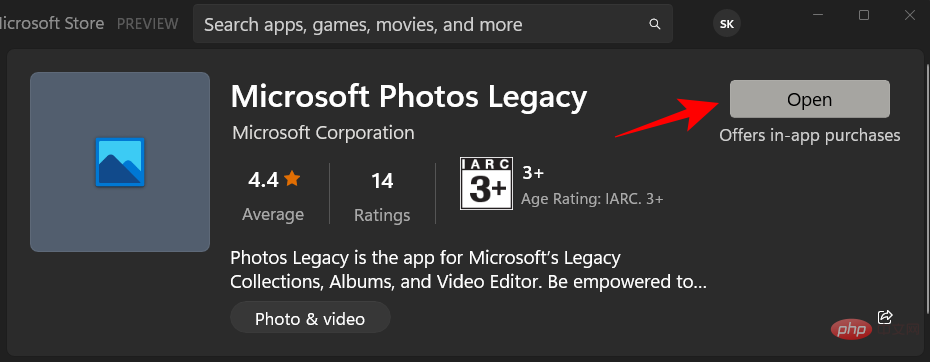
Click to get.

After installation, click "Open".
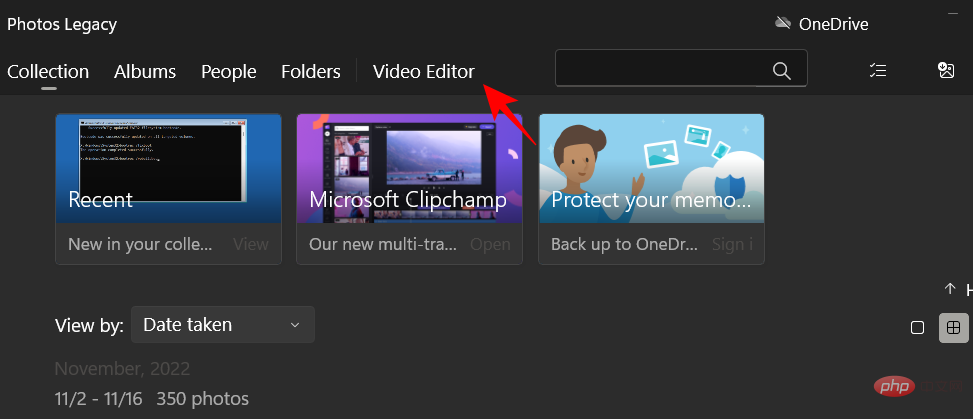
Now, click Video Editor in the upper toolbar.
If you see a pop-up message asking you to switch to Clipchamp, just click I’ll talk to you later.

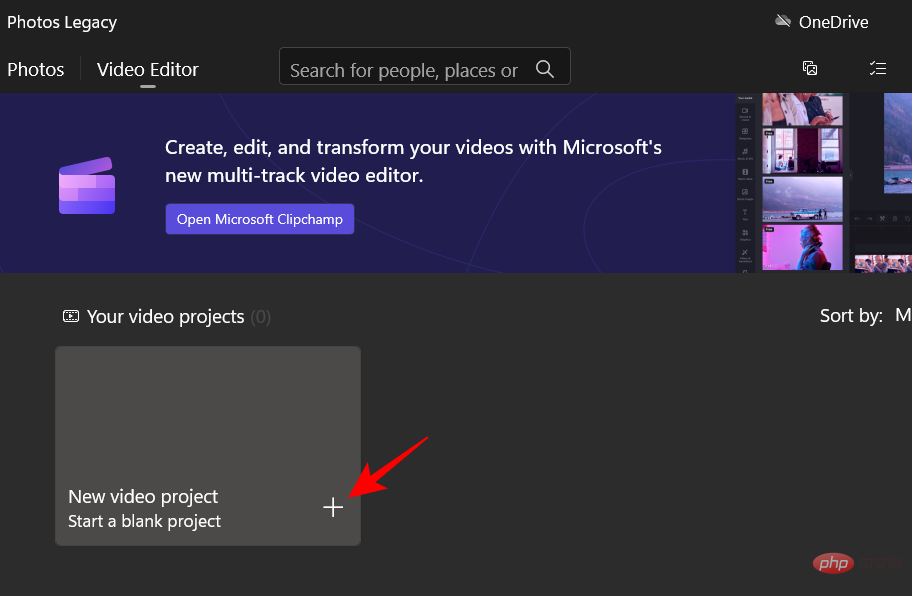
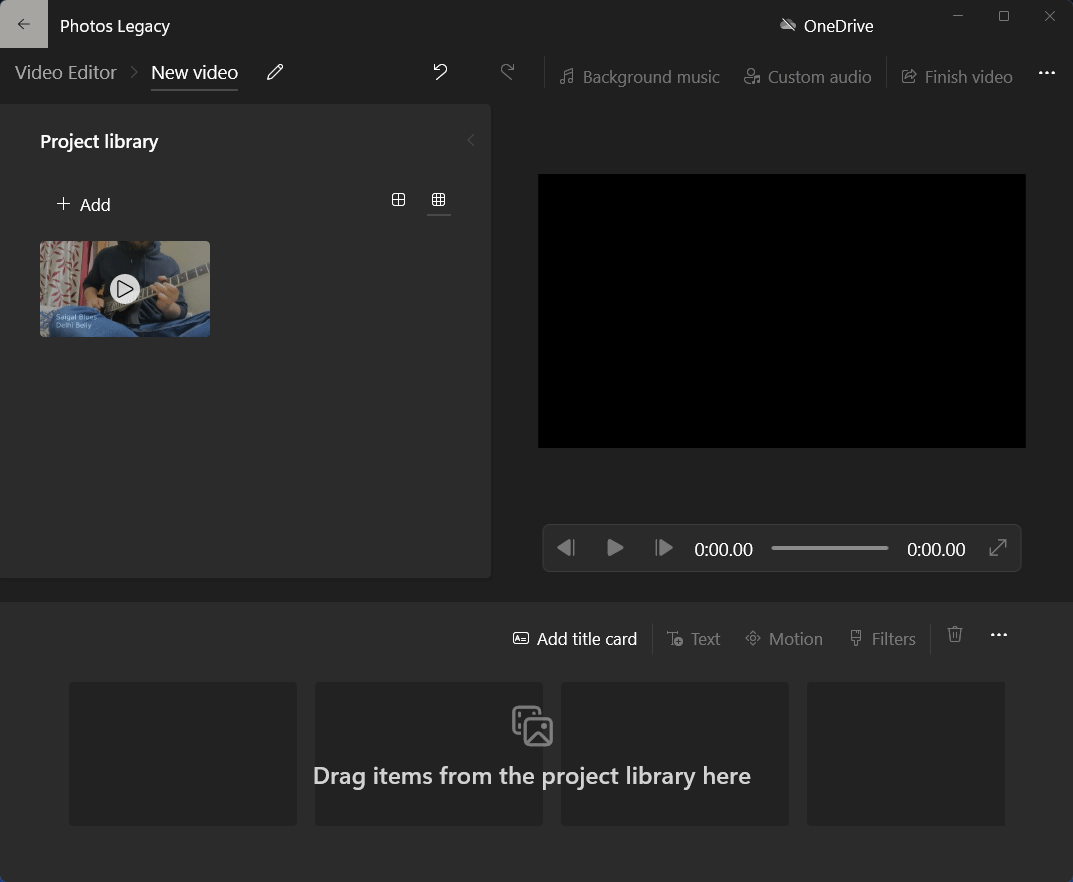
Now click New Video Project.
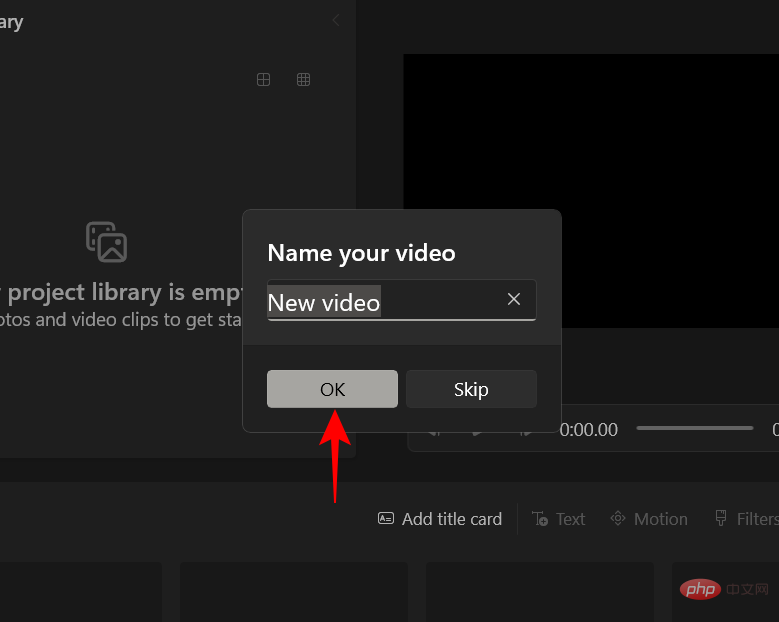
Name your video project and click OK (or click Skip to skip naming).
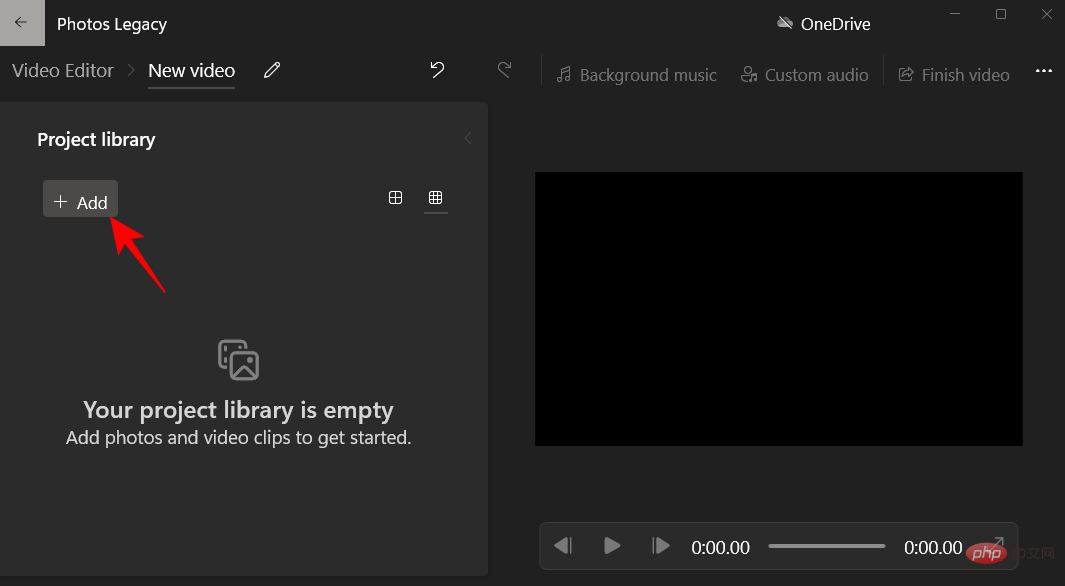
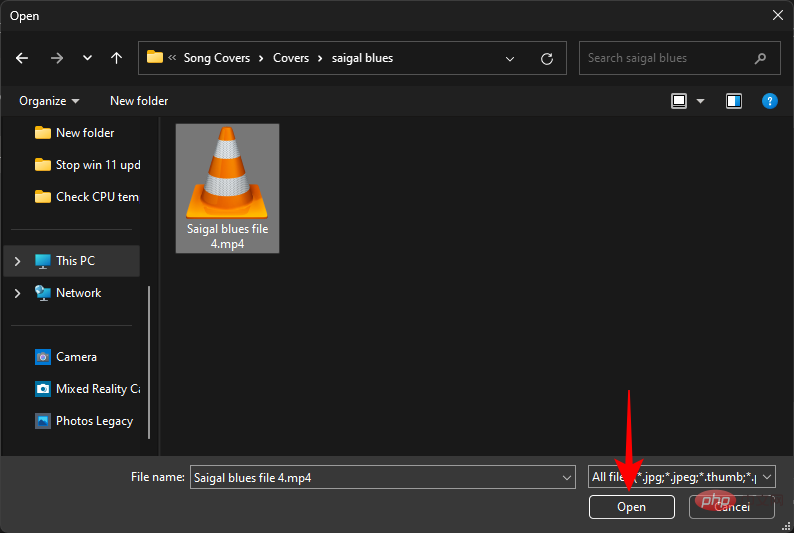
Click the Add button.
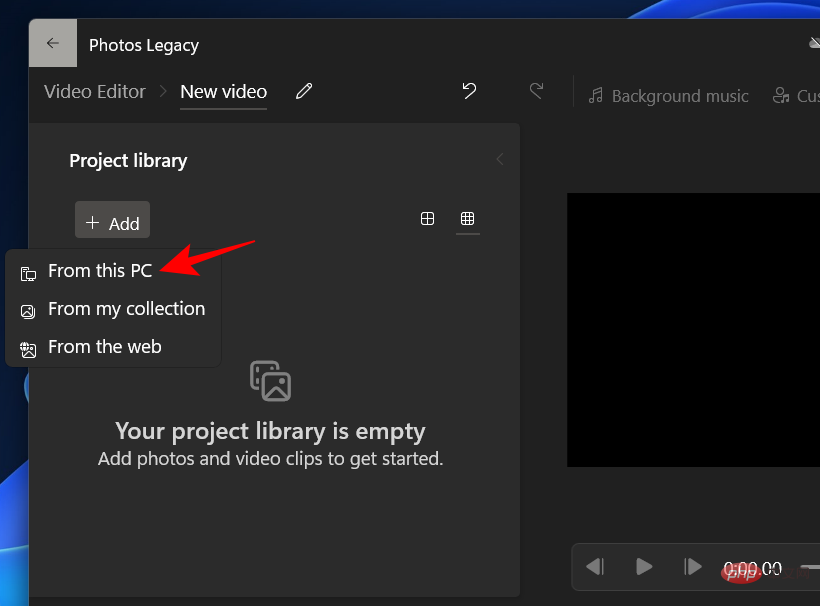
Select From this computer.
Select your video and click Open.
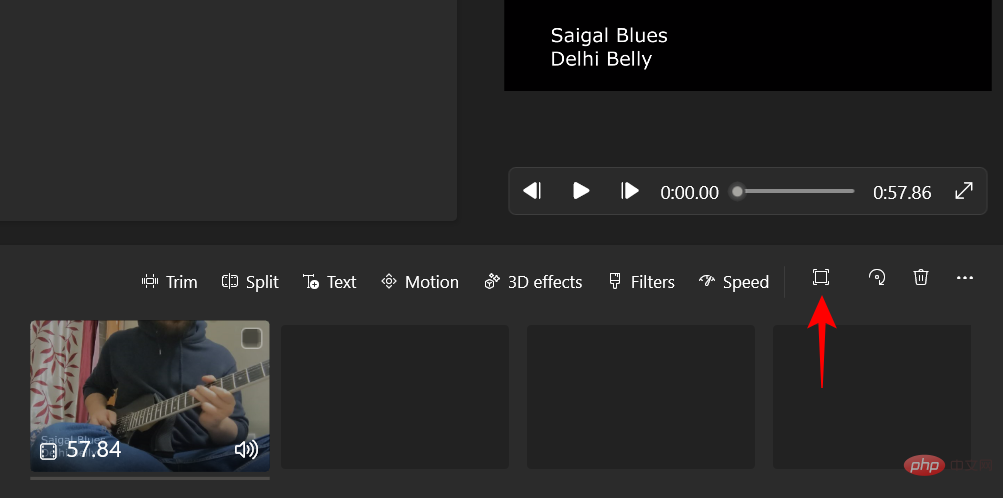
Now, drag the video from the project library to the storyline at the bottom.
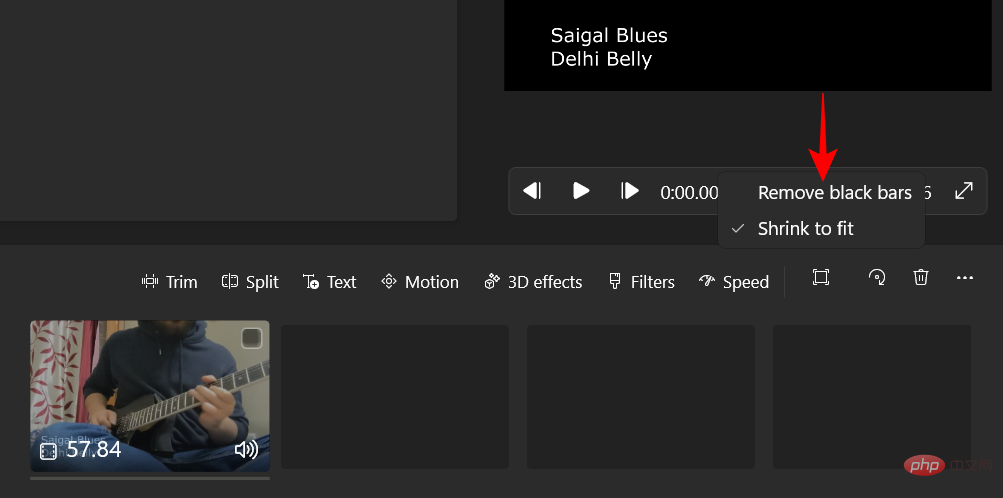
#Here you will be able to remove the black bars that are sometimes applied by default when video editors automatically adjust videos. To do this, click on the three-dot menu in the lower right corner.
Then select Delete Black Bar.
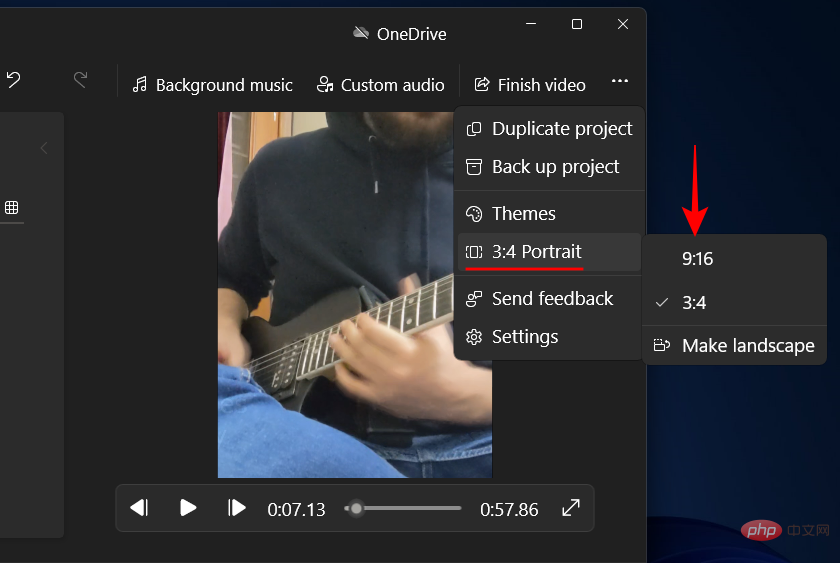
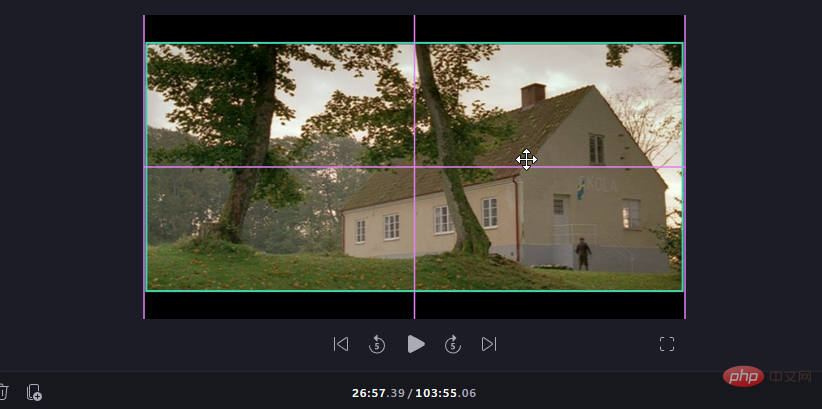
Now, start cropping. The video editor tool allows you to crop videos in four different aspect ratios - 16:9 and 4:3 (landscape), and 9:16 and 3:4 (portrait).
Here’s how to crop them. Click on the three-dot menu in the upper right corner.
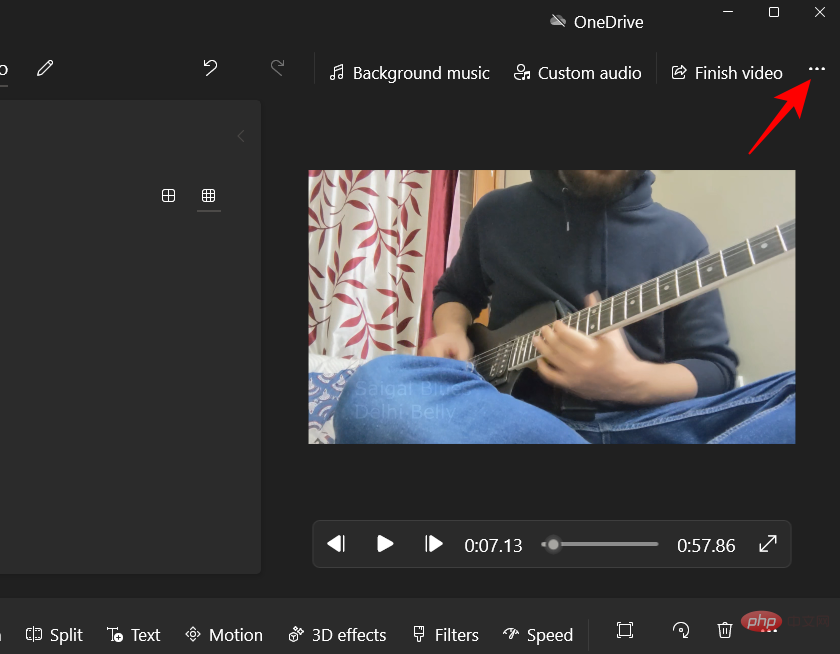
Hover the mouse over the current aspect ratio and select a different aspect ratio in the same orientation. In our example we are already at 16:9 and select 4:3.
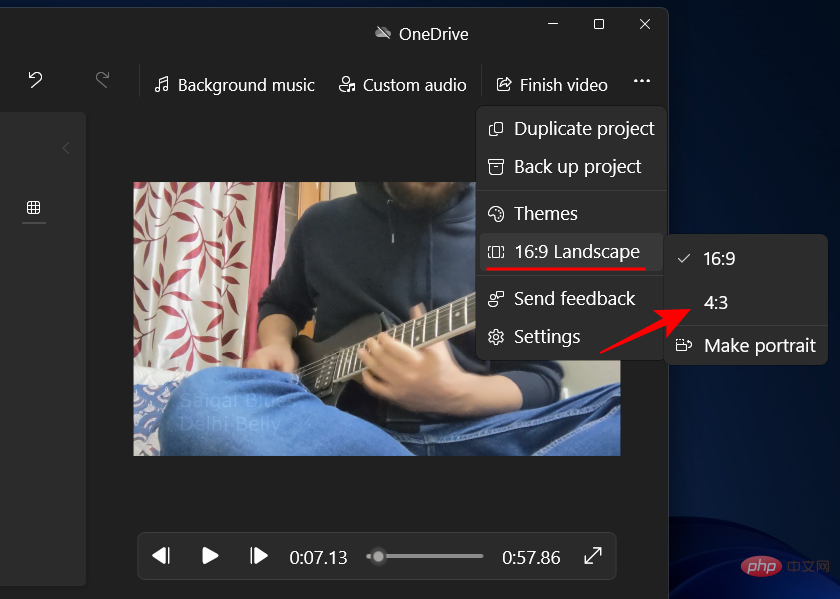
To change the orientation, click the three-dot icon again, hover over the current aspect ratio, and select the last option - Make Portrait.
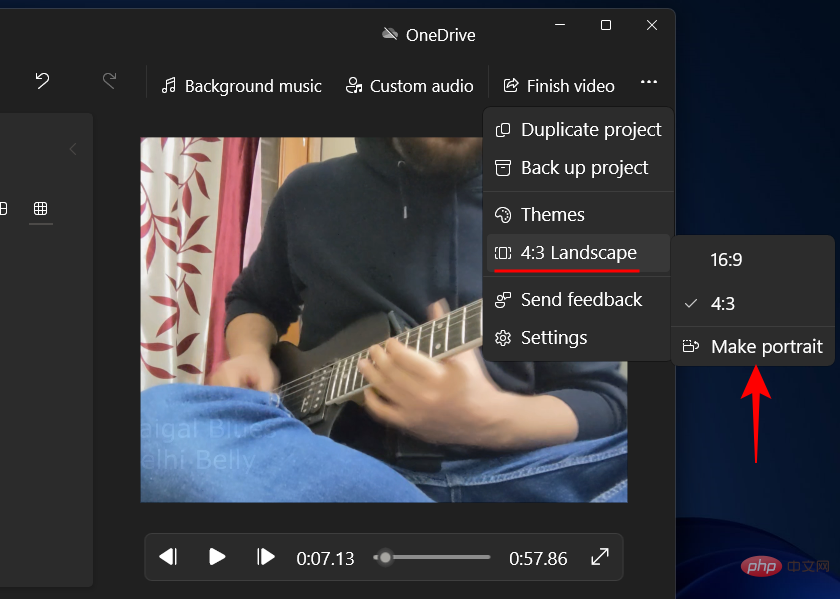
#If you are already in portrait mode, you will see the Make Landscape option.
To choose another aspect ratio, follow the same steps above and select the aspect ratio you want.
When you are satisfied, click "Finish Video".
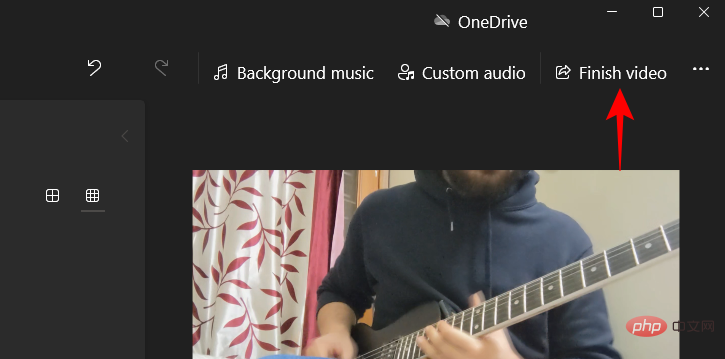
Then click Export.
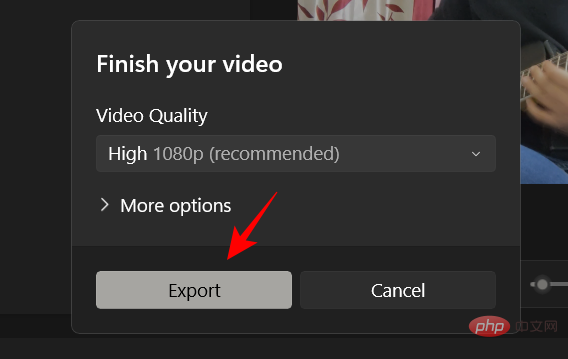
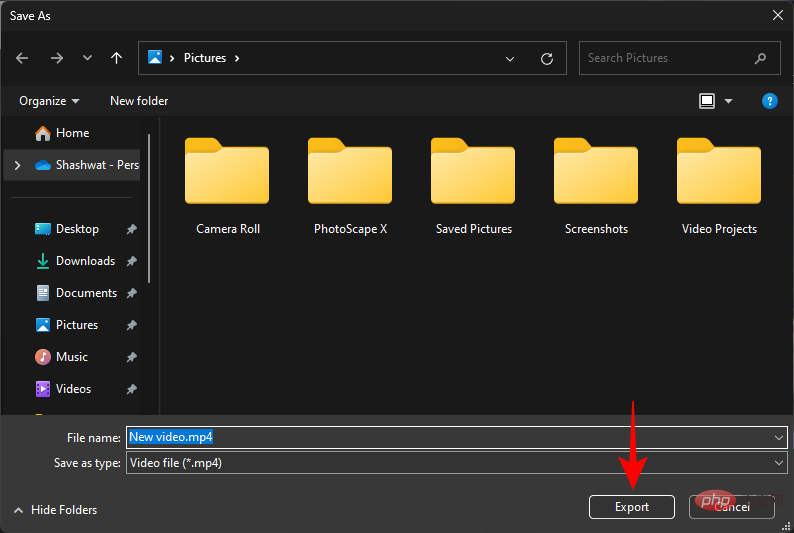
Select the location where you want to export the video to and click " Export".
Method 2: Use PowerPoint
Surprise, surprise! Even Microsoft Office applications like PowerPoint can be used to crop videos. Since slideshows can be converted and exported as videos, any videos in them will also become part of them. PowerPoint also provides the option to crop the video. Here's how you use it:
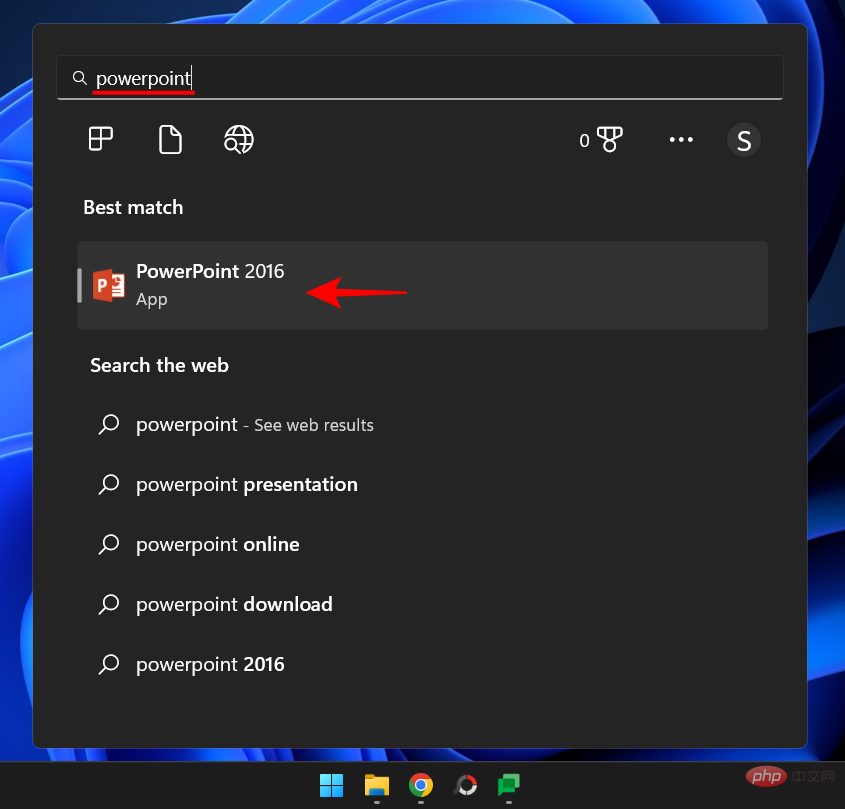
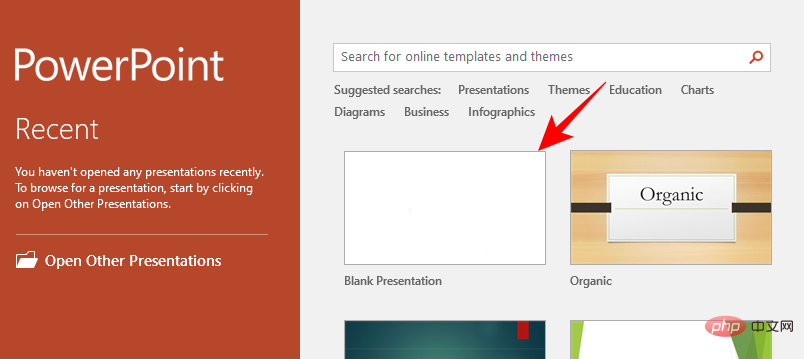
Press Start, type PowerPoint, and open it.
Click Blank Presentation.
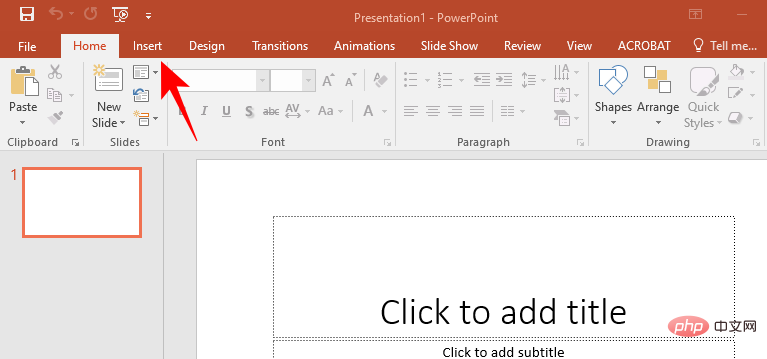
Jump to the " Insert " tab.
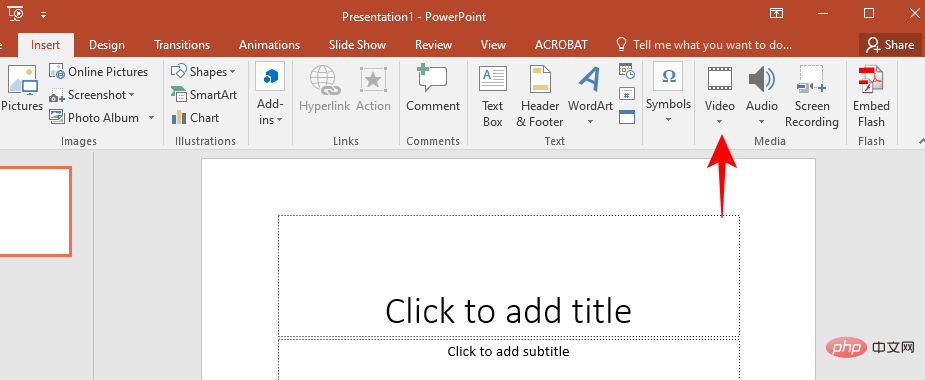
Click on the video.
Select Video on my computer...
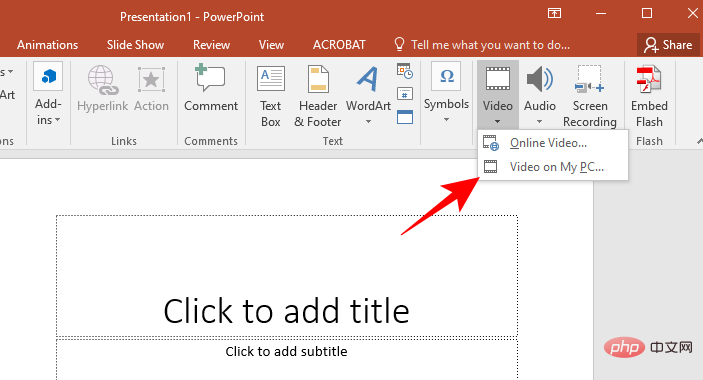
Find your video and click INSERT.

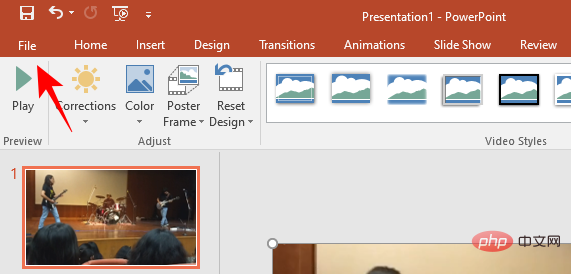
After inserting the video, click Crop in the upper right corner.
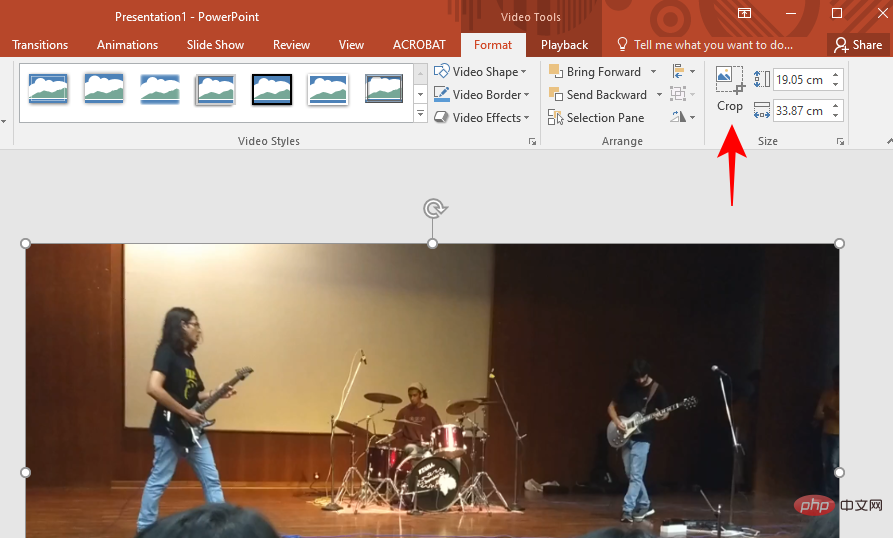
This will highlight your video and introduce crop handles on all sides. Use these to crop the video as you see fit.
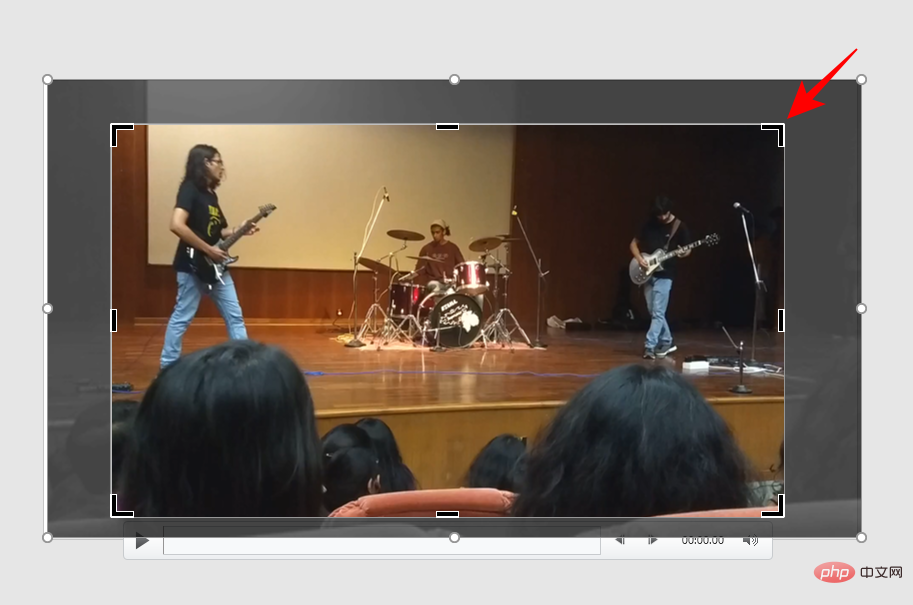
After completion, click "Crop" again to confirm.
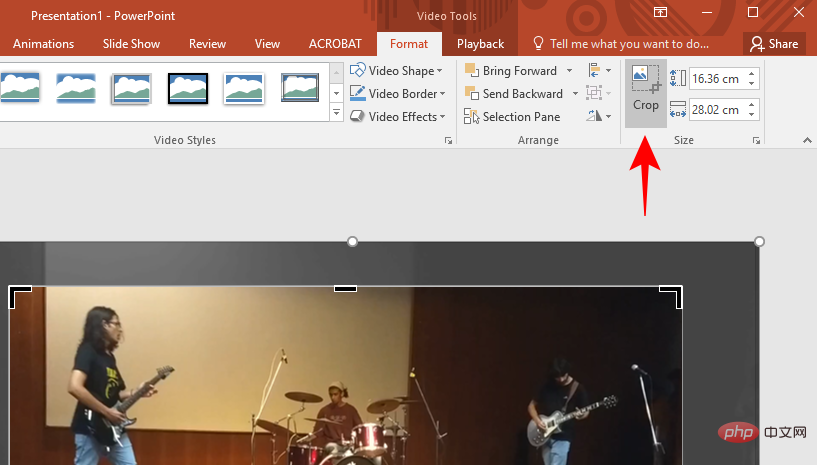
#Now, stretch your video to cover the entire slide.
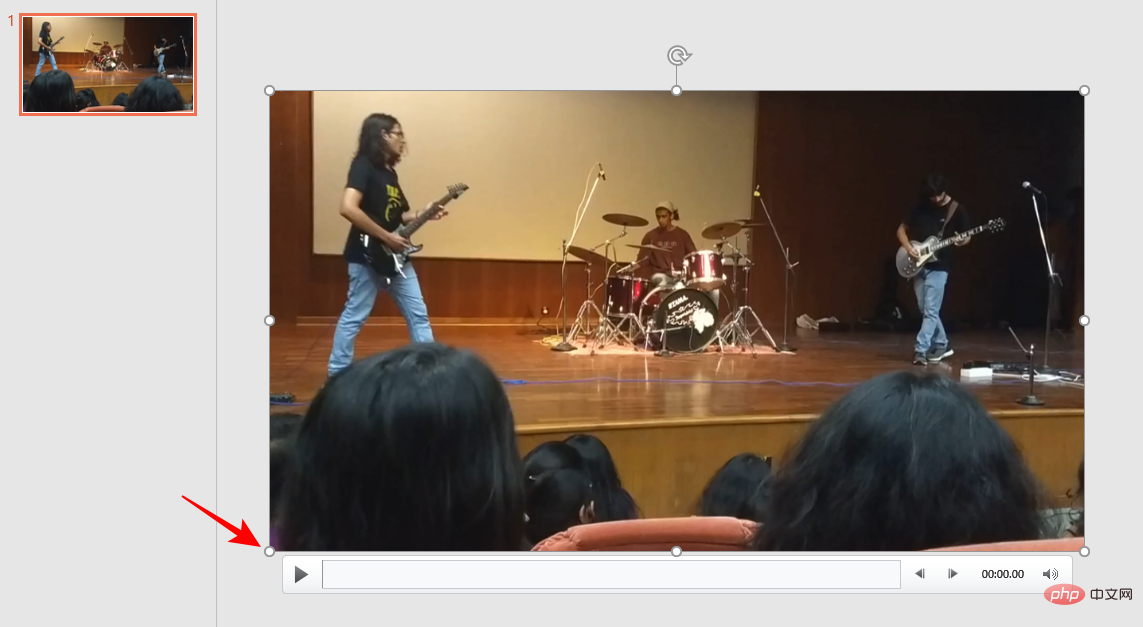
As mentioned before, the reason for this is that it is the slideshow that will be exported as a video, not the video itself. Therefore, you must ensure that there is only one slide in this presentation, no more, and that the cropped video covers it
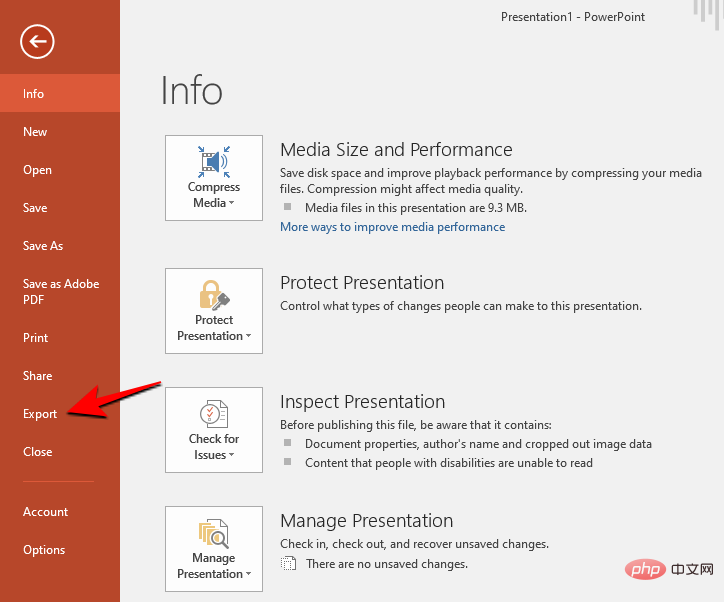
After covering the slide with the video, click " File".
Select Export.
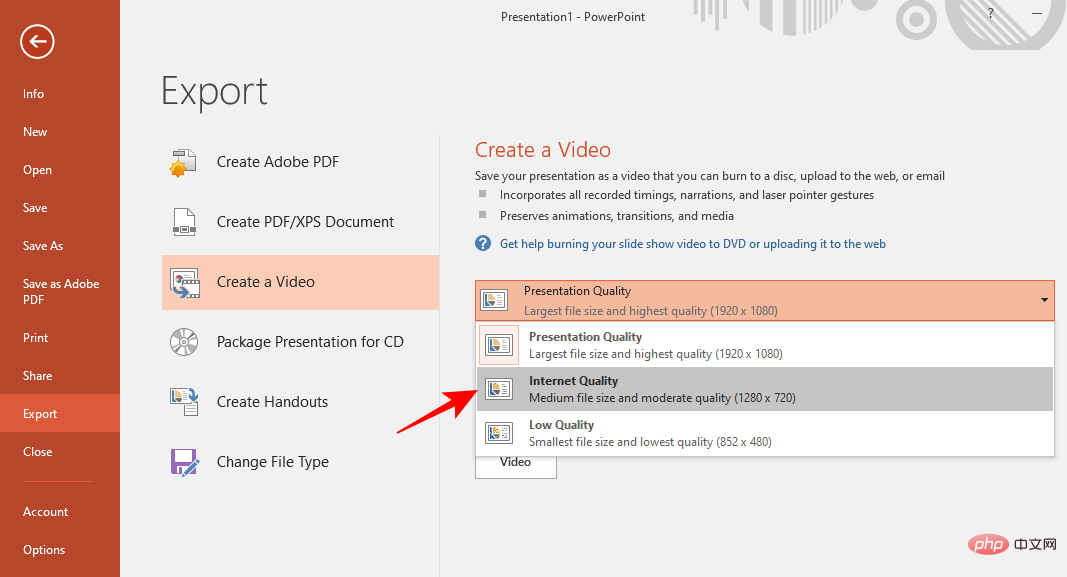
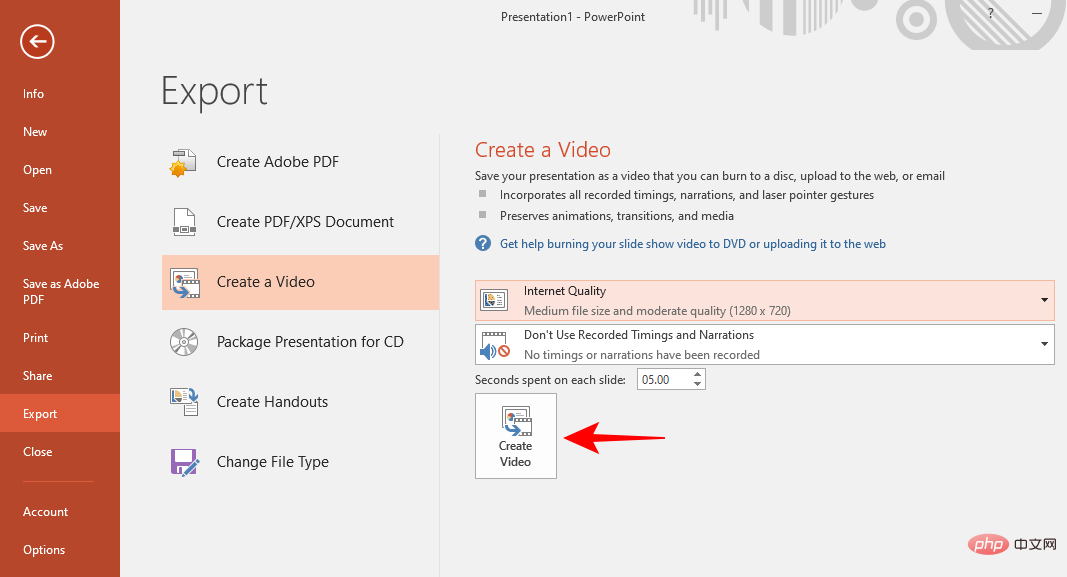
Choose your video quality.
Then click Create Video.
In addition to offering very limited cropping options, PowerPoint is also the slowest of all the methods in this tutorial when it comes to exporting cropped files. Still, if this proves useful to you, go ahead.
Method 3: Use Clipchamp
Now, let’s take a look at Climchamp – Microsoft’s latest video editing tool. After failing to work with the video editor in Windows Movie Maker and the (now legacy) Photos app, Clipchamp is now a native Windows video editing tool. Here's how to use it to crop videos:
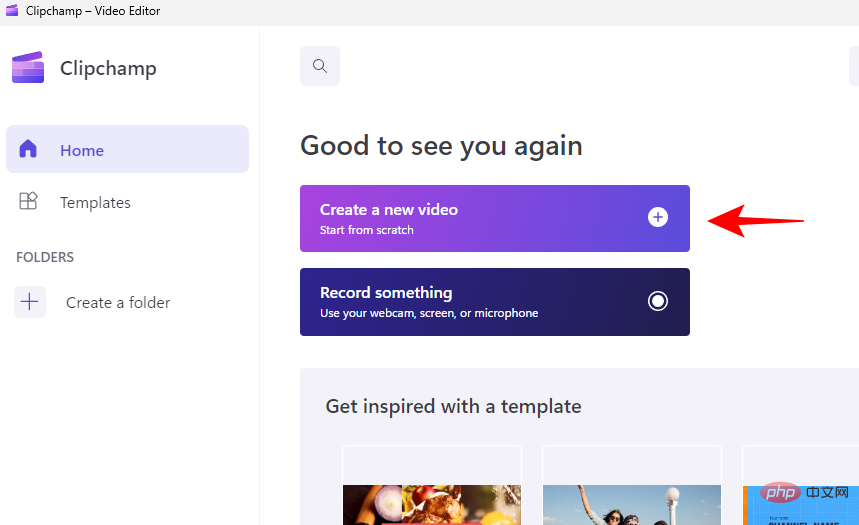
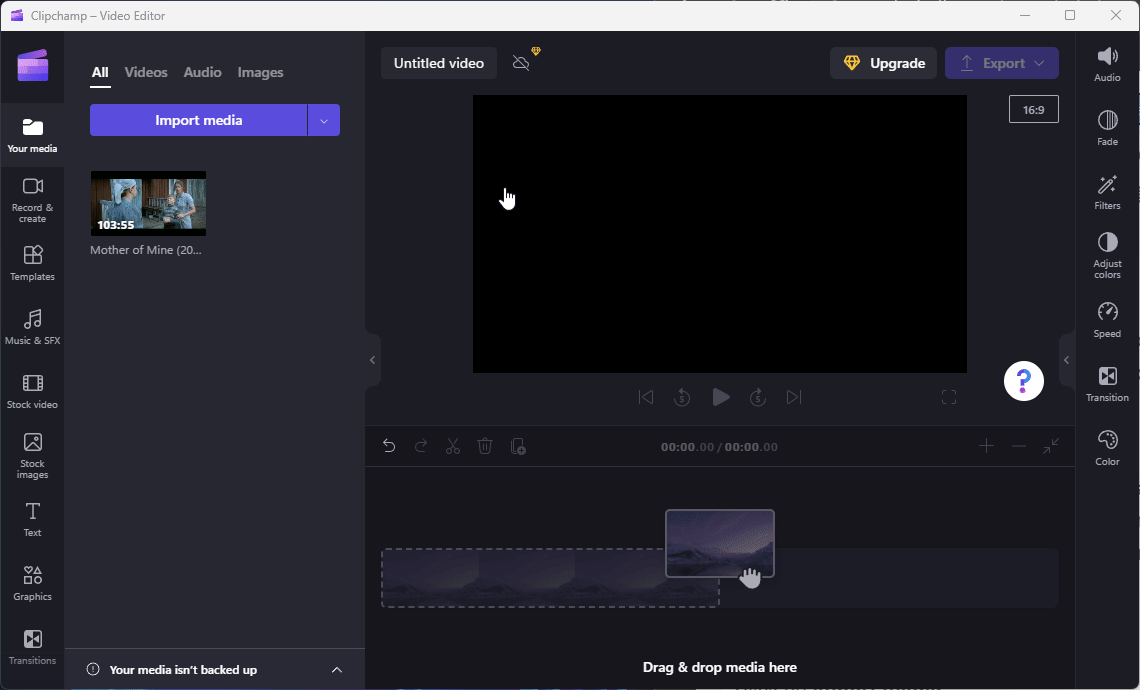
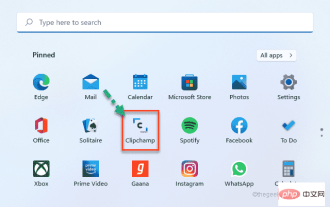
Open Clipchamp from the Start menu.
Click Create New Video.
Click Import Media.
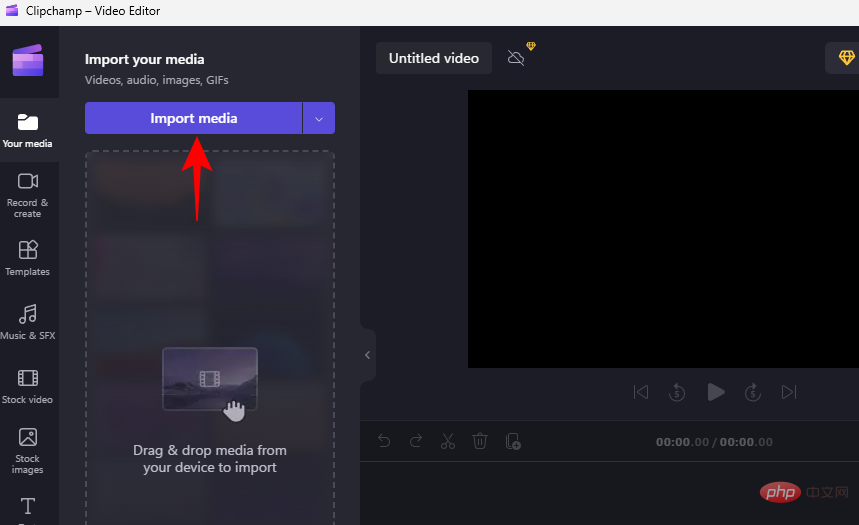
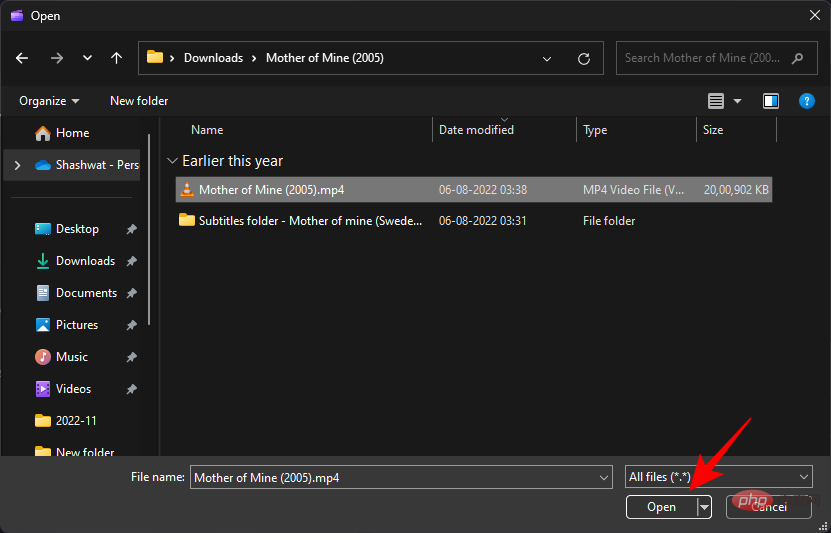
Select your video and click Open.
Once imported, drag and drop it into the story timeline.
After selecting the video, click the crop icon in the toolbar (near the left side of the previewed video).
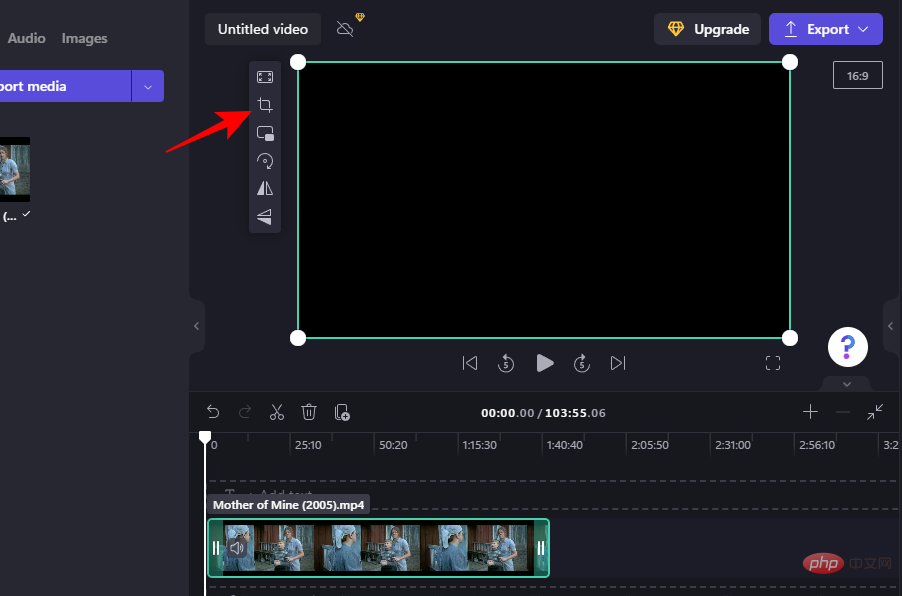
Use the corner and side handles to crop the video.
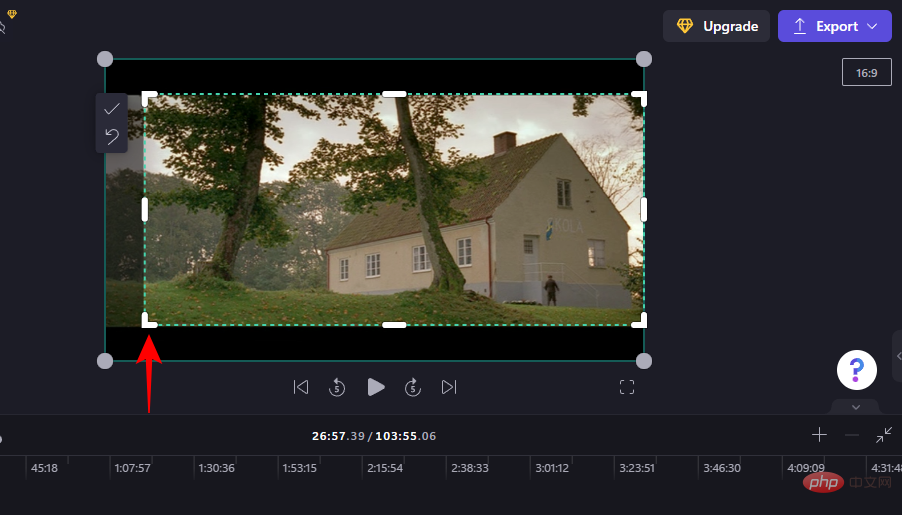
Then click the tick in the toolbar.
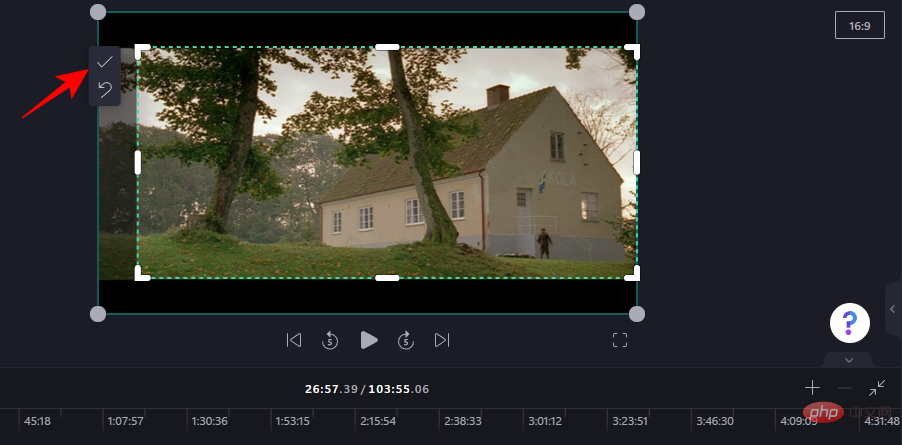
Then stretch the cropped video to fit the frame and drag it to realign to the center.
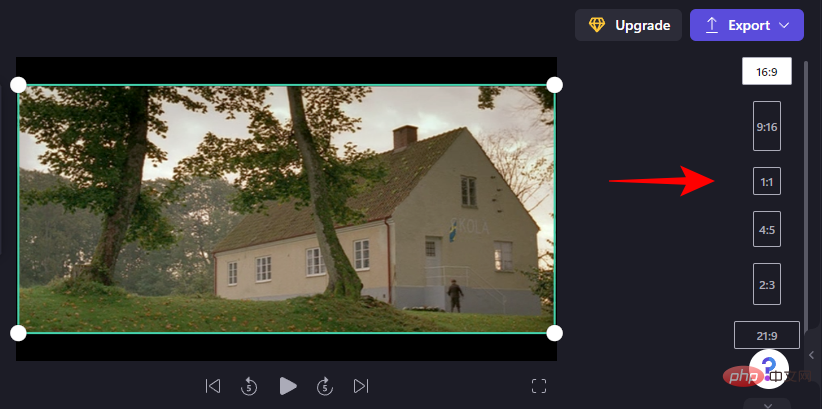
You can also choose different aspect ratios. Click the current aspect ratio in the upper right corner of the preview video to display additional options.
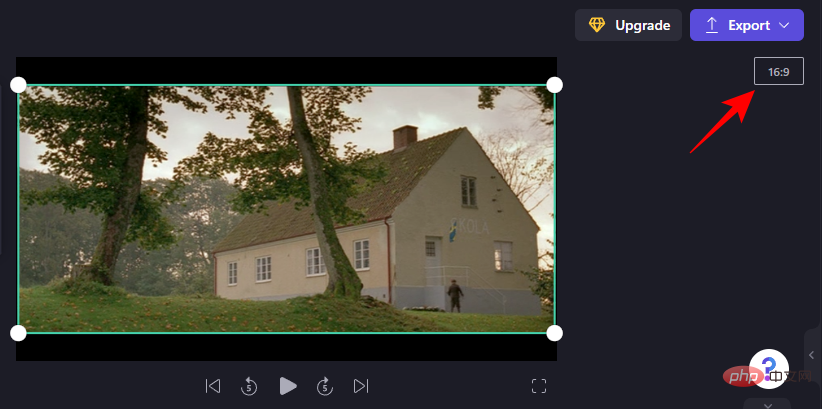
Choose one that meets the requirements.
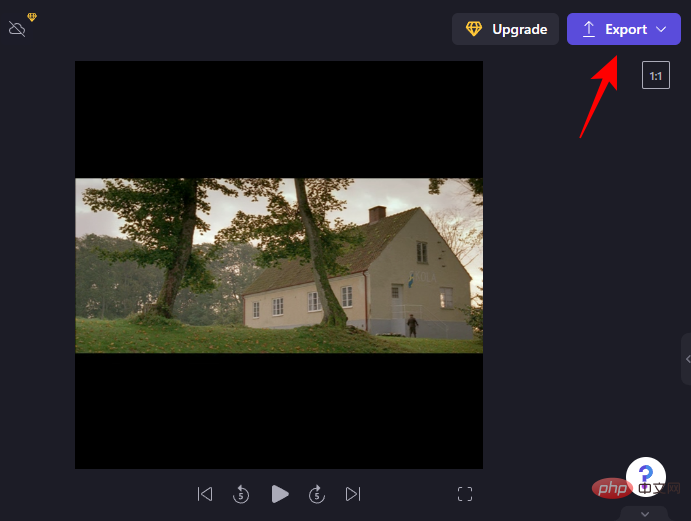
Quick Tip: If the selected frame introduces a border, you can use the corner handles to cover it or extend the video beyond the frame, This will further crop the video.
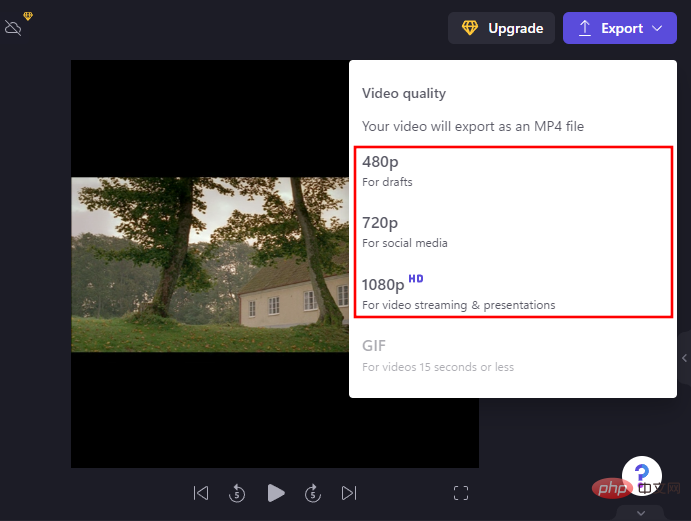
When finished, click Export.
Select video quality.
Then wait for the video to save.
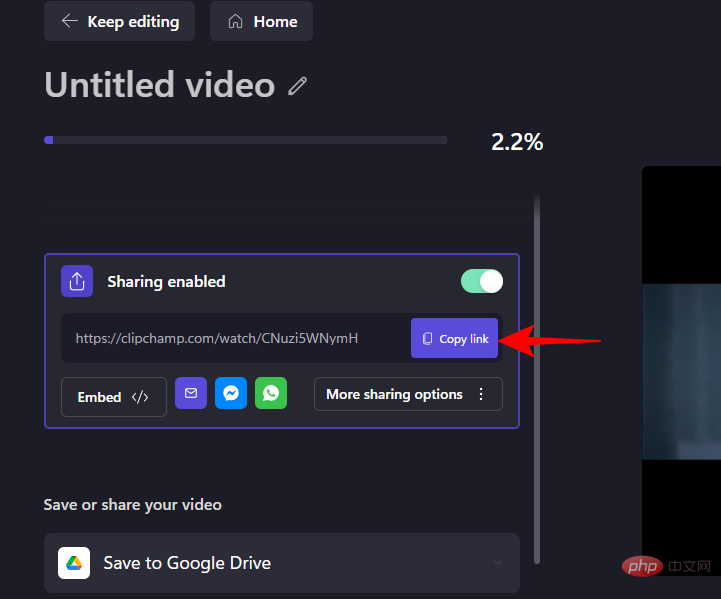
You can also share this video using a link by clicking " Copy Link" and then sharing it with others.
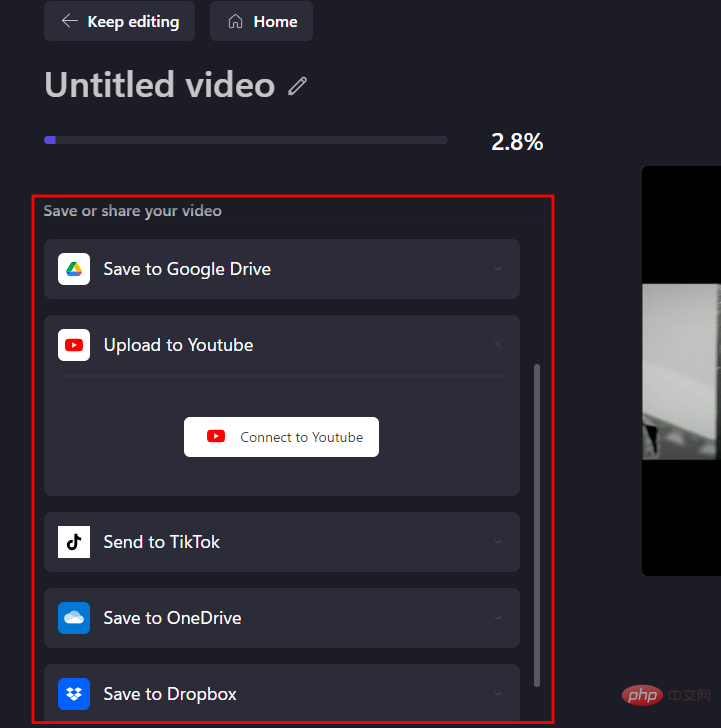
Or save or upload directly to one of the sites (you must connect to the service first).
Method 4: Using VLC
We have now exhausted all the native ways to crop the video. From now on, all methods mentioned in this tutorial are through third-party applications. Some are online, some are paid programs, and the rest, like VLC, are free.
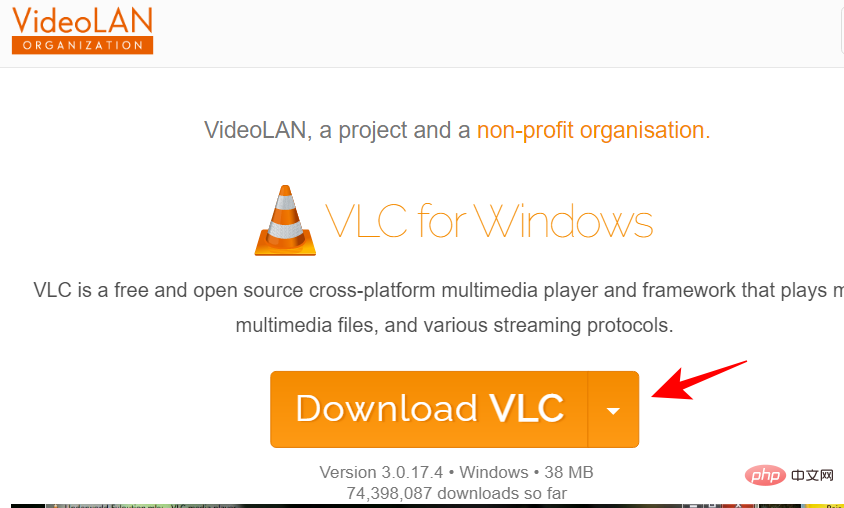
Download: VLC
Click the following link to open the VLC website, and then click "Download".
Install it using the on-screen prompts, then launch it.
VLC provides several cropping options for videos - temporary or permanent. The former comes in handy if you're just cropping the video for current viewing purposes. But if you want to plant permanently, there is that option too.
Crop Video Using VLC (View Only)
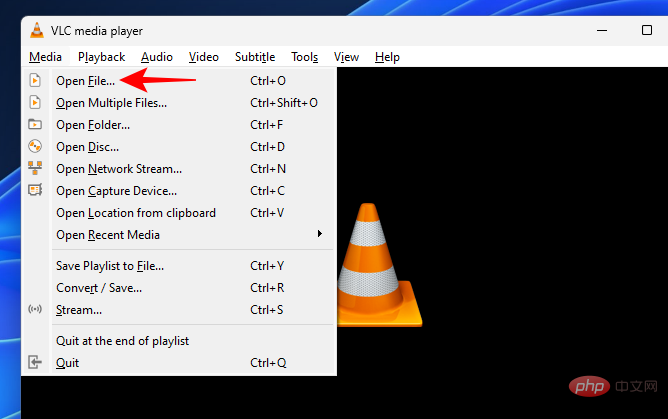
Click Media and select Open File.
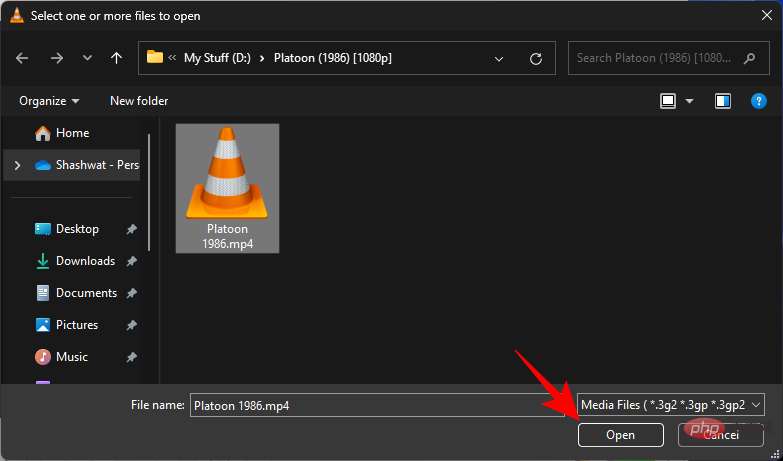
Select your file and click Open.
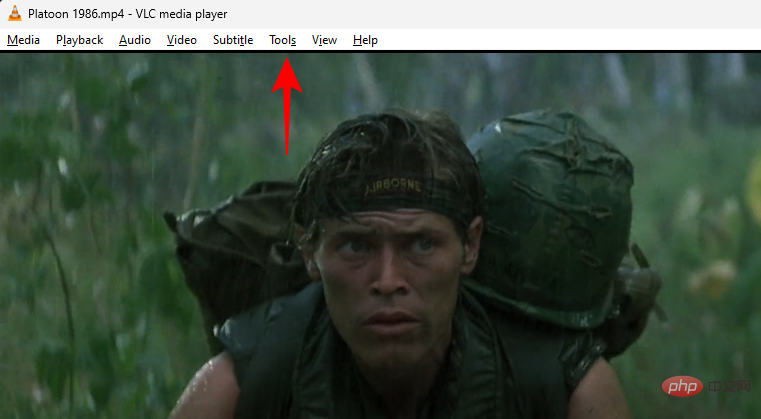
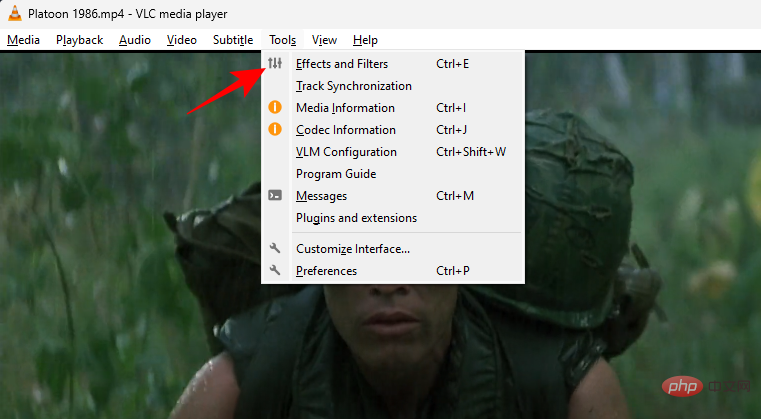
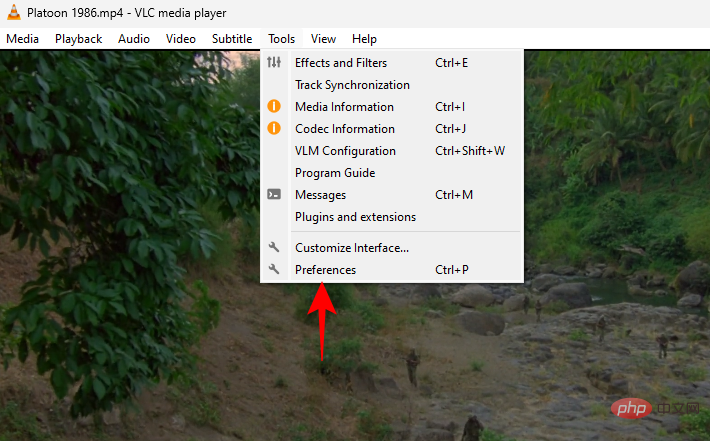
After importing, click "Tools".
Then select Effects and Filters.
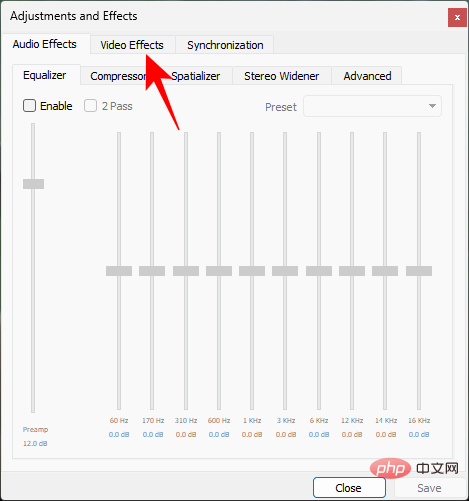
Jump to the Video Effects tab.
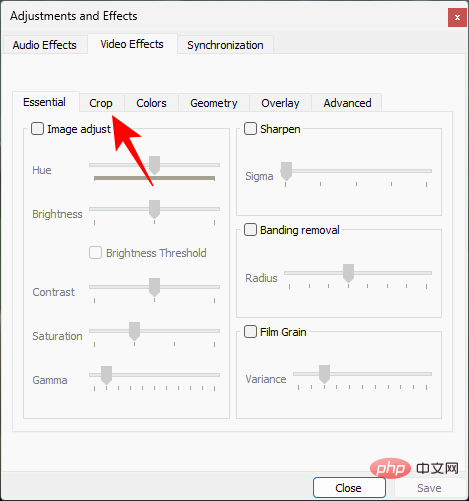
Click Crop.
Here, enter how many pixels you want to crop from the sides of the video.
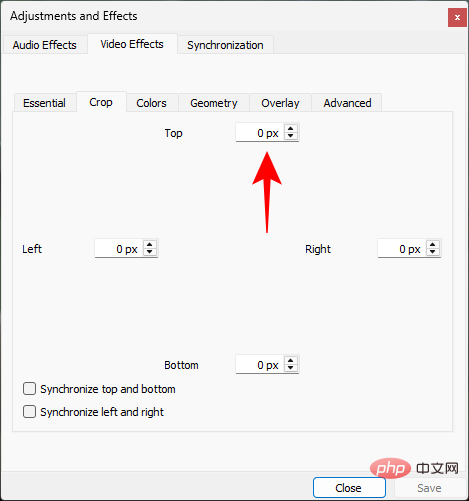
#The video will be cropped in real time, so you can experiment with the number of pixels you enter.
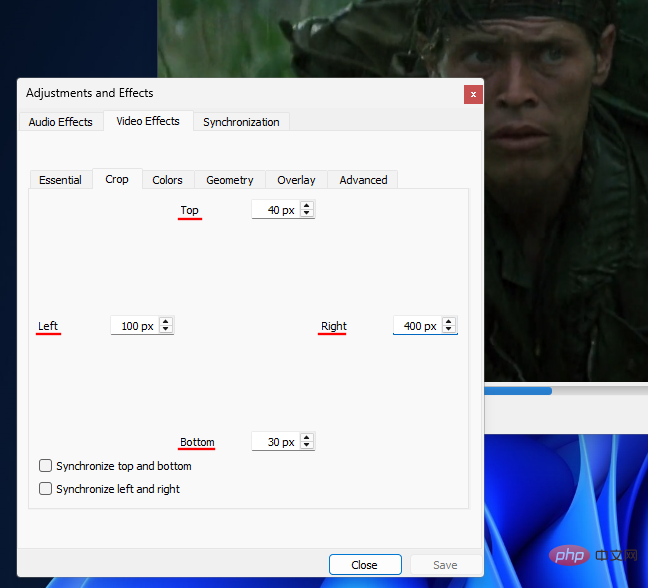
You can also ensure that the top and bottom and/or left and right sides are in sync.
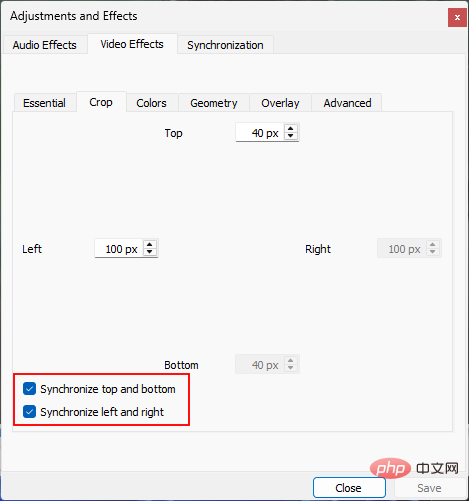
#By checking these boxes, you only have to enter once for horizontal and vertical cropping.
When finished, click "Close" and continue watching.
Crop Video with VLC (Permanently)
If you want to crop your video permanently and be able to save it, please do the following:
Click Tools , and then select Preferences.
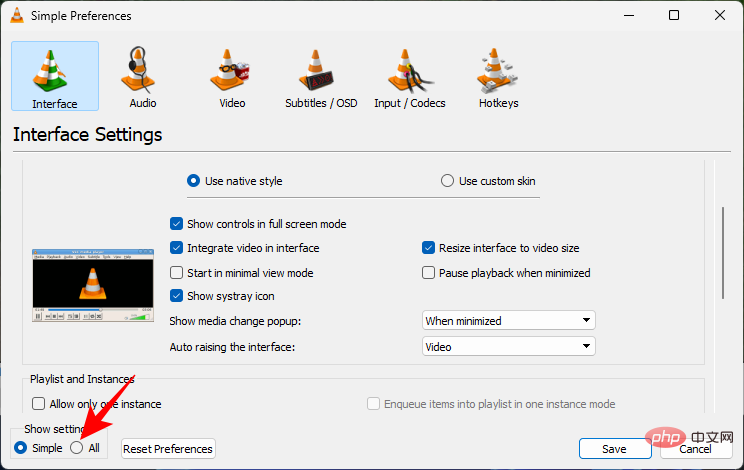
Now, at the very bottom, under Display Settings, click All.
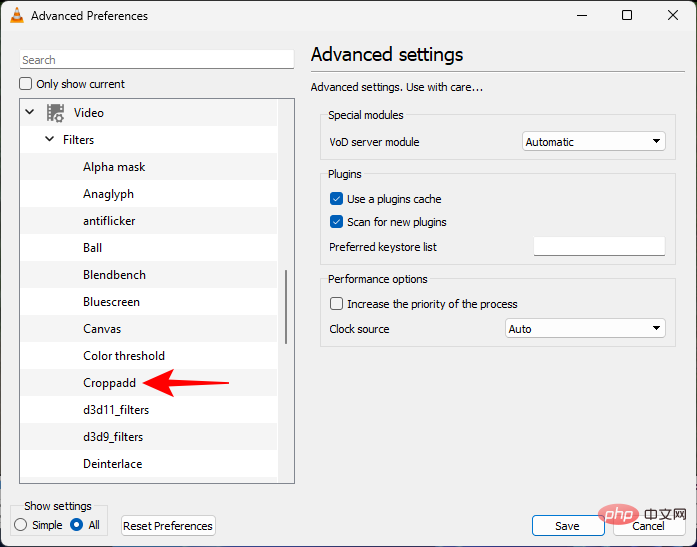
Scroll down on the left and under Video, click on the Filters branch to expand it.
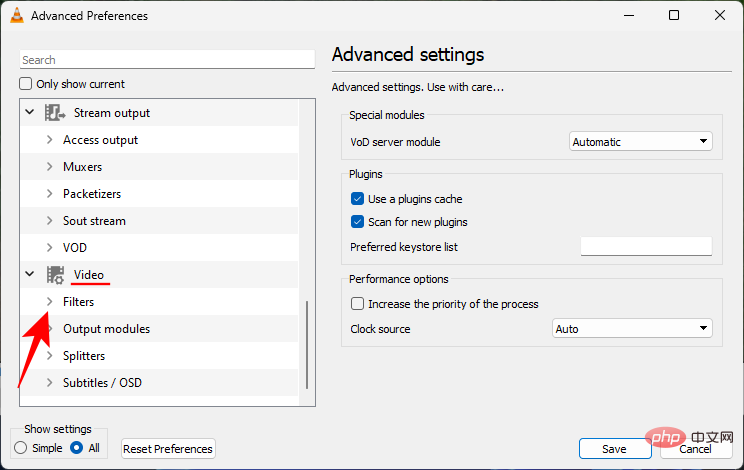
Then click Croppadd.
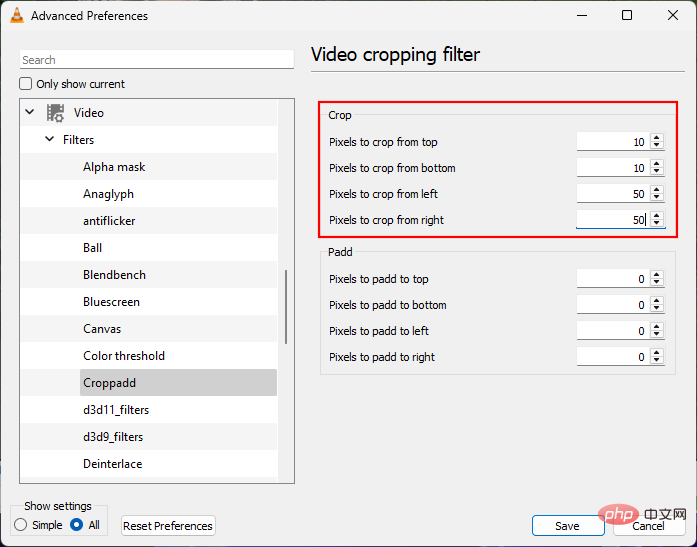
Here you can crop pixels by entering a number into the field.
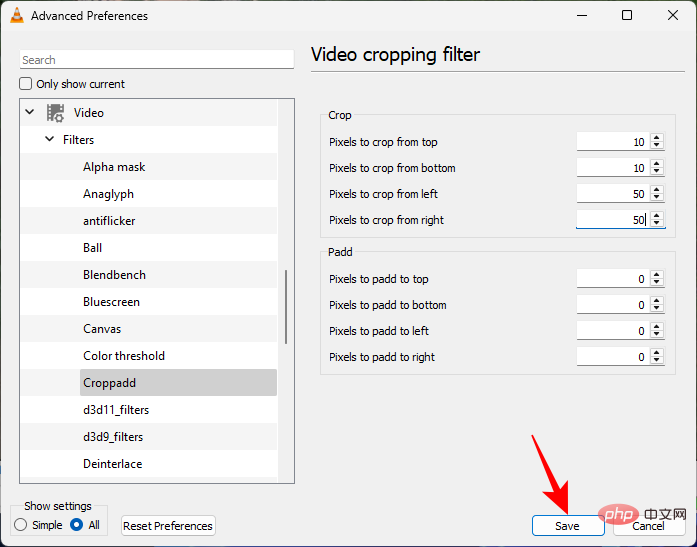
After completion, click Save.
 ##
##
Method 5: Using Adobe Premiere Pro
Now, we are entering the realm of paid third-party apps. These are quite advanced as the crop feature is just one of the many editing options they offer.
The first one we look at in this tutorial is the world-famous Adobe Premiere Pro. Individually it costs around $21 per month, so if you're looking for a full-featured overall video editing tool, this is a good investment.
Open Adobe Premiere Pro and select New >Project under Create.
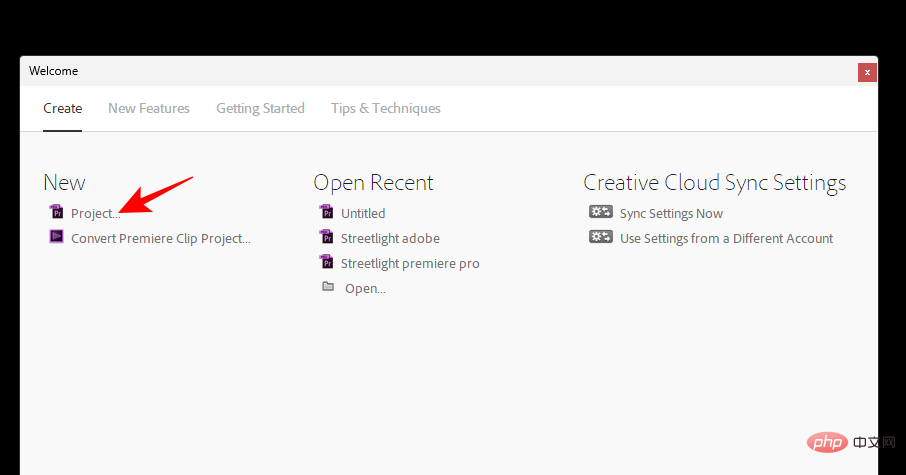
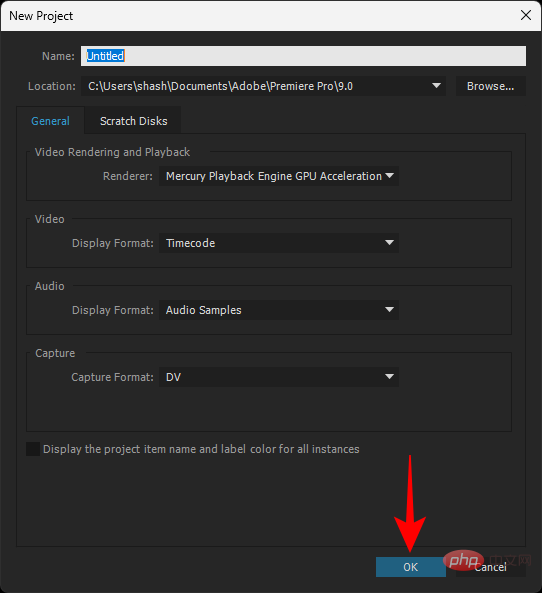
Give the project a name while keeping the default settings. Then click "OK".
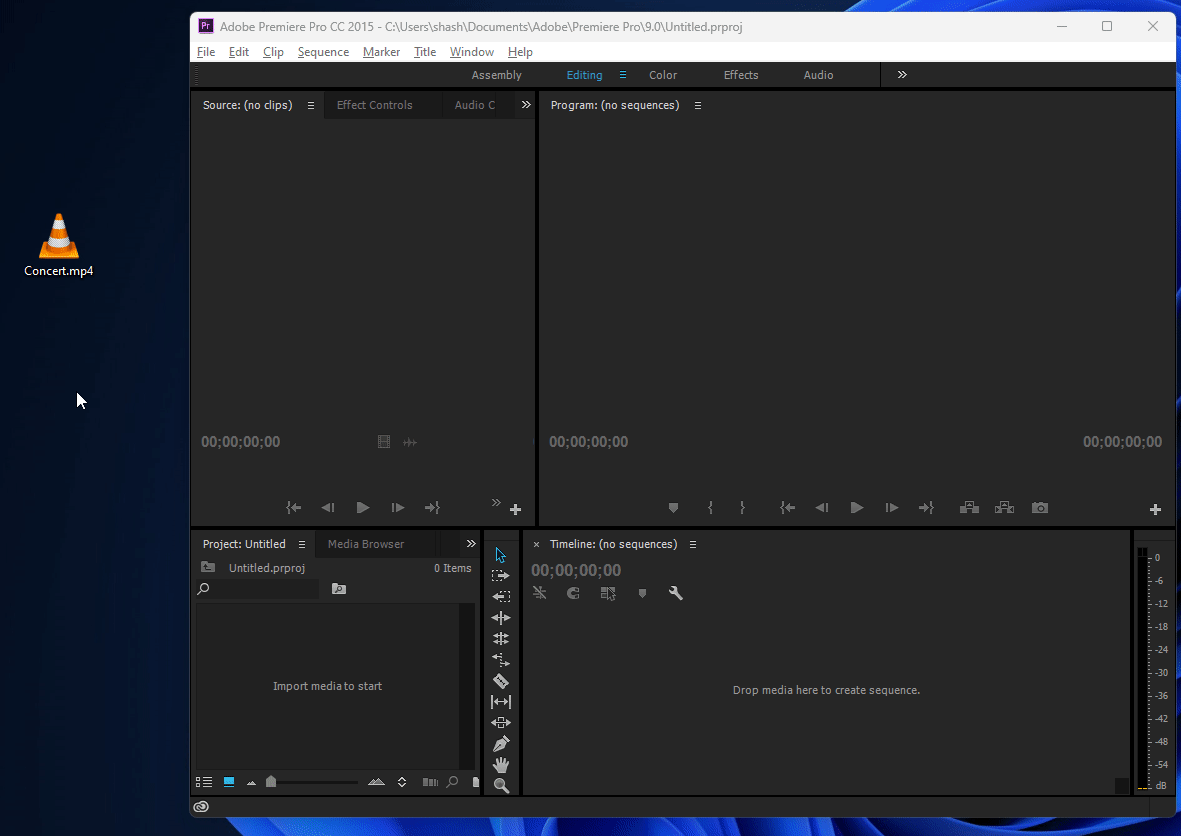
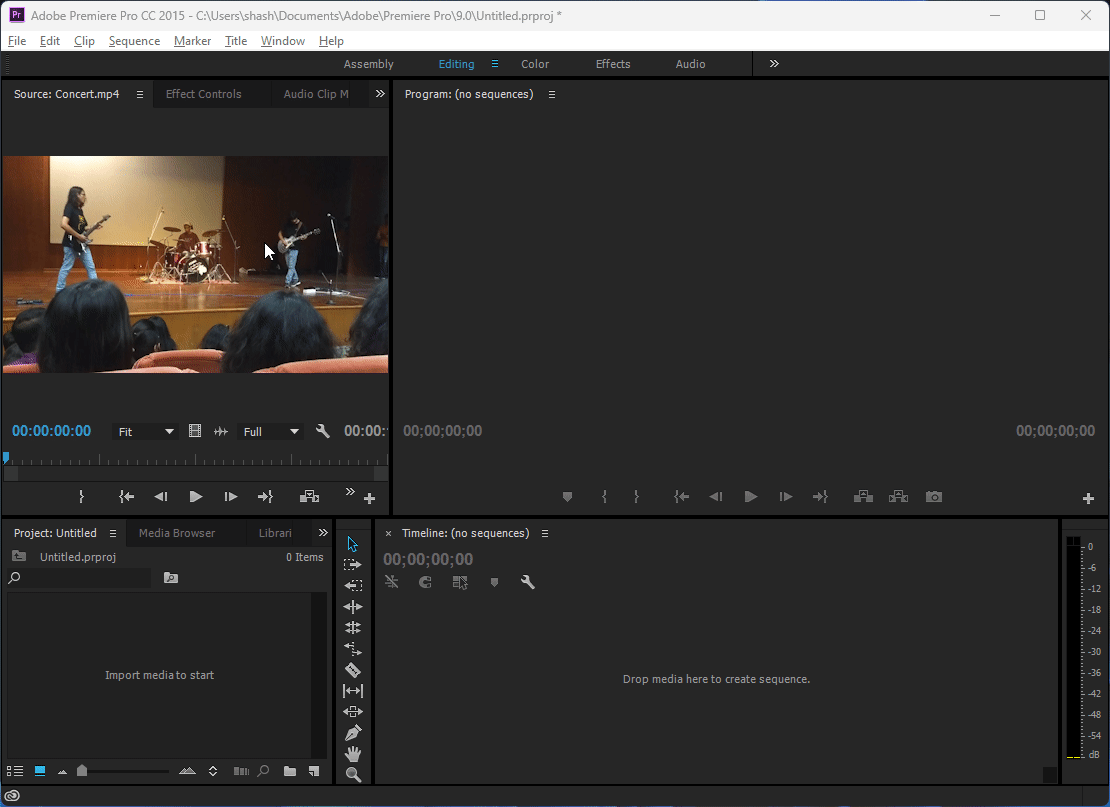
Then drag and copy your file to the Source area under the Edit tab.
#Now drag this file onto the timeline.
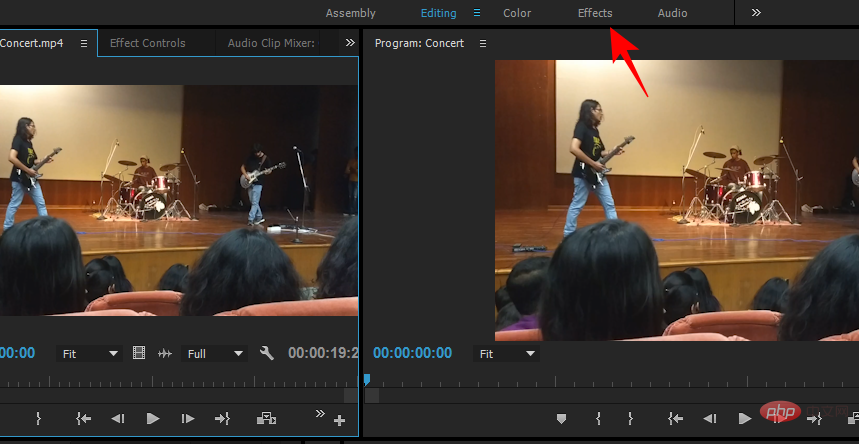
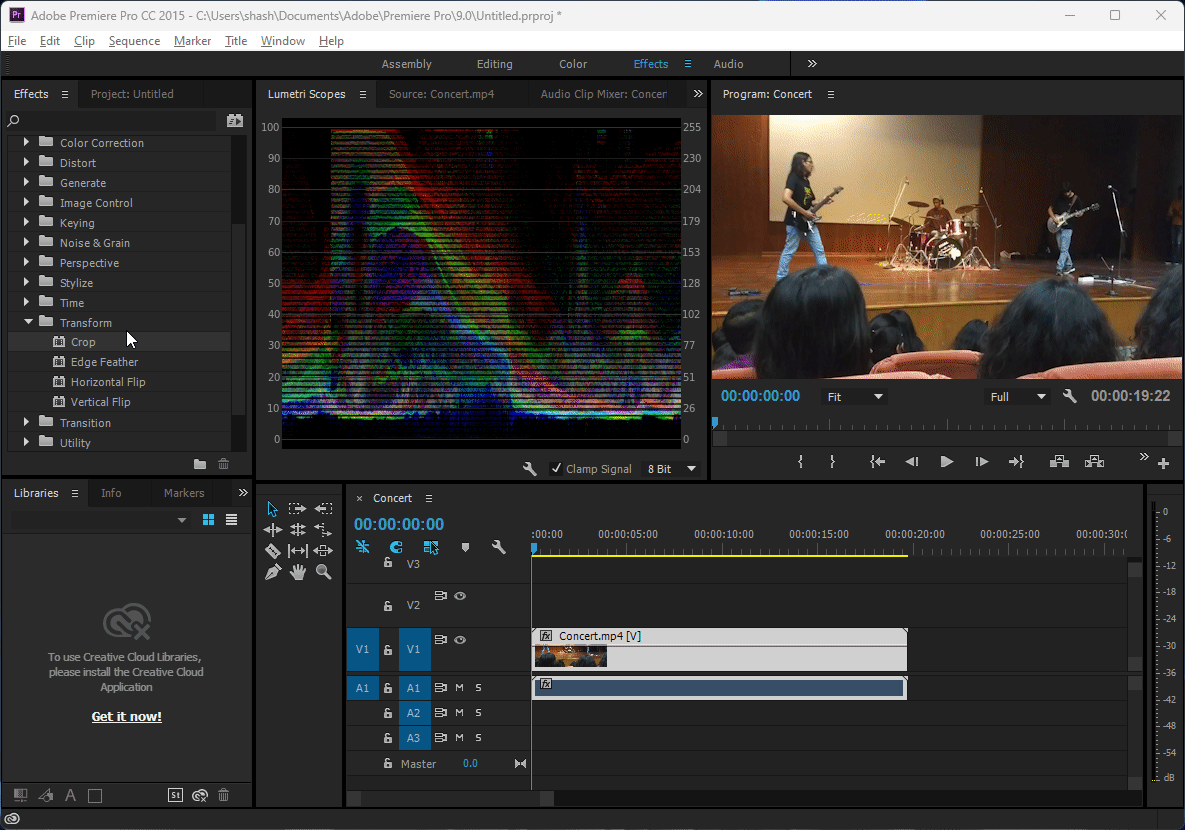
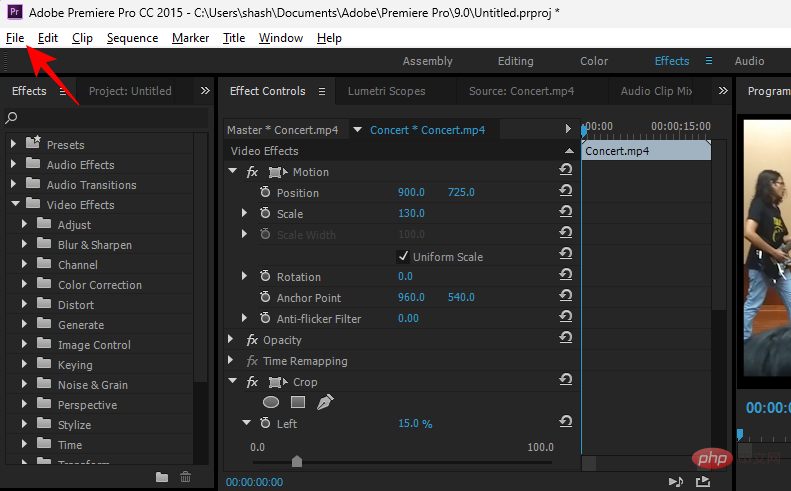
After you add the video to your timeline, make sure it is selected. Then click the "Effects" tab at the top.
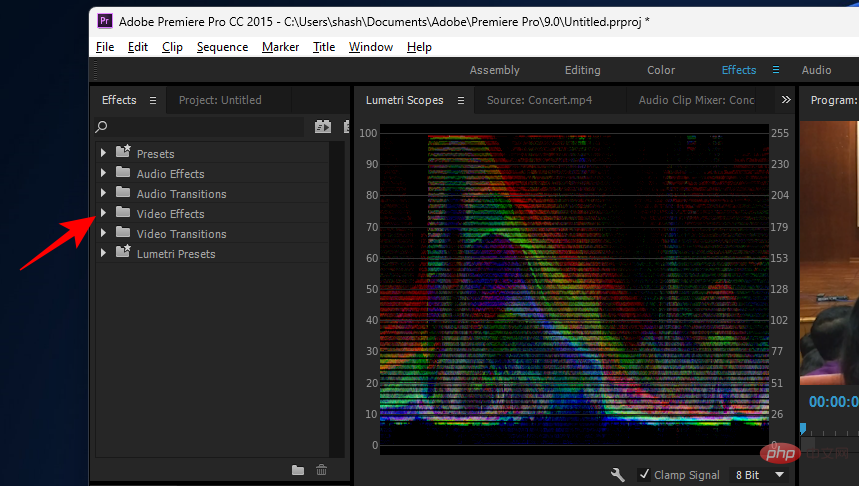
#On the left, you'll see another section called "Effects." Under it, expand the Video Effects folder.
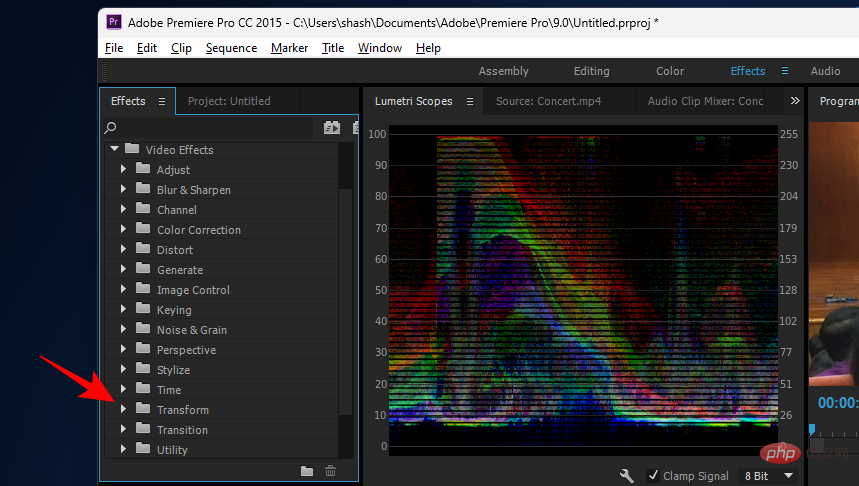
Then expand Transform.
Here you will see the cropping effect.
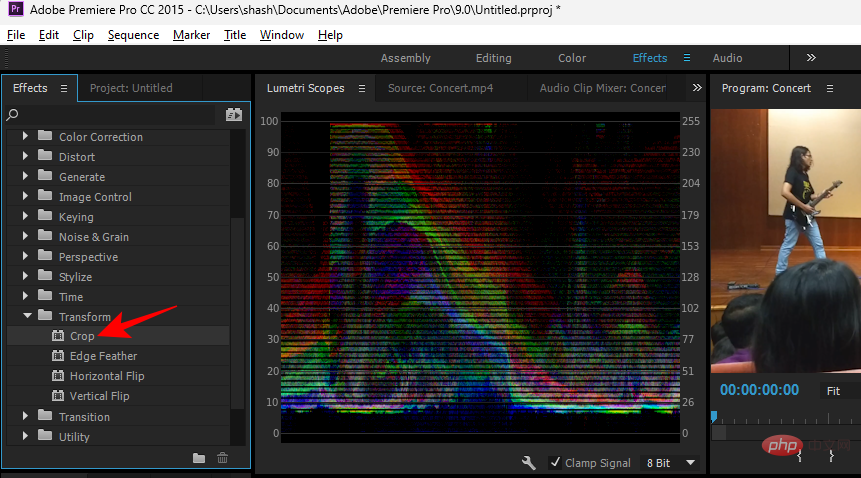
Drag it onto the video in the timeline.
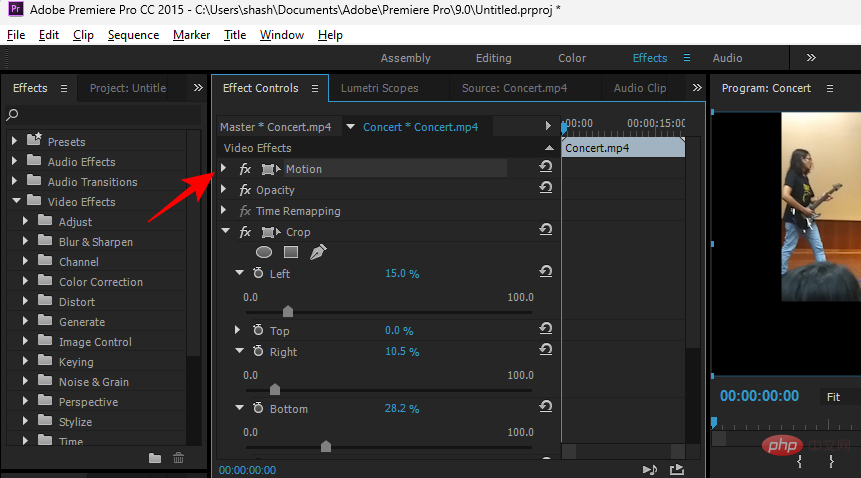
After adding the cropping effect, click the "Effect Controls " tab.
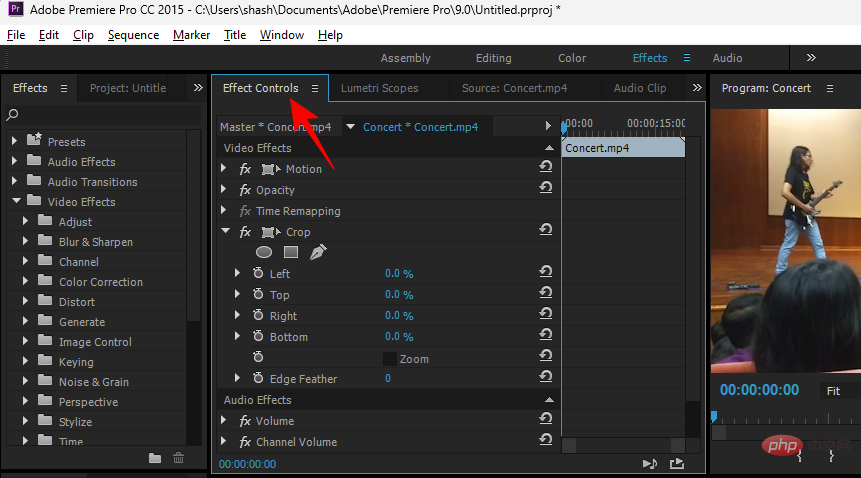
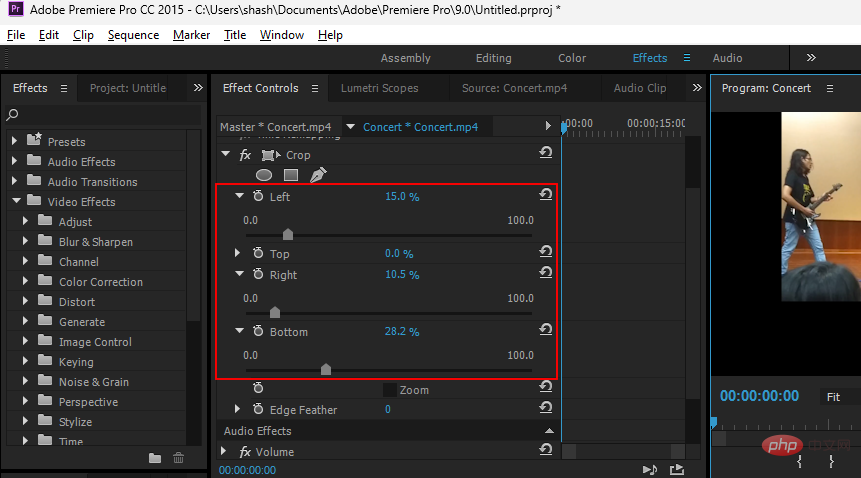
In it, you will see the Crop branch, under which you can crop the left, top, right and bottom areas.
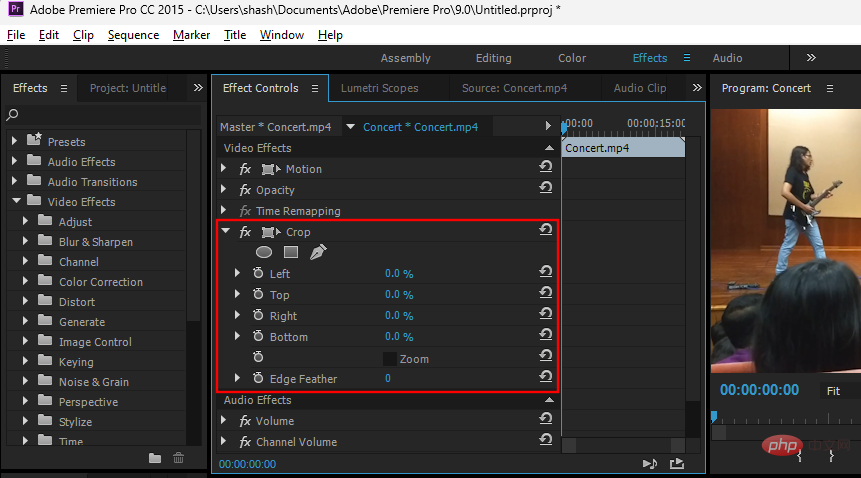
#All you have to do is expand a region branch and then use the slider to crop that part of the video.

Do the same thing if you want to crop from multiple sides.
If you crop your video in such a way that it doesn't take center stage, here's how to change its position. Under the same "Effect Controls" tab, expand the Motion branch.
Next to the "Location" option, you will see two numbers. The first one determines the position of the video on the horizontal axis, the second number is on the vertical axis.
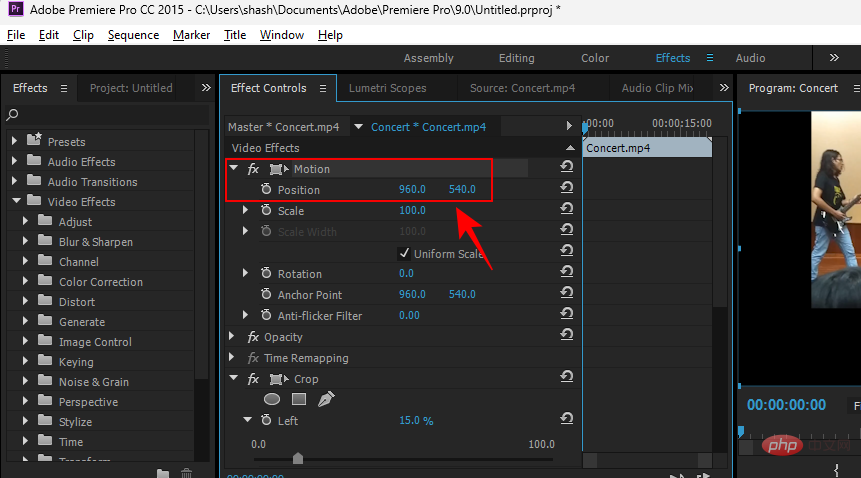
Click on the numbers to change them, and change the position of the video.
Note: Play with these numbers until you set the location to your liking.
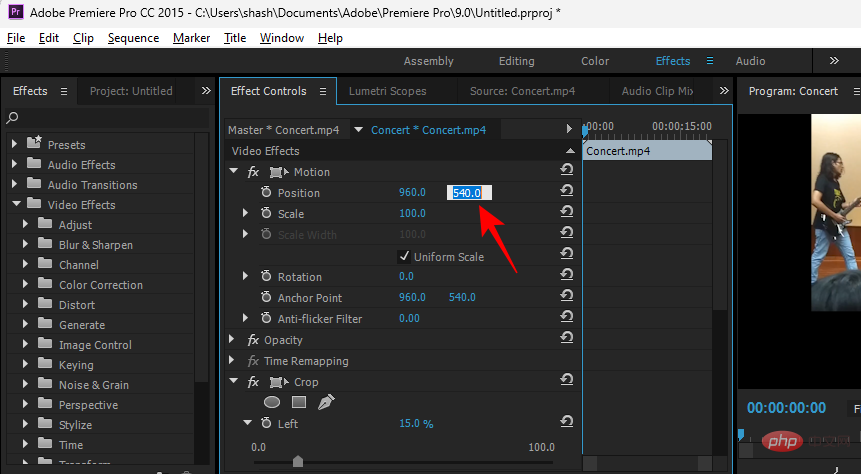
Another optional action you can take here is to zoom in on the video. To do this, click on the number next to Scale.

and then increase its value.
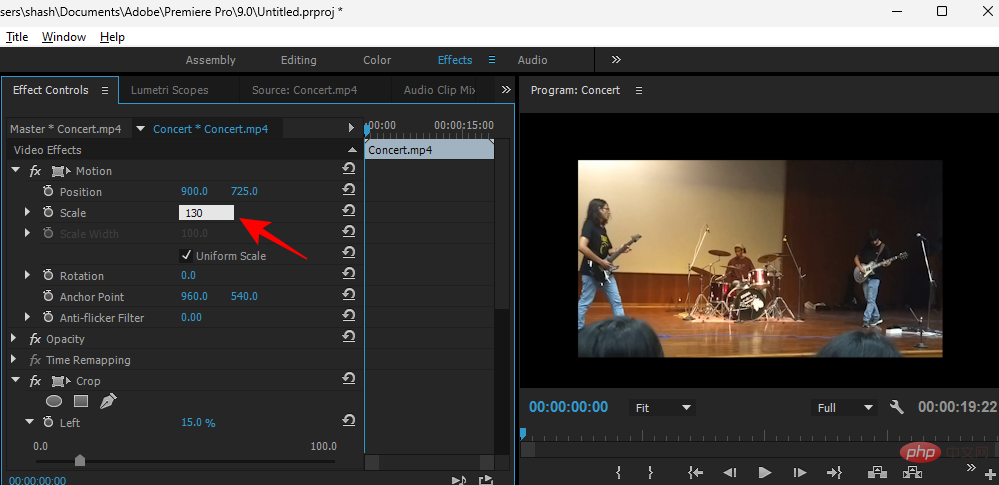
When finished, click on the video in the timeline to select it. Then click File in the top toolbar.
Then select Export , then select Media.

You can choose to make changes in the Export Settings window. Or, just click "Export" and you're done.
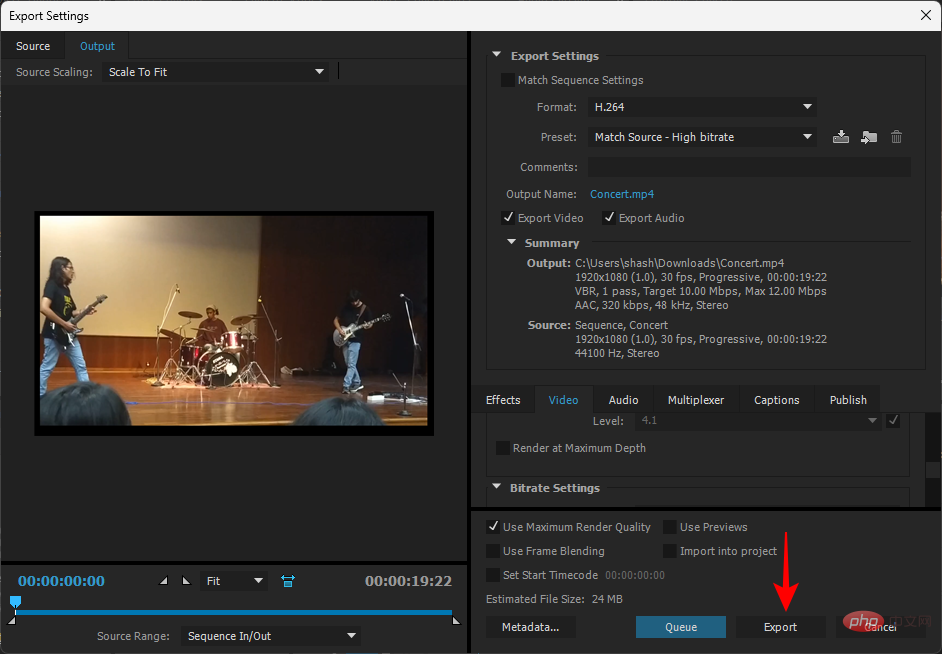
Your video is now cropped and saved.
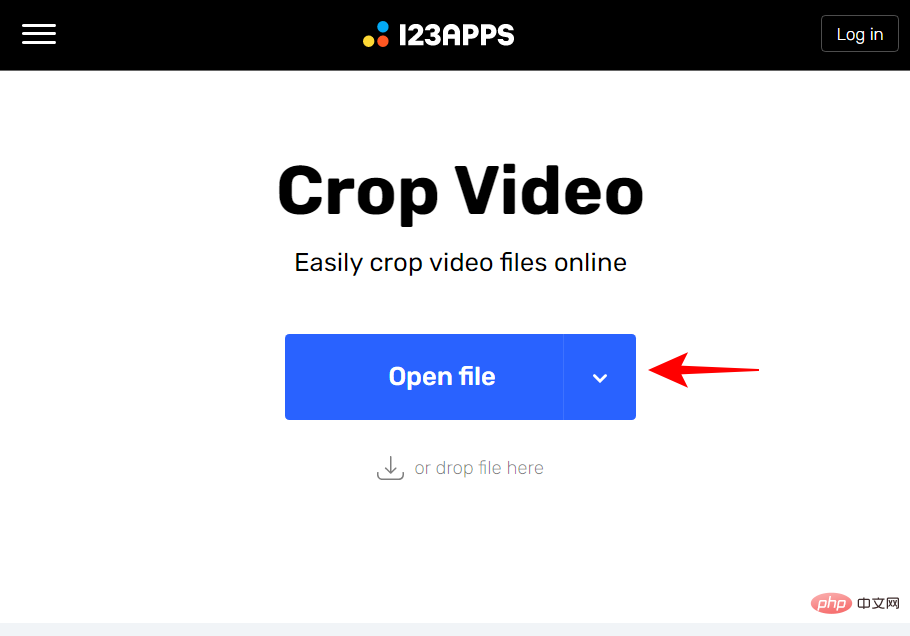
Method 6: Use online tools
There are many online video cropping tools that do not require a subscription or download. A simple Google search will yield some results. For our tutorial, we are using the aptly titled Online Video Cropper.
Click the link and click Open the file.
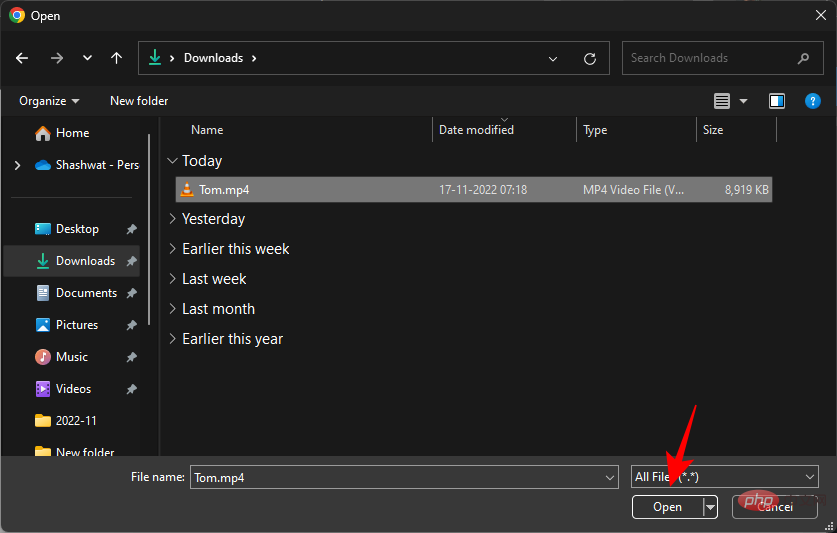
Select your file and click Open.
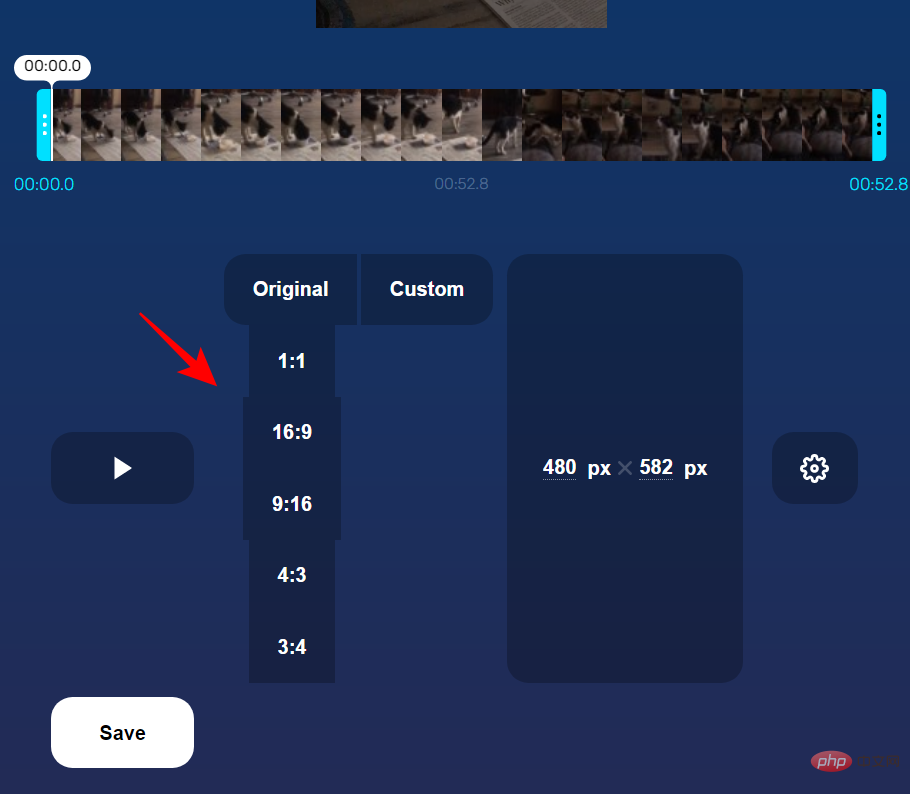
Use the frame handles to crop the video.
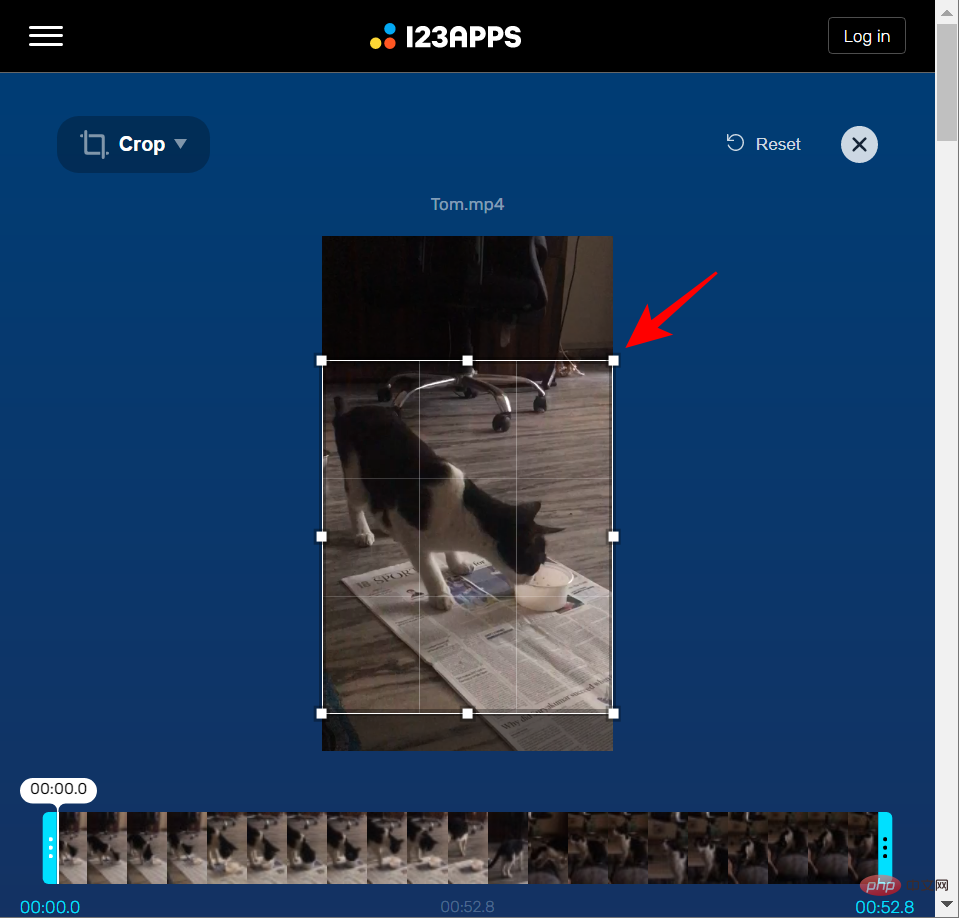
You can also change the aspect ratio if needed.
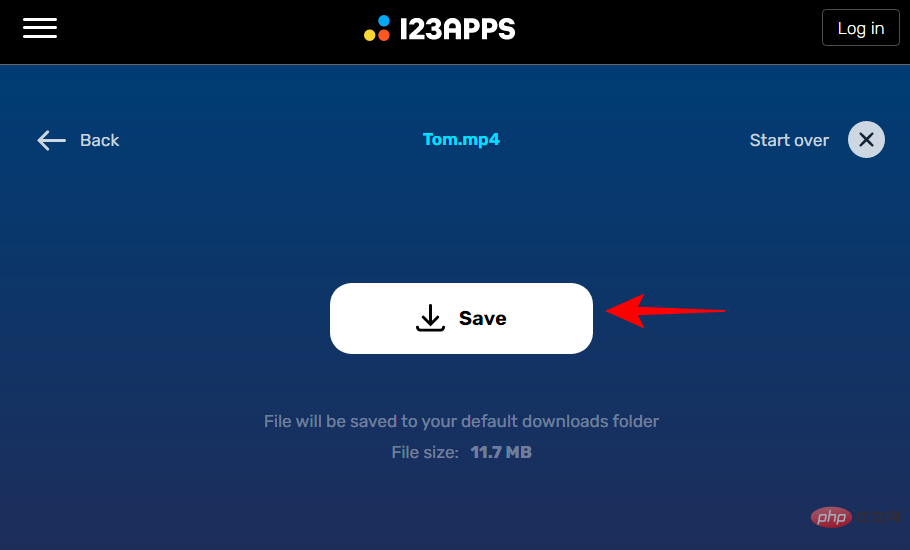
Otherwise, click Save when finished.
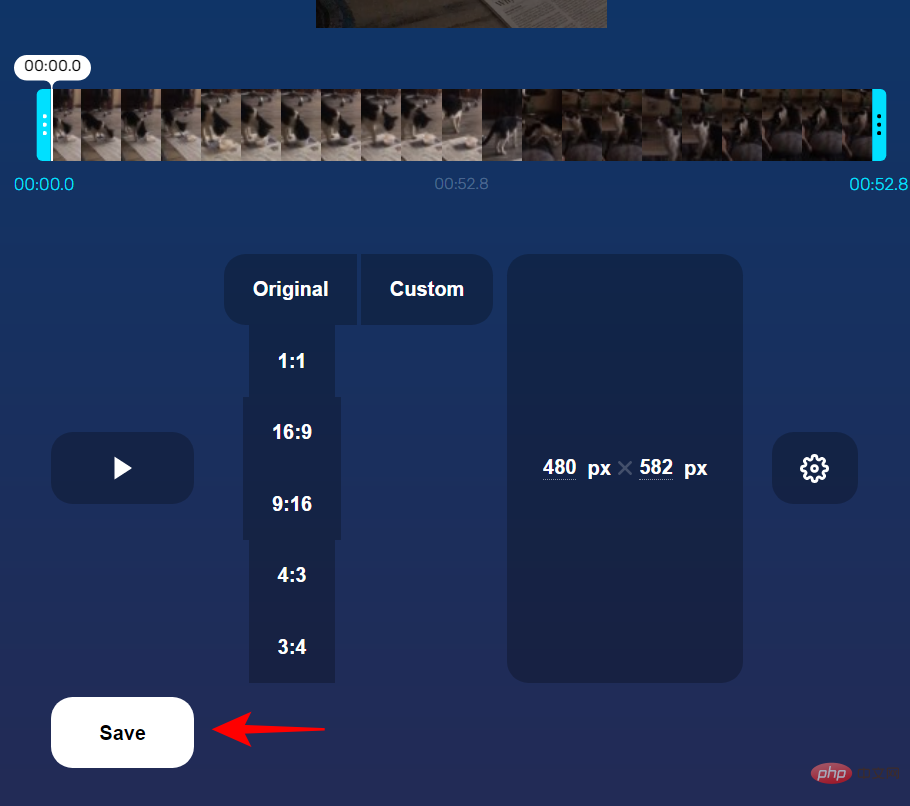
Then click Save again.
FAQ
While cropping a video is a fairly simple idea, there are a lot of variables surrounding it, especially on Windows. Here we answer some frequently asked questions about it.
Does Windows 11 include a video editor?
Windows 11 has a new video editing tool called Clipchamp that can be used for a variety of purposes, including cropping videos.
How to crop MP4 video in Windows?
Most of the methods shown in this tutorial can crop MP4 videos in Windows. See the tutorial above to learn how to use them.
How to crop video in Windows Media Player?
Unfortunately, the old Windows Media Player cannot be used to crop videos on Windows 11. Instead, you can use the old Photos app or Clipchamp.
The above is the detailed content of Top 6 Ways to Crop Videos on Windows 11. For more information, please follow other related articles on the PHP Chinese website!

Hot AI Tools

Undresser.AI Undress
AI-powered app for creating realistic nude photos

AI Clothes Remover
Online AI tool for removing clothes from photos.

Undress AI Tool
Undress images for free

Clothoff.io
AI clothes remover

Video Face Swap
Swap faces in any video effortlessly with our completely free AI face swap tool!

Hot Article
Hot Tools

Notepad++7.3.1
Easy-to-use and free code editor

SublimeText3 Chinese version
Chinese version, very easy to use

Zend Studio 13.0.1
Powerful PHP integrated development environment

Dreamweaver CS6
Visual web development tools

SublimeText3 Mac version
God-level code editing software (SublimeText3)
Hot Topics
 1664
1664
 14
1423
52
1317
25
1268
29
1246
24
14
1423
52
1317
25
1268
29
1246
24

 How to fix file names or extensions that are too long in Windows 11?
Apr 22, 2023 pm 04:37 PM
How to fix file names or extensions that are too long in Windows 11?
Apr 22, 2023 pm 04:37 PM
Have you ever faced any issues while transferring files that prevented you from doing so? Well, many Windows users have recently reported that they faced issues while copying and pasting files into a folder, where an error was thrown saying “The file name of the destination folder is too long”. Additionally, some other Windows users expressed frustration when opening any file and said "the file name or extension is too long" and they were unable to open the file. This disappoints users by not allowing them to transfer files to any other folder. While analyzing the issue, we have come up with a series of solutions that may help alleviate the issue and allow users to transfer files easily. If you are in a similar situation, please see this post for more information. Source: https
 Detailed guide to 15 Python editors/IDEs, there is always one that suits you!
Aug 09, 2023 pm 05:44 PM
Detailed guide to 15 Python editors/IDEs, there is always one that suits you!
Aug 09, 2023 pm 05:44 PM
There is no better way to write Python code than using an integrated development environment (IDE). Not only can they make your work simpler and more logical, they can also improve programming experience and efficiency. Everyone knows this. The question is, how to choose the best Python development environment among the many options.
 How to turn off Windows Defender Smart Screen in Windows 11, 10?
Apr 26, 2023 am 11:46 AM
How to turn off Windows Defender Smart Screen in Windows 11, 10?
Apr 26, 2023 am 11:46 AM
Many Windows users have recently reported that they were annoyed when Windows Defender SmartScreen warned users not to launch applications that were not recognized by Microsoft Windows and they had to click on the "Run anyway" option every time. Windows users are unsure what they can currently do to avoid or disable it. After researching the issue, we found that Windows Defender functionality on the system can be disabled through the Settings application or the Local Group Policy Editor or by adjusting the registry files. By doing this, users will no longer have to face the defender SmartScreen. If your system also encounters
 Essential software for C language programming: five good helpers recommended for beginners
Feb 20, 2024 pm 08:18 PM
Essential software for C language programming: five good helpers recommended for beginners
Feb 20, 2024 pm 08:18 PM
C language is a basic and important programming language. For beginners, it is very important to choose appropriate programming software. There are many different C programming software options on the market, but for beginners, it can be a bit confusing to choose which one is right for you. This article will recommend five C language programming software to beginners to help them get started quickly and improve their programming skills. Dev-C++Dev-C++ is a free and open source integrated development environment (IDE), especially suitable for beginners. It is simple and easy to use, integrating editor,
 Fix the issue where Windows 11/10 login options are disabled
May 07, 2023 pm 01:10 PM
Fix the issue where Windows 11/10 login options are disabled
May 07, 2023 pm 01:10 PM
Many Windows users have encountered the problem of being unable to log in to Windows 11/10 systems due to failed login attempts or multiple system shutdowns. Users are frustrated because there is nothing they can do about it. Users may forget their PIN code to log into the system, or experience lags when using or installing software, and the system may be forced to shut down multiple times. Therefore, we have compiled a list of the best available solutions that will undoubtedly help consumers solve this problem. To learn more, continue reading this article. Note: Before doing this, make sure you have your system's administrator credentials and Microsoft account password to reset your PIN. If not, wait an hour or so and try with the correct PIN
 How to use ClipChamp: the free Windows 11 video editor
Apr 20, 2023 am 11:55 AM
How to use ClipChamp: the free Windows 11 video editor
Apr 20, 2023 am 11:55 AM
Remember Windows MovieMaker on Windows 7? Since discontinuing Windows MovieMaker, Microsoft hasn't launched any real movie makers. On the other hand, they tried to revamp the Photos app with a small and lightweight built-in video editor. After a long time, Microsoft launched Clipchamp, a better video processor for all Windows 11 devices. In this article, we’ll take a deep dive into how to get everything from the Clipchamp app on your Windows 11 device. How to use Clipchamp – Detailed tutorials are available
 How to use Clipchamp video editor on Windows 11 and 10
Apr 17, 2023 pm 07:55 PM
How to use Clipchamp video editor on Windows 11 and 10
Apr 17, 2023 pm 07:55 PM
How to Install and Use Clipchamp on Windows The Clipchamp app is not yet pre-installed on Windows, but this is a future plan. At the same time, you need to download and install Clipchamp first. To install and use Clipchamp on Windows 11 and Windows 10: Download and install Clipchamp from the Microsoft Store. Once installed, search for Clipchamp in the Start menu to launch it. In the Clipchamp window you will need to log in with your Microsoft or Google account, or use your own personal email
 10 Strikethrough Shortcuts for Use in Every Word Editor
Apr 16, 2023 pm 05:25 PM
10 Strikethrough Shortcuts for Use in Every Word Editor
Apr 16, 2023 pm 05:25 PM
A word editor, also known as a word processor, can be defined as a device or software that allows you to create, print, and edit documents. You can type content, display it on a screen or in printed material, store it electronically, and modify it from the keyboard using different keyboard shortcuts, characters, and commands, including keyboard shortcuts for strikethrough. Computers are built to help solve different problems. However, word processing is the most popular feature they help with. Thanks to technological advancements, you can access text editors as software applications installed on mobile devices and computers or as cloud services offered by different providers. Word processors were first introduced in the early 1960s as stand-alone machines similar to electric typewriters. They are better than typewriters because they allow