Vue component practice: Develop a loading Button component--LoadingButton
This article will guide you step by step in developing a super practical vueLoadingButton component--LoadingButton. I hope it will be helpful to everyone.

Component background
In daily work, we often encounter a scene:

Request some interface data when clicking a button, and in order to avoid repeated clicks by users, we usually add loading to these buttons. The function of adding loading itself is very simple. As long as we define a variable and use it in the Button component, but when doing background management projects, such a button may There are many, many variables in one component may be xxx_loading, which is time-consuming, labor-intensive and not elegant enough.
Next, we make a simple encapsulation of the Button component to solve this time-consuming, labor-intensive and inelegant loading problem. (Learning video sharing: vue video tutorial)
Inspiration source
We are using Antd
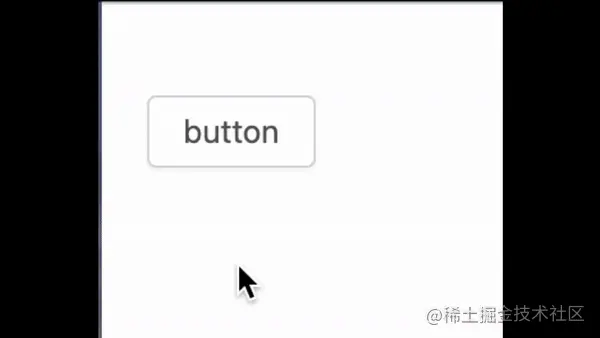
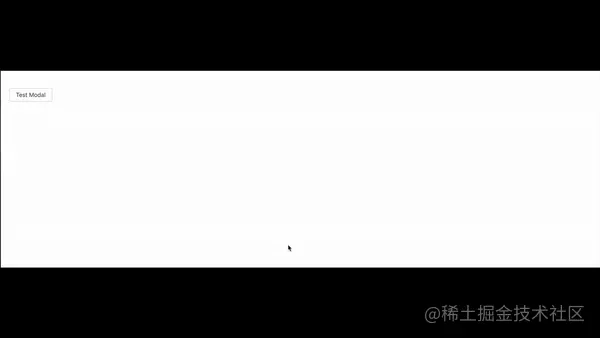
Modaldialog box, when ouronOkisasynchronous function, the OK button ofModalwill automatically addloadingEffect, close the pop-up window after the function execution is completed, like this:

At this time, the code is as follows:
asyncFunc() {
  return new Promise(resolve => {
    setTimeout(() => {
      resolve()
    }, 2000)
  })
},
handleTestModal() {
  const that = this
  this.$confirm({
    title: '测试异步函数',
    content: '异步函数延迟两秒结束',
    async onOk() {
      await that.asyncFunc()
    }
  })
},After seeing this effect, I thought that if I could encapsulate a
Buttoncomponent and pass in the function that needs to be executed, the component would automatically addloadingaccording to the function execution. What effect would it have? Not very convenient.
Implement LoadingButton
Define component parameters
Just define a few here Commonly used parameters: text (button text) , type (button type) , asyncFunc (asynchronous function executed when the button is clicked) , delay(loading delay), in addition, a loading variable inside the component is needed to control the state of our Button component, the code is as follows:
export default {
    data() {
        return {
          loading: false
        }
    },
    props: {
        text: {
          type: String,
          default: '确定'
        },
        type: {
          type: String,
          default: 'primary'
        },
        delay: {
          type: Number,
          default: 0
        },
        asyncFunc: {
          type: Function,
          default: () => {}
        }
    },
} Use the <span style="font-size: 18px;">Button</span> component in <span style="font-size: 18px;">antd</span> to perform the second step Sub-encapsulation
In our custom LoadingButton component, use the parameters defined above and bind a click event, The code is as follows:
<template>
<Button :type="type" :loading="loading" @click="handleClick">
{{ text }}
</Button>
</template>
<script>
import { Button } from 'ant-design-vue'
export default {
components: {
Button
},
methods: {
handleClick() {}
}
}
</script>Judge asynchronous function<span style="font-size: 18px;">asyncFunc</span>
This part is The most important part of the entire component is how we determine whether the incoming function is an asynchronous function. When the
asyncFuncfunction we pass in is an asynchronous function, the component needs to add a loading animation, then we should How to determine whether a function is an asynchronous function?
ReferenceantdHow is it implemented?
We just introduced the Modal dialog box of antd above. There is similar logic in it, so you might as well read this part of the related source code and take a look. Implementation method of antd:
// components/modal/ActionButton.jsx

onClick() {
  const { actionFn, closeModal } = this;
  if (actionFn) {
    let ret;
    if (actionFn.length) {
      ret = actionFn(closeModal);
    } else {
      ret = actionFn();
      if (!ret) {
        closeModal();
      }
    }
    if (ret && ret.then) {
      this.setState({ loading: true });
      ret.then(
        (...args) => {
          // It's unnecessary to set loading=false, for the Modal will be unmounted after close.
          // this.setState({ loading: false });
          closeModal(...args);
        },
        e => {
          // Emit error when catch promise reject
          // eslint-disable-next-line no-console
          console.error(e);
          // See: https://github.com/ant-design/ant-design/issues/6183
          this.setState({ loading: false });
        },
      );
    }
  } else {
    closeModal();
  }
}, Read the implementation of antd source code. We know that to determine whether a function is an asynchronous function, we can determine whether the function has .then(ret && ret.then) method, then we can also make a similar judgment. The code is as follows:
async handleClick() {
  const asyncFunc = this.asyncFunc
  if (!this.isFunc) {
    return
  }
  const ret = asyncFunc()

  // 如果是异步函数,则显示loading
  if (ret && ret.then) {
    this.loading = {
      delay: this.delay
    }
    ret.finally(() => {
      this.loading = false
    })
  }
}TestLoadingButtonComponent
At this point our core component logic has been developed. Later we will write a demo to test whether this
LoadingButtoncomponent meets expectations: demo The code is as follows:
<template>
<div>
<LoadingButton :delay="500" :asyncFunc="asyncFunc" />
</div>
</template>
<script>
import LoadingButton from './LoadingButton.vue'
export default {
data() {
return {
loading: false
}
},
components: {
LoadingButton
},
methods: {
asyncFunc() {
return new Promise(resolve => {
setTimeout(() => {
resolve()
}, 2000)
})
}
}
}
</script> We wrote an asynchronous function asyncFunc to simulate asynchronous requests in actual business. Now you can see the effect:
is in line with the previous expected effect, so that when we have similar scenarios that require loading, we can directly use the LoadingButton component to click the asynchronous function that needs to be executed. Just pass it in, there is no need to define the loading variable.
写在最后
这个组件其实核心的代码非常少,也很容易读懂。由于最近在做一些业务这类场景比较多,感觉这个小组件还是挺实用的所以分享给大家,这里也是只对最重要的部分做了一个介绍,相信大家学会了之后也可以通过这个方式封装出符合自己实际场景需求的组件。最后,附上这个组件的完整代码:
<template>
<Button :type="type" :loading="loading" @click="handleClick">
{{ text }}
</Button>
</template>
<script>
import { Button } from 'ant-design-vue'
export default {
data() {
return {
loading: false
}
},
props: {
text: {
type: String,
default: '确定'
},
type: {
type: String,
default: 'primary'
},
delay: {
type: Number,
default: 0
},
asyncFunc: {
type: Function,
default: () => {}
}
},
components: {
Button
},
computed: {
isFunc() {
return typeof this.asyncFunc === 'function'
}
},
methods: {
async handleClick() {
const asyncFunc = this.asyncFunc
if (!this.isFunc) {
return
}
const ret = asyncFunc()
// 如果是异步函数,则显示loading
if (ret && ret.then) {
this.loading = {
delay: this.delay
}
ret.finally(() => {
this.loading = false
})
}
}
}
}
</script>原文地址:https://juejin.cn/post/7099234795720278046
作者:liangyue
The above is the detailed content of Vue component practice: Develop a loading Button component--LoadingButton. For more information, please follow other related articles on the PHP Chinese website!

Hot AI Tools

Undresser.AI Undress
AI-powered app for creating realistic nude photos

AI Clothes Remover
Online AI tool for removing clothes from photos.

Undress AI Tool
Undress images for free

Clothoff.io
AI clothes remover

Video Face Swap
Swap faces in any video effortlessly with our completely free AI face swap tool!

Hot Article

Hot Tools

Notepad++7.3.1
Easy-to-use and free code editor

SublimeText3 Chinese version
Chinese version, very easy to use

Zend Studio 13.0.1
Powerful PHP integrated development environment

Dreamweaver CS6
Visual web development tools

SublimeText3 Mac version
God-level code editing software (SublimeText3)

Hot Topics
 Vue.js vs. React: Project-Specific Considerations
Apr 09, 2025 am 12:01 AM
Vue.js is suitable for small and medium-sized projects and fast iterations, while React is suitable for large and complex applications. 1) Vue.js is easy to use and is suitable for situations where the team is insufficient or the project scale is small. 2) React has a richer ecosystem and is suitable for projects with high performance and complex functional needs.
 How to add functions to buttons for vue
Apr 08, 2025 am 08:51 AM
You can add a function to the Vue button by binding the button in the HTML template to a method. Define the method and write function logic in the Vue instance.
 What does vue multi-page development mean?
Apr 07, 2025 pm 11:57 PM
Vue multi-page development is a way to build applications using the Vue.js framework, where the application is divided into separate pages: Code Maintenance: Splitting the application into multiple pages can make the code easier to manage and maintain. Modularity: Each page can be used as a separate module for easy reuse and replacement. Simple routing: Navigation between pages can be managed through simple routing configuration. SEO Optimization: Each page has its own URL, which helps SEO.
 How to use vue traversal
Apr 07, 2025 pm 11:48 PM
There are three common methods for Vue.js to traverse arrays and objects: the v-for directive is used to traverse each element and render templates; the v-bind directive can be used with v-for to dynamically set attribute values for each element; and the .map method can convert array elements into new arrays.
 How to jump to the div of vue
Apr 08, 2025 am 09:18 AM
There are two ways to jump div elements in Vue: use Vue Router and add router-link component. Add the @click event listener and call this.$router.push() method to jump.
 How to jump a tag to vue
Apr 08, 2025 am 09:24 AM
The methods to implement the jump of a tag in Vue include: using the a tag in the HTML template to specify the href attribute. Use the router-link component of Vue routing. Use this.$router.push() method in JavaScript. Parameters can be passed through the query parameter and routes are configured in the router options for dynamic jumps.
 React vs. Vue: Which Framework Does Netflix Use?
Apr 14, 2025 am 12:19 AM
Netflixusesacustomframeworkcalled"Gibbon"builtonReact,notReactorVuedirectly.1)TeamExperience:Choosebasedonfamiliarity.2)ProjectComplexity:Vueforsimplerprojects,Reactforcomplexones.3)CustomizationNeeds:Reactoffersmoreflexibility.4)Ecosystema
 What does the vue component pass value mean?
Apr 07, 2025 pm 11:51 PM
Vue component passing values is a mechanism for passing data and information between components. It can be implemented through properties (props) or events: Props: Declare the data to be received in the component and pass the data in the parent component. Events: Use the $emit method to trigger an event and listen to it in the parent component using the v-on directive.


