How to import brush materials into ps

psHow to import brush materials
The suffix of PS brushes is .abr, refers to the brush file of PhotoShop (PS), where abr is the abbreviation of Adobe Brush. abr files, in addition to the system default ones (brush files are generally in the Adobe\Adobe Photoshop CS2\Presets\Brush directory), there are also many available for download on the Internet. However, please note that there are version differences. The import method is very simple. You can import it by following the following operations.
Recommended: "PS Tutorial"
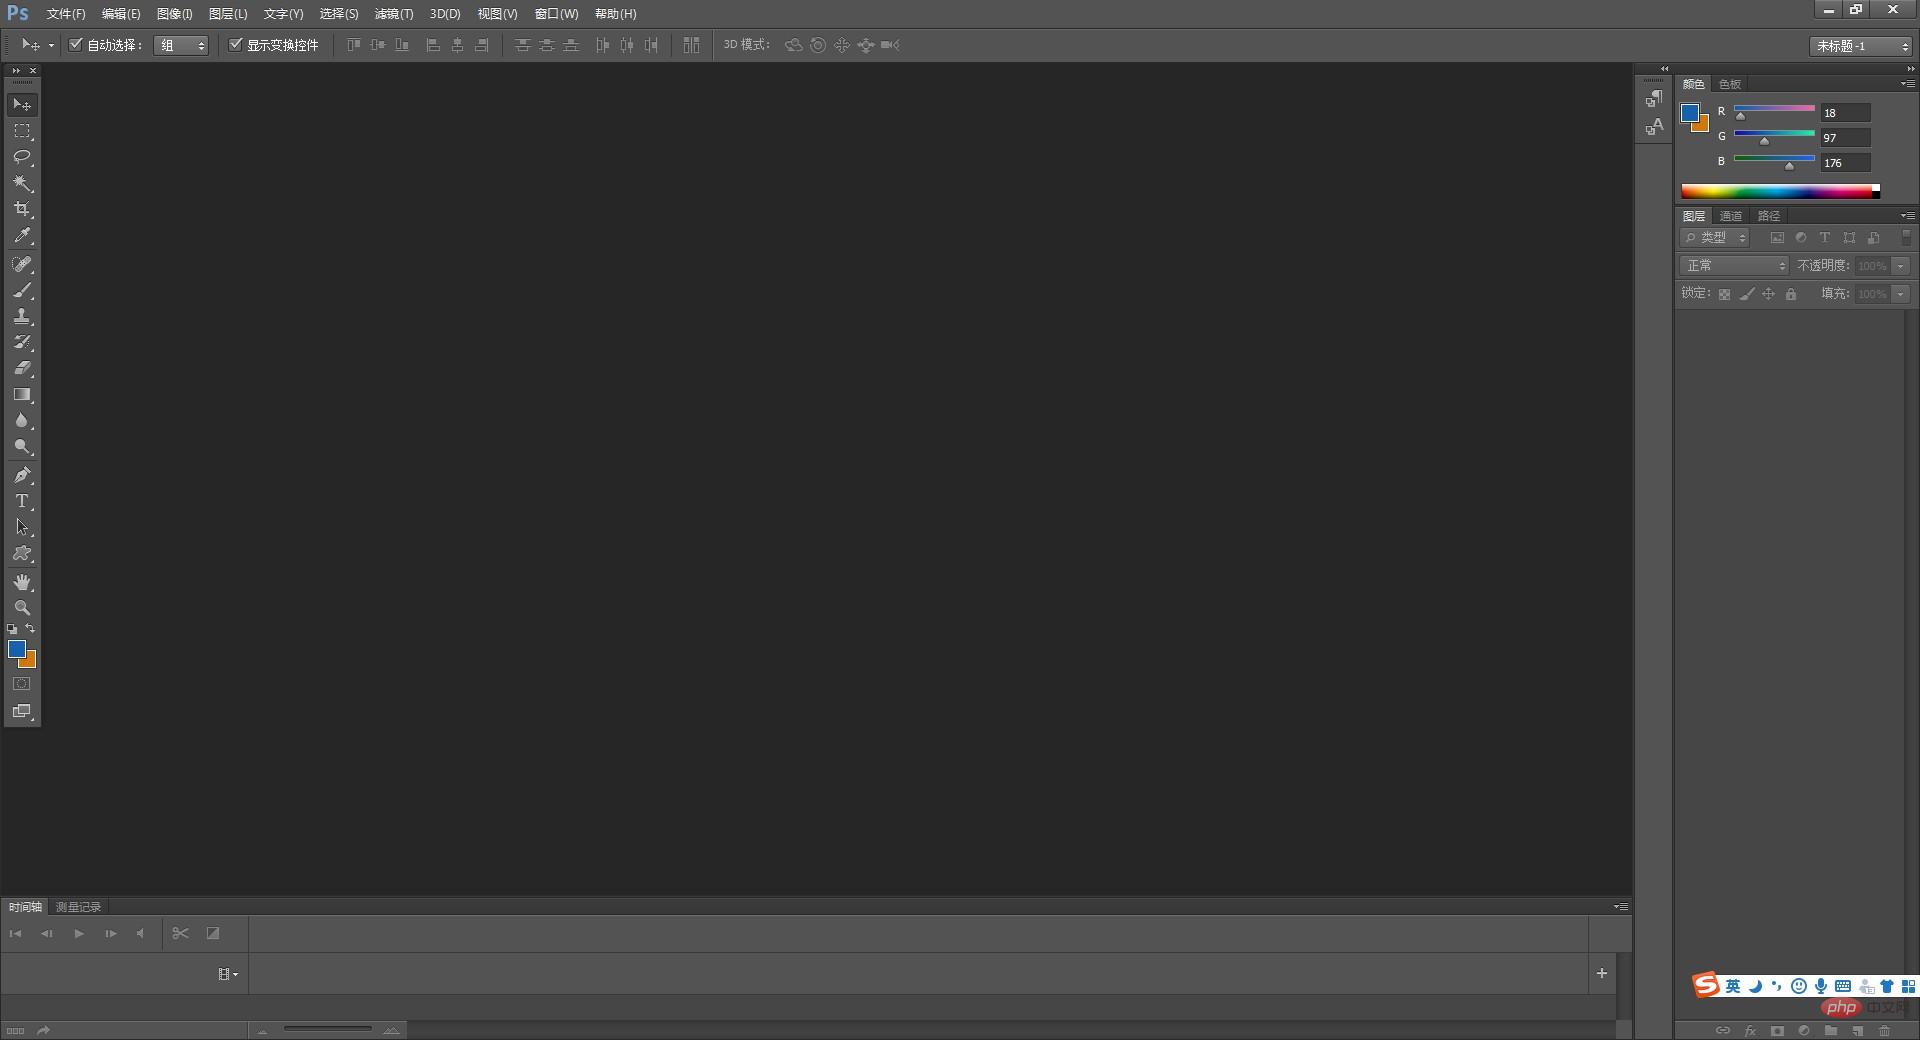
1. Open photoshop and enter the PS operation interface.

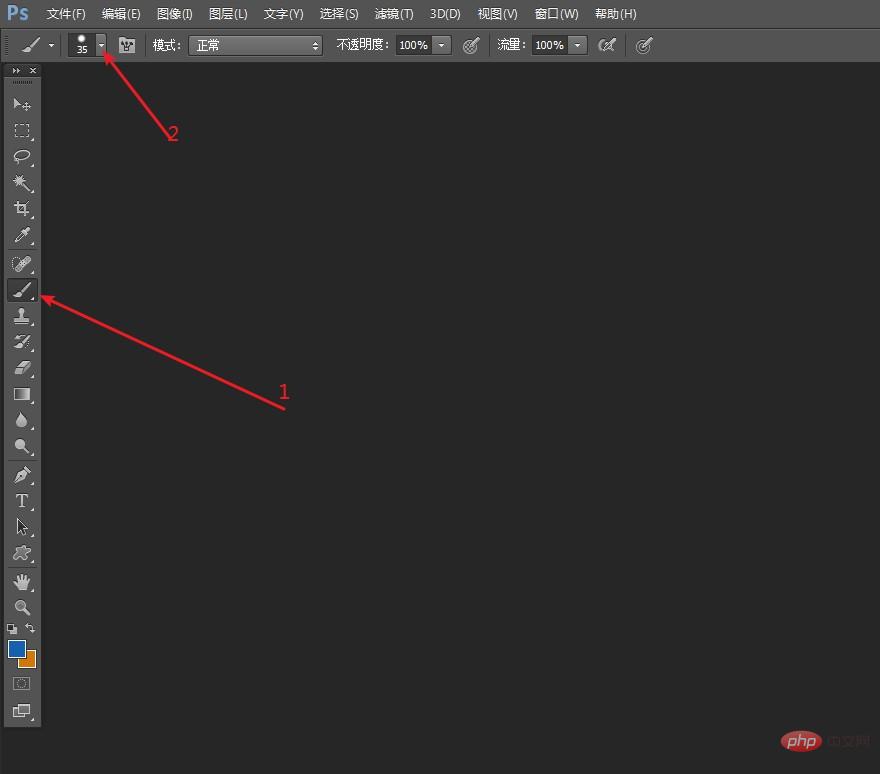
2. Click the brush tool, and then select the [Brush] option on it.

After clicking the [Brush] option, select the [Zigzag] button on the red cut head in the pop-up drop-down box and click it.
After clicking, a drop-down box will appear, and then find [Load Brush] in it. Then in the pop-up dialog box, select the brush you want to import.
After the selection is completed, click [Load]. At this time, you can find the imported brush among the brushes. Only one brush can be imported at a time, so you can import multiple brushes by repeating the above operations.
The above is the detailed content of How to import brush materials into ps. For more information, please follow other related articles on the PHP Chinese website!

Hot AI Tools

Undresser.AI Undress
AI-powered app for creating realistic nude photos

AI Clothes Remover
Online AI tool for removing clothes from photos.

Undress AI Tool
Undress images for free

Clothoff.io
AI clothes remover

Video Face Swap
Swap faces in any video effortlessly with our completely free AI face swap tool!

Hot Article

Hot Tools

Notepad++7.3.1
Easy-to-use and free code editor

SublimeText3 Chinese version
Chinese version, very easy to use

Zend Studio 13.0.1
Powerful PHP integrated development environment

Dreamweaver CS6
Visual web development tools

SublimeText3 Mac version
God-level code editing software (SublimeText3)

Hot Topics
 How to import local songs from NetEase Cloud Music How to import local songs
Mar 13, 2024 am 11:19 AM
When we use this platform to listen to songs, most of them should have some songs that you want to listen to. Of course, some things may not be listened to because there is no copyright. Of course, we can also directly use some songs imported locally. Go up there so you can listen. We can download some songs and directly convert them into mp3 formats, so that they can be scanned on the mobile phone for import and other situations. However, for most users, they don’t know much about importing local song content, so in order to solve these problems well, today the editor will also explain it to you. The content method allows you to make better choices without asking. If you are interested,
 How to import oiv files into openiv
Feb 21, 2024 pm 11:12 PM
OpenIV is a very convenient tool that can be used to import OIV files in GTA games. OIV files are a specific file format used to package mod or modification files into an easy-to-install format. This article will introduce how to use OpenIV to import OIV files. First, make sure you have the OpenIV software installed. If not, you can download it from the official website and follow the instructions to install it. Next, download the required OIV file from a trusted source. You can find various GTA modding communities or M
 How to solve the problem of garbled characters when importing Chinese data into Oracle?
Mar 10, 2024 am 09:54 AM
Title: Methods and code examples to solve the problem of garbled characters when importing Chinese data into Oracle. When importing Chinese data into Oracle database, garbled characters often appear. This may be due to incorrect database character set settings or encoding conversion problems during the import process. . In order to solve this problem, we can take some methods to ensure that the imported Chinese data can be displayed correctly. The following are some solutions and specific code examples: 1. Check the database character set settings In the Oracle database, the character set settings are
 Introduction to the process of extracting line drawings in PS
Apr 01, 2024 pm 12:51 PM
1. Open the software and import a piece of material, as shown in the picture below. 2. Then ctrl+shift+u to remove color. 3. Then press ctrl+J to copy the layer. 4. Then reverse ctrl+I, and then set the layer blending mode to Color Dodge. 5. Click Filter--Others--Minimum. 6. In the pop-up dialog box, set the radius to 2 and click OK. 7. Finally, you can see the line draft extracted.
 How to automate tasks using PowerShell
Feb 20, 2024 pm 01:51 PM
If you are an IT administrator or technology expert, you must be aware of the importance of automation. Especially for Windows users, Microsoft PowerShell is one of the best automation tools. Microsoft offers a variety of tools for your automation needs, without the need to install third-party applications. This guide will detail how to leverage PowerShell to automate tasks. What is a PowerShell script? If you have experience using PowerShell, you may have used commands to configure your operating system. A script is a collection of these commands in a .ps1 file. .ps1 files contain scripts executed by PowerShell, such as basic Get-Help
 Complete list of ps shortcut keys
Mar 11, 2024 pm 04:31 PM
1. Ctrl + N: Create a new document. 2. Ctrl + O: Open a file. 3. Ctrl + S: Save the current file. 4. Ctrl + Shift + S: Save as. 5. Ctrl + W: Close the current document. 6. Ctrl + Q: Exit Photoshop. 7. Ctrl + Z: Undo. 8. Ctrl + Y: Redo. 9. Ctrl + X: Cut the selected content. 10. Ctrl + C: Copy the selected content.
 PS copy layer shortcut key
Feb 23, 2024 pm 02:34 PM
In the PS copy layer shortcut keys, we can know that if you want to copy a layer when using PS, you can use the shortcut key [Ctrl+J] for quick copying. This introduction to the shortcut keys for copying layers can tell you the specific operation method. The following is the detailed content, so take a look. PS copy layer shortcut key answer: [Ctrl+J] Specific method: 1. Open the image in PS and select the layer that needs to be copied. 2. Press [Ctrl+J] on the keyboard at the same time to complete the copy of the layer. Other copying methods: 1. After opening the image, press and hold the layer and move the [New Layer] icon downwards. 2. After moving to the icon, let go. 3. The layer copy is completed.
 Detailed explanation of PS1, PS2, PS3, PS4 variables under Linux
Mar 22, 2024 am 09:00 AM
In the Linux system, PS1, PS2, PS3 and PS4 are specific environment variables, each of which plays a different role in controlling prompts and menu prompt information. These PS variables can provide users with a flexible way to customize and control the appearance and behavior of the command line in Linux systems, thereby improving the user's interaction experience with the system. Note: If you want to permanently modify the prompt for a long time, you can add the command to modify the prompt to the $HOME/.bashrc or $HOME/.bash_profile file. 1. PS1 variable is mainly used to set the shell command prompt. Whenever you enter a command in the terminal, the string displayed is controlled by the PS1 variable. can be based on your own


