

How to set a password in wordpress

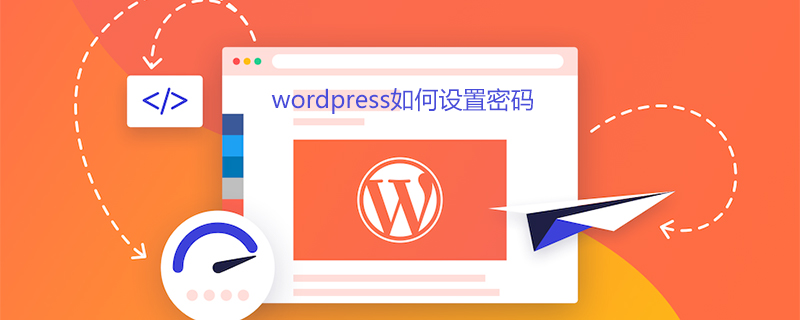
How to set a password in wordpress
For a popular content management system like WordPress, security is crucial. Sometimes the content we publish does not necessarily want everyone to be able to see it, such as certain album pictures, certain personal privacy, certain content that can only be viewed by some people, etc. There are many kinds of protection measures. Today I will give you Let me briefly share some methods of password protection:
保护整篇文章/页面
保护文章/页面的一小部分
保护某些分类下的文章
保护整个网站
保护整篇文章/页面
To implement this function, it is very simple. WordPress has built-in setting options, which are under the [Publish] module on the right side of the editor of our article or page. A "Publicity" option, here you can set the password to access:

Then when someone accesses this article at the front desk, they need to enter the password:

Protect a small part of the article/page
Many times, we may not need to protect the entire article, but some parts of the article For this part, we can use the Passster plug-in to achieve
The Passster plug-in allows users to password-protect part of a page or article. You can use shortcodes to include the content to be protected. When the user accesses, they will see a form to enter a password. If the password is correct, the protected content will be displayed. It supports setting multiple protected parts in an article, you can also set the cookie validity time, support Ajax loading, and you can also set it to verification code protection!

When you visit the front page, you can see the form for entering your password or verification code (if you set verification code protection):


Protect articles under certain categories
Although WordPress itself can add passwords to individual articles Protection, but if we need to add password protection to the entire or multiple categories of articles, adding passwords one by one is too time-consuming. Try the Access Category Password plug-in recommended by Changmeng before, which can give one or multiple categories Add password protection to the articles under this category, and you must enter the correct password to access articles (content and abstract) under restricted categories.

Of course, this plug-in can also restrict users who subscribe to website content through the feed. In the feed, if it is an article in a restricted category, it will be replaced by the set content of the prompt.
You can preview the background settings interface for more information:

Protect the entire website
To protect the entire All articles on your website can use the Password Protected plugin, which is a very simple way to quickly protect your WordPress website with a single password. This plugin only protects your WordPress content. It does not protect uploaded images or files, so if you enter the exact URL from the image file, it will still be accessible. When accessing the website, you will be asked to enter a password:

You can make some settings through the settings options:

For more WordPress technical articles, please visit the WordPress Tutorial column!
The above is the detailed content of How to set a password in wordpress. For more information, please follow other related articles on the PHP Chinese website!

Hot AI Tools

Undresser.AI Undress
AI-powered app for creating realistic nude photos

AI Clothes Remover
Online AI tool for removing clothes from photos.

Undress AI Tool
Undress images for free

Clothoff.io
AI clothes remover

Video Face Swap
Swap faces in any video effortlessly with our completely free AI face swap tool!

Hot Article
Hot Tools

Notepad++7.3.1
Easy-to-use and free code editor

SublimeText3 Chinese version
Chinese version, very easy to use

Zend Studio 13.0.1
Powerful PHP integrated development environment

Dreamweaver CS6
Visual web development tools

SublimeText3 Mac version
God-level code editing software (SublimeText3)
Hot Topics
 1665
1665
 14
1423
52
1321
25
1269
29
1249
24
14
1423
52
1321
25
1269
29
1249
24

 How to adjust the wordpress article list
Apr 20, 2025 am 10:48 AM
How to adjust the wordpress article list
Apr 20, 2025 am 10:48 AM
There are four ways to adjust the WordPress article list: use theme options, use plugins (such as Post Types Order, WP Post List, Boxy Stuff), use code (add settings in the functions.php file), or modify the WordPress database directly.
 How to build a website for wordpress host
Apr 20, 2025 am 11:12 AM
How to build a website for wordpress host
Apr 20, 2025 am 11:12 AM
To build a website using WordPress hosting, you need to: select a reliable hosting provider. Buy a domain name. Set up a WordPress hosting account. Select a topic. Add pages and articles. Install the plug-in. Customize your website. Publish your website.
 How to change the head image of the wordpress theme
Apr 20, 2025 am 10:00 AM
How to change the head image of the wordpress theme
Apr 20, 2025 am 10:00 AM
A step-by-step guide to replacing a header image of WordPress: Log in to the WordPress dashboard and navigate to Appearance >Theme. Select the topic you want to edit and click Customize. Open the Theme Options panel and look for the Site Header or Header Image options. Click the Select Image button and upload a new head image. Crop the image and click Save and Crop. Click the Save and Publish button to update the changes.
 How to import the source code of wordpress
Apr 20, 2025 am 11:24 AM
How to import the source code of wordpress
Apr 20, 2025 am 11:24 AM
Importing WordPress source code requires the following steps: Create a sub-theme for theme modification. Import the source code and overwrite the files in the sub-topic. Activate the sub-theme to make it effective. Test the changes to make sure everything works.
 How to view the front-end of WordPress
Apr 20, 2025 am 10:30 AM
How to view the front-end of WordPress
Apr 20, 2025 am 10:30 AM
You can view the WordPress front-end by logging into the dashboard and switching to the View Sites tab; automate the viewing process with a headless browser; installing the WordPress plugin to preview the front-end within the dashboard; viewing the front-end via a local URL (if WordPress is set locally).
 What are the plugins for wordpress blocking ip
Apr 20, 2025 am 08:27 AM
What are the plugins for wordpress blocking ip
Apr 20, 2025 am 08:27 AM
WordPress IP blocking plugin selection is crucial. The following types can be considered: based on .htaccess: efficient, but complex operation; database operation: flexible, but low efficiency; firewall: high security performance, but complex configuration; self-written: highest control, but requires more technical level.
 How to cancel the editing date of wordpress
Apr 20, 2025 am 10:54 AM
How to cancel the editing date of wordpress
Apr 20, 2025 am 10:54 AM
WordPress editing dates can be canceled in three ways: 1. Install the Enable Post Date Disable plug-in; 2. Add code in the functions.php file; 3. Manually edit the post_modified column in the wp_posts table.
 How to write a header of a wordpress
Apr 20, 2025 pm 12:09 PM
How to write a header of a wordpress
Apr 20, 2025 pm 12:09 PM
The steps to create a custom header in WordPress are as follows: Edit the theme file "header.php". Add your website name and description. Create a navigation menu. Add a search bar. Save changes and view your custom header.
