

Build a personal blog with WordPress

This article mainly shares with you how to build a personal blog using WordPress. It mainly shares it with you in the form of pictures, text and code. I hope it can help you.
1 LNMP combination
1.1 Verify the connectivity from Nginx to php
All environments have been configured in the previous blog posts, let’s test Nginx and Connectivity between php
LNMP Nginx service construction and three types of virtual hosts
LNMP binary installation mysql-5.5.54
LNMP source code compilation and installation php- 5.5.32
# 修改/application/nginx/conf/extra/blog.conf[root@web01 extra]# cat blog.conf
    server {        listen       80;
        server_name  blog.rsq.com;
        location / {
            root   html/blog;            index  index.html index.htm;
        }
        location ~ .*\.(php|php5)?$ {
            root html/blog;
        fastcgi_pass 127.0.0.1:9000;
        fastcgi_index index.php;
        include fastcgi.conf;
        }
    }# 重启nginx服务[root@web01 extra]# ../../sbin/nginx -tnginx: the configuration file /application/nginx-1.6.3//conf/nginx.conf syntax is ok
nginx: configuration file /application/nginx-1.6.3//conf/nginx.conf test is successful
[root@web01 extra]# ../../sbin/nginx -s reload# 在/application/nginx/html/blog/目录中写一个Build a personal blog with WordPress文件,测试连通性[root@web01 extra]# cd /application/nginx/html/blog/[root@web01 blog]# echo "<?php Build a personal blog with WordPress(); ?>" >test_info.php[root@web01 blog]# cat test_info.php<?php Build a personal blog with WordPress(); ?># Do the access test in windows browser. If the following page appears, the test is successful 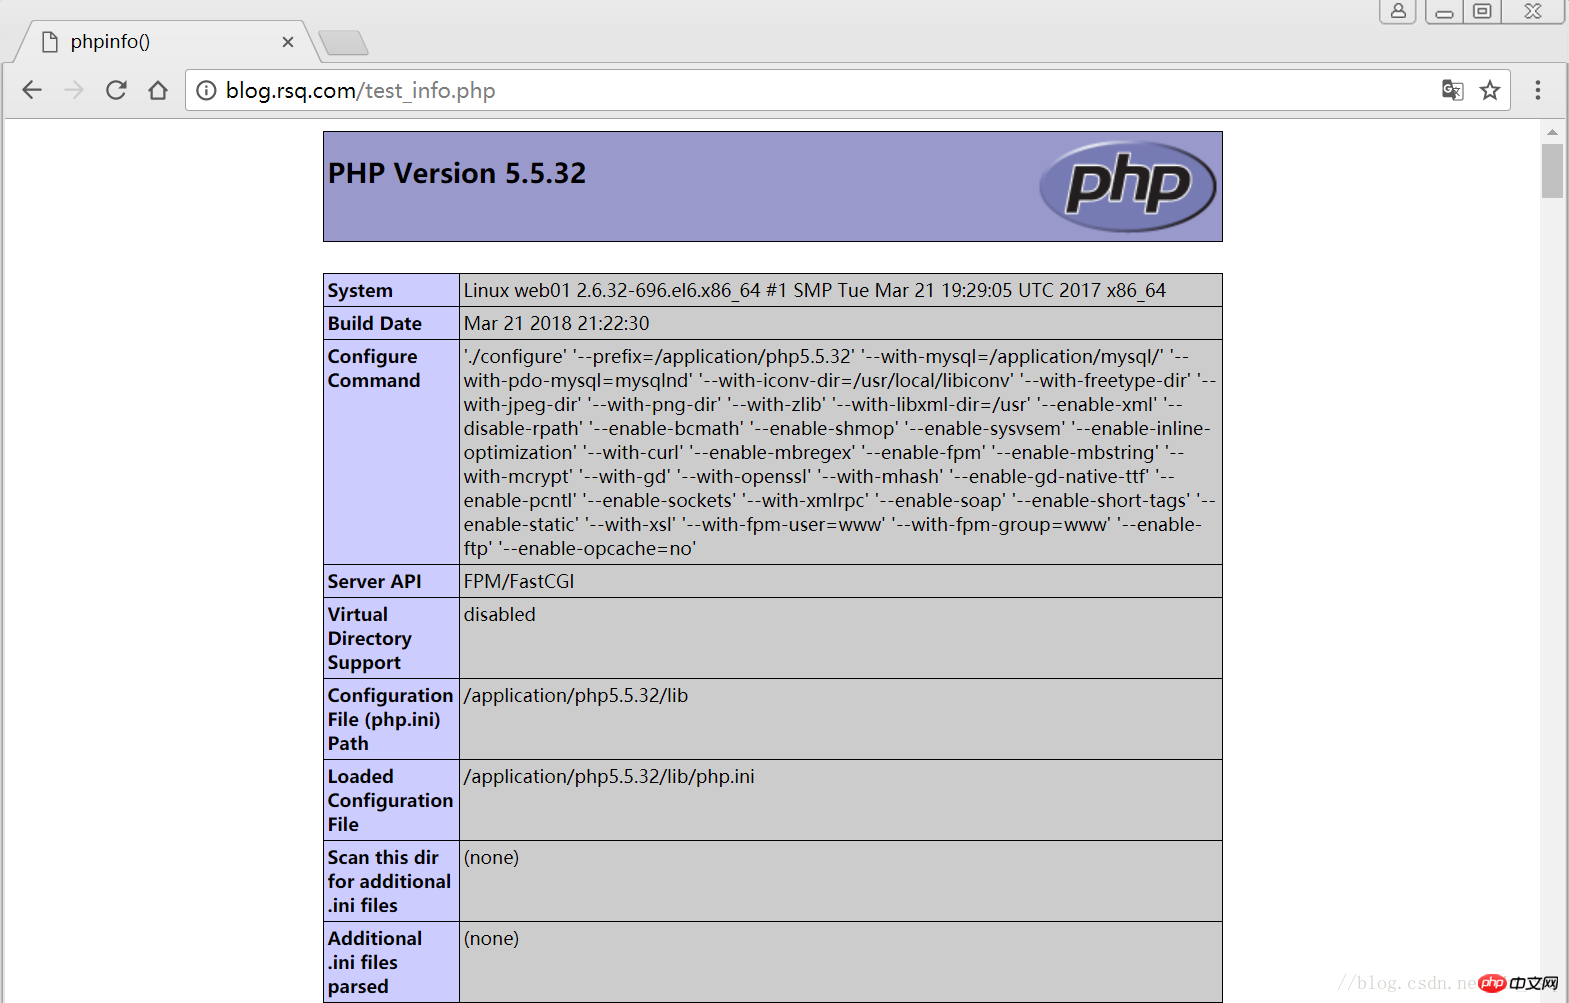
1.2 Verify php Connectivity to mysql
# 写一个简单的数据库连接脚本[root@web01 blog]# cat test_mysql.php<?php
$link_id=mysql_connect('localhost','root','oldboy123') or mysql_error(); if($link_id){ echo "Mysql successful by RSQ !";
}else{ echo mysql_error();
}?># Browser side test 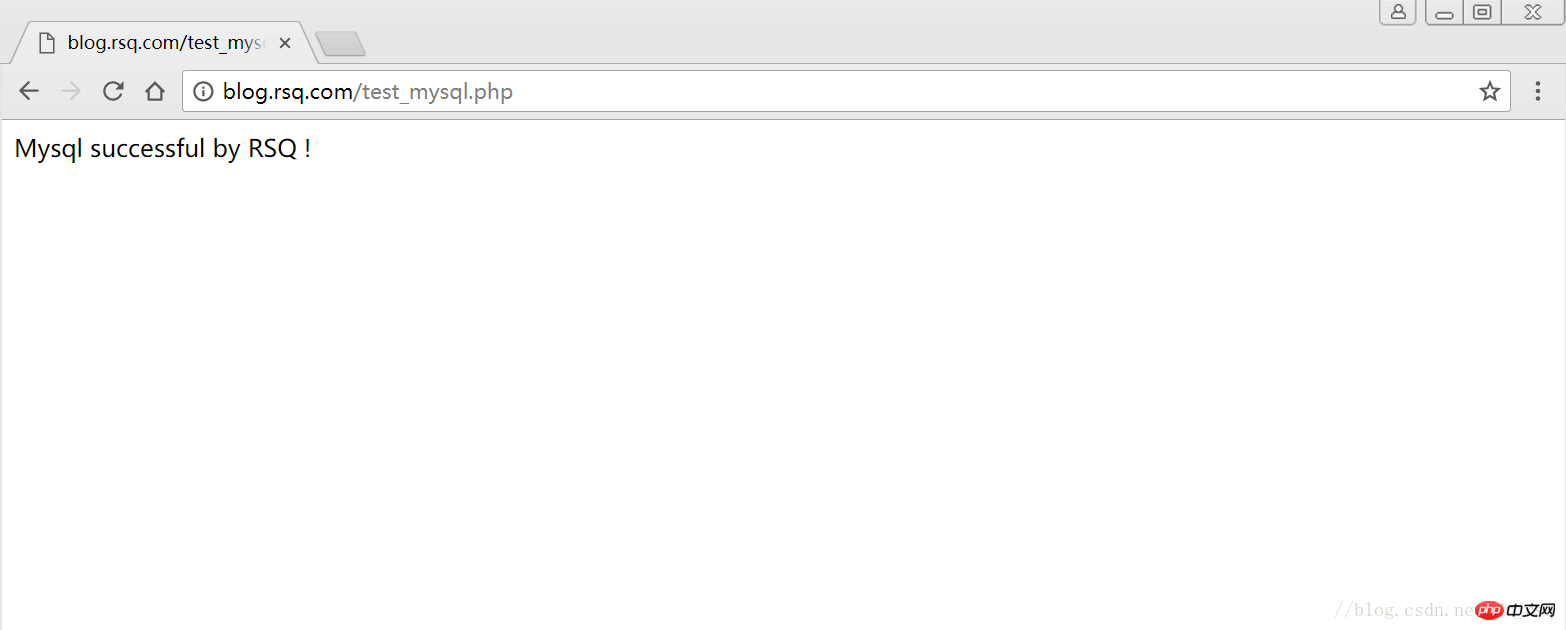
2 LNMP wordpress personal blog construction
2.1 Create wordpress database
# 先登录mysql,创建WordPress所需要的数据库
[root@web01 ~]# mysql -uroot -poldboy123mysql> show databases;
+--------------------+| Database           |
+--------------------+| information_schema |
| mysql              |
| performance_schema || test               |
+--------------------+4 rows in set (0.01 sec)

mysql> drop database test;          # 删除多余的test数据库
Query OK, 0 rows affected (0.02 sec)mysql> show databases;          #显示数据库
+--------------------+| Database           |
+--------------------+| information_schema |
| mysql              |
| performance_schema |+--------------------+3 rows in set (0.00 sec)

mysql> create database wordpress;           # 创建wordpress用户
Query OK, 1 row affected (0.00 sec)mysql> show databases;
+--------------------+| Database           |
+--------------------+| information_schema |
| mysql              |
| performance_schema || wordpress          |
+--------------------+4 rows in set (0.00 sec)mysql> select user();
+----------------+| user()         |
+----------------+| root@localhost |
+----------------+1 row in set (0.00 sec)mysql> select user,host from mysql.user;        #查看当前数据库用户
+------+-----------+| user | host      |
+------+-----------+| root | 127.0.0.1 |
| root | ::1       |
|      | localhost || root | localhost |
+------+-----------+4 rows in set (0.00 sec)

# 为wordpress数据库创建专门管理的wordpress用户并授予所有权限
mysql> grant all on wordpress.* to wordpress@'localhost' identified by '123456';
Query OK, 0 rows affected (0.00 sec)mysql> select user,host from mysql.user;    # 查看wordpress数据库用户是否创建
+-----------+-----------+| user      | host      |
+-----------+-----------+| root      | 127.0.0.1 |
| root      | ::1       |
|           | localhost |
| root      | localhost || wordpress | localhost |
+-----------+-----------+5 rows in set (0.00 sec)
mysql> show grants for wordpress@'localhost';   # 查看指定用户所具有的权限
mysql> flush privileges;        # 刷新一下,使用户权限生效
Query OK, 0 rows affected (0.00 sec)
2.2 Modify the blog.conf configuration file
# blog.conf配置文件中index新增index.html[root@web01 extra]# cat blog.conf
    server {
        listen       80;
        server_name  blog.rsq.com;
        location / {
            root   html/blog;
            index  index.php index.html index.htm;
        }
        location ~ .*\.(php|php5)?$ {
            root html/blog;
        fastcgi_pass 127.0.0.1:9000;
        fastcgi_index index.php;
        include fastcgi.conf;
        }
    }
[root@web01 tools]# /application/nginx/sbin/nginx -t nginx: the configuration file /application/nginx-1.6.3//conf/nginx.conf syntax is oknginx: configuration file /application/nginx-1.6.3//conf/nginx.conf test is successful
[root@web01 tools]# /application/nginx/sbin/nginx -s reload2.3 Download the wordpress software package
# First go to the official website to check the version of the supported plug-in 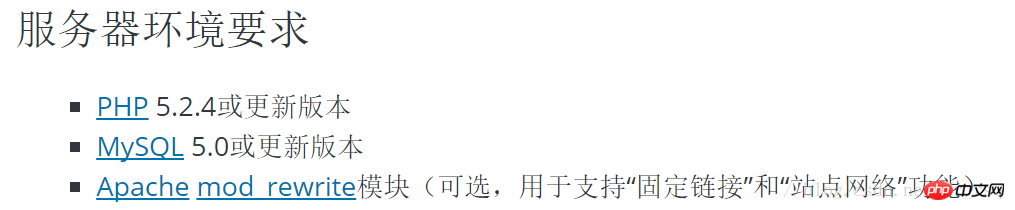
# 去官网下载最新的wordpress软件包[root@web01 extra]# cd /home/oldboy/tools/[root@web01 tools]# wget https://cn.wordpress.org/wordpress-4.9.4-zh_CN.tar.gz# 解压缩[root@web01 tools]# tar -xf wordpress-4.9.4-zh_CN.tar.gz# 拷贝wordpress目录下的所有内容到/application/nginx/html/blog/目录下[root@web01 tools]# cp -a wordpress/* /application/nginx/html/blog/[root@web01 tools]# ls /application/nginx/html/blog/index.php wp-blog-header.php wp-includes wp-settings.phplicense.txt wp-comments-post.php wp-links-opml.php wp-signup.phpreadme.html wp-config-sample.php wp-load.php wp-trackback.phpwp-activate.php wp-content wp-login.php xmlrpc.phpwp-admin wp-cron.php wp-mail.php# 授予权限,先暂时授予所有文件,以后再调整权限[root@web01 tools]# chown -R www.www /application/nginx/html/blog/
2.4 Install wordpress on the web page
# The client hosts file needs to be parsed
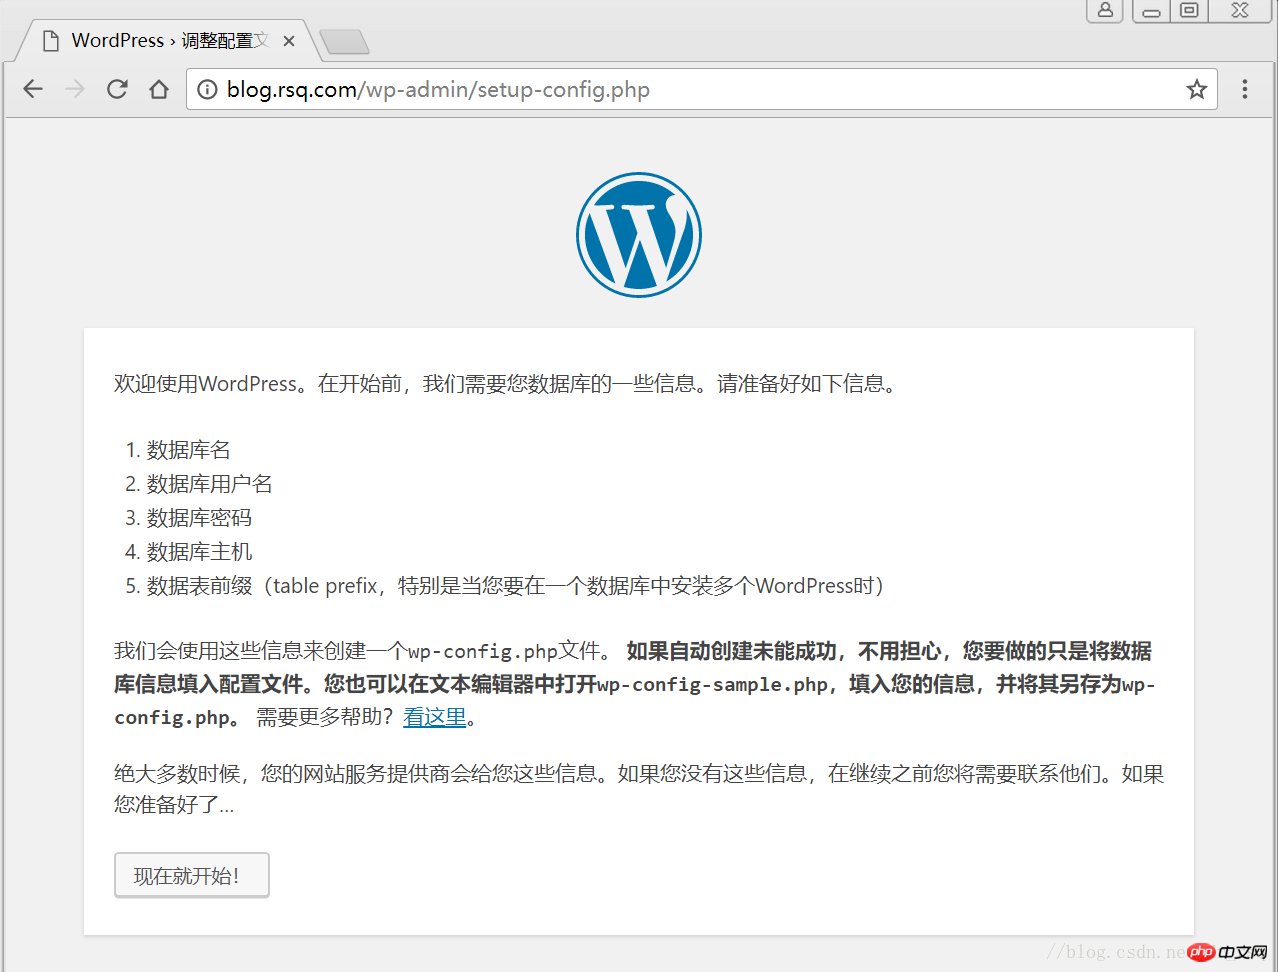

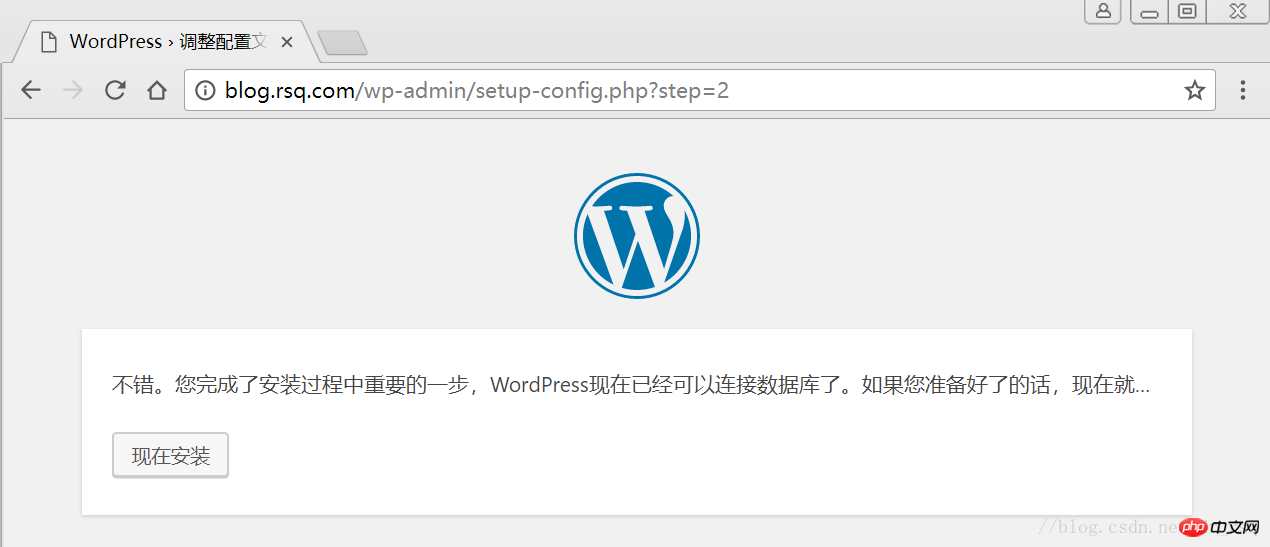
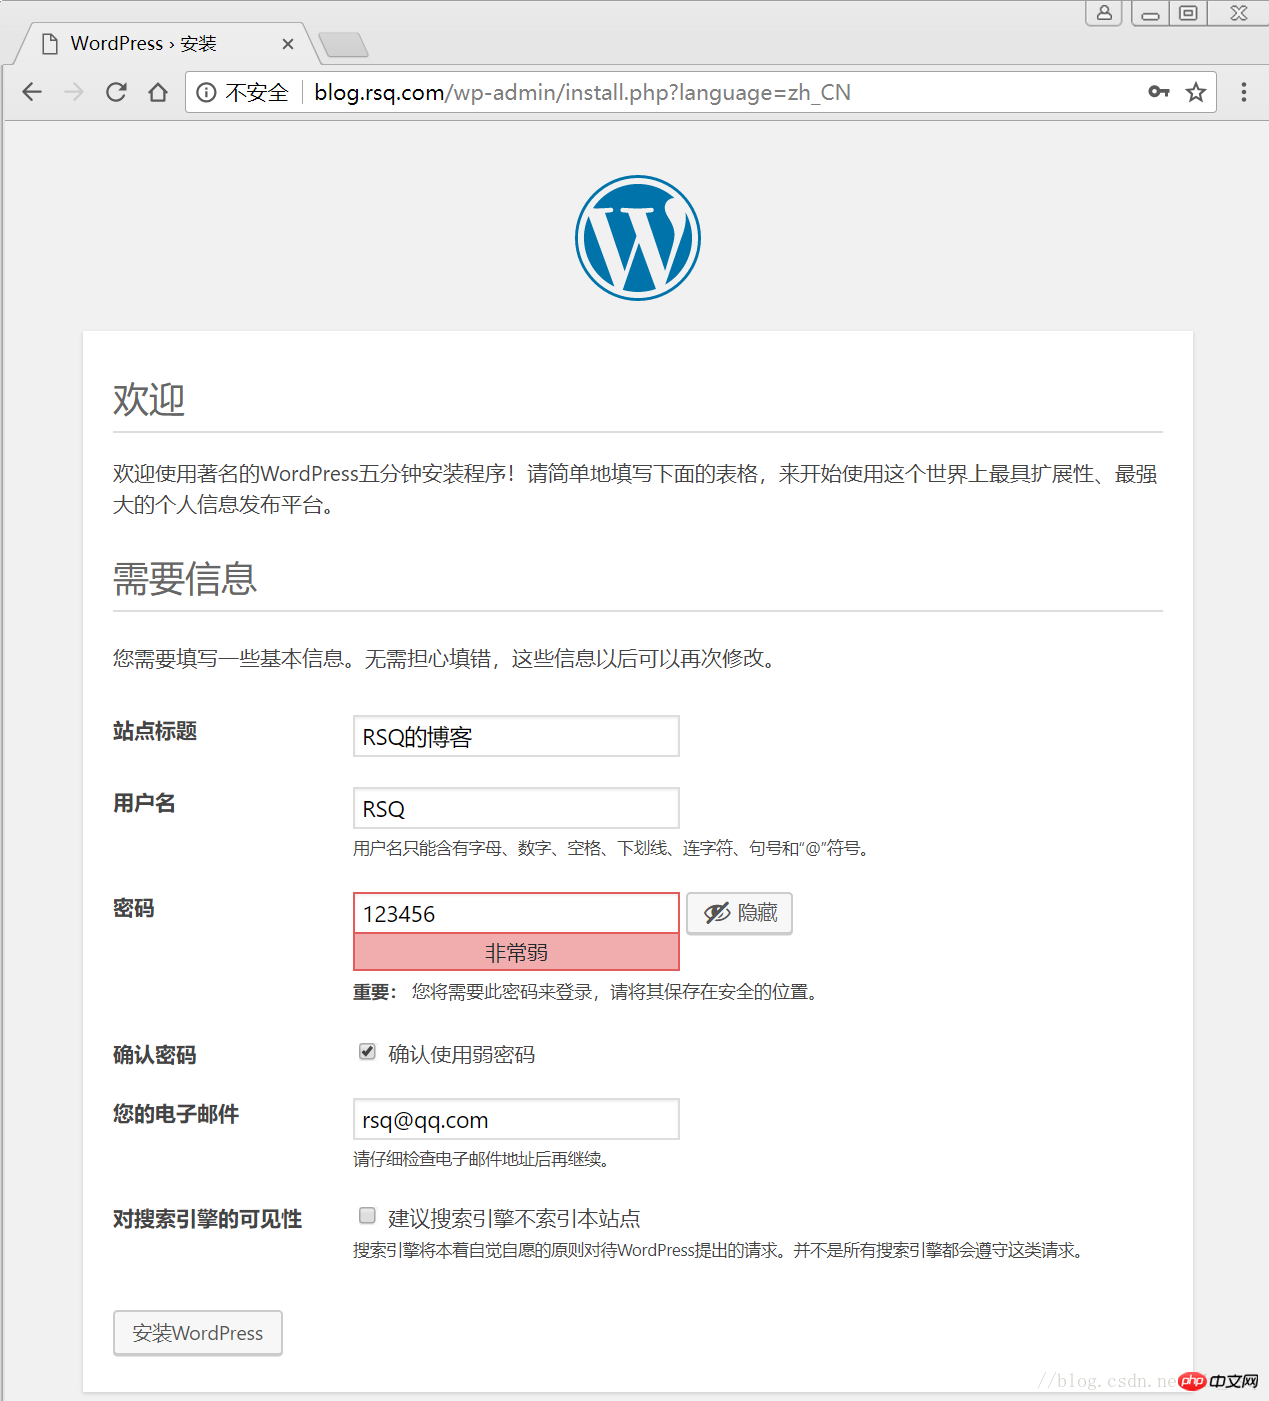

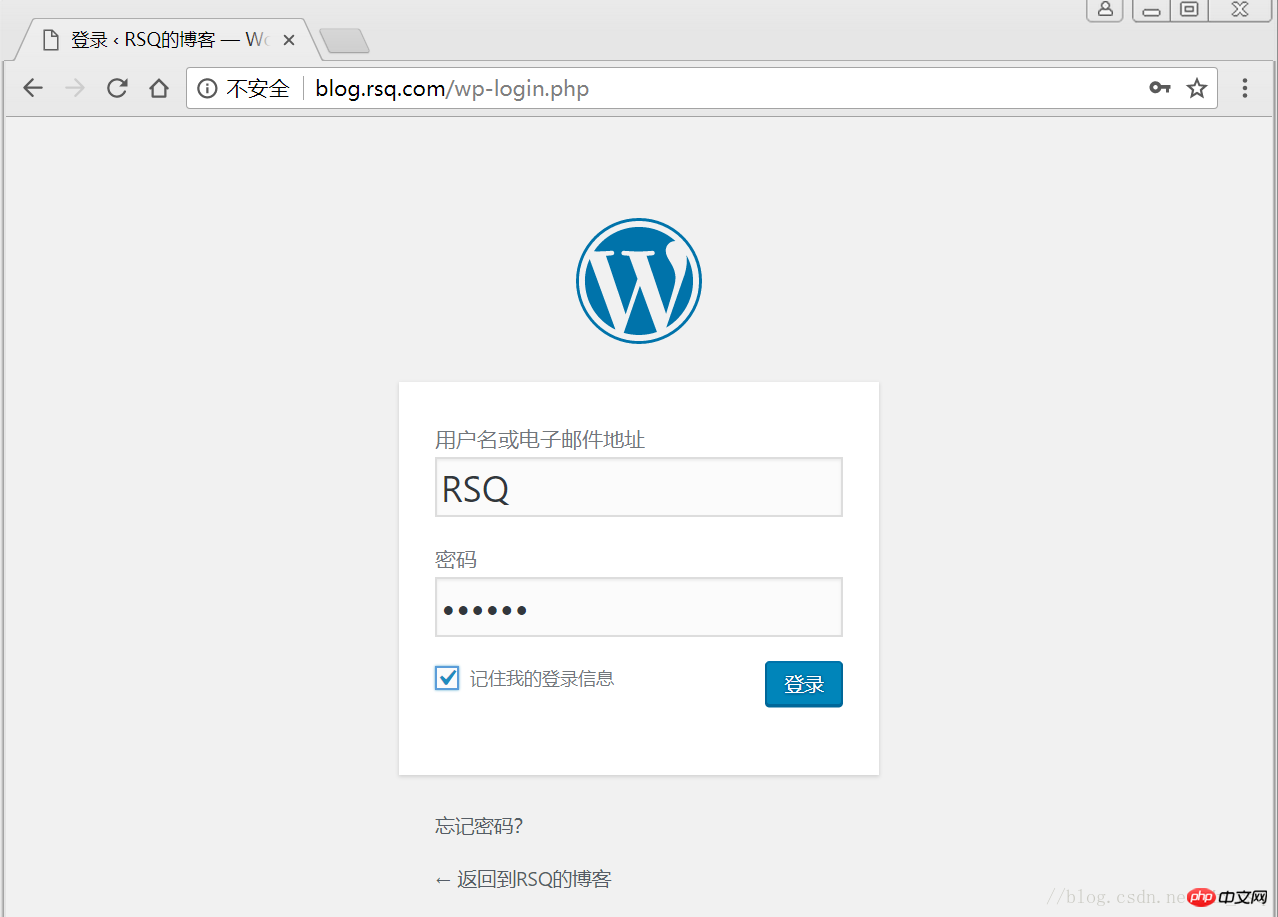
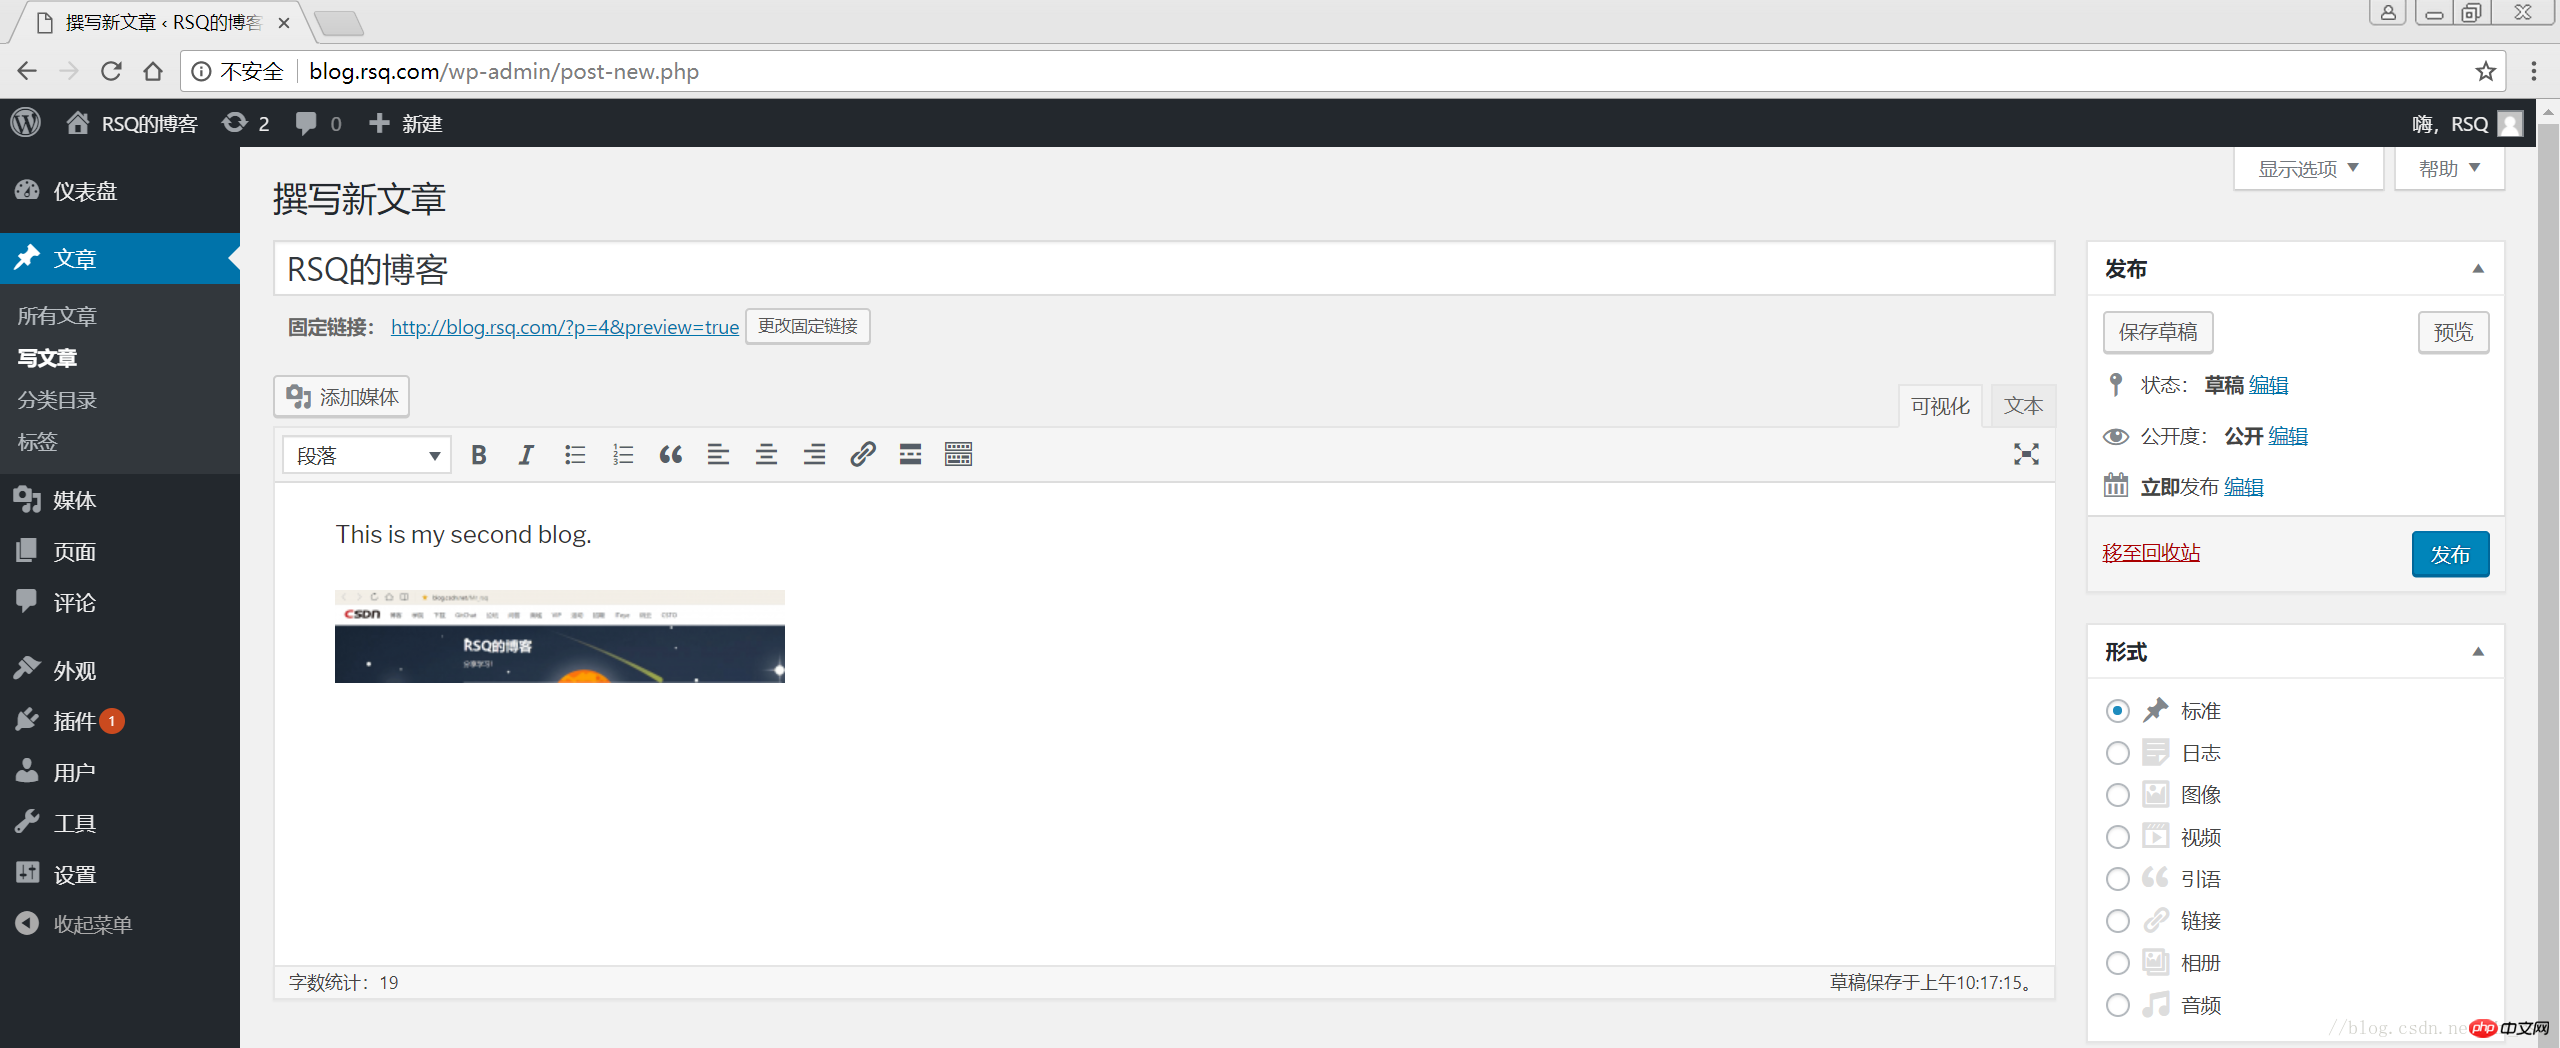

Table of Contents
- 1 LNMP combination
- 1.1 Verify Nginx to PHP connectivity Property
- 1.2 Verify the connectivity from php to mysql
- 2 LNMP WordPress personal blog construction
- 2.1 Create wordpress database
- 2.2 Modify blog.conf configuration file
- 2.3 Download wordpress software package
- 2.4 Web page installation wordpress
All the environments have been configured in the previous blog posts. Let’s test the connection between Nginx and php
LNMP Nginx service establishment and three types of virtualization HostLNMP binary installation mysql-5.5.54
LNMP source code compilation and installation php-5.5.32# 修改/application/nginx/conf/extra/blog.conf[root@web01 extra]# cat blog.conf server { listen 80; server_name blog.rsq.com; location / { root html/blog; index index.html index.htm; } location ~ .*\.(php|php5)?$ { root html/blog; fastcgi_pass 127.0.0.1:9000; fastcgi_index index.php; include fastcgi.conf; } }# 重启nginx服务[root@web01 extra]# ../../sbin/nginx -tnginx: the configuration file /application/nginx-1.6.3//conf/nginx.conf syntax is ok nginx: configuration file /application/nginx-1.6.3//conf/nginx.conf test is successful [root@web01 extra]# ../../sbin/nginx -s reload# 在/application/nginx/html/blog/目录中写一个Build a personal blog with WordPress文件,测试连通性[root@web01 extra]# cd /application/nginx/html/blog/[root@web01 blog]# echo "<?php Build a personal blog with WordPress(); ?>" >test_info.php[root@web01 blog]# cat test_info.php<?php Build a personal blog with WordPress(); ?>Copy after loginCopy after login
# Do access test in windows browser, if it appears The following page tested successfully
# 写一个简单的数据库连接脚本[root@web01 blog]# cat test_mysql.php<?php
$link_id=mysql_connect('localhost','root','oldboy123') or mysql_error(); if($link_id){ echo "Mysql successful by RSQ !";
}else{ echo mysql_error();
}?>Copy after loginCopy after login
# 写一个简单的数据库连接脚本[root@web01 blog]# cat test_mysql.php<?php
$link_id=mysql_connect('localhost','root','oldboy123') or mysql_error(); if($link_id){ echo "Mysql successful by RSQ !";
}else{ echo mysql_error();
}?># Browser-side test
# 先登录mysql,创建WordPress所需要的数据库
[root@web01 ~]# mysql -uroot -poldboy123mysql> show databases;
+--------------------+| Database           |
+--------------------+| information_schema |
| mysql              |
| performance_schema || test               |
+--------------------+4 rows in set (0.01 sec)

mysql> drop database test;          # 删除多余的test数据库
Query OK, 0 rows affected (0.02 sec)mysql> show databases;          #显示数据库
+--------------------+| Database           |
+--------------------+| information_schema |
| mysql              |
| performance_schema |+--------------------+3 rows in set (0.00 sec)

mysql> create database wordpress;           # 创建wordpress用户
Query OK, 1 row affected (0.00 sec)mysql> show databases;
+--------------------+| Database           |
+--------------------+| information_schema |
| mysql              |
| performance_schema || wordpress          |
+--------------------+4 rows in set (0.00 sec)mysql> select user();
+----------------+| user()         |
+----------------+| root@localhost |
+----------------+1 row in set (0.00 sec)mysql> select user,host from mysql.user;        #查看当前数据库用户
+------+-----------+| user | host      |
+------+-----------+| root | 127.0.0.1 |
| root | ::1       |
|      | localhost || root | localhost |
+------+-----------+4 rows in set (0.00 sec)

# 为wordpress数据库创建专门管理的wordpress用户并授予所有权限
mysql> grant all on wordpress.* to wordpress@'localhost' identified by '123456';
Query OK, 0 rows affected (0.00 sec)mysql> select user,host from mysql.user;    # 查看wordpress数据库用户是否创建
+-----------+-----------+| user      | host      |
+-----------+-----------+| root      | 127.0.0.1 |
| root      | ::1       |
|           | localhost |
| root      | localhost || wordpress | localhost |
+-----------+-----------+5 rows in set (0.00 sec)
mysql> show grants for wordpress@'localhost';   # 查看指定用户所具有的权限
mysql> flush privileges;        # 刷新一下,使用户权限生效
Query OK, 0 rows affected (0.00 sec)
Copy after loginCopy after login
2.2 Modify blog.conf configuration file# 先登录mysql,创建WordPress所需要的数据库 [root@web01 ~]# mysql -uroot -poldboy123mysql> show databases; +--------------------+| Database | +--------------------+| information_schema | | mysql | | performance_schema || test | +--------------------+4 rows in set (0.01 sec) mysql> drop database test; # 删除多余的test数据库 Query OK, 0 rows affected (0.02 sec)mysql> show databases; #显示数据库 +--------------------+| Database | +--------------------+| information_schema | | mysql | | performance_schema |+--------------------+3 rows in set (0.00 sec) mysql> create database wordpress; # 创建wordpress用户 Query OK, 1 row affected (0.00 sec)mysql> show databases; +--------------------+| Database | +--------------------+| information_schema | | mysql | | performance_schema || wordpress | +--------------------+4 rows in set (0.00 sec)mysql> select user(); +----------------+| user() | +----------------+| root@localhost | +----------------+1 row in set (0.00 sec)mysql> select user,host from mysql.user; #查看当前数据库用户 +------+-----------+| user | host | +------+-----------+| root | 127.0.0.1 | | root | ::1 | | | localhost || root | localhost | +------+-----------+4 rows in set (0.00 sec) # 为wordpress数据库创建专门管理的wordpress用户并授予所有权限 mysql> grant all on wordpress.* to wordpress@'localhost' identified by '123456'; Query OK, 0 rows affected (0.00 sec)mysql> select user,host from mysql.user; # 查看wordpress数据库用户是否创建 +-----------+-----------+| user | host | +-----------+-----------+| root | 127.0.0.1 | | root | ::1 | | | localhost | | root | localhost || wordpress | localhost | +-----------+-----------+5 rows in set (0.00 sec) mysql> show grants for wordpress@'localhost'; # 查看指定用户所具有的权限 mysql> flush privileges; # 刷新一下,使用户权限生效 Query OK, 0 rows affected (0.00 sec)
# blog.conf配置文件中index新增index.html[root@web01 extra]# cat blog.conf
    server {
        listen       80;
        server_name  blog.rsq.com;
        location / {
            root   html/blog;
            index  index.php index.html index.htm;
        }
        location ~ .*\.(php|php5)?$ {
            root html/blog;
        fastcgi_pass 127.0.0.1:9000;
        fastcgi_index index.php;
        include fastcgi.conf;
        }
    }
[root@web01 tools]# /application/nginx/sbin/nginx -t nginx: the configuration file /application/nginx-1.6.3//conf/nginx.conf syntax is oknginx: configuration file /application/nginx-1.6.3//conf/nginx.conf test is successful
[root@web01 tools]# /application/nginx/sbin/nginx -s reload
Copy after loginCopy after login
2.3 Download wordpress software Package# blog.conf配置文件中index新增index.html[root@web01 extra]# cat blog.conf
server {
listen 80;
server_name blog.rsq.com;
location / {
root html/blog;
index index.php index.html index.htm;
}
location ~ .*\.(php|php5)?$ {
root html/blog;
fastcgi_pass 127.0.0.1:9000;
fastcgi_index index.php;
include fastcgi.conf;
}
}
[root@web01 tools]# /application/nginx/sbin/nginx -t nginx: the configuration file /application/nginx-1.6.3//conf/nginx.conf syntax is oknginx: configuration file /application/nginx-1.6.3//conf/nginx.conf test is successful
[root@web01 tools]# /application/nginx/sbin/nginx -s reload# First go to the official website to check the version of the supported plug-ins
# 去官网下载最新的wordpress软件包[root@web01 extra]# cd /home/oldboy/tools/[root@web01 tools]# wget https://cn.wordpress.org/wordpress-4.9.4-zh_CN.tar.gz# 解压缩[root@web01 tools]# tar -xf wordpress-4.9.4-zh_CN.tar.gz# 拷贝wordpress目录下的所有内容到/application/nginx/html/blog/目录下[root@web01 tools]# cp -a wordpress/* /application/nginx/html/blog/[root@web01 tools]# ls /application/nginx/html/blog/index.php wp-blog-header.php wp-includes wp-settings.phplicense.txt wp-comments-post.php wp-links-opml.php wp-signup.phpreadme.html wp-config-sample.php wp-load.php wp-trackback.phpwp-activate.php wp-content wp-login.php xmlrpc.phpwp-admin wp-cron.php wp-mail.php# 授予权限,先暂时授予所有文件,以后再调整权限[root@web01 tools]# chown -R www.www /application/nginx/html/blog/
# The client hosts file needs to be parsed
related suggestion :
LAMP Detailed graphic and text explanation of building a personal blog based on the php module
Steps to build a personal blog using WordPress using HTTPS
php personal blog Talk about those things inherited by PHP, my personal opinion
The above is the detailed content of Build a personal blog with WordPress. For more information, please follow other related articles on the PHP Chinese website!

Hot AI Tools

Undresser.AI Undress
AI-powered app for creating realistic nude photos

AI Clothes Remover
Online AI tool for removing clothes from photos.

Undress AI Tool
Undress images for free

Clothoff.io
AI clothes remover

Video Face Swap
Swap faces in any video effortlessly with our completely free AI face swap tool!

Hot Article
Hot Tools

Notepad++7.3.1
Easy-to-use and free code editor

SublimeText3 Chinese version
Chinese version, very easy to use

Zend Studio 13.0.1
Powerful PHP integrated development environment

Dreamweaver CS6
Visual web development tools

SublimeText3 Mac version
God-level code editing software (SublimeText3)
Hot Topics


 How to adjust the wordpress article list
Apr 20, 2025 am 10:48 AM
How to adjust the wordpress article list
Apr 20, 2025 am 10:48 AM
There are four ways to adjust the WordPress article list: use theme options, use plugins (such as Post Types Order, WP Post List, Boxy Stuff), use code (add settings in the functions.php file), or modify the WordPress database directly.
 What are the plugins for wordpress blocking ip
Apr 20, 2025 am 08:27 AM
What are the plugins for wordpress blocking ip
Apr 20, 2025 am 08:27 AM
WordPress IP blocking plugin selection is crucial. The following types can be considered: based on .htaccess: efficient, but complex operation; database operation: flexible, but low efficiency; firewall: high security performance, but complex configuration; self-written: highest control, but requires more technical level.
 How to build a website for wordpress host
Apr 20, 2025 am 11:12 AM
How to build a website for wordpress host
Apr 20, 2025 am 11:12 AM
To build a website using WordPress hosting, you need to: select a reliable hosting provider. Buy a domain name. Set up a WordPress hosting account. Select a topic. Add pages and articles. Install the plug-in. Customize your website. Publish your website.
 How to cancel the editing date of wordpress
Apr 20, 2025 am 10:54 AM
How to cancel the editing date of wordpress
Apr 20, 2025 am 10:54 AM
WordPress editing dates can be canceled in three ways: 1. Install the Enable Post Date Disable plug-in; 2. Add code in the functions.php file; 3. Manually edit the post_modified column in the wp_posts table.
 How to change the head image of the wordpress theme
Apr 20, 2025 am 10:00 AM
How to change the head image of the wordpress theme
Apr 20, 2025 am 10:00 AM
A step-by-step guide to replacing a header image of WordPress: Log in to the WordPress dashboard and navigate to Appearance >Theme. Select the topic you want to edit and click Customize. Open the Theme Options panel and look for the Site Header or Header Image options. Click the Select Image button and upload a new head image. Crop the image and click Save and Crop. Click the Save and Publish button to update the changes.
 How to write a header of a wordpress
Apr 20, 2025 pm 12:09 PM
How to write a header of a wordpress
Apr 20, 2025 pm 12:09 PM
The steps to create a custom header in WordPress are as follows: Edit the theme file "header.php". Add your website name and description. Create a navigation menu. Add a search bar. Save changes and view your custom header.
 What to do if there is an error in wordpress
Apr 20, 2025 am 11:57 AM
What to do if there is an error in wordpress
Apr 20, 2025 am 11:57 AM
WordPress Error Resolution Guide: 500 Internal Server Error: Disable the plug-in or check the server error log. 404 Page not found: Check permalink and make sure the page link is correct. White Screen of Death: Increase the server PHP memory limit. Database connection error: Check the database server status and WordPress configuration. Other tips: enable debug mode, check error logs, and seek support. Prevent errors: regularly update WordPress, install only necessary plugins, regularly back up your website, and optimize website performance.
 How to display wordpress comments
Apr 20, 2025 pm 12:06 PM
How to display wordpress comments
Apr 20, 2025 pm 12:06 PM
Enable comments in WordPress website: 1. Log in to the admin panel, go to "Settings" - "Discussions", and check "Allow comments"; 2. Select a location to display comments; 3. Customize comments; 4. Manage comments, approve, reject or delete; 5. Use <?php comments_template(); ?> tags to display comments; 6. Enable nested comments; 7. Adjust comment shape; 8. Use plugins and verification codes to prevent spam comments; 9. Encourage users to use Gravatar avatar; 10. Create comments to refer to
