
 Backend Development
PHP Tutorial
PHP basics Installing Apache Mysql PHP in windows environment (picture)
Backend Development
PHP Tutorial
PHP basics Installing Apache Mysql PHP in windows environment (picture)
PHP basics Installing Apache Mysql PHP in windows environment (picture)

PHPRunning environment: Three installation methods under
Linux: source code package installation, rpm package installation, integrated environment installation (lnmp)
Two ways to install windows: single download installation, integrated environment installation (AppServ, phpstudy, wamp)
Install PHP development environment on Windows system:
The required software is installed independently:
Preparation before installation
Install Apache
Installation MySQL
Install PHP
Install phpMyA


MYSQL installation:
Open the downloaded mysql installation file mysql-5.0.27-win32.zip, double-click to decompress it, Run "setup.exe", and the following interface will appear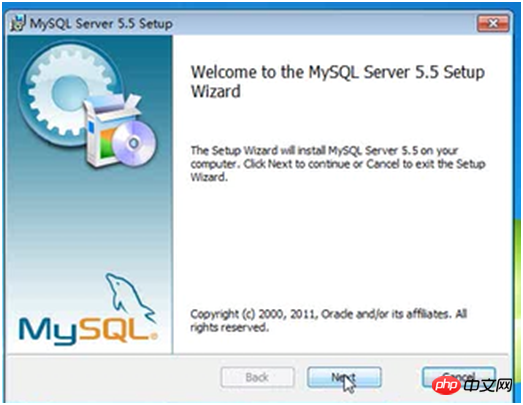
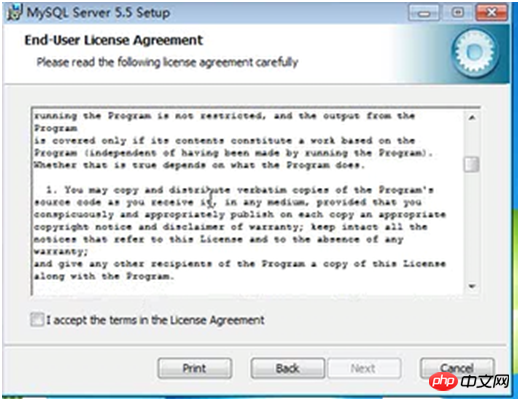
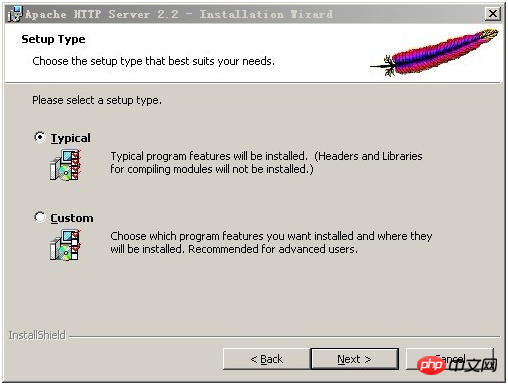
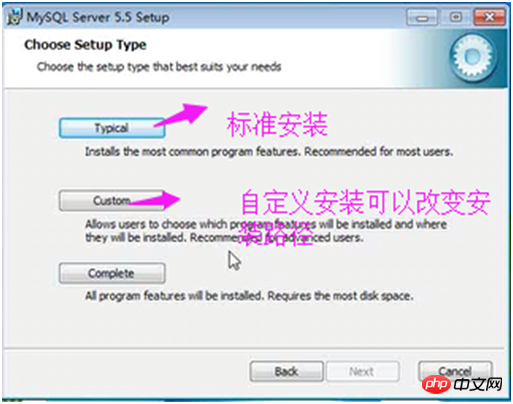
Select "I accept the terms in the license agreement" to agree to the license agreement, and then click "Next" to continue. In the window for selecting the installation type, there are "typical (default)", "Complete (complete)", " Custom (user-defined)" three options, we choose "Custom", because customization can make us more familiar with its installation process, which is very helpful for learning MySQL database. Click "next" to continue the installation, such as As shown in the picture:
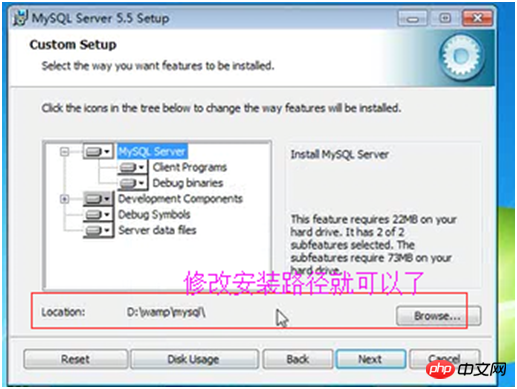
Select the installation path of the mysql database in the custom installation interface. Here I set "d:\Program File\MySQL", click "Next" to continue the installation, as shown in the picture:
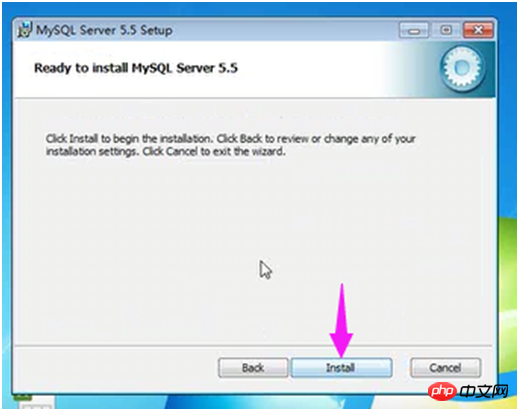
Next enter the interface to prepare for installation. First confirm the previous settings. If there is an error, press "back" Return, there is no error, click the "Install" button to continue the installation, as shown in the figure:
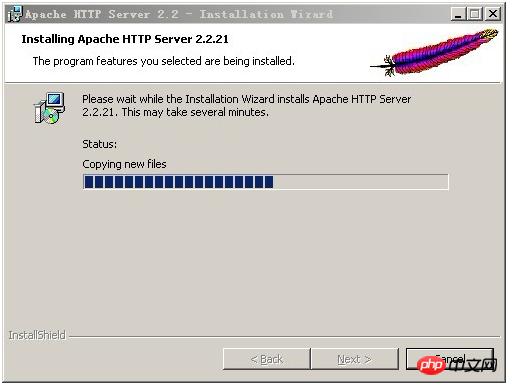
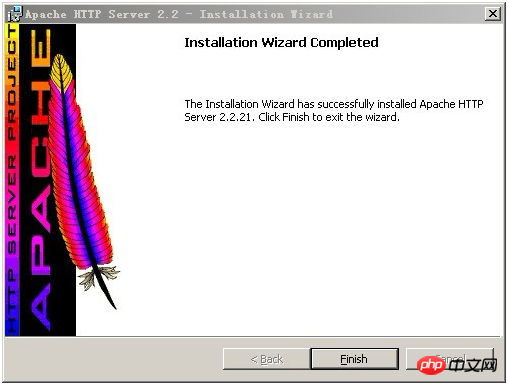
After clicking the "Install" button, the following installation interface appears. After a long time In a short time, the MySQL database installation is completed, and the interface to complete the MySQL installation appears, as shown in the figure:
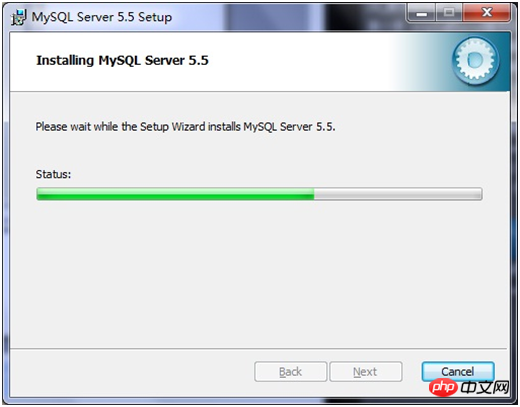
Just click "next" on this interface.
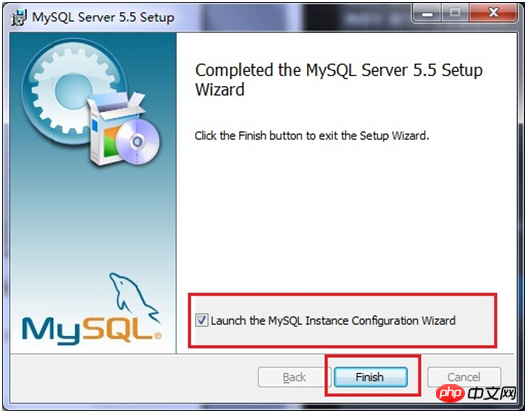
Be sure to select the "Launch the MySQL Instance Configuration Wizard" option above. This is the configuration to start MySQL and is also the most critical. (can also be set later), click the "Finish" button to enter the configuration interface.
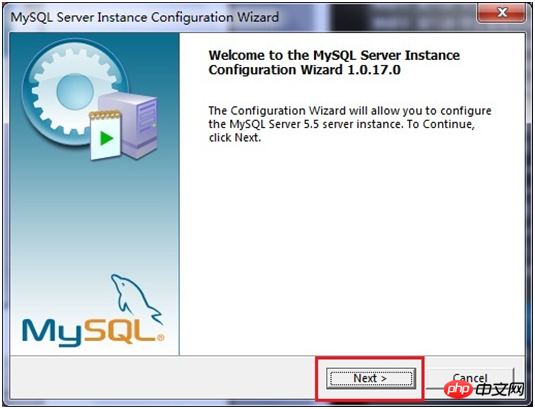
The installation of MySQL database is very simple. The key is the configuration after the installation is completed. After clicking Finish, the following configuration interface wizard will appear. Click "next" to configure, as shown in the figure:
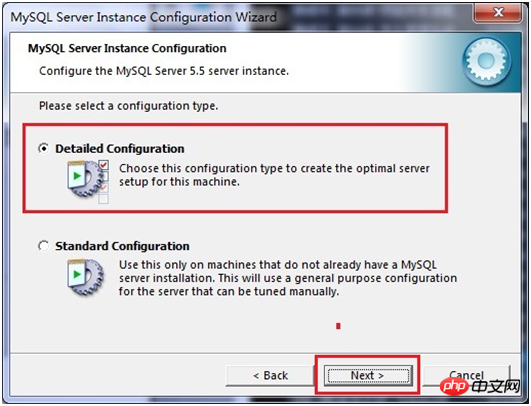
#Select the configuration method in the opened configuration type window, "Detailed Configuration (manual precise configuration)", "Standard Configuration (standard configuration)", in order to familiarize yourself with the process, we select "Detailed Configuration (Manual precise configuration)", click "next" to continue, as shown in the figure:
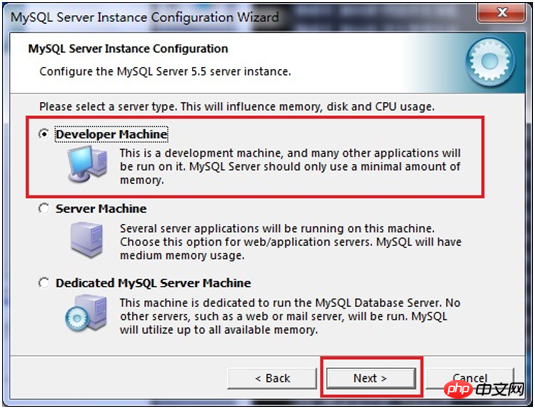
In the window that appears, select the type of server, "Developer Machine Test Class)", "Server Machine (Server Type)", "Dedicated MySQL Server Machine (Specialized Database Server)", we are only used for learning and testing, the default is fine, click "next" to continue, as shown in the figure :
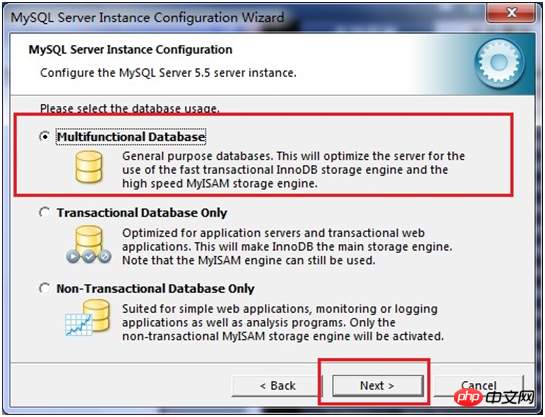
Select the purpose of the mysql database in the configuration interface that appears, "Multifunctional Database (universal multi-functional)", "Transactional Database Only (server type)", " Non-Transactional Database Only (non-transaction processing type)", here I choose the first item, universal installation, click "next" to continue the configuration, as shown in the figure:
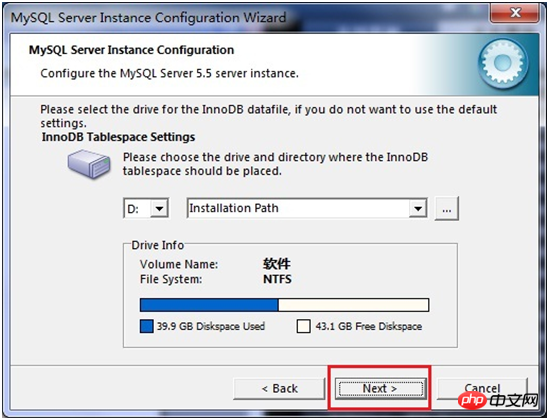
In the interface that appears, configure the InnoDB Tablespace, which is to select a storage space for the InnoDB database file. If it is modified, remember the location. Select the same place when reinstalling, otherwise the database may be damaged. Damage, of course, it will be no problem to make a backup of the database, as shown in the figure:
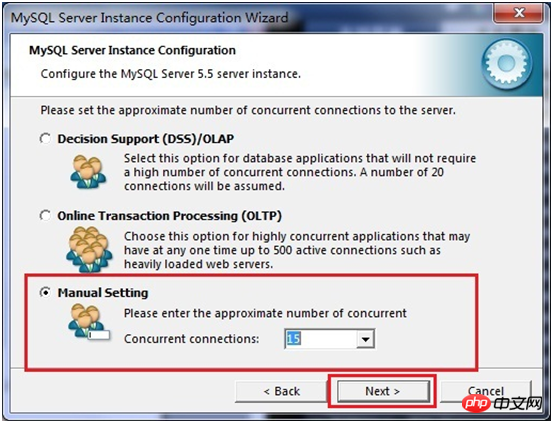
In the page that opens, select the number of mysql visits and the number of simultaneous connections , "Decision Support (DSS)/OLAP (about 20)", "Online Transaction Processing (OLTP) (about 500)", "Manual Setting (manual setting, set to 15)" Select manual setting here, click " next" to continue, as shown in the figure:
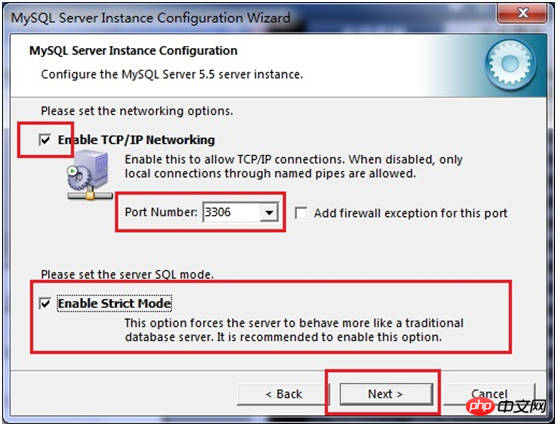
Mysql starts the TCP/IP network by default, and the port number is 3306. If you do not want to use this port number, you can also change it through the drop-down list box, but you must ensure that the port number is not occupied. The Add filewall exception for this Port checkbox is used to register this port number on the firewall. Select this option here. The Enable Strict Mode checkbox is used to enable MYSQL standard mode, so that MYSQL will strictly check the input data. , minor grammatical errors are not allowed. It is not recommended for beginners to select this item to avoid trouble. I have checked it here. You can not select this option and click "next" to continue, as shown in the picture. Display:
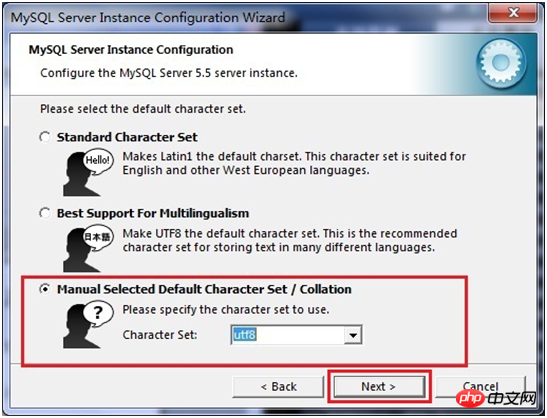
In the character encoding page that opens, set the character encoding to be used by mysql. The first one is Western encoding, and the second one is multi-byte. Universal utf8 encoding, the third one is manual, we choose utf-8. If the encoding of UTF-8 is not selected here, garbled characters will appear when using JDBC to connect to the database. At that time, you need to add the following The code "useUnicode=true&characterEncoding=UTF-8" can solve the problem of garbled characters. For future convenience, it is set to UTF-8 encoding, but there is a problem, that is, when using which console to insert Chinese characters, an error will be reported. Query Tables with Chinese characters cannot display Chinese characters. Therefore, you need to set a system parameter "set names gbk" every time you enter MySQL to solve this problem. Then click "next" to continue the configuration, as shown in the figure. :
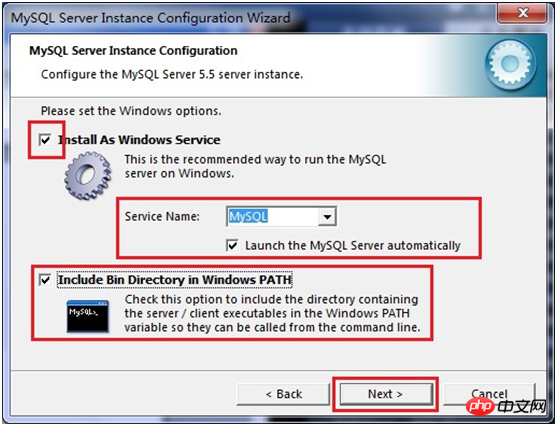
In the page that opens, choose whether to install mysql as a windows service, you can also specify the Service Name (service identification name), and whether to add the bin directory of mysql to Windows PATH (after adding it, you can directly use the files under bin without pointing out the directory name, such as connecting, "mysql –u username –p password;"), click "next" to continue the configuration, as shown in the figure:
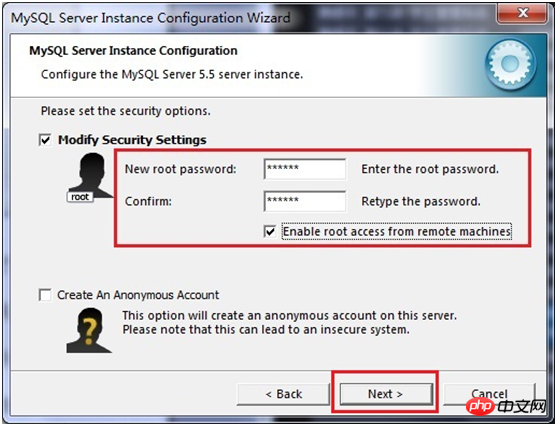
In the page that opens, set whether you want to modify the password of the default root user (super administrator) (the default is empty), "New root password", if you want to modify it, Just fill in the new password here and enable the root remote access function. Do not create an anonymous user. Click "next" to continue the configuration, as shown in the figure:
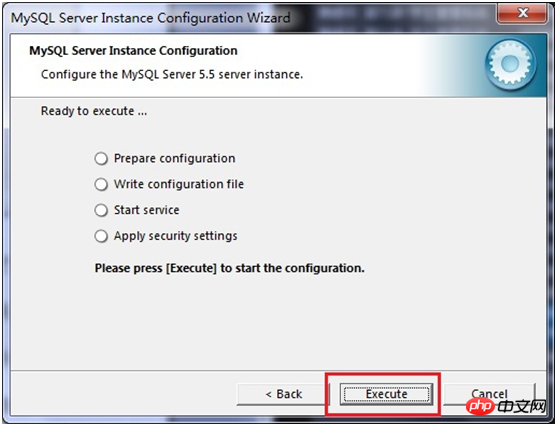
To All configuration operations here have been completed. Click the Execute button to execute the configuration, as shown in the figure:
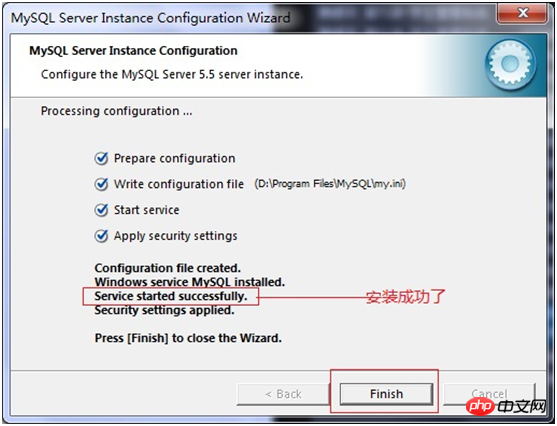
After a few minutes, the following prompt interface appears, which represents the MySQL configuration It has ended, and a successful message was prompted
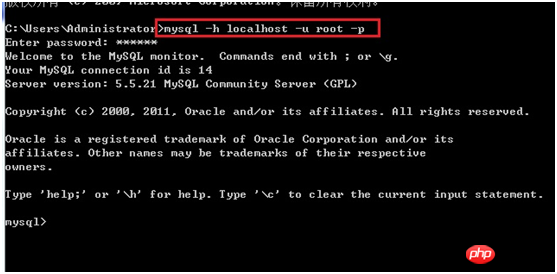
 Start the mysql database in the service, and enter "mysql –h localhost –u root -p in the command window. ” or “mysql -h localhost -uroot -p password”, then enter the user’s password in the prompt that appears, as shown in the figure:
 PHP environment installation:
A. Install Apache
B. Install PHP (just unzip the compressed package to the corresponding location)
C. PHP configuration
Rename php.ini-dist to php.ini Modify 486 and
extension_dir = "D:/php-5.2.6/ext"
D, configure the Apache configuration file httpd.conf
#Load PHP module
LoadModule php5_module "D:/php-5.2.6/php5apache2_2.dll"
#The location of the PHP configuration file
PHPIniDir "D:/php-5.2.6"
#Which types of files will be processed by the PHP engine
AddType application/x-httpd-php .php
E , Restart Apache
Modify the httpd.conf configuration file
a) Modify line 177 to reset the document root directory
DocumentRoot "D:/ftp /Public/www"
b) Modify line 244 to set the website directory and document root directory to be consistent
c) Modify line 187 to set the website root directory access permissions
Allow from all
##d) Modify line 240 to set the website default document (if the set html document does not exist, it will List all files in the root directory of the website) DirectoryIndex abc.htmle) Restart apache service
PHP configuration
LoadModule php5_module "D:\Program Files (x86)\Apache Software Foundation\php5.2.6\php5apache2_2.dll"
PHPIniDir "D:\Program Files (x86)\Apache Software Foundation\php5.2.6"
AddType application/x-httpd-php .php
This way It's installed, it's quite simple, but there are a lot of steps.
The above is the detailed content of PHP basics Installing Apache Mysql PHP in windows environment (picture). For more information, please follow other related articles on the PHP Chinese website!

Hot AI Tools

Undresser.AI Undress
AI-powered app for creating realistic nude photos

AI Clothes Remover
Online AI tool for removing clothes from photos.

Undress AI Tool
Undress images for free

Clothoff.io
AI clothes remover

Video Face Swap
Swap faces in any video effortlessly with our completely free AI face swap tool!

Hot Article
Hot Tools

Notepad++7.3.1
Easy-to-use and free code editor

SublimeText3 Chinese version
Chinese version, very easy to use

Zend Studio 13.0.1
Powerful PHP integrated development environment

Dreamweaver CS6
Visual web development tools

SublimeText3 Mac version
God-level code editing software (SublimeText3)
Hot Topics
 1655
1655
 14
1413
52
1306
25
1252
29
1226
24
14
1413
52
1306
25
1252
29
1226
24

 PHP and Python: Different Paradigms Explained
Apr 18, 2025 am 12:26 AM
PHP and Python: Different Paradigms Explained
Apr 18, 2025 am 12:26 AM
PHP is mainly procedural programming, but also supports object-oriented programming (OOP); Python supports a variety of paradigms, including OOP, functional and procedural programming. PHP is suitable for web development, and Python is suitable for a variety of applications such as data analysis and machine learning.
 Choosing Between PHP and Python: A Guide
Apr 18, 2025 am 12:24 AM
Choosing Between PHP and Python: A Guide
Apr 18, 2025 am 12:24 AM
PHP is suitable for web development and rapid prototyping, and Python is suitable for data science and machine learning. 1.PHP is used for dynamic web development, with simple syntax and suitable for rapid development. 2. Python has concise syntax, is suitable for multiple fields, and has a strong library ecosystem.
 PHP and Python: A Deep Dive into Their History
Apr 18, 2025 am 12:25 AM
PHP and Python: A Deep Dive into Their History
Apr 18, 2025 am 12:25 AM
PHP originated in 1994 and was developed by RasmusLerdorf. It was originally used to track website visitors and gradually evolved into a server-side scripting language and was widely used in web development. Python was developed by Guidovan Rossum in the late 1980s and was first released in 1991. It emphasizes code readability and simplicity, and is suitable for scientific computing, data analysis and other fields.
 PHP's Impact: Web Development and Beyond
Apr 18, 2025 am 12:10 AM
PHP's Impact: Web Development and Beyond
Apr 18, 2025 am 12:10 AM
PHPhassignificantlyimpactedwebdevelopmentandextendsbeyondit.1)ItpowersmajorplatformslikeWordPressandexcelsindatabaseinteractions.2)PHP'sadaptabilityallowsittoscaleforlargeapplicationsusingframeworkslikeLaravel.3)Beyondweb,PHPisusedincommand-linescrip
 The Continued Use of PHP: Reasons for Its Endurance
Apr 19, 2025 am 12:23 AM
The Continued Use of PHP: Reasons for Its Endurance
Apr 19, 2025 am 12:23 AM
What’s still popular is the ease of use, flexibility and a strong ecosystem. 1) Ease of use and simple syntax make it the first choice for beginners. 2) Closely integrated with web development, excellent interaction with HTTP requests and database. 3) The huge ecosystem provides a wealth of tools and libraries. 4) Active community and open source nature adapts them to new needs and technology trends.
 How to solve complex BelongsToThrough relationship problem in Laravel? Use Composer!
Apr 17, 2025 pm 09:54 PM
How to solve complex BelongsToThrough relationship problem in Laravel? Use Composer!
Apr 17, 2025 pm 09:54 PM
In Laravel development, dealing with complex model relationships has always been a challenge, especially when it comes to multi-level BelongsToThrough relationships. Recently, I encountered this problem in a project dealing with a multi-level model relationship, where traditional HasManyThrough relationships fail to meet the needs, resulting in data queries becoming complex and inefficient. After some exploration, I found the library staudenmeir/belongs-to-through, which easily installed and solved my troubles through Composer.
 laravel installation code
Apr 18, 2025 pm 12:30 PM
laravel installation code
Apr 18, 2025 pm 12:30 PM
To install Laravel, follow these steps in sequence: Install Composer (for macOS/Linux and Windows) Install Laravel Installer Create a new project Start Service Access Application (URL: http://127.0.0.1:8000) Set up the database connection (if required)
 The Compatibility of IIS and PHP: A Deep Dive
Apr 22, 2025 am 12:01 AM
The Compatibility of IIS and PHP: A Deep Dive
Apr 22, 2025 am 12:01 AM
IIS and PHP are compatible and are implemented through FastCGI. 1.IIS forwards the .php file request to the FastCGI module through the configuration file. 2. The FastCGI module starts the PHP process to process requests to improve performance and stability. 3. In actual applications, you need to pay attention to configuration details, error debugging and performance optimization.
