 Mobile Game Tutorial
 Mobile Game Guide
 Ys Memoire: The Oath In Felghana - Elderm Mountain Walkthrough
Ys Memoire: The Oath In Felghana - Elderm Mountain Walkthrough
The Elderm Mountains in Ys Memoire: The Oath in Felghana have been taunting you ever since Adol first set foot in this new land. It is where Dogi's master resides, where Dogi himself frequently visits, and has always been reachable, but for the fact that you just couldn't jump high enough. A problem no longer!
6:38
With double-jump now in Adol's pool of abilities, he can join Dogi with his master, Berhardt and discover the relevance of the mysterious statues you have been collecting. Of course, ascending the Elderm Mountains isn't exactly simply. Here's everything you need to know about this sprawling mountain range.
Navigating Elderm Mountain - Exterior
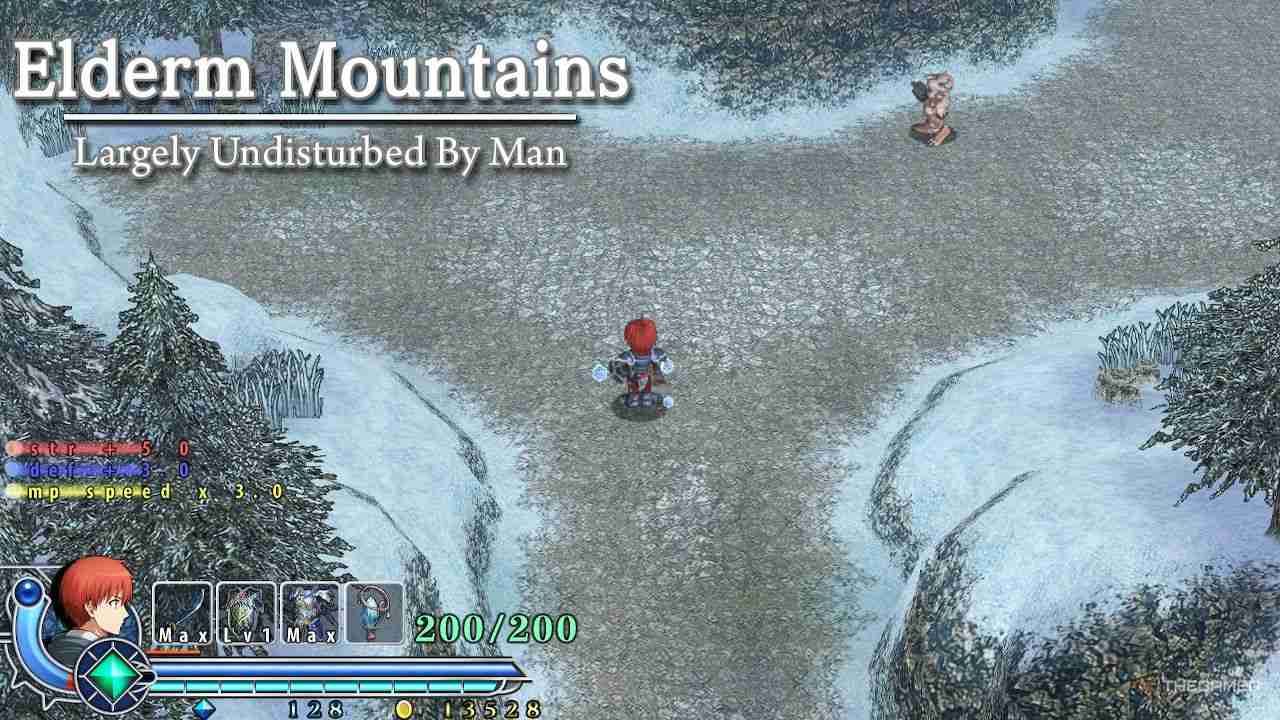
Critical Path
When you first step foot into the Elderm Mountains, the enemies will be a big difficulty jump, though nothing too unusual in terms of pure combat capabilities. Proceed up the mountain, using double-jump and the Ventus Bracelet to make any jumps that seem a little to far for a regular hop.
With double-jump, Adol's descending slash is much more powerful and more likely to stun enemies.
After a brief bit of hiking, you'll enter an internal cave. This is relatively short, though has a few different turns so it's important not to get yourself turned around. Seeing as the goal is to ascend the mountain, follow every path upwards where possible. This will lead to a second interior area. Follow the path upwards again until you find an exit on the right.
Back outside, follow the same philosophy as before, climbing upwards at every occasion, only deviating to gather optional items. Reach the top of this area, and you will finally be brought to a save point. Before you can reach Berhardt's cabin though, you'll have to face a new boss summoned by Dularn - Ligaty.
With that trio defeated, head on past to a small sidescrolling before finally arriving at Berhardt's cabin. Get sat for some introductions and lore revelations.
After your chats, head to the right to continue your journey. A new enemy will be introduced here that looks a bit like a spinning top. The only way to damage them is with the descending slash, so start practicing your double jump. Continue traveling to the right and ascending your mountain and you will finally find the entrance to the interior of the mountain.
Every Optional Item
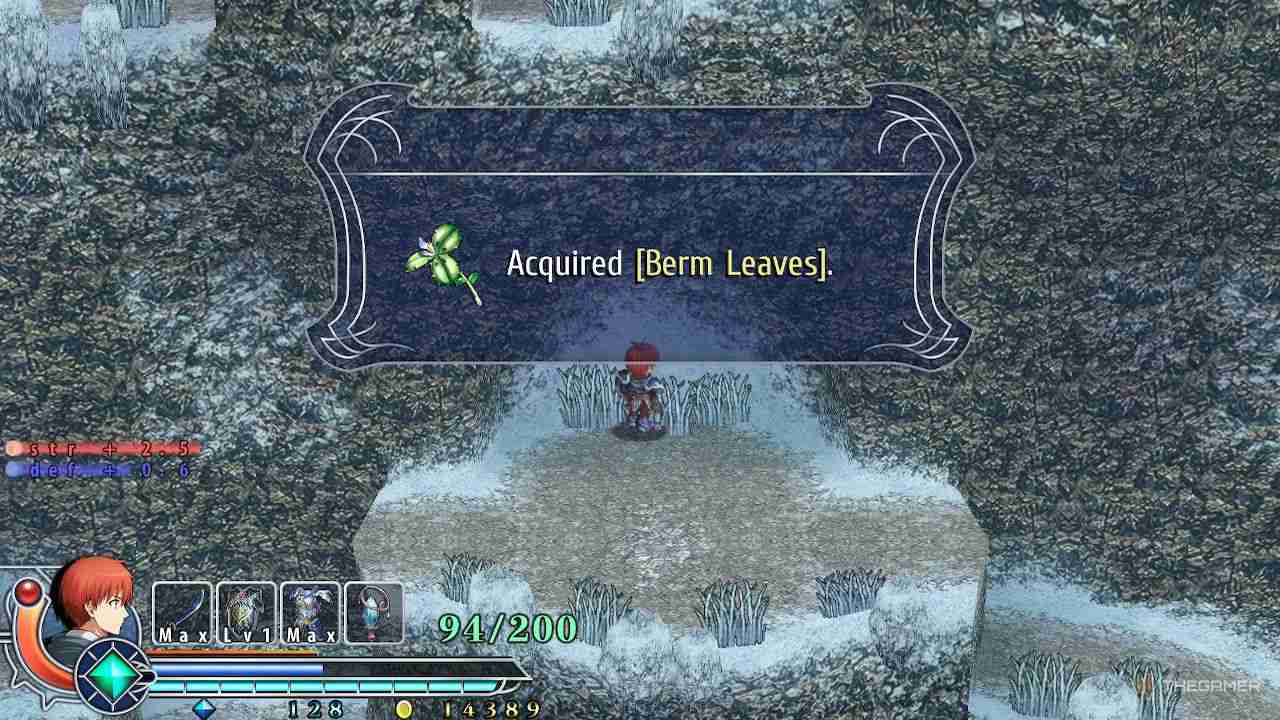
There are a few handy items around the exterior of the Elderm Mountains, so here's where to find them all:
|
Item |
Location |
|---|---|
| Berm Leaves | Hidden in a pile of grass in the second area of Eldern Mountain. |
| Raval Ore x 90 | Drop off a cliff near the entrance to the third area. |
| Berm Leaves | In the first ice cave, located on a cliff beside an icicle in the left. |
| Raval Ore x 50 | In the first ice cave, to the rightmost room with icy flooring. |
| Berm Leaves | Hidden behind some icicles just before the exit of the first ice cave. |
| Raval Ore x 70 | In the final area of the first ice cave, reached with the Ventus Bracelet or double-jumping on the upper left. |
| Raval Ore x 40 | In the second area past the Ice Cave, climb all the way to the top of the cliff and keep moving rightwards until you can descend again to find this chest. |
| Berm Leaves | Two areas past Berhardt's cabin, this item is found in a snowy patch by some grass before ascending the mountain again. |
| Katol Elixir | Just before entering the interior of Elderm Mountain, travel left and drop down, then use double jump and the Ventus Bracelet to reach an area with the chest. |
You can never go wrong with more Raval Ore, though the Berm Leaves are what you really want to keep your eyes open for. These are used in a sidequest back in Redmont, so grab them now to save yourself backtracking in future.
Ligaty Boss
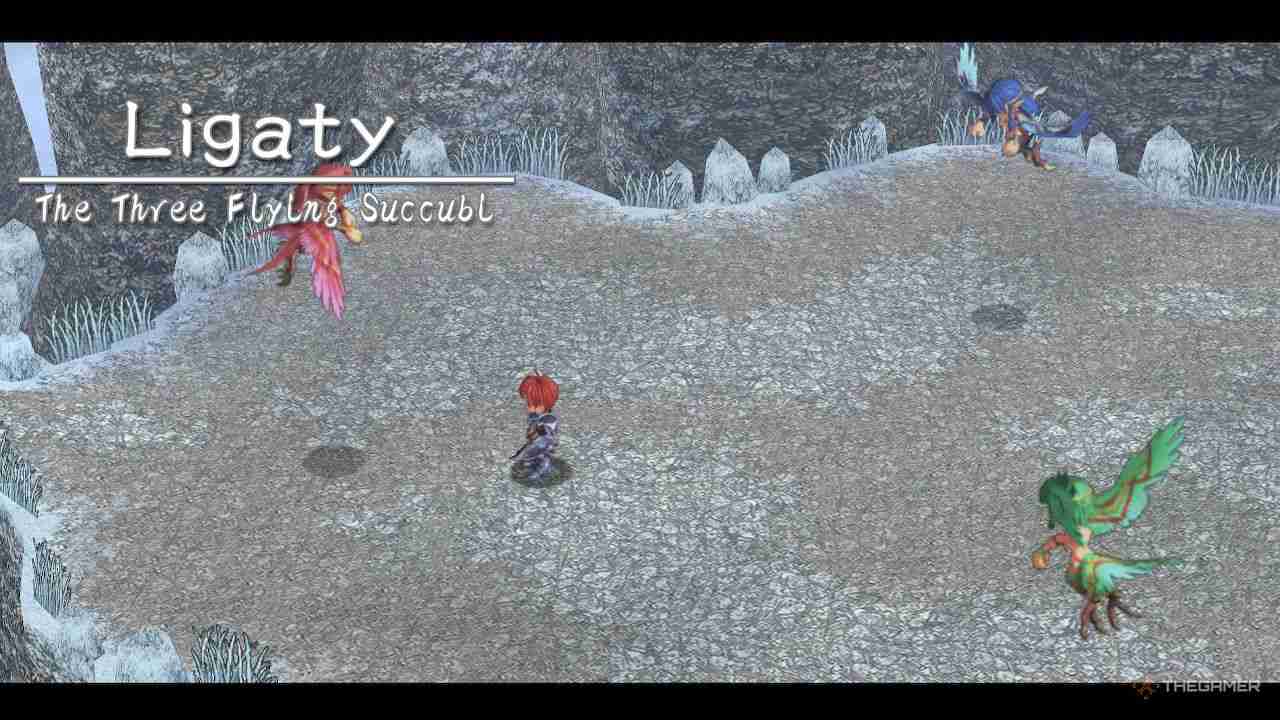
The Ligaty boss is actually a trio, each member with its own weaknesses. As each member is defeated, the remaining ones get more powerful and unlock new moves. Try to tactically whittle them down so they're in their powered-up state for a shorter period.
The sisters each have individual HP that you cannot see, though attacking one drains from the main HP bar for all three of them.
Each sister has a specific weakness as well. The red is weak to fire, the green to wind, and the blue to physical attacks. On the inverse, the other sisters are immune to the weaknesses of their siblings. Remember this as you battle them and you should have them defeated in no time. now you can finally head over to Berhardt's cabin.
Navigating Elderm Mountain - Interior
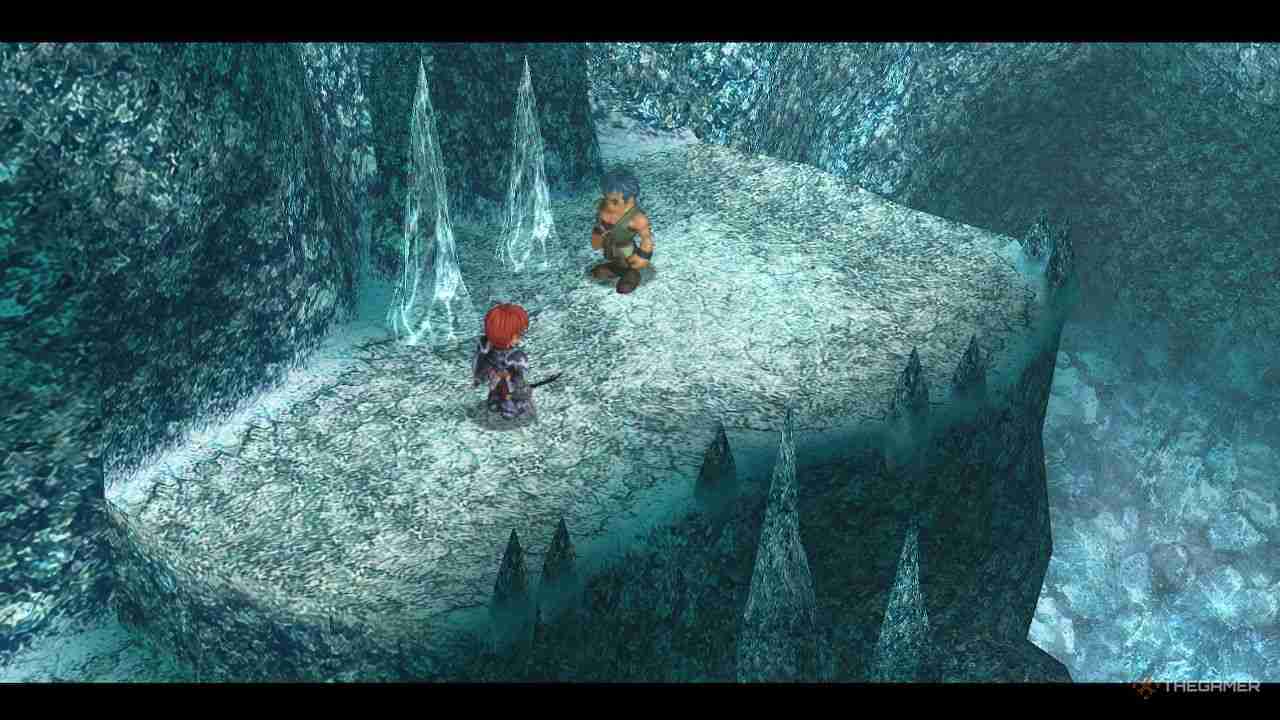
Critical Path
The interior of the Elderm Mountain is much more confusing in its layout than the exterior, making it much easier to lose your way. To get started, drop down as far as you can and then go to the right. This will bring you to a large chasm and Dogi. Charge up the Ventus Bracelet and then Double-jump, activating the Ventus Bracelet at the end of your jump.
This will carry you safely across. Afterwards, a brief cutscene will play and Dogi will give you the Terra Bracelet. Continue east after this to enter into a new room with a save point. Save the game, and then pick up the Topaz from the chest to let you charge up the Terra Bracelet.
Head back to the main hall now, and then go up the stone steps to the north. After reaching the thin icy steps, make sure to fall off (not that you'll get much choice in the matter). This will drop you into an incredibly slippery area lower down. With a combination of the Ventus and Terra Bracelets and plenty of jumping, bring yourself to the west.
Follow it this path all the way down until you enter a new room. Here will be the Stone Shoes in a chest, letting you navigate this area with ease. Work your way back up through ther sidescrolling area until you reach a small outcropping in a new area. Jump down from here to find yourself back in the thin slippery area. Carefully, walk along these paths until you reach the next area which is graciously solid ground.
Make your way down to the bottom until you reach a new, more open area. Here, follow the path upwards and to the left until you encounter icy floor again. From there, weave your way around until you can exit the area south. This will lead to another sidescrolling section. Follow this all the way to the bottom, and then left once you can go no lower. Weave your way up again once you can go no further left until you reach the Icebound Cave.
The final boss of this area, Gildias, is just ahead, so make sure to save up before going any further.
Every Optional Item
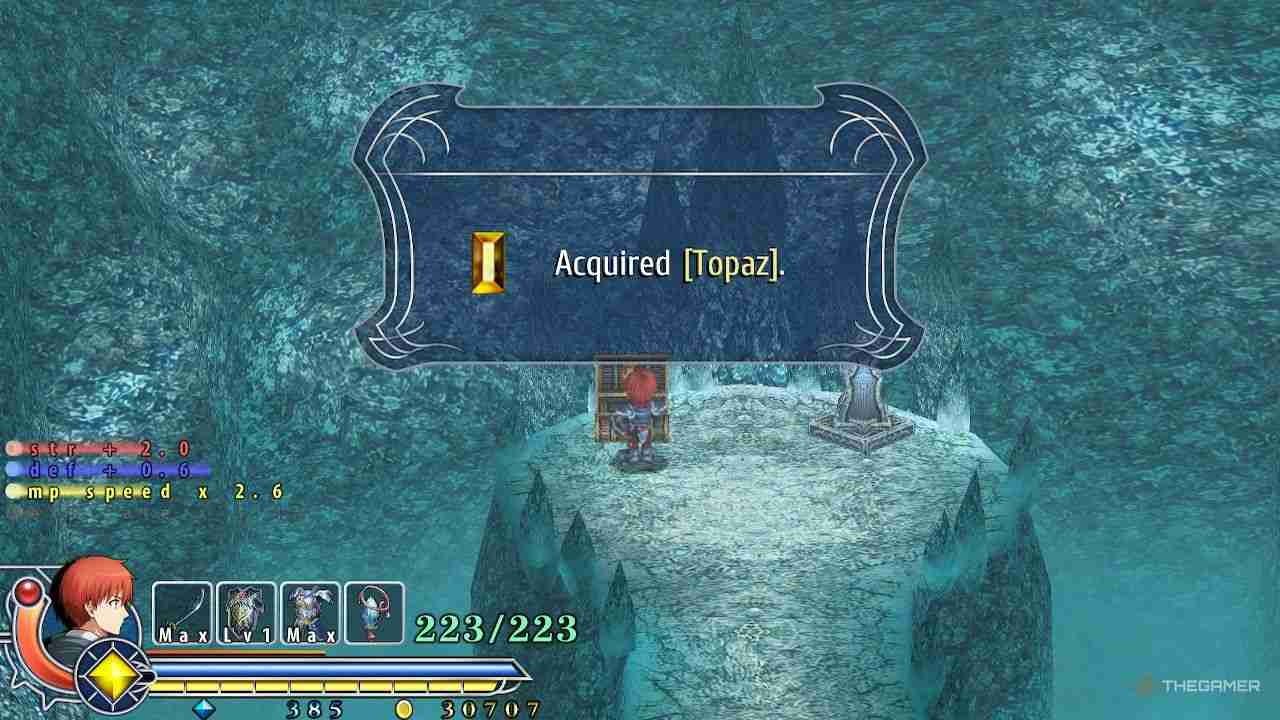
The items in the interior of the Elderm Mountains are fewer, but each of them is essential. Here's where to find them all:
|
Item |
Location |
|---|---|
| Topaz | In a chest right beside the save point. |
| Stone Shoes | Past the save point, head north and then drop down to the icy area below. From here, travel west and downwards until you reach another icy room. The item will be in the chest here. |
| Raval Ore x 140 | After getting the Stone Shoes, travel upwards and then to the left. Break through or jump over the icicles on this thin path to reach the chest. |
| Raval Ore x 140 | Weave your way all the large open area of the cave until you enter a small icy room. This leads back to a higher section of the main room with the chest. |
| Katol Elixir | Just before entering the Icebound Cave, there is a section blocked with icicles in the side-scrolling segment. The item is past here. |
You really shouldn't miss any of these items, but the Stone Soes are easily the most essential. Without them, you'd be struggling to navigate most of this area and even the boss fight.
Gildias Boss
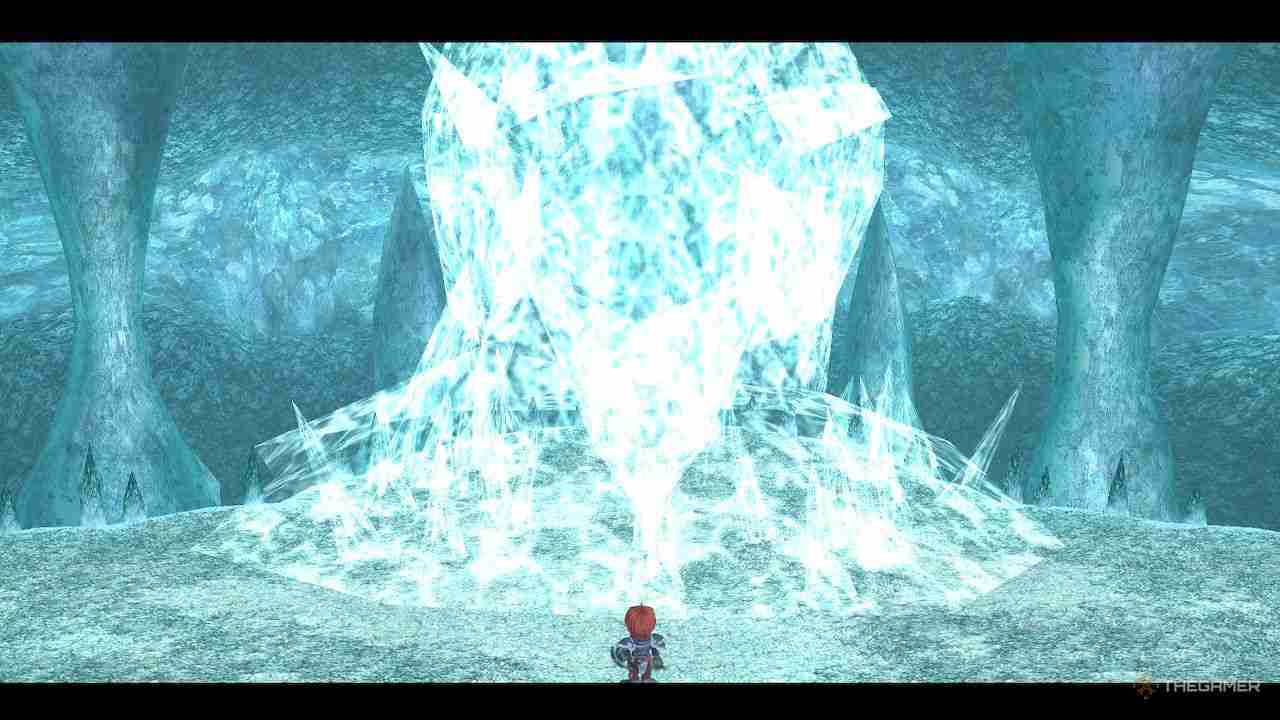
Gildias is the grand finale of the Elderm Mountains, and they're a bit of a challenge, too. First and foremost, you need to make great use of your newly-acquired Terra bracelet to knock them down. This will expose their head, the only part of them that can be properly damaged. Batter them while they're down, as this is the only way to deal damage in this fight.
Gildias, as they get lower on HP, will start to use some new moves, summoning icicles and even swooping in to drop you from the top of the cave to the bottom. This can deal some devastating damage, so have the Terra Bracelet ready to go to break the sharp edges of the cave during your descent.
The Terra Bracelet gives you total immunity during its activation period, so use this during the fight to avoid Gildias' attacks.
Continue with this loop, using your Boost and Bracelets as much as you can to whittle away Gildias' HP as fast as possible. With them defeated, you'll get the Light Statue.

The above is the detailed content of Ys Memoire: The Oath In Felghana - Elderm Mountain Walkthrough. For more information, please follow other related articles on the PHP Chinese website!

Hot AI Tools

Undresser.AI Undress
AI-powered app for creating realistic nude photos

AI Clothes Remover
Online AI tool for removing clothes from photos.

Undress AI Tool
Undress images for free

Clothoff.io
AI clothes remover

Video Face Swap
Swap faces in any video effortlessly with our completely free AI face swap tool!

Hot Article

Hot Tools

Notepad++7.3.1
Easy-to-use and free code editor

SublimeText3 Chinese version
Chinese version, very easy to use

Zend Studio 13.0.1
Powerful PHP integrated development environment

Dreamweaver CS6
Visual web development tools

SublimeText3 Mac version
God-level code editing software (SublimeText3)

Hot Topics
 1671
1671
 14
14
 1428
1428
 52
52
 1329
1329
 25
25
 1276
1276
 29
29
 1256
1256
 24
24
 Roblox: Bubble Gum Simulator Infinity - How To Get And Use Royal Keys
Apr 16, 2025 am 11:05 AM
Royal Keys are some of the most valuable items you can find in Roblox's Bubble Gum Simulator Infinity. These rare tools allow you to open Royal Chests — limited-time loot containers packed with high-tier items, boosts, and even ultra-rare rewards. If
 Roblox: Grow A Garden - Complete Mutation Guide
Apr 18, 2025 am 01:10 AM
Maximize your profits in Roblox's Grow A Garden by understanding the lucrative world of crop mutations! These rare variations significantly boost your harvest's value. While you can't directly control mutations, knowing how they work provides a signi
 Nordhold: Fusion System, Explained
Apr 16, 2025 am 04:07 AM
Nordhold Tower Fusion Guide: Synergistic Tower Combinations for Enhanced Defense Mastering tower combinations in Nordhold is key to effective base defense. Certain towers synergize exceptionally well, creating powerful defensive strategies. This gui
 Mandragora: Whispers Of The Witch Tree - How To Unlock The Grappling Hook
Apr 18, 2025 am 12:53 AM
Mandragora's dungeons offer Metroidvania-style challenges, requiring players to revisit earlier areas with newly acquired tools. The grappling hook is a prime example, enabling rapid traversal of long distances. While this crucial tool is obtained r
 Clair Obscur: Expedition 33 - How To Get Perfect Chroma Catalysts
Apr 27, 2025 am 04:07 AM
In Clair Obscur: Expedition 33, maximizing your favorite weapons is key to success. Each upgrade not only boosts weapon power but also unlocks new traits, shaping your character builds. Reaching Weapon Level 32 is achievable with Grandiose Chroma Ca
 Clair Obscur: Expedition 33 - How To Find And Defeat Chromatic Luster
Apr 25, 2025 am 04:10 AM
Chromatic Luster Strategy in "Clair Obscur: Expedition 33" Chromatic Luster is a powerful variant of the common enemy Luster in Clair Obscur: Expedition 33. It attacks quickly and violently, and can even ignite your entire team to deal additional damage. Without superb blocking skills, the battle with Chromatic Luster will be a race against time. Fortunately, Chromatic Luster doesn't have much health compared to other enemies. As long as you can control the rhythm of the battle and avoid falling into passive defense, you can quickly
 Rusty Rabbit: Where To Find Every Keycube
Apr 17, 2025 pm 10:02 PM
Many 2D platformers, including Rusty Rabbit, feature inaccessible areas requiring specific abilities or items. Rusty Rabbit is no exception, with multiple such areas in each region. Besides visually obvious blocked pathways, you'll encounter robots
 Rusty Rabbit: How To Break Every Block
Apr 18, 2025 am 01:08 AM
In Rusty Rabbit, dungeon exploration involves digging and combat. A significant portion of gameplay focuses on reaching areas, breaking containers, and acquiring loot to Progress. However, many areas are initially inaccessible, though they contain


