

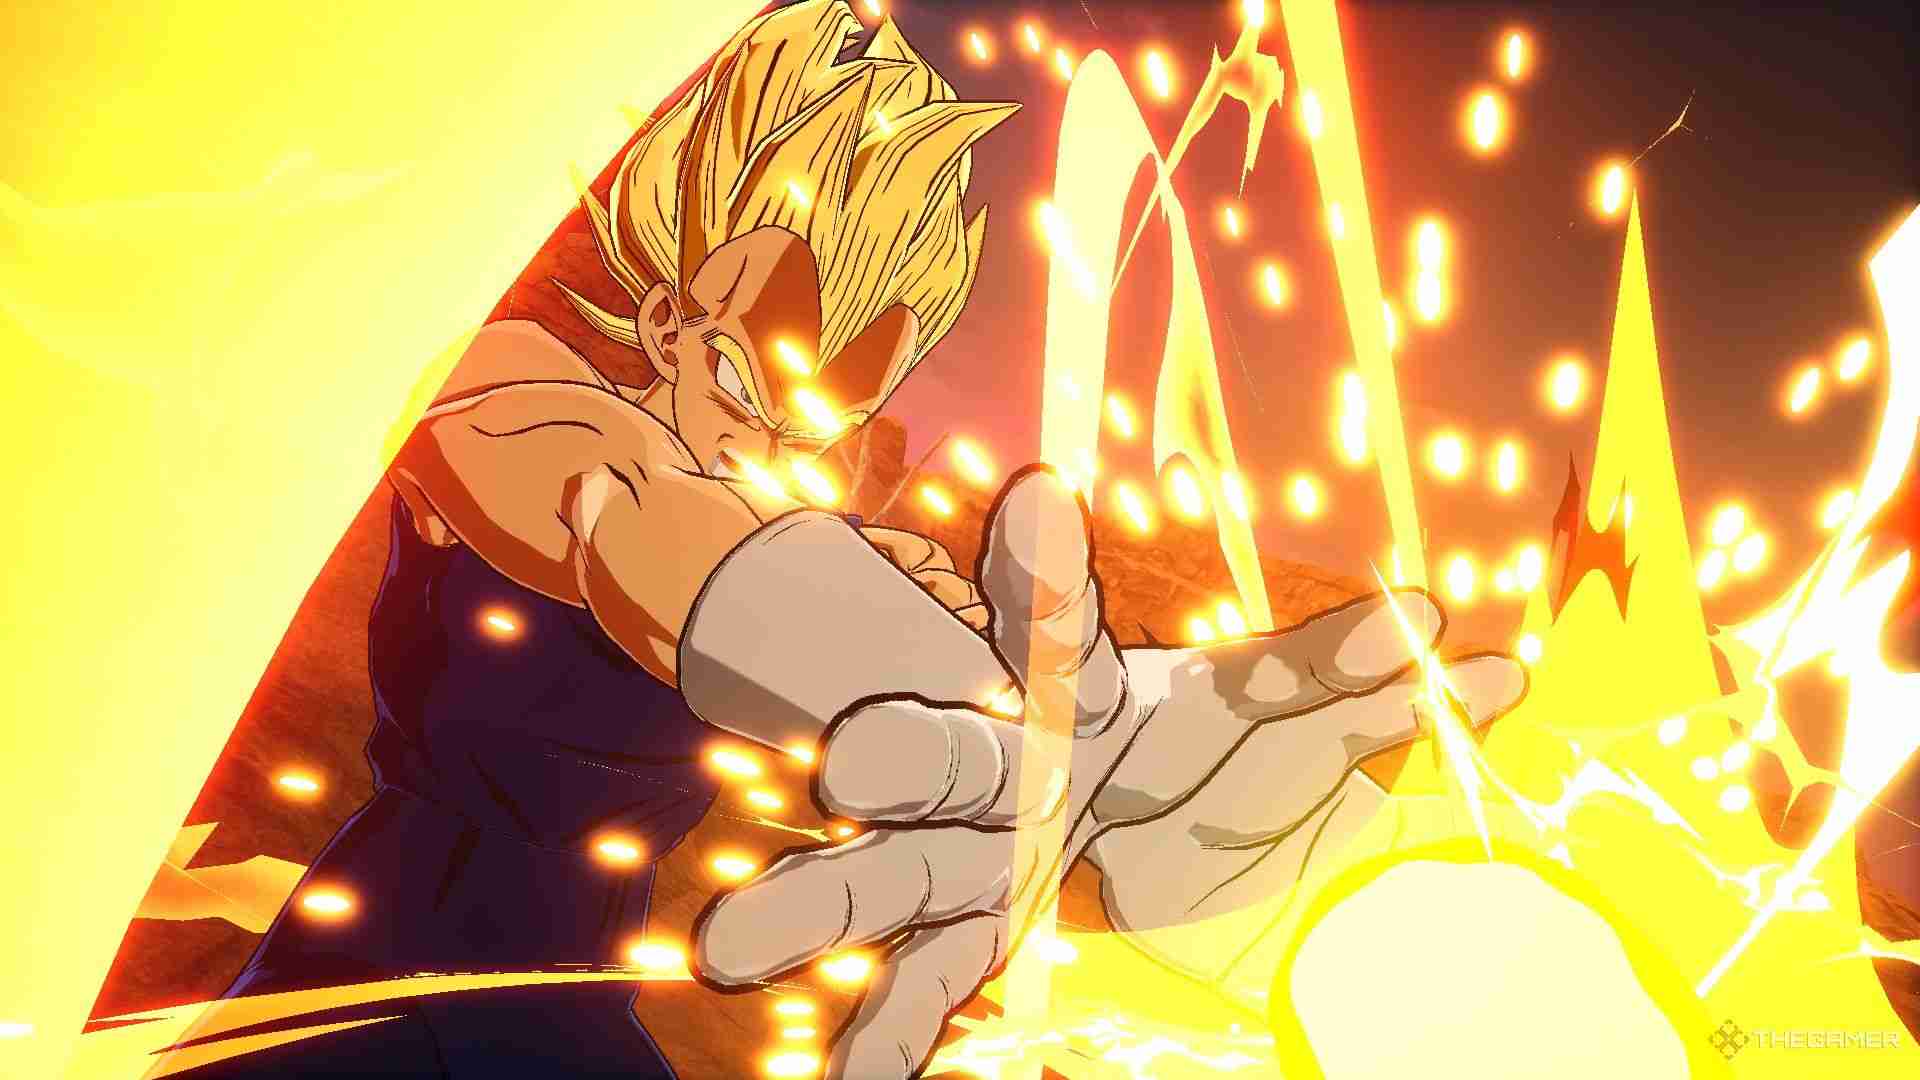
Dragon Ball: Sparking Zero - Vegeta Strategy Guide

Dragon Ball: Sparking Zero offers many campaign modes known as Episode Battle, where your chosen character goes through the most iconic fights of their career. Vegeta has the shortest of these campaigns, with his fights only covering the encounters from the Frieza, Cell, and Buu sagas.

In this guide, we will cover how best to use each form of Vegeta present in the Episode Battles, from his early days in Namek to his fateful encounter with Kid Buu. We will also cover how to use each character in competitive modes, should you wish to do so.
Vegeta (Scouter)

|
Move Name |
Input |
Cost |
Effect |
|---|---|---|---|
| Explosive Wave | R2/RT Up on the D-Pad | 2 Skill Count | Sends out an explosive wave that knocks enemies back. |
| Saiyan Spirit | R2/RT Left on the D-Pad | 3 Skill Count | Gain offensive buffs. |
| Galick Gun | R2/RT Square/X | 3 Ki Bars | Fires a Beam Super that does nearly a bar of damage. |
| Final Galick Cannon | R2/RT Triangle/Y | 3 Ki Bars | Triggers a Rush Super that does nearly a bar of damage. |
| Dirty Fireworks | R2/RT Circle/B (when in Sparking Mode) | Full Ki Bar | Rush Ultimate that does a bar and a half of damage. |
Vegeta (Scouter) In Episode Battle

The one version of Vegeta you’ll use the longest is the one from the Saiyan and Frieza saga, who faces quite a lot of foes in Namek. With him starts a constant of nearly all Vegetas, the Explosive Wave, a fantastic skill that is cheap, and can help you get enemies off you at any moment.
His other skill, Saiyan Spirit, buffs you offensively for 15 seconds, something only worth it if you are confident in your skills. Otherwise, it is advised to save the Skill Count for Explosive Wave, so you always have an edge in battle.
Vegeta (Scouter) In Versus And Online Matches

The only notable difference when using this Vegeta in online battles is his ability to transform, and into a Great Ape no less. You gain immunity to grab and Rush supers, as well as an extra health bar, but you’ll be so slow that it can be hard to even hit your opponent, so be careful.
Vegeta (Z - Early) Super Saiyan

|
Move Name |
Input |
Cost |
Effect |
|---|---|---|---|
| Explosive Wave | R2/RT Up on the D-Pad | 2 Skill Count | Sends out an explosive wave that knocks enemies back. |
| Awakened by anger | R2/RT Left on the D-Pad | 3 Skill Count | Gain offensive buffs. |
| Maximum Flasher | R2/RT Square/X | 3 Ki Bars | Fires a Beam Super that does a bar of damage. |
| Cosmic Impact | R2/RT Triangle/Y | 3 Ki Bars | Triggers a Rush Super that does a bar of damage. |
| Big Bang Attack | R2/RT Circle/B (when in Sparking Mode) | Full Ki Bar | Beam Ultimate that does nearly two bars of damage. |
Vegeta (Z - Early) Super Saiyan In Episode Battle

You won’t be using this form of Vegeta much, and the fights he is involved in aren’t the most challenging. Still, he functions exactly like his Scouter version, with the only difference being that his Ultimate Move is a Beam instead of a Rush.
Vegeta (Z - Early) Super Saiyan In Versus And Online Matches

There isn’t much of a benefit in choosing this Vegeta in online battles over his Super Vegeta form, either in regular play or in DP battle (he costs six DP, just like Super Vegeta). Still, there is a slight buff for going through the transformations, so that may be worth it for certain players.
Super Vegeta

|
Move Name |
Input |
Cost |
Effect |
|---|---|---|---|
| Explosive Wave | R2/RT Up on the D-Pad | 2 Skill Count | Sends out an explosive wave that knocks enemies back. |
| I am Super Vegeta | R2/RT Left on the D-Pad | 3 Skill Count | Enter Sparking Mode and gain offensive buffs. |
| Big Bang Attack | R2/RT Square/X | 3 Ki Bars | Fires a Beam Super that does nearly a bar of damage. |
| Spirit Breaking Cannon | R2/RT Triangle/Y | 3 Ki Bars | Triggers a Rush Super that does a bar of damage. |
| Final Flash | R2/RT Circle/B (when in Sparking Mode) | Full Ki Bar | Beam Ultimate that does two bars of damage. |
Super Vegeta In Episode Battle

This is one of the better versions of Vegeta, mostly due to his access to a skill that instantly puts him in Sparking Mode. This time, it is worth it to spend the three Skill Count on that skill; it will leave you without being able to use Explosive Wave, but you will likely be finishing the match by that point.
Super Vegeta In Versus And Online Matches

Any character with Explosive Wave and instant Sparking is worth using, especially ones with a healthy mix of Blast and Rush supers. The base form of this Vegeta also has those two skills, so if you’re playing DP battle, consider starting with base Vegeta and transforming into Super Vegeta directly, so you don’t have to keep in mind the skill changes of the middle form.
Vegeta (Z - End) Super Saiyan

|
Move Name |
Input |
Cost |
Effect |
|---|---|---|---|
| Explosive Wave | R2/RT Up on the D-Pad | 2 Skill Count | Sends out an explosive wave that knocks enemies back. |
| Saiyan Spirit | R2/RT Left on the D-Pad | 3 Skill Count | Gain offensive buffs. |
| Final Flash | R2/RT Square/X | 3 Ki Bars Fires | Fires a Beam Super that does nearly a bar of damage. |
| Infinite Blaster | R2/RT Triangle/Y | 2 Ki Bars Fires | Fire several projectiles that can deal over half a bar of damage. |
| Cosmic Circle | R2/RT Circle/B (when in Sparking Mode) | Full Ki Bar | Fires several projectiles that trigger a scene, dealing nearly two bars of damage. |
Vegeta (Z - End) Super Saiyan In Episode Battle

The main fight you’ll use this version of Vegeta for is the training with Kid Trunks. There is an achievement related to this fight since if you don’t suffer much damage from the child during this event, you’ll be able to resist the Majin mark later.
To do so, you’ll once again be depending on Explosive Wave for tough moments, so it isn’t recommended to spend the three Skill Count on buffs. Use Infinite Blaster often at a longer range to not give Trunks time to charge, and you’ll eventually take him down.
Vegeta (Z - End) Super Saiyan In Versus And Online Matches
The one thing of note when playing against players with this Vegeta is how his Ultimate move functions. It deals decent damage but isn’t a Beam, so you won’t be able to start a Beam struggle with this ability; if you’re being fired upon, dodge away and then use your own Ultimate.
Vegeta (Z - End) Super Saiyan 2

|
Move Name |
Input |
Cost |
Effect |
|---|---|---|---|
| Explosive Wave | R2/RT Up on the D-Pad | 2 Skill Count | Sends out an explosive wave that knocks enemies back. |
| Wild Sense | R2/RT Left on the D-Pad | 2 Skill Count | Dodge the next melee attack and counter it. |
| Big Bang Attack | R2/RT Square/X | 3 Ki Bars | Fires a Beam Super that does nearly a bar of damage. |
| Infinite Blaster | R2/RT Triangle/Y | 2 Ki Bars | Fire several projectiles that can deal over half a bar of damage. |
| Infinity Flasher | R2/RT Circle/B (when in Sparking Mode) | Full Ki Bar | Rush Ultimate that does nearly two bars of damage. |
Vegeta (Z - End) Super Saiyan 2 In Episode Battle

The toughest fights for Vegeta are in this form, specifically the fight against Kid Buu. Since this Vegeta can’t easily enter Sparking Mode, you’ll have to charge the old-fashioned way, but remember not to give Buu a breather to do the same.
If Buu tries to sleep, interrupt him with Ki blasts or with Infinite Blaster, since it only costs two Ki bars. If you have three or more Skill Counts, then it is a good idea to use Wild Sense; you’ll counter Buu’s next attack while still having enough Count to use Explosive Wave.
Vegeta (Z - End) Super Saiyan 2 In Versus And Online Matches

While the moveset of this Vegeta is decent, his skills are somewhat lackluster, although their low cost can make for great oppressive gameplay. In a DP battle, however, you can do far better for the cost of seven DP.
Majin Vegeta

|
Move Name |
Input |
Cost |
Effect |
|---|---|---|---|
| Prince’s Pride | R2/RT Up on the D-Pad | 2 Skill Count | Gain armor and extra charging speed. |
| Majin’s Awakening | R2/RT Left on the D-Pad | 3 Skill Count | Enter Sparking Mode and gain offensive buffs. |
| Final Impact | R2/RT Square/X | 3 Ki Bars | Fires a Beam Super that does nearly a bar of damage. |
| Big Bang Attack | R2/RT Triangle/Y | 3 Ki Bars | Fires a Beam Super that does nearly a bar of damage. |
| Final Explosion | R2/RT Circle/B (when in Sparking Mode) | Full Ki Bar | Huge and unblockable area-of-effect explosive wave that deals two bars and a half of damage. |
Majin Vegeta In Episode Battle

The lack of Explosive Wave can be a heavy blow when using this Vegeta, especially if you’ve grown accustomed to having it. However, starting fights with five Ki bars already available makes Majin Vegeta terrifying from the very beginning of the match.
There is a benefit in not having Explosive Wave: you can buff yourself to your heart's content. Prince’s Pride is meant for defense and preparation, while Majin’s Awakening is not only a great way to enter Sparking Mode, but you also do so with improved damage dealing.
Majin Vegeta In Versus And Online Matches

The main thing to note when using Majin Vegeta in regular play is his Ultimate, Final Explosion. It does more damage than most Ultimates, covering a wide area and being unblockable, but it leaves you only one hit away from death; only use it when you know you will finish your opponent with it.

The above is the detailed content of Dragon Ball: Sparking Zero - Vegeta Strategy Guide. For more information, please follow other related articles on the PHP Chinese website!

Hot AI Tools

Undresser.AI Undress
AI-powered app for creating realistic nude photos

AI Clothes Remover
Online AI tool for removing clothes from photos.

Undress AI Tool
Undress images for free

Clothoff.io
AI clothes remover

Video Face Swap
Swap faces in any video effortlessly with our completely free AI face swap tool!

Hot Article
Hot Tools

Notepad++7.3.1
Easy-to-use and free code editor

SublimeText3 Chinese version
Chinese version, very easy to use

Zend Studio 13.0.1
Powerful PHP integrated development environment

Dreamweaver CS6
Visual web development tools

SublimeText3 Mac version
God-level code editing software (SublimeText3)
Hot Topics
 1662
1662
 14
1419
52
1312
25
1262
29
1235
24
14
1419
52
1312
25
1262
29
1235
24

 Roblox: Dead Rails - How To Tame Wolves
Apr 07, 2025 am 06:05 AM
Roblox: Dead Rails - How To Tame Wolves
Apr 07, 2025 am 06:05 AM
In the desolate landscapes of Roblox's Dead Rails, survival hinges on overcoming numerous threats. Undead hordes, vampires, and werewolves roam the wasteland, alongside the outlaws and wolves that predate the outbreak. However, a unique opportunity
 Strength Levels for Every Enemy & Monster in R.E.P.O.
Apr 07, 2025 am 10:45 AM
Strength Levels for Every Enemy & Monster in R.E.P.O.
Apr 07, 2025 am 10:45 AM
In R.E.P.O., some monsters are small enough to throw out easily, while others are as hard to shake like tanks unless you have strong powers—or stacked with a lot of powerful upgrades (because your life may depend on that). If you're tired of pressing the grab button and being crushed, this list will tell you how much power you need to lift, throw or slam them against every monster in the game, from a small goblin to a giant Trucci. Requires 4 power upgrades: animal Mind manipulator Squirter 9 power upgrades are required: Men with bow chef hunter Shadow Children 13 power upgrades are required: Clown (beam transmitter) Leader Robe monster Truci No need for strength (or
 Roblox: Grow A Garden - Complete Mutation Guide
Apr 18, 2025 am 01:10 AM
Roblox: Grow A Garden - Complete Mutation Guide
Apr 18, 2025 am 01:10 AM
Maximize your profits in Roblox's Grow A Garden by understanding the lucrative world of crop mutations! These rare variations significantly boost your harvest's value. While you can't directly control mutations, knowing how they work provides a signi
 Roblox: Bubble Gum Simulator Infinity - How To Get And Use Royal Keys
Apr 16, 2025 am 11:05 AM
Roblox: Bubble Gum Simulator Infinity - How To Get And Use Royal Keys
Apr 16, 2025 am 11:05 AM
Royal Keys are some of the most valuable items you can find in Roblox's Bubble Gum Simulator Infinity. These rare tools allow you to open Royal Chests — limited-time loot containers packed with high-tier items, boosts, and even ultra-rare rewards. If
 Blue Prince: How To Get To The Basement
Apr 11, 2025 am 04:04 AM
Blue Prince: How To Get To The Basement
Apr 11, 2025 am 04:04 AM
Unlocking the Basement in Blue Prince: A Comprehensive Guide Finding the basement in Blue Prince is crucial for progressing to Room 46, but its location and access method aren't immediately obvious. This guide will walk you through accessing the base
 Mandragora: Whispers Of The Witch Tree - How To Unlock The Grappling Hook
Apr 18, 2025 am 12:53 AM
Mandragora: Whispers Of The Witch Tree - How To Unlock The Grappling Hook
Apr 18, 2025 am 12:53 AM
Mandragora's dungeons offer Metroidvania-style challenges, requiring players to revisit earlier areas with newly acquired tools. The grappling hook is a prime example, enabling rapid traversal of long distances. While this crucial tool is obtained r
 Nordhold: Fusion System, Explained
Apr 16, 2025 am 04:07 AM
Nordhold: Fusion System, Explained
Apr 16, 2025 am 04:07 AM
Nordhold Tower Fusion Guide: Synergistic Tower Combinations for Enhanced Defense Mastering tower combinations in Nordhold is key to effective base defense. Certain towers synergize exceptionally well, creating powerful defensive strategies. This gui
 R.E.P.O. Public Lobbies Explained
Apr 07, 2025 am 09:40 AM
R.E.P.O. Public Lobbies Explained
Apr 07, 2025 am 09:40 AM
Want to experience the excitement of R.E.P.O. with strangers? Not yet possible! Currently, R.E.P.O. only supports multiplayer games through the Steam friend invitation system. The game does not yet support public matching, quick joining, or random teaming. The good news is that developers plan to launch a matching system soon! R.E.P.O.'s multiplayer mechanics You can only play with players on the Steam friend list. No public lobby – If you don’t have friends with the game, you need to find players through Discord, forums, or other social means. Since R.E.P.O. does not have a dedicated server, the host needs a stable network connection. If your host network connection is unstable, delays may occur
