

How to Calibrate an iPhone\'s Battery in 6 Easy Steps

However, did you know that something as simple as calibrating your iPhone's battery can help? Let's take a closer look at how to calibrate an iPhone's battery and why calibration is important. Once you do this, your iPhone can last longer and be ready when you need it.
Why You Should Calibrate Your iPhone's Battery
Calibrating your iPhone's battery (also referred to as resetting an iPhone's battery) is a surprisingly important part of iPhone maintenance. Unfortunately, many people don't realize its benefits, and even fewer take the time to perform the necessary steps.
Without a correctly calibrated battery, you're likely to experience inaccurate and erratic battery percentage readings, quicker battery drain, and a shorter total lifespan for your battery. If your iPhone shuts down unexpectedly when your battery life percentage hits single digits, poor calibration is almost certainly to blame.
Many factors can cause a battery to become incorrectly calibrated. Software updates, background app refresh, new features, and even plain old day-to-day use can all cause discrepancies. And even if you haven't noticed an incorrect calibration, performing the steps below will ensure all the ions in the battery are flowing, thus improving the battery's peak performance.
While you shouldn't need to calibrate regularly, it's worth a try if your iPhone is older or you've had battery issues that other steps didn't resolve.
Preparing to Calibrate Your iPhone's Battery
Before starting the calibration process, you should take a few steps in preparation. They all revolve around disabling features and services, so as few tasks as possible draw power.
This will help lead to an accurate reading later in the process. After you've reset the battery, you can re-enable all of these options. It's also worth ensuring you haven't accidentally enabled Low Power Mode by going to Settings > Battery.
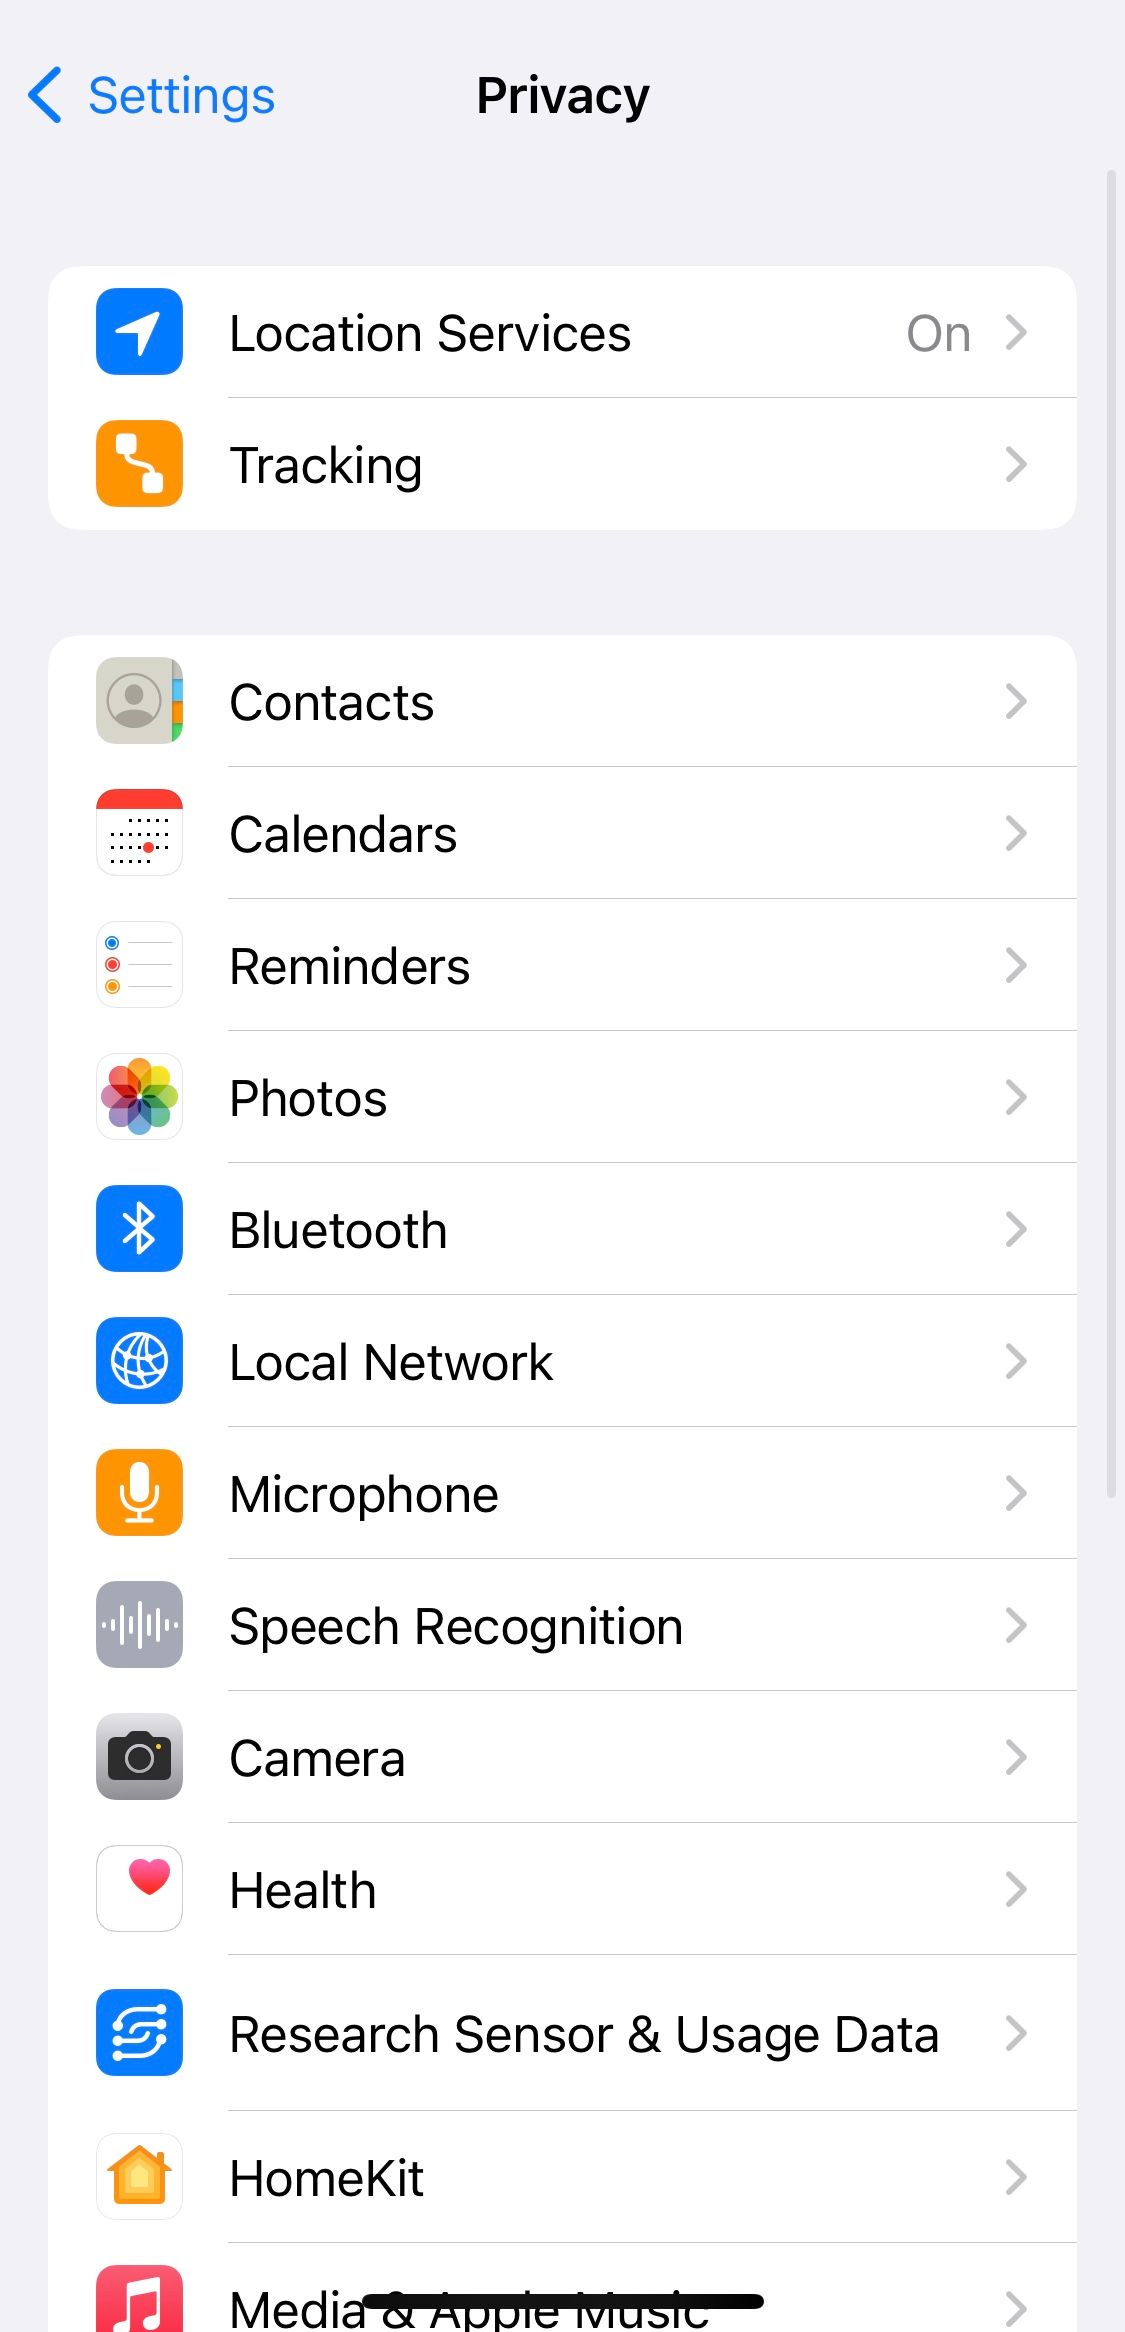
Disable Location Services
To disable location services on your iPhone, follow these steps:
Open the Settings app. Scroll down and tap on Privacy & Security Tap Location Services at the top. Now, toggle off Location Services.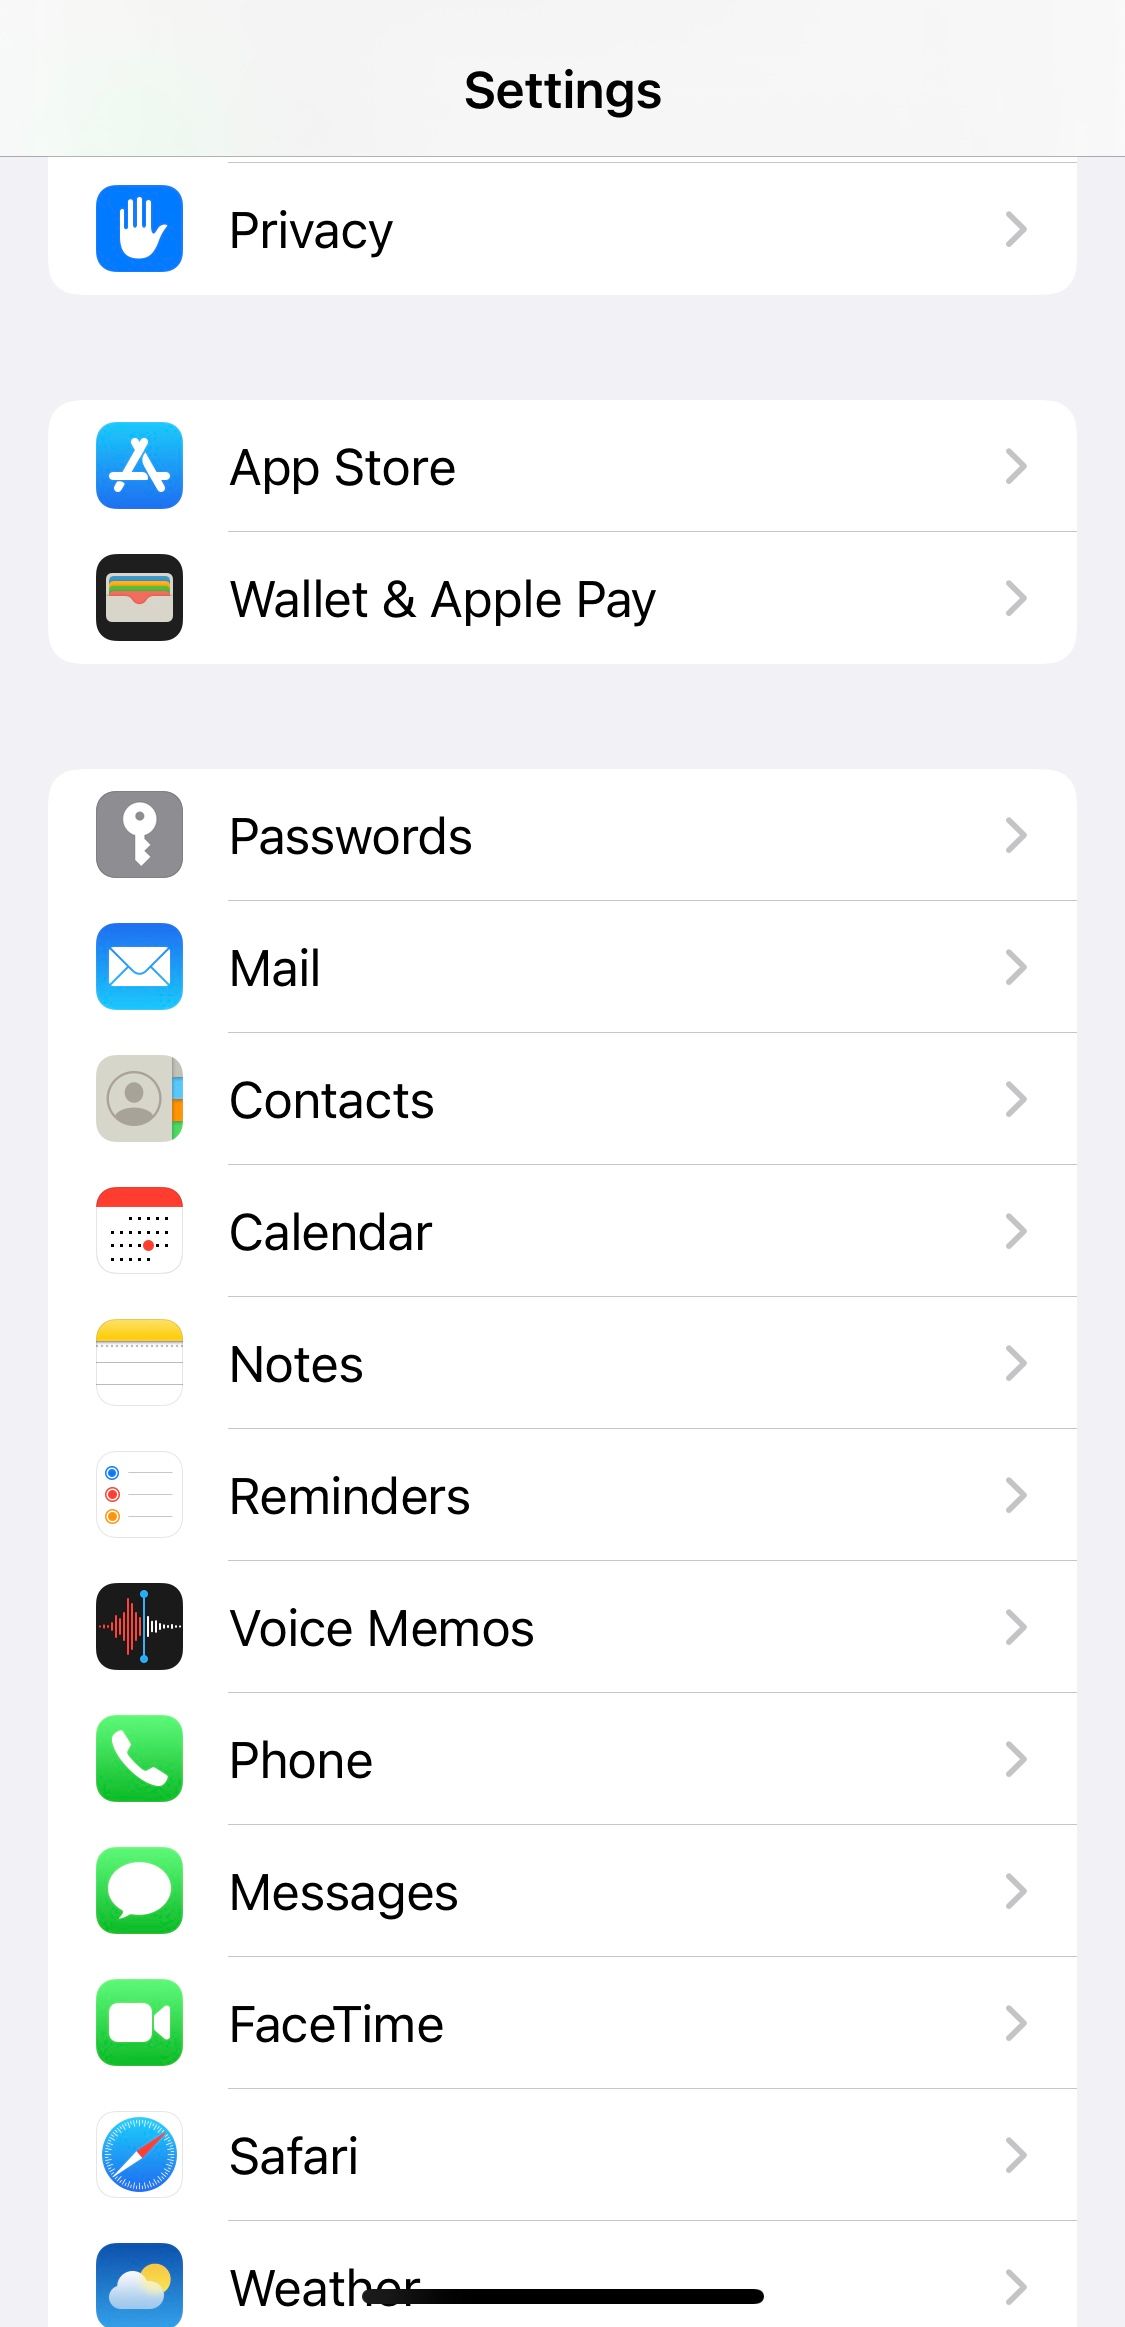
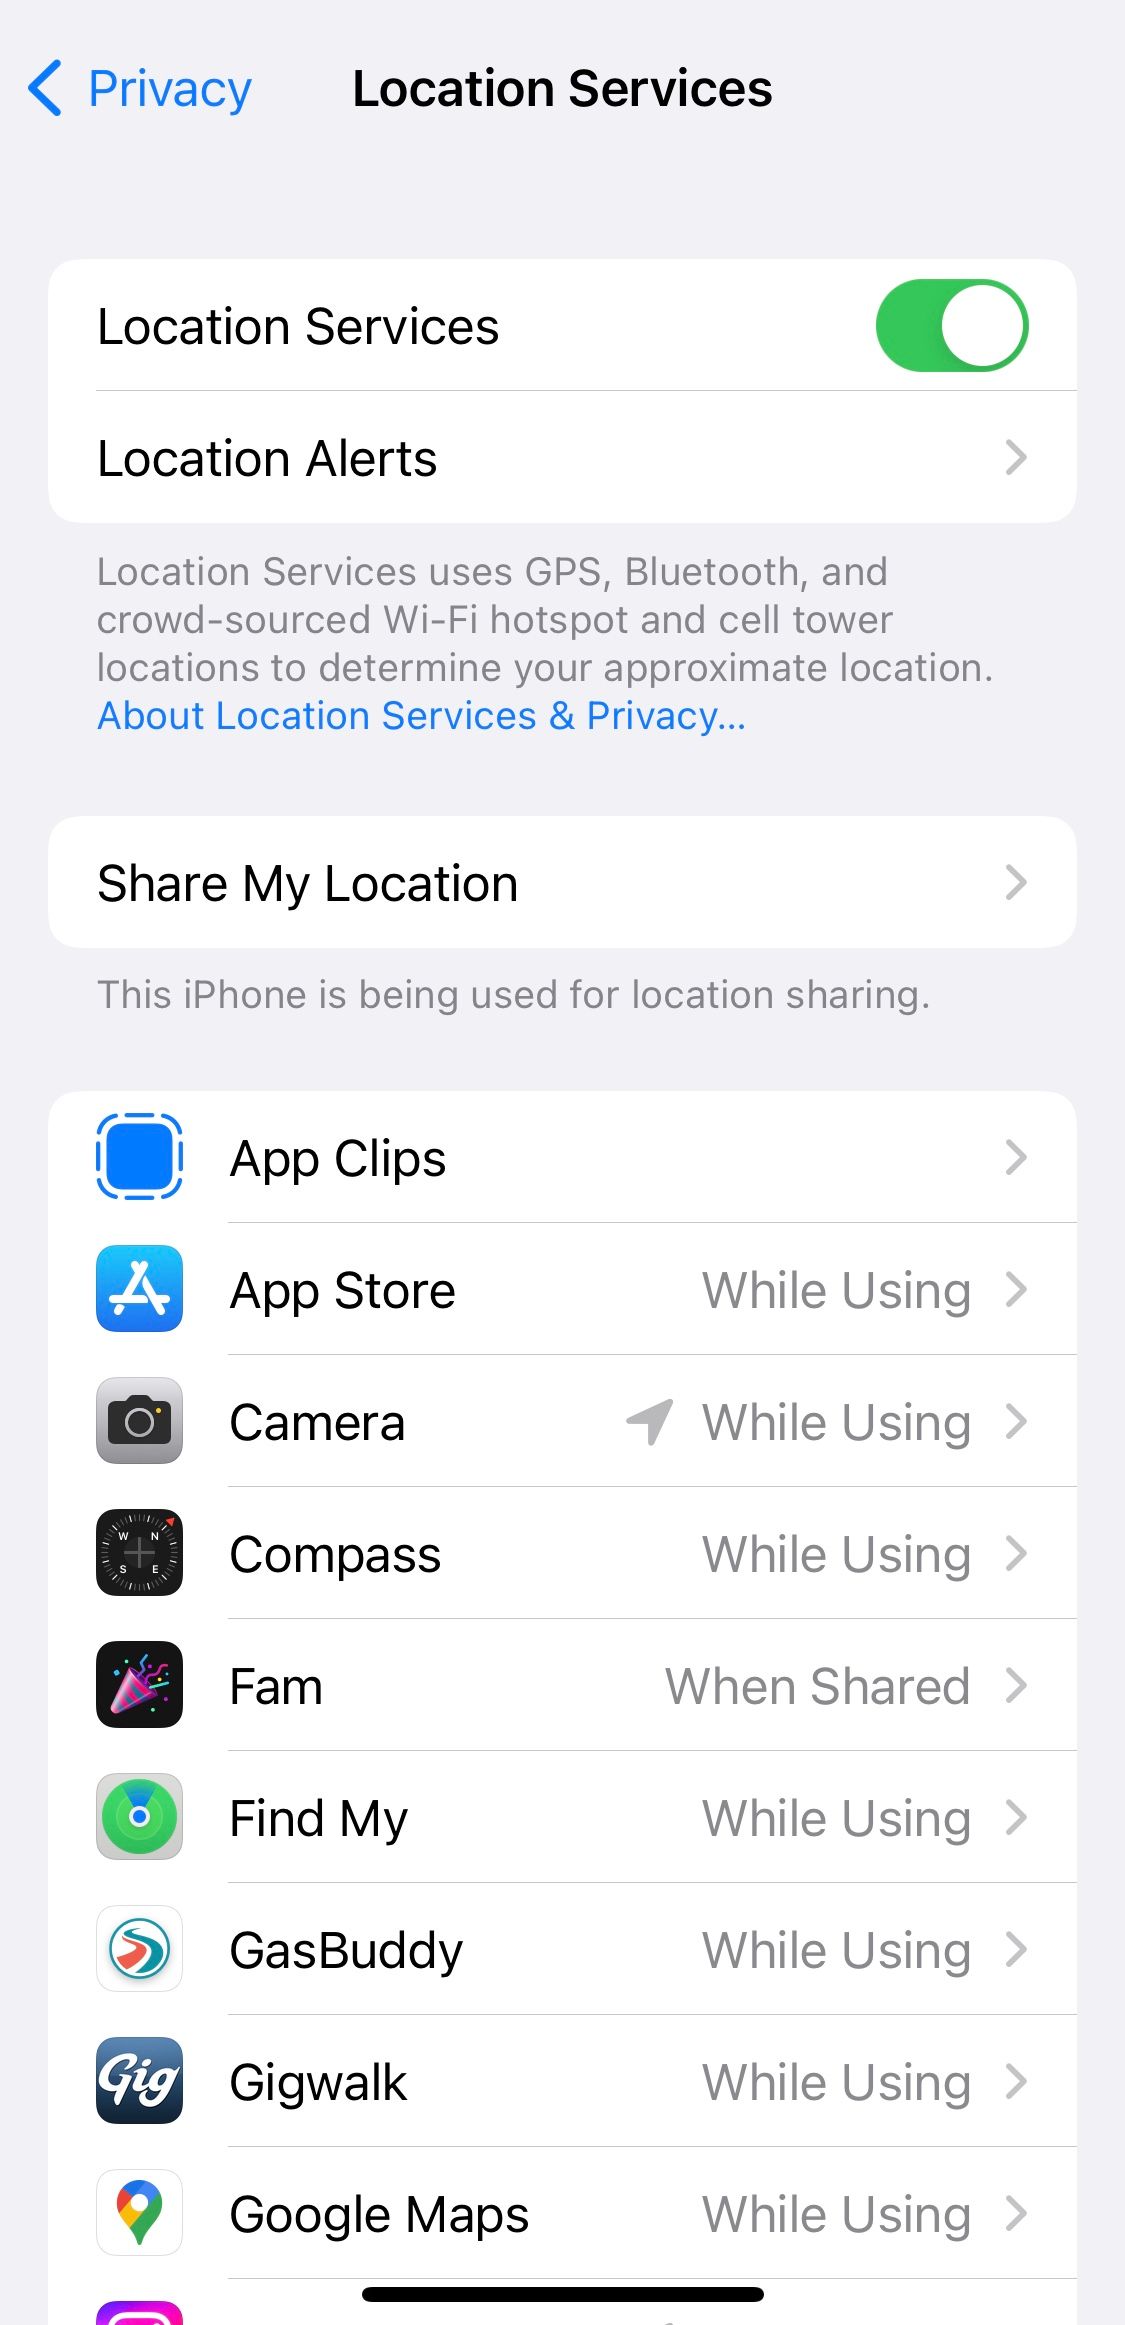
Remember, you can use Location Services to track a lost iPhone, so make sure you don't forget to re-enable this after you're done calibrating.
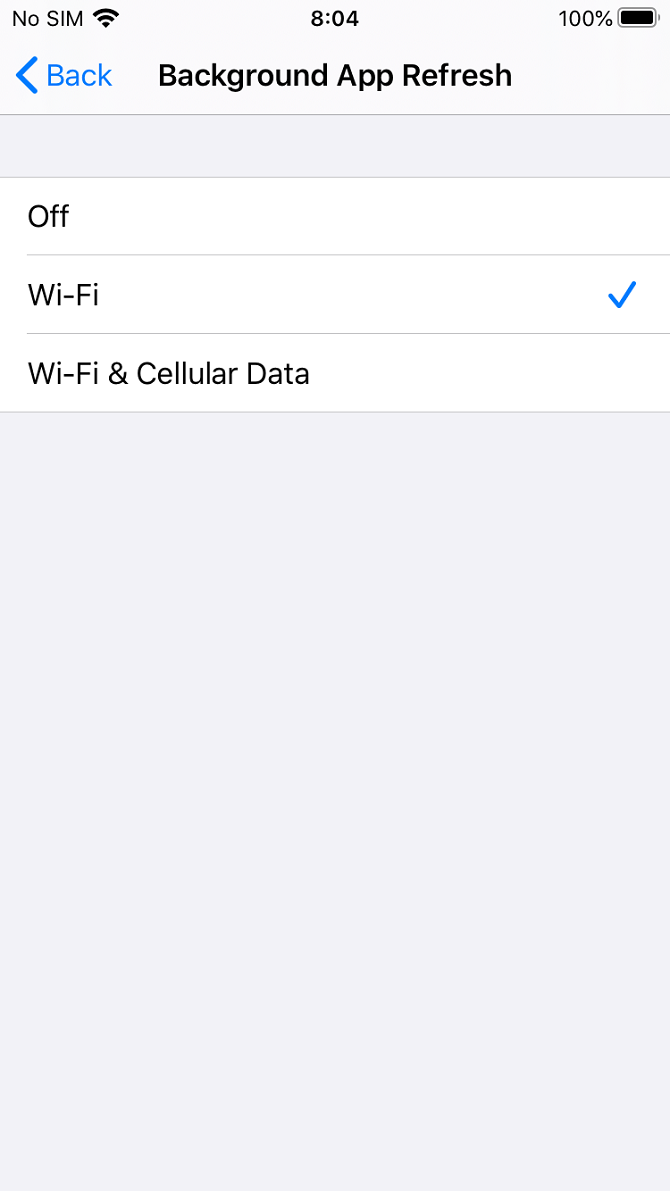
Disable Background Refresh
Follow the instructions below to turn off the background app refresh feature on your iPhone:
Open the Settings app and tap General. Select Background App Refresh. Tap on Background App Refresh a second time. Select the Off option.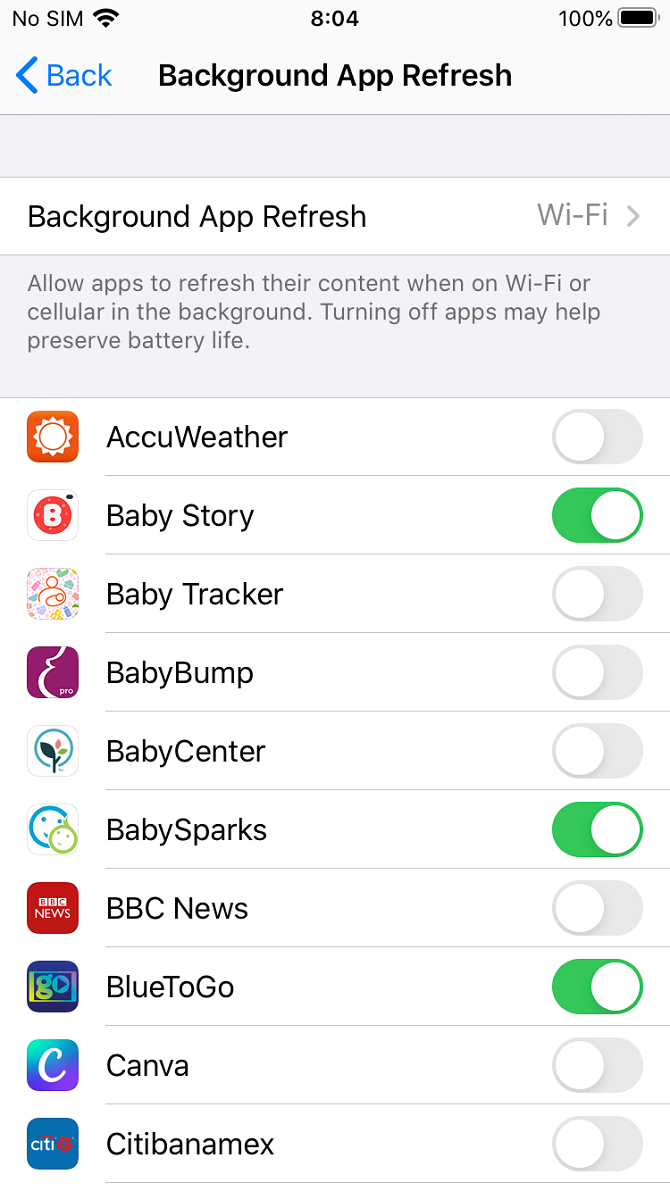
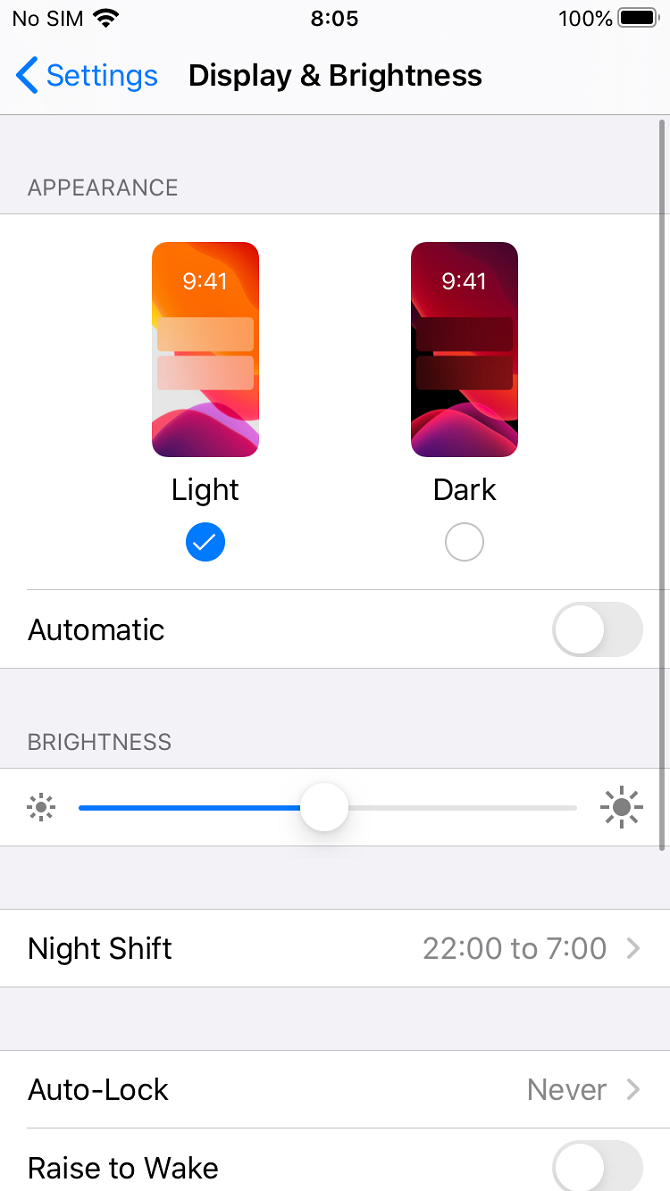
Decrease Your Screen Brightness
Here's how to lower the screen brightness on an iPhone:
Open the Settings app. Scroll down and select Display & Brightness. Move the Brightness slider all the way to the left.
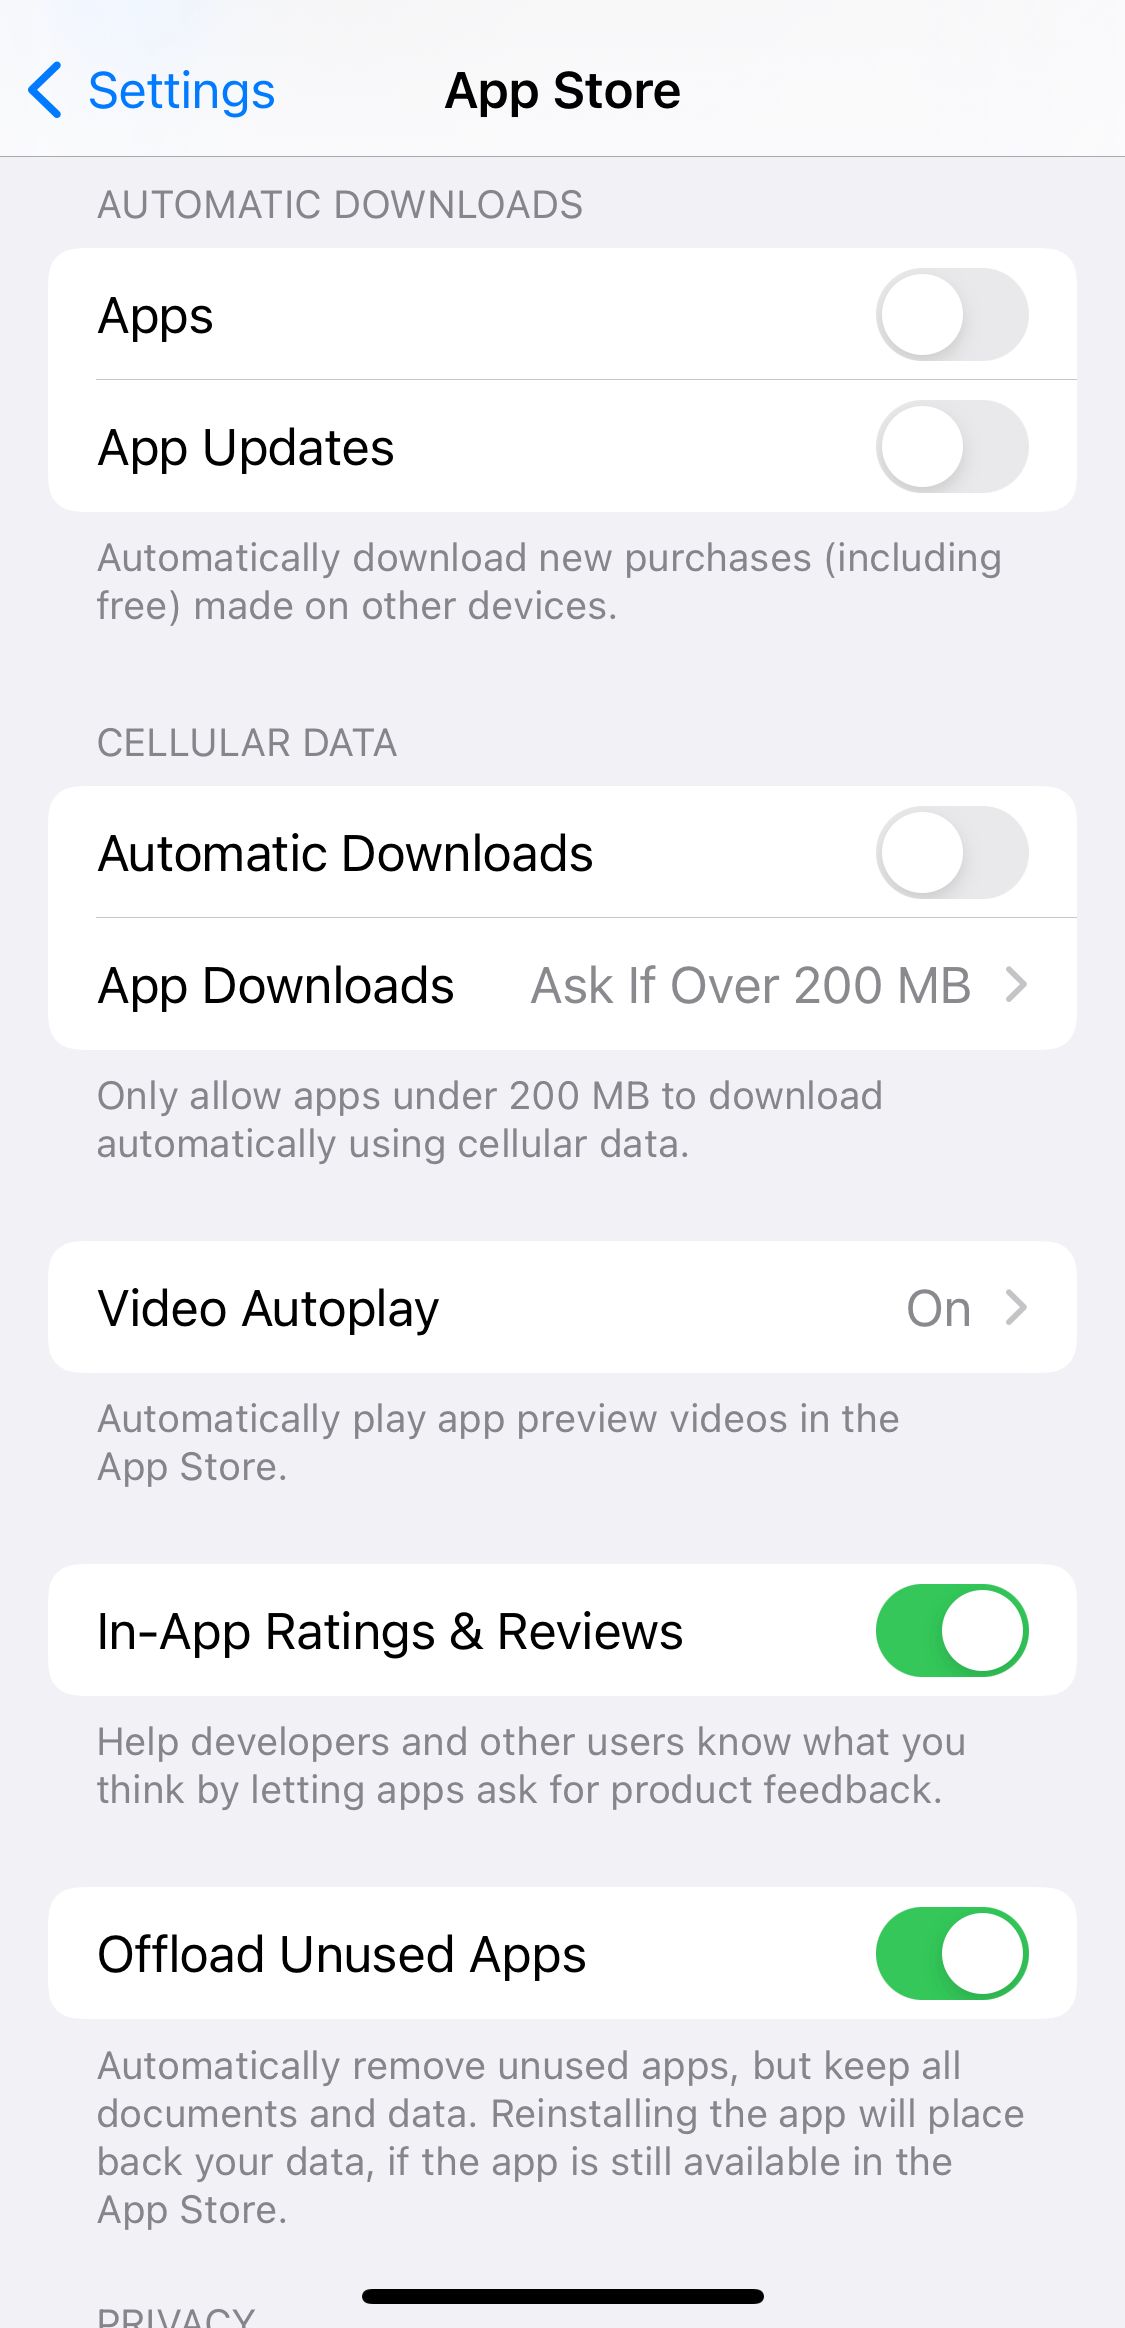
Turn Off Automatic App Updates
Finally, to turn off automatic updates, follow these three steps:
Open the Settings app. Scroll down and tap on App Store. Under Automatic Downloads, toggle off App Updates.
How to Calibrate Your iPhone's Battery
Now, you're ready to calibrate the battery on your iPhone. Be warned that it takes quite a bit of patience; you'll need to wait around for a couple of complete charge and drain cycles to finish.
Luckily, you don't need any third-party tools or apps. Anything you see in the App Store promising to reset your iPhone's battery is, at best, unnecessary and, at worst, a scam. iPhone's battery calibration is easy to perform without extra help.
Step 1: Drain Your iPhone's Battery
The first step is to completely drain your iPhone's battery. You can do so during normal usage. If you want to speed up the process, you can play a long video on YouTube with the volume turned up to the maximum level.
Step 2: Wait Three Hours
You may have noticed that your iPhone will automatically shut down even if the battery has a small percentage left. This process is by design; it gives the device a chance to save the current state of your apps so you don't lose data.
It's important to let the last embers of the battery life die away. The only way to do this is to wait. The longer you wait, the better, but you should wait at least three hours. If you have time, letting it sit overnight is preferable.
Step 3: Charge Your iPhone
Now, it's time to refill the battery. To ensure optimal performance, make sure you follow these tips:
Use a wall socket rather than a computer to charge. Ideally, use an official Apple charger. At the very least, make sure you use a trusted Lightning cable or a high-quality USB-C cable if you have an iPhone 15 (or later) and not a cheap knockoff. Continue to charge for a couple of hours even after your phone shows the battery as 100 percent full. You need to ensure you squeeze in every drop of power to ensure the calibration works correctly.Step 4: Drain Your iPhone
Now, you need to repeat the whole process a second time. It's the same drill as before: completely drain the power out of your device. Either use it as you normally would or play videos on loop to move it along faster.
Step 5: Wait Another Three Hours
It's getting repetitive by now but stick with it. Once again, you need to ensure you drain that last bit of battery power from your iPhone. Like before, the longer you can leave it, the better.
Step 6: Charge Your iPhone Again
To finish the process, you need to recharge your device. Follow the same guidelines as earlier, ensuring you let your phone continue charging for a couple of hours even after it's full.
Finally, you need to re-enable the services and functions you disabled earlier. Turn Location Services, Background Refresh, and Automatic Updates back on and turn the screen brightness back up.
And that's it. Now, your iPhone's battery has been recalibrated.
Enable Optimized Battery Charging After Calibration
Once your iPhone or iPad is successfully calibrated, it's time to ensure your battery won't need another calibration, at least for a long time.
The best way to do this is by turning on Optimized Battery Charging on your iPhone. When this is on, your iPhone learns from your typical charging routine and won't charge past 80% until you're about to use it.

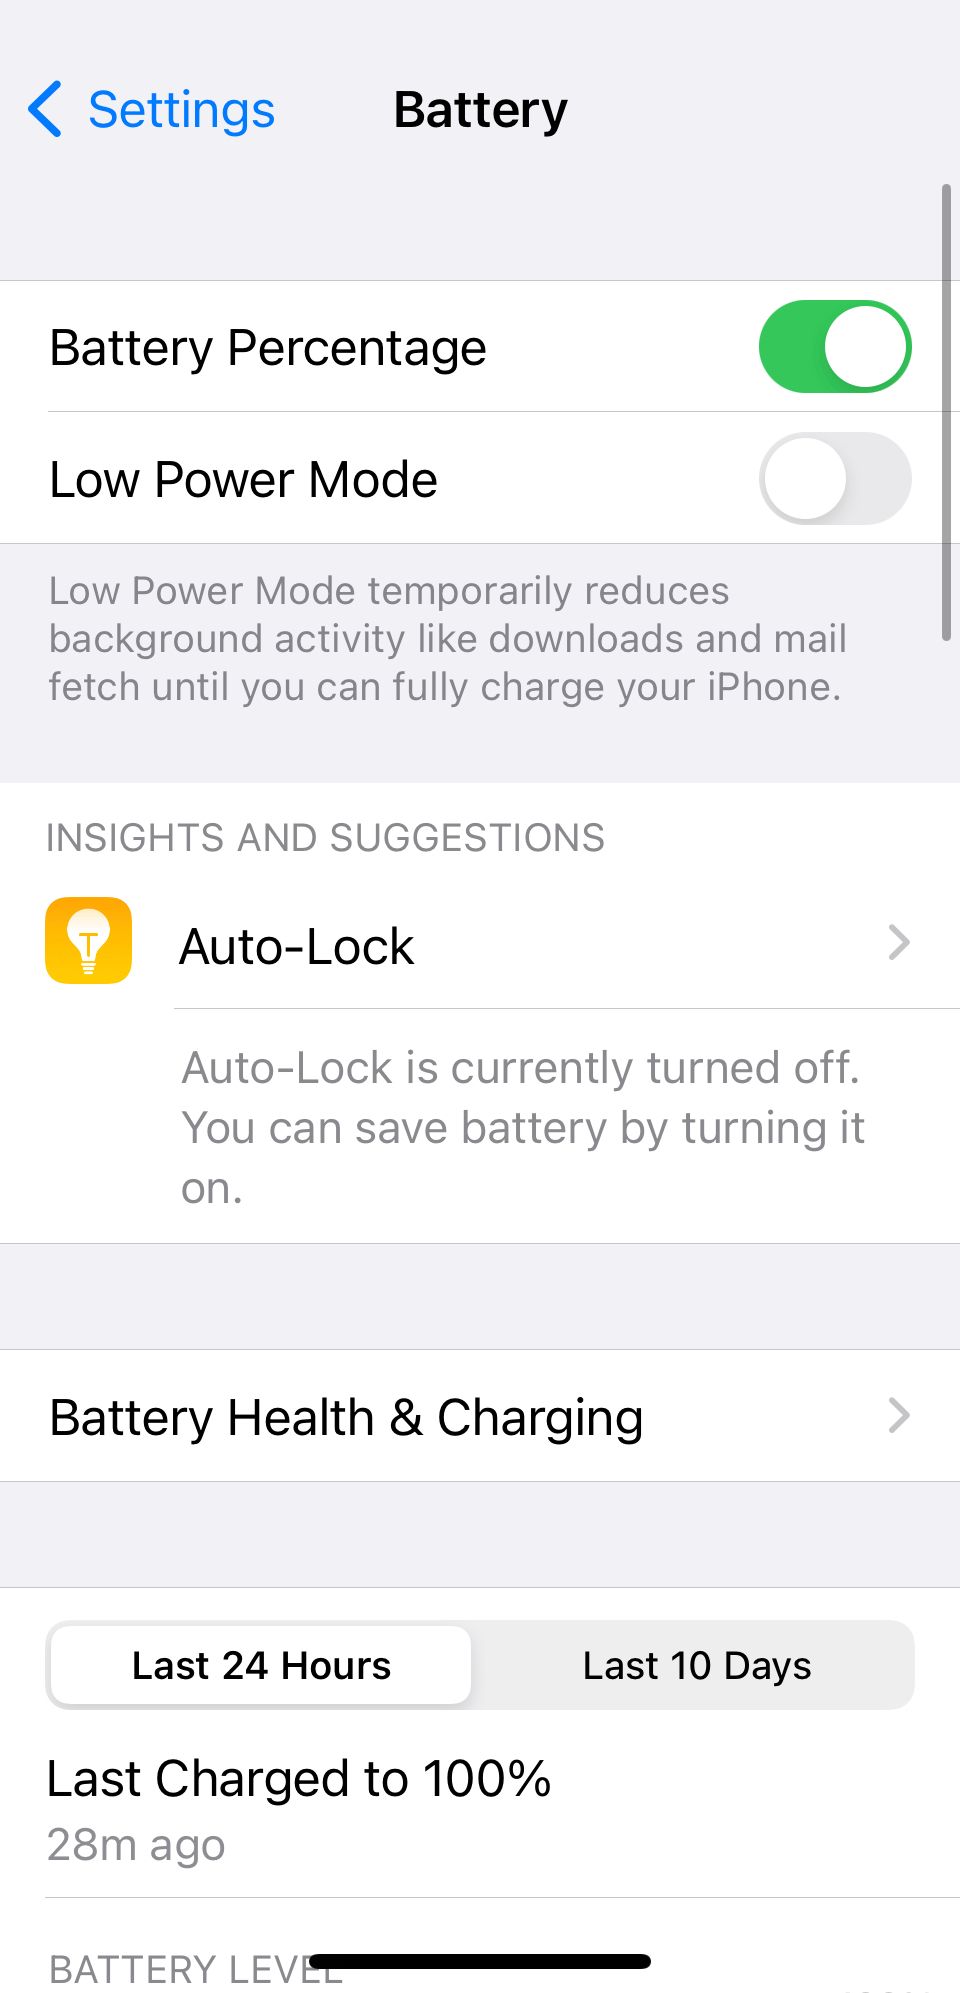
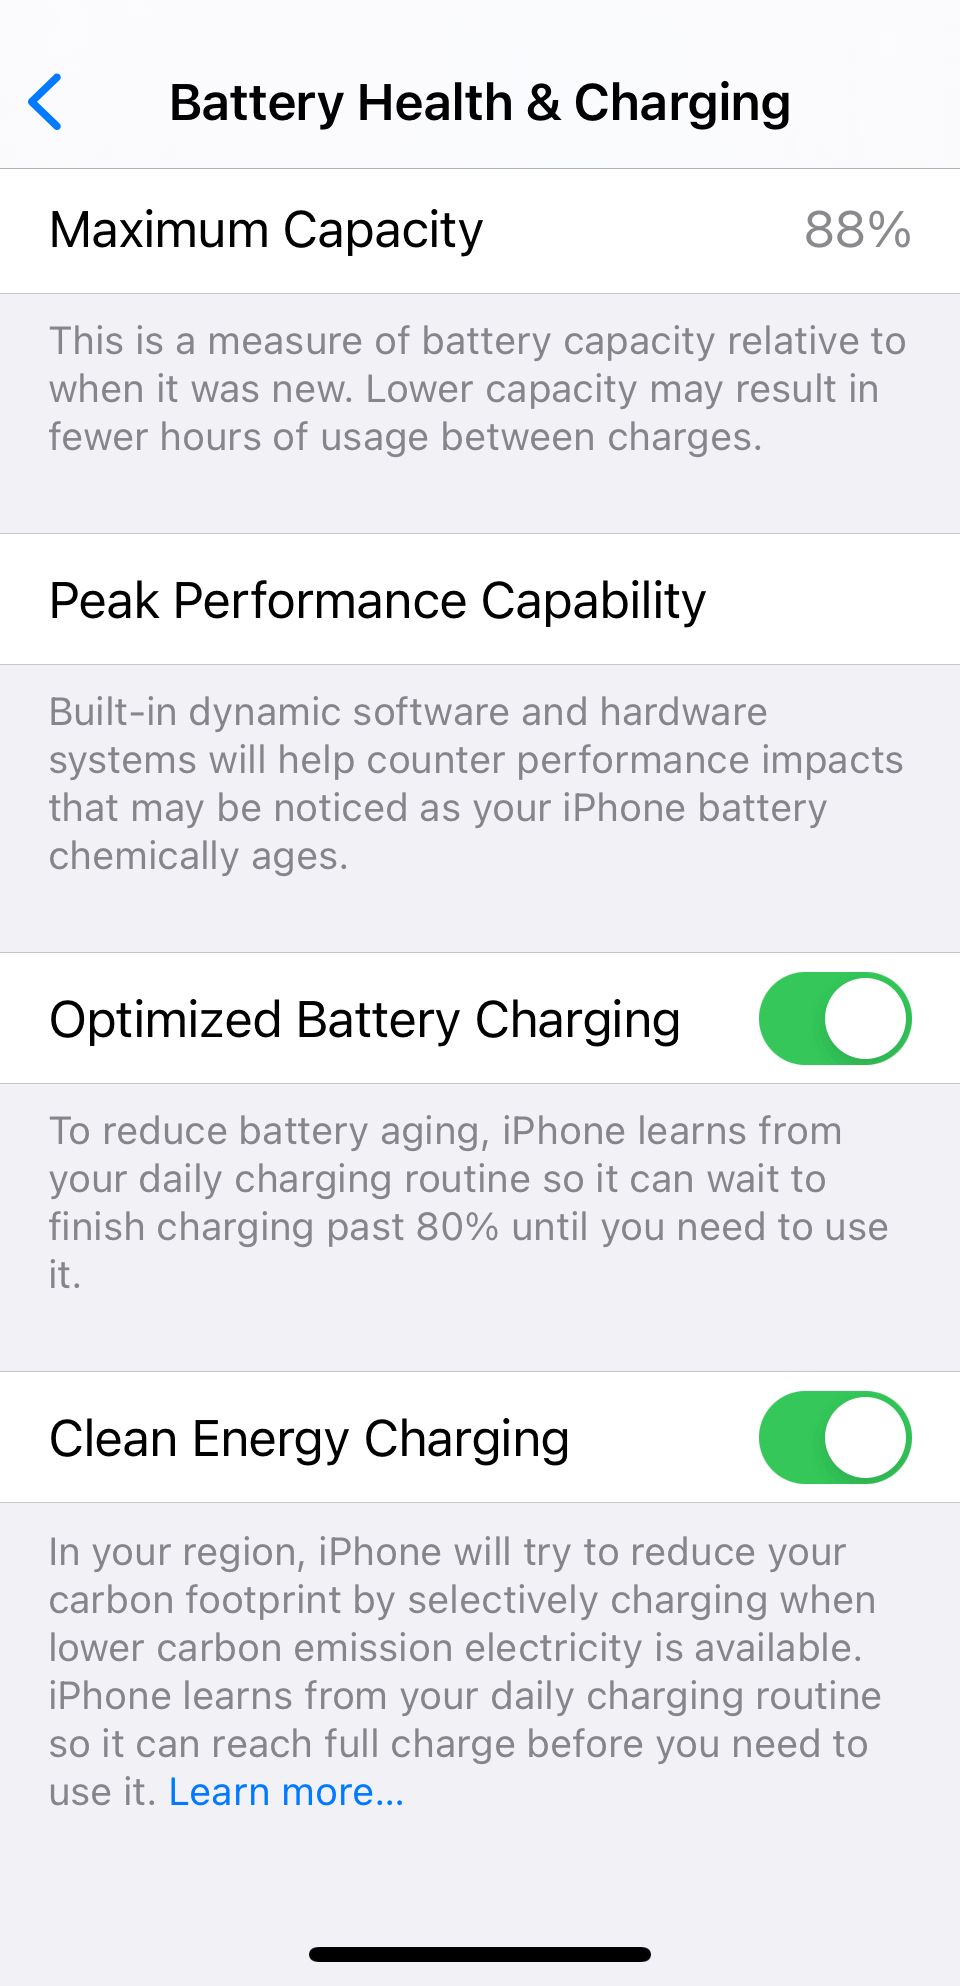
Head to Settings > Battery > Battery Health & Charging > Optimized Battery Charging to toggle this on. This slows down the aging of your iPhone's battery, keeping its maximum capacity from degrading quickly.
Other Battery-Saving iPhone Tips
If recalibration hasn't fixed your iPhone's battery problems, it might be time to spend some money on a new battery. You can change the battery yourself if you're feeling confident, but doing so will void your iPhone's warranty.
Therefore, it's always better to make an Apple Store appointment at a Genius Bar and get it replaced with professional help. A new battery and the required labor aren't as expensive as you might think.
The above is the detailed content of How to Calibrate an iPhone\'s Battery in 6 Easy Steps. For more information, please follow other related articles on the PHP Chinese website!

Hot AI Tools

Undresser.AI Undress
AI-powered app for creating realistic nude photos

AI Clothes Remover
Online AI tool for removing clothes from photos.

Undress AI Tool
Undress images for free

Clothoff.io
AI clothes remover

Video Face Swap
Swap faces in any video effortlessly with our completely free AI face swap tool!

Hot Article
Hot Tools

Notepad++7.3.1
Easy-to-use and free code editor

SublimeText3 Chinese version
Chinese version, very easy to use

Zend Studio 13.0.1
Powerful PHP integrated development environment

Dreamweaver CS6
Visual web development tools

SublimeText3 Mac version
God-level code editing software (SublimeText3)
Hot Topics
 1668
1668
 14
1426
52
1328
25
1273
29
1255
24
14
1426
52
1328
25
1273
29
1255
24

 Fix your Mac running slow after update to Sequoia
Apr 14, 2025 am 09:30 AM
Fix your Mac running slow after update to Sequoia
Apr 14, 2025 am 09:30 AM
After upgrading to the latest macOS, does the Mac run slower? Don't worry, you are not alone! This article will share my experience in solving slow Mac running problems after upgrading to macOS Sequoia. After the upgrade, I can’t wait to experience new features such as recording and transcription of voice notes and improved trail map planning capabilities. But after installation, my Mac started running slowly. Causes and solutions for slow Mac running after macOS update Here is my summary of my experience, I hope it can help you solve the problem of slow Mac running after macOS Sequoia update: Cause of the problem Solution Performance issues Using Novabe
 How to reduce WindowServer Mac CPU usage
Apr 16, 2025 pm 12:07 PM
How to reduce WindowServer Mac CPU usage
Apr 16, 2025 pm 12:07 PM
macOS WindowServer: Understanding High CPU Usage and Solutions Have you noticed WindowServer consuming significant CPU resources on your Mac? This process is crucial for your Mac's graphical interface, rendering everything you see on screen. High C
 How to Remove OneDrive from Mac? How to Uninstall It on Apple Laptop?
Apr 16, 2025 am 11:02 AM
How to Remove OneDrive from Mac? How to Uninstall It on Apple Laptop?
Apr 16, 2025 am 11:02 AM
OneDrive for Mac: A Comprehensive Uninstall Guide OneDrive, Microsoft's cloud storage service, offers online file storage and synchronization across various platforms, including Mac. However, you might need to remove it for storage optimization, inc
 How to type hashtag on Mac
Apr 13, 2025 am 09:43 AM
How to type hashtag on Mac
Apr 13, 2025 am 09:43 AM
You can’t really use the internet nowadays without encountering the hashtag symbol that looks like this — #. Popularized on a global scale by Twitter as a way to define common tweet themes and later adopted by Instagram and other apps to c
 Image to text: How to extract text from pictures on Mac
Apr 13, 2025 am 10:06 AM
Image to text: How to extract text from pictures on Mac
Apr 13, 2025 am 10:06 AM
If you need to quickly extract text from images but you don’t know how, it might bring your workflow to a halt. It’s better to be prepared and know how to automatically recognize text inside the screenshot, capture text from video, or copy an er
 How to delete files on Mac
Apr 15, 2025 am 10:22 AM
How to delete files on Mac
Apr 15, 2025 am 10:22 AM
Managing Mac storage: A comprehensive guide to deleting files Daily Mac usage involves installing apps, creating files, and downloading data. However, even high-end Macs have limited storage. This guide provides various methods for deleting unneces
 Mac Disk Utility: How to Repair Disk with First Aid? How to Recover It?
Apr 13, 2025 am 11:49 AM
Mac Disk Utility: How to Repair Disk with First Aid? How to Recover It?
Apr 13, 2025 am 11:49 AM
You might need to repair your Mac disk if your computer won’t start up, apps keep freezing, you can’t open certain documents, or the performance has slowed to a halt. Luckily, Apple includes a handy tool you can use to
 How to delete iOS apps from Mac with M1
Apr 14, 2025 am 11:26 AM
How to delete iOS apps from Mac with M1
Apr 14, 2025 am 11:26 AM
Since Apple's first iPad was released in 2010, it has begun designing its own chips for its devices. The latest iteration of chips is the Apple A15 bionic chip on the iPhone 13. However, for Mac, the first Apple self-developed chip, the Apple M1, was not released until 2020 with the MacBook Air, Mac mini and MacBook Pro. In 2021, the 24-inch iMac followed closely, followed by improvements on the 14-inch and 16-inch MacBook Pro (as the Apple M1 Pro and A
