

9 Ways to Fix iPhone Voicemail Not Working

If you aren't getting voicemails on your iPhone or the Phone app doesn't seem to be working properly, there are a few fixes you can try. Hopefully, one of these fixes will get your iPhone's voicemail working again, and you won't miss any more messages in the future.
1. Empty Your Voicemail Box

Sometimes, if your Voicemail box gets too full you'll stop receiving voicemails. While most modern iPhones have plenty of space, voicemail storage is limited and can fill up quickly, especially if you get a lot of spam calls.
To delete previous voicemails and make more space, head to the Phone app and tap Voicemail. Once here, tap Edit in the top right-hand corner and select the voicemails you want to delete.
Once selected, tap Delete in the bottom right-hand corner. Be sure to back up your voicemails if you might need them in the future. This will free up space, and you should be able to receive voicemails again if this was the issue.
If you haven't set up voicemail yet, that could also be your problem. So, set up voicemail on your iPhone to avoid any more missed messages.
2. Check for a Carrier Settings Update
Not many people know this, but your carrier settings sometimes need updating. This doesn't happen often, but when it does, it means that updating it will fix many carrier problems. This includes not getting voicemails on your iPhone.
Thankfully, updating your carrier settings is easy. Head to Settings > General > About to view your carrier settings. Wait for a few seconds; if your carrier requests an update, you'll get a pop-up to install a carrier settings update.
It's important to note that you should be careful with your carrier settings. This page contains information that should be kept private to avoid it getting into the wrong hands. Only share this information with your carrier or Apple.
3. Turn Cellular Service Off and On Again
Sometimes, a quick reset of your cellular service can fix some voicemail issues. This is especially true if your voicemails aren't downloading fast enough. One good indicator of this is getting a voicemail notification hours after you received a missed call from the same number. To resolve this issue, turn your cellular service off and on again.
You can do this by turning your phone off and on again, or you can put your phone in and out of airplane mode. Once you do this, check to see if your voicemail is working again by calling your phone from another device. If you received a voicemail, then this solved the problem.
Additionally, we'd like to point out that connecting to Wi-Fi can also sometimes help you resolve this problem.
4. Make Sure Cellular Data Is On

Cellular data is necessary for receiving voicemails in most cases. After all, voicemail is a carrier feature, and connecting to data ensures that your voicemails get delivered. Cellular data is also necessary for the Visual Voicemail feature to work. This is where you can read a voicemail without listening to it.
If your voicemail isn't working and you don't have data turned on, enabling it could resolve the issue. Head to Settings > Cellular and tap Cellular Data to turn it on. If you're on a limited data plan, there are options to reduce your iPhone's data usage and still receive voicemails.
5. Enable Wi-Fi Calling
If you live in an area with a poor cellular connection, chances are your voicemails are taking a long time to download to your device. A poor connection can also lead to getting missed call notifications without your phone ringing.
If this happens to you, you can resolve this by enabling Wi-Fi calling on your iPhone. This gives you a better connection and helps voicemails download quicker. It also helps you get better audio quality and reduces dropped calls.
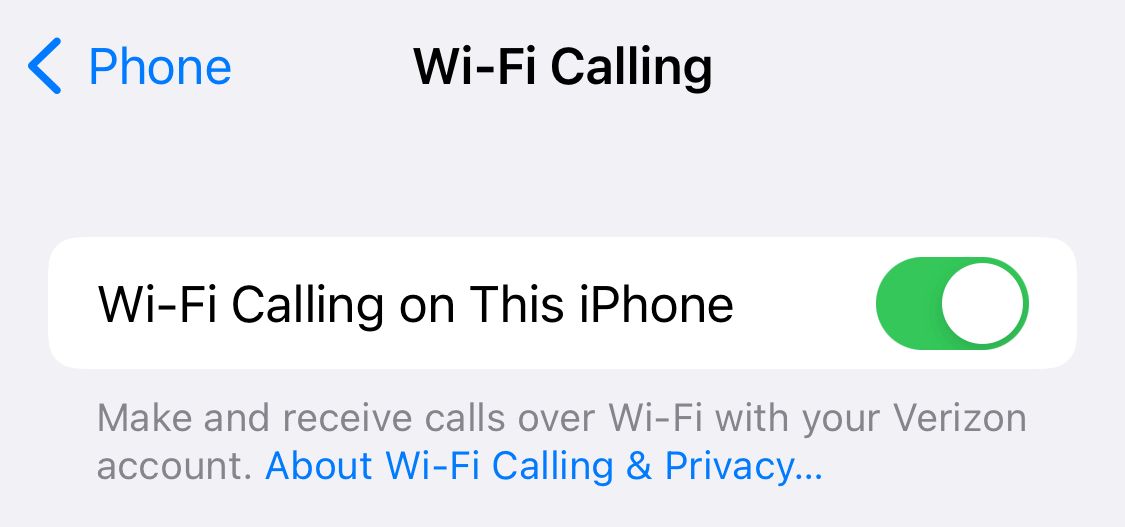
To enable Wi-Fi calling, head to Settings > Phone > Wi-Fi Calling. Once here, tap Wi-Fi Calling on This iPhone to turn it on. This will enable Wi-Fi calling whenever you're connected to Wi-Fi. It costs nothing, so it's worth having it turned on 24/7.
6. Make Sure Call Forwarding Is Off
If you have Call Forwarding enabled, it means your calls are being directed to a different number. While disabled by default, sometimes it can accidentally get enabled if you're playing around with the settings. If it's enabled, this is why you aren't receiving voicemails.
To disable it, head to Settings > Phone > Call Forwarding and toggle it off. Not all carriers have Call Forwarding enabled. So, if you don't see it in your iPhone settings, it means you don't have it, or your carrier has disabled it.
This might be your issue if your iPhone is issued by your workplace, as many workplaces will set up Call Forwarding.
7. Reset Network Settings
If your iPhone's voicemail still isn't working after the previous fixes, there is a possibility that resetting the network settings will help. This also helps if you're having other issues with your network, like getting missed calls without your phone ringing or issues with mobile data.
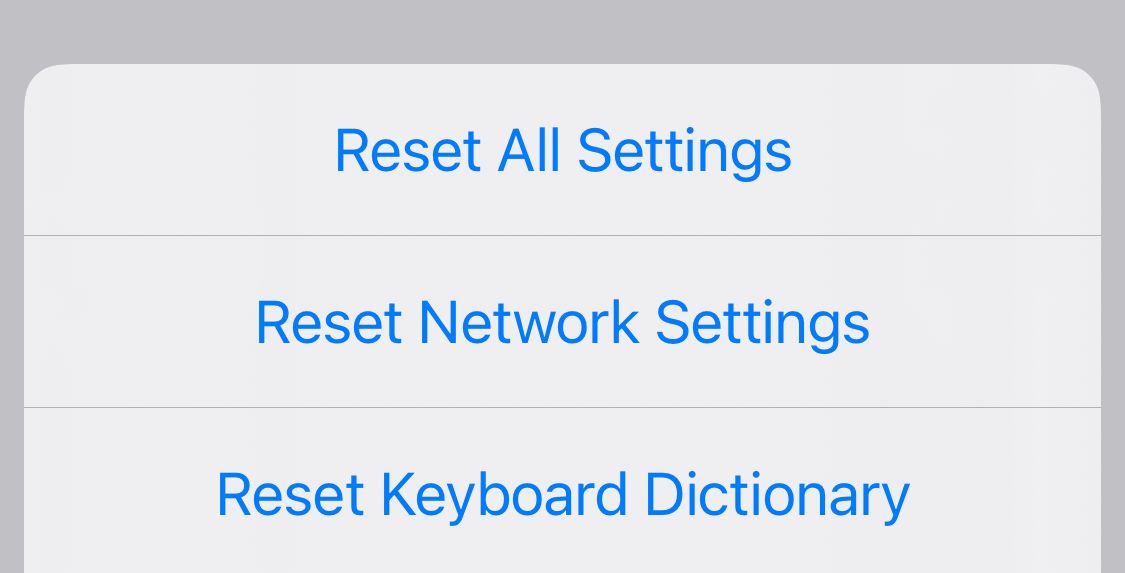
To reset the network settings, head to Settings > General > Transfer or Reset iPhone > Reset > Reset Network Settings.
Resetting your Network Settings won't erase any content from your device.
8. Make Sure Your iPhone Is Updated
While the previous solutions usually fix voicemail on your iPhone, there are some instances where there might be a problem with the iOS. To fix this, you would just need to update your iPhone. This may be the solution if you've avoided updating for a while or have automatic updates off.
To check for an update or confirm that you're on the latest iOS version available, head to Settings > General > Software Update. If you have an available update, you can download and install it from here.
9. Access Your Voicemail the Old-Fashioned Way
Visual Voicemail in the Phone app is great, but if it's not working, it's not the only way to check your voicemail. If you tried the above fixes and your iPhone's voicemail still doesn't work, you might need to check your voicemail the old-fashioned way for the time being.
By calling your own number on your phone, you can check your voicemail through your carrier. To do this, dial your number, then enter your password and press the pound key. If you don't know your password, the default is usually the last four digits of your phone number.
If you still can't gain access or are having voicemail issues here as well, you can contact your carrier and ask them to reset your voicemail password. You can also call them to check for any other issues.
All the Potential Solutions to iPhone Voicemail Not Working
Voicemail not working on your iPhone can be a big problem. Not getting a voicemail could mean missing an important work meeting or social event or losing a potential client. Luckily, there are several fixes that you can try that, in most cases, will resolve your issues.
If your issues still aren't resolved, there are options to check your voicemail without the Visual Voicemail feature through your phone. You can also contact your carrier for further assistance as a last resort measure. Hopefully, you'll be receiving messages again in no time.
The above is the detailed content of 9 Ways to Fix iPhone Voicemail Not Working. For more information, please follow other related articles on the PHP Chinese website!

Hot AI Tools

Undresser.AI Undress
AI-powered app for creating realistic nude photos

AI Clothes Remover
Online AI tool for removing clothes from photos.

Undress AI Tool
Undress images for free

Clothoff.io
AI clothes remover

Video Face Swap
Swap faces in any video effortlessly with our completely free AI face swap tool!

Hot Article
Hot Tools

Notepad++7.3.1
Easy-to-use and free code editor

SublimeText3 Chinese version
Chinese version, very easy to use

Zend Studio 13.0.1
Powerful PHP integrated development environment

Dreamweaver CS6
Visual web development tools

SublimeText3 Mac version
God-level code editing software (SublimeText3)
Hot Topics
 1668
1668
 14
1427
52
1329
25
1273
29
1256
24
14
1427
52
1329
25
1273
29
1256
24

 Fix your Mac running slow after update to Sequoia
Apr 14, 2025 am 09:30 AM
Fix your Mac running slow after update to Sequoia
Apr 14, 2025 am 09:30 AM
After upgrading to the latest macOS, does the Mac run slower? Don't worry, you are not alone! This article will share my experience in solving slow Mac running problems after upgrading to macOS Sequoia. After the upgrade, I can’t wait to experience new features such as recording and transcription of voice notes and improved trail map planning capabilities. But after installation, my Mac started running slowly. Causes and solutions for slow Mac running after macOS update Here is my summary of my experience, I hope it can help you solve the problem of slow Mac running after macOS Sequoia update: Cause of the problem Solution Performance issues Using Novabe
 How to reduce WindowServer Mac CPU usage
Apr 16, 2025 pm 12:07 PM
How to reduce WindowServer Mac CPU usage
Apr 16, 2025 pm 12:07 PM
macOS WindowServer: Understanding High CPU Usage and Solutions Have you noticed WindowServer consuming significant CPU resources on your Mac? This process is crucial for your Mac's graphical interface, rendering everything you see on screen. High C
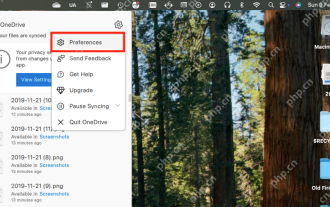 How to Remove OneDrive from Mac? How to Uninstall It on Apple Laptop?
Apr 16, 2025 am 11:02 AM
How to Remove OneDrive from Mac? How to Uninstall It on Apple Laptop?
Apr 16, 2025 am 11:02 AM
OneDrive for Mac: A Comprehensive Uninstall Guide OneDrive, Microsoft's cloud storage service, offers online file storage and synchronization across various platforms, including Mac. However, you might need to remove it for storage optimization, inc
 Image to text: How to extract text from pictures on Mac
Apr 13, 2025 am 10:06 AM
Image to text: How to extract text from pictures on Mac
Apr 13, 2025 am 10:06 AM
If you need to quickly extract text from images but you don’t know how, it might bring your workflow to a halt. It’s better to be prepared and know how to automatically recognize text inside the screenshot, capture text from video, or copy an er
 How to type hashtag on Mac
Apr 13, 2025 am 09:43 AM
How to type hashtag on Mac
Apr 13, 2025 am 09:43 AM
You can’t really use the internet nowadays without encountering the hashtag symbol that looks like this — #. Popularized on a global scale by Twitter as a way to define common tweet themes and later adopted by Instagram and other apps to c
 How to delete files on Mac
Apr 15, 2025 am 10:22 AM
How to delete files on Mac
Apr 15, 2025 am 10:22 AM
Managing Mac storage: A comprehensive guide to deleting files Daily Mac usage involves installing apps, creating files, and downloading data. However, even high-end Macs have limited storage. This guide provides various methods for deleting unneces
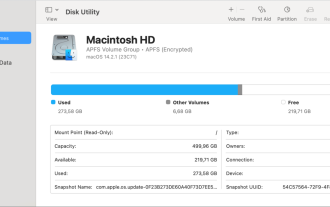 Mac Disk Utility: How to Repair Disk with First Aid? How to Recover It?
Apr 13, 2025 am 11:49 AM
Mac Disk Utility: How to Repair Disk with First Aid? How to Recover It?
Apr 13, 2025 am 11:49 AM
You might need to repair your Mac disk if your computer won’t start up, apps keep freezing, you can’t open certain documents, or the performance has slowed to a halt. Luckily, Apple includes a handy tool you can use to
 How to delete iOS apps from Mac with M1
Apr 14, 2025 am 11:26 AM
How to delete iOS apps from Mac with M1
Apr 14, 2025 am 11:26 AM
Since Apple's first iPad was released in 2010, it has begun designing its own chips for its devices. The latest iteration of chips is the Apple A15 bionic chip on the iPhone 13. However, for Mac, the first Apple self-developed chip, the Apple M1, was not released until 2020 with the MacBook Air, Mac mini and MacBook Pro. In 2021, the 24-inch iMac followed closely, followed by improvements on the 14-inch and 16-inch MacBook Pro (as the Apple M1 Pro and A
